Hidden Zebra
![]()
![]()
Zrinka Vuksan
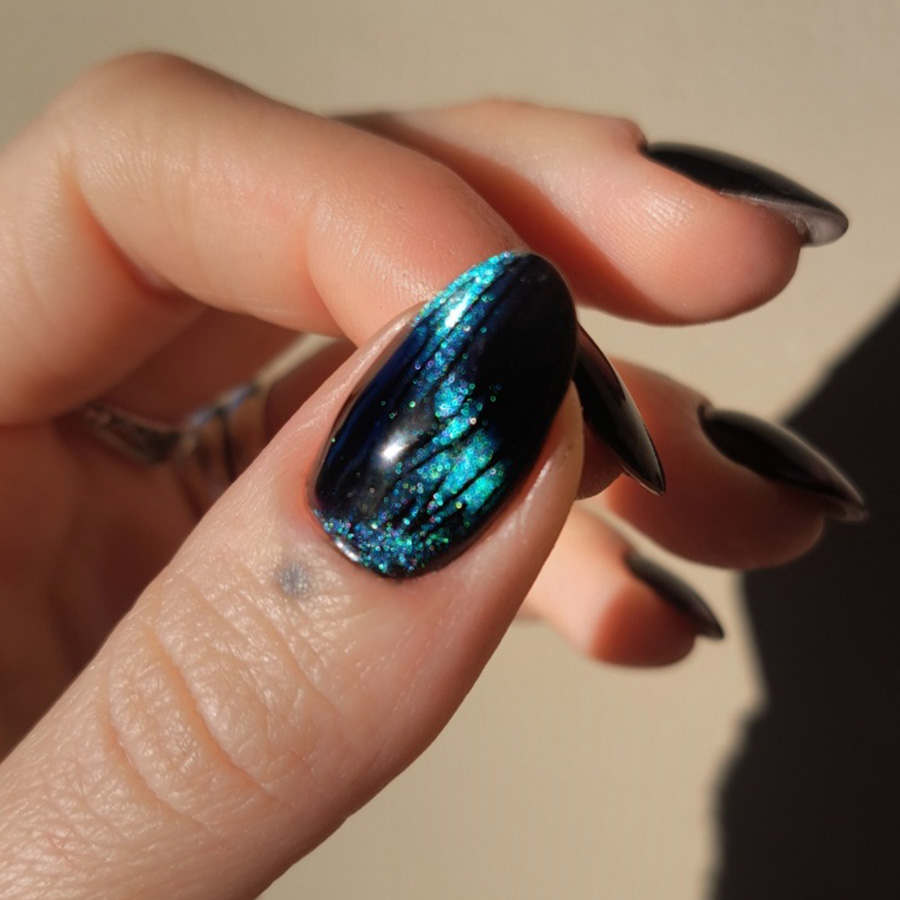
Create mystery and a little drama on the nails using this easy, yet effective technique. Start by layering gel polish with a magnetic gel polish, then manipulate the polish with a magnet. Next use a tool stamping to add a design feature across it in dark polish. This design is in fact hidden and only appears as the nails move and the light catches them. It’s a great look for parties and other sophisticated celebrations.
PRODUCTS USED
- 180-grit File and Buffer
- Magnetic Gel Polish Color
- Black Gel Polish
- Black Nail Polish
- Stamping Plate
- Silicone Stamping Tool
- Top Coat
STEPS
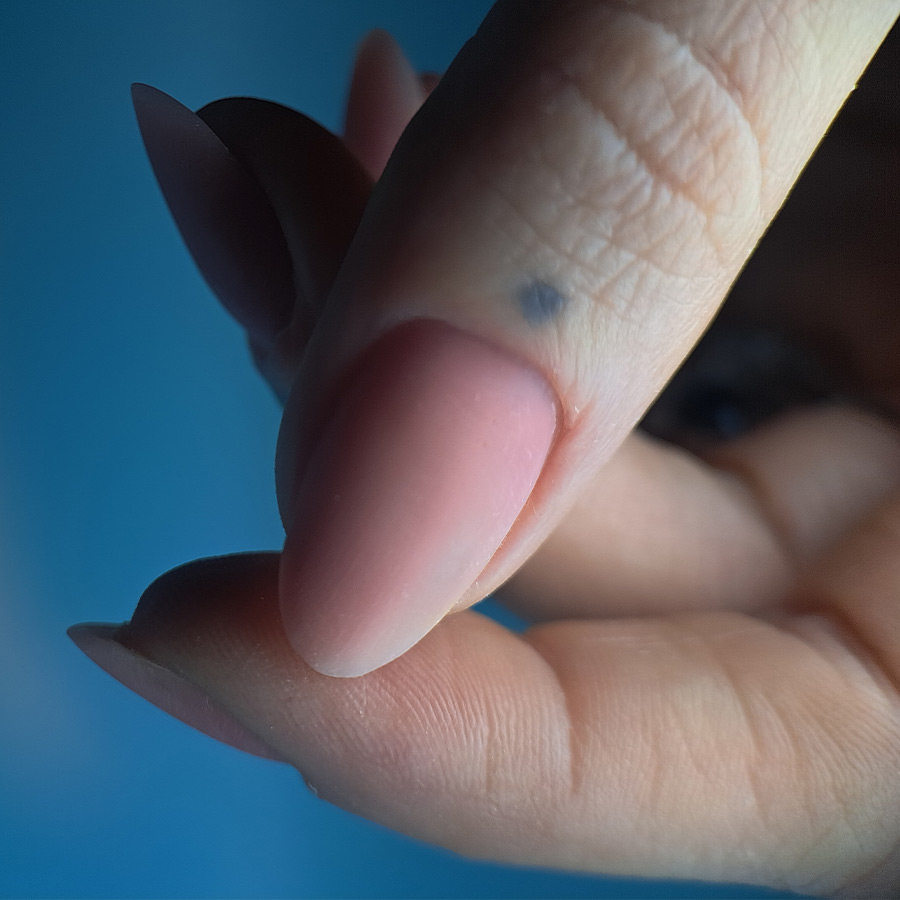
After prepping the nail & applying product, shape the nail with 180-grit file & buffer, then prepare the surface for color.
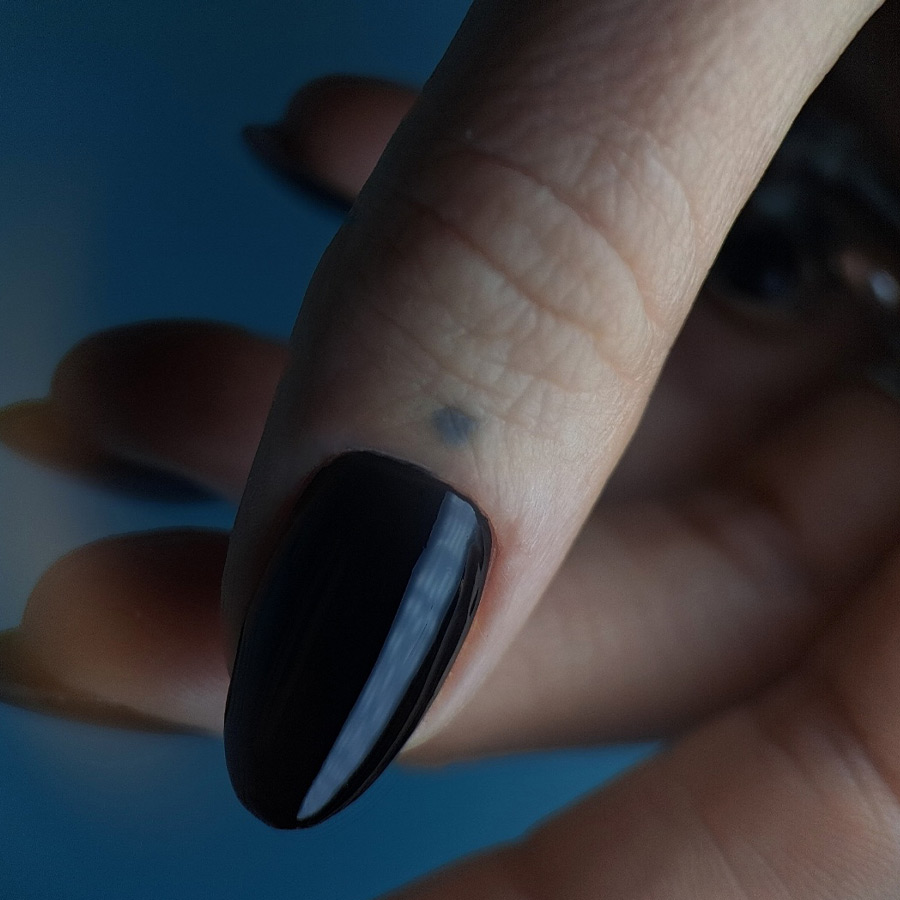
Apply black gel polish, carefully paying attention to the cuticle area. Cure gel polish for 60-seconds in an LED lamp.
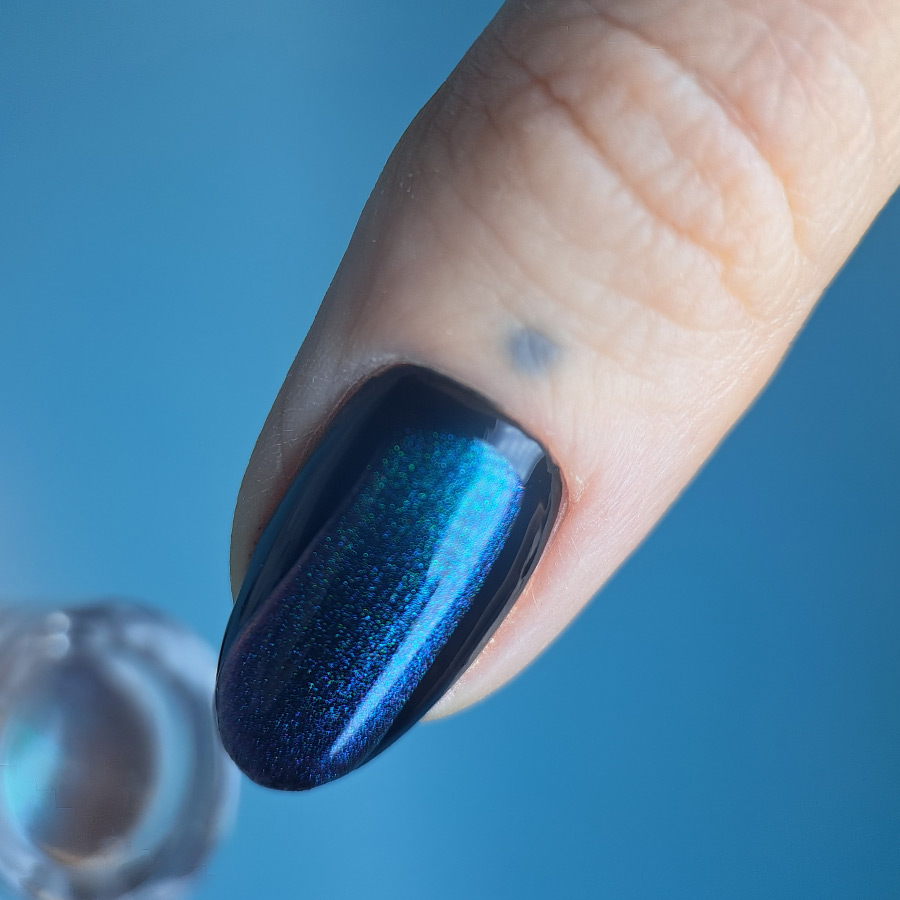
Choose a magnetic gel polish color & apply it over the black gel polish.
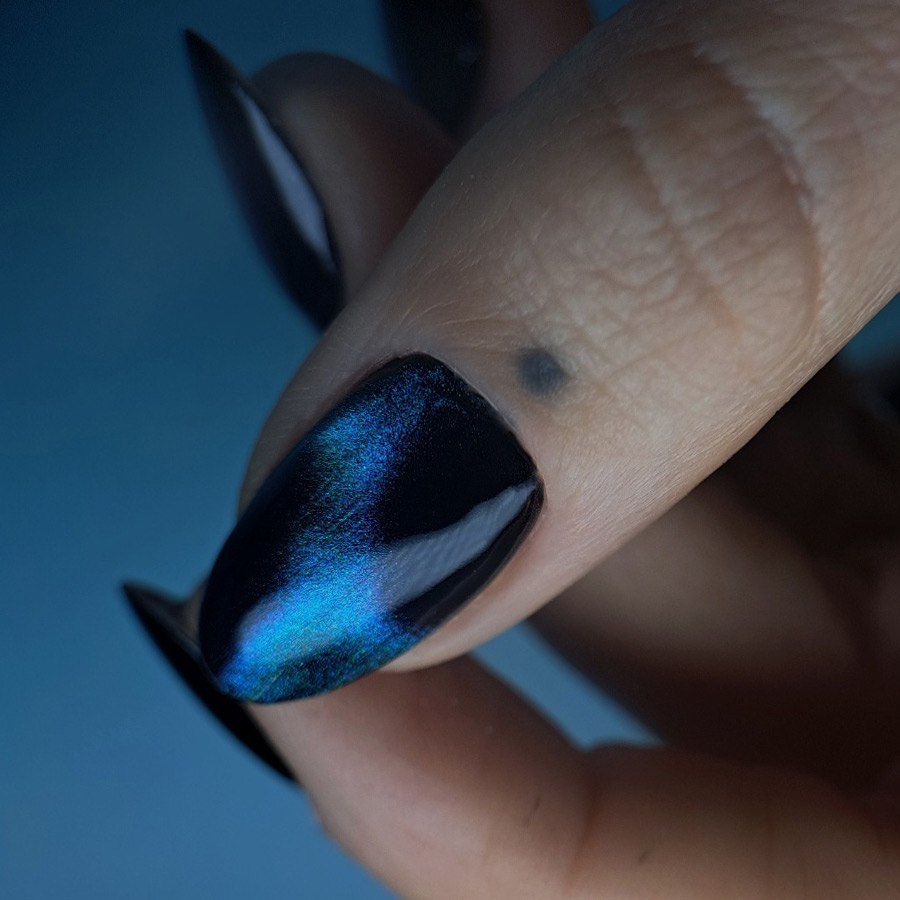
Using a magnetic stick, move the gel polish to create different lines, leaving parts of the nails empty, so the black polish is visible looking across the surface of the nail. Cure for 60-seconds in an LED lamp.

Using a stamping plate of your choice, apply black stamping gel or nail polish & stamp the design across the nail: cure for 60-seconds or let nail polish air-dry.
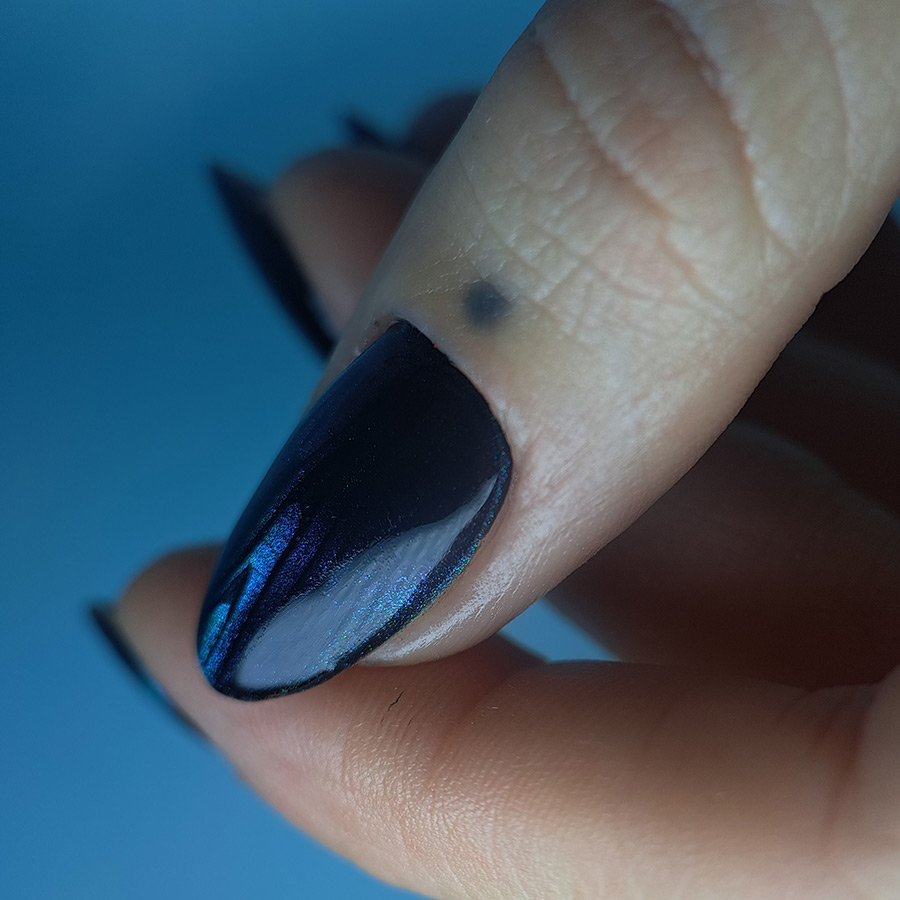
When the nail is dry, apply top coat. Use a shiny or matte finish and enjoy the hidden lines as they reveal themselves as they catch the light. Depending on the angle you view the nail, the lines will appear and disappear as the nails move.
MORE TAG THAT TREND
RELATED VIDEOS
MORE TO EXPLORE
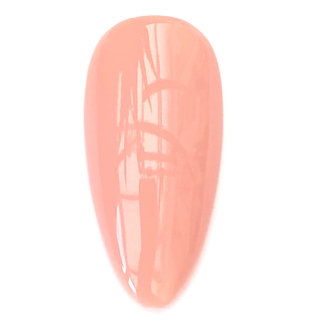
Prep the natural nail using a 180-grit file, remove dust. Apply “Prep It!”, then two thin coats of Flex It! “Cover Peach”, curing each coat for 60-seconds.
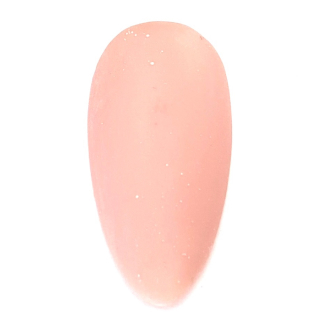
Prep Apply a thin, even coat of HD Pro “Matt It!” Cure for 60-seconds.
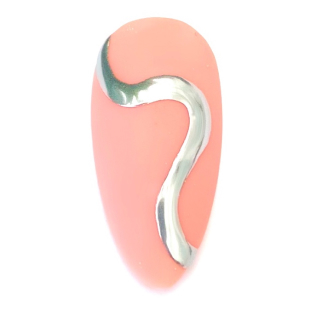
Use the HD Pro Long liner brush and HD Pro Art Gel in “Graphite” to create a wavy line. Cure for 30-seconds, then rub line with a dusting brush.


