Mong Up U-Gel
![]()
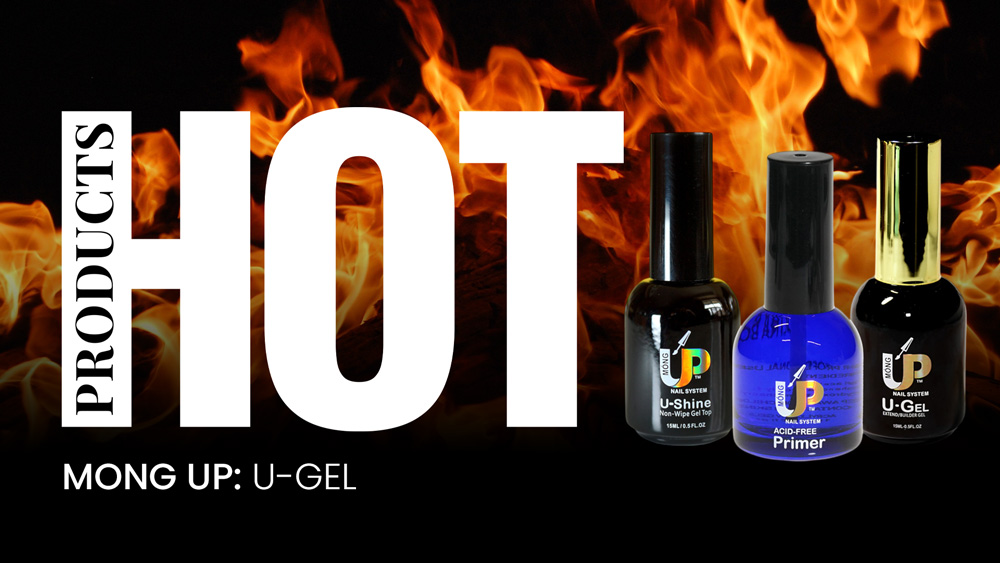
U-Gel by Mong Up
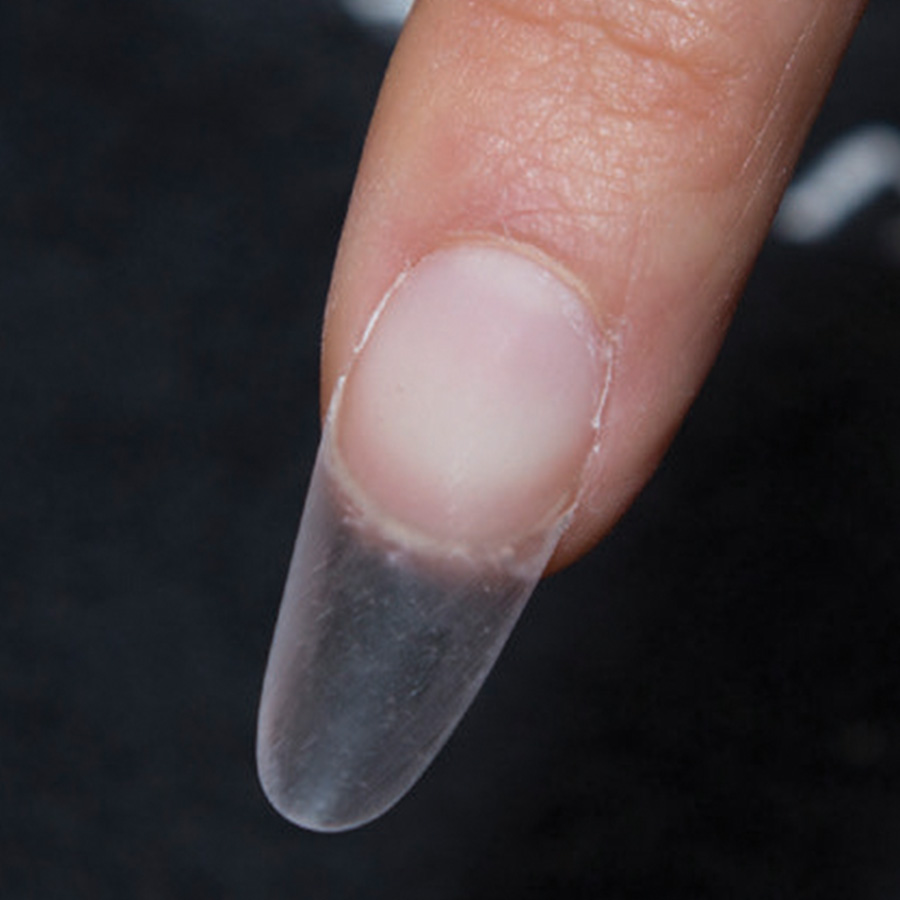
Mong Up Nail Systems by Ann Chang launches a unique product that can enhance the beauty and strength of any nail. In need of a repair, a fill, tip overlay or even a sculptured extension, U-Gel could be the one product in your drawer that can solve all your nail needs. This unique brush-on soakable gel is simple to use and crystal clear. Seeing is believing, so watch Alisha Rimando test this stand-out product and see what all the hype is about.
SEE MORE ON HOT PRODUCTS
RELATED VIDEOS
MORE TO EXPLORE
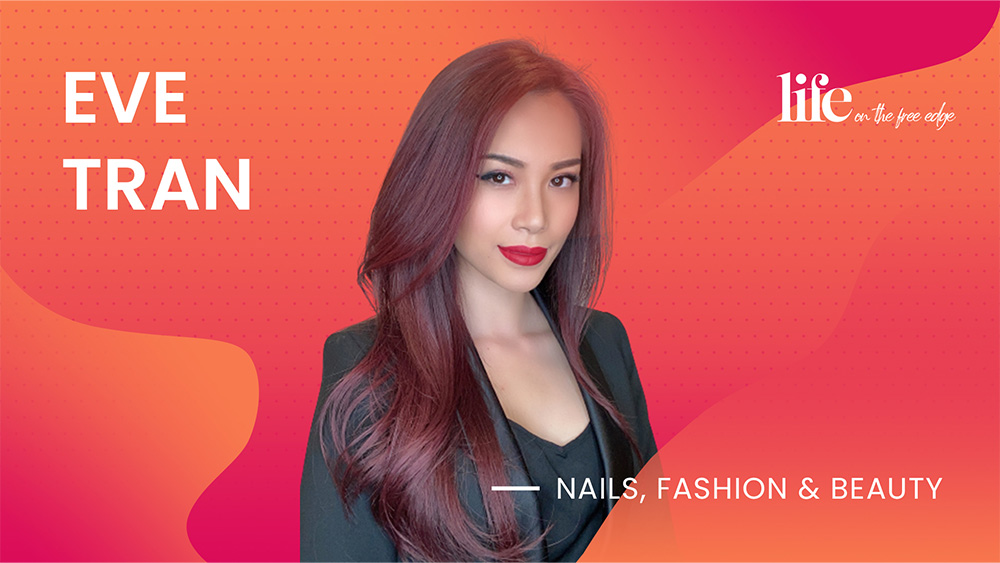
Eve Tran
![]()
![]()
Eve Tran
World-renowned nail designer, international educator, judge, world nail champion, 1st German champion and product developer, Eve Tran has been honing her nail skills for over 18 years.
Settling in Germany in 2001, Eve was introduced to the nail profession by chance through a relative, then decided to pursue a career path in nails. Connecting with nail experts in order to gain the training she required proved difficult, but she remained resilient, kept focused and her name became well-known after she had won many professional industry competitions. Now running a successful nail academy in Leipzig, Germany with her husband, David Richter, Eve reveals her latest project to Glossarylive.com.
SEE MORE LIFE ON THE FREE EDGE
RELATED VIDEOS
MORE TO EXPLORE
![]()
![]()
BALLETCORE
Katy Pottle is a seasoned nail artist with over 21 years of experience in the beauty industry. Throughout her career, Katy has navigated through various roles, from working in prestigious salons to owning her own. However, Katy’s true passion lies in nail art. In 2015, she discovered the mesmerizing glitter range offered by Magpie Beauty, sparking a newfound obsession with sparkle and color. Since then, Katy has become known for her vibrant and glamorous nail designs.
For Katy P, nail art is not just a job; it’s her therapy, her passion, and her creative outlet. She spends hours dreaming up intricate designs and experimenting with different techniques, always pushing the boundaries of her creativity. In a remarkable achievement, Katy participated in her first-ever competition, the World Star Nail Artist 2023, and emerged victorious, solidifying her reputation as a nail art virtuoso.
UP NEXT ON XXTREME NAIL ART
RELATED VIDEOS
MORE TO EXPLORE
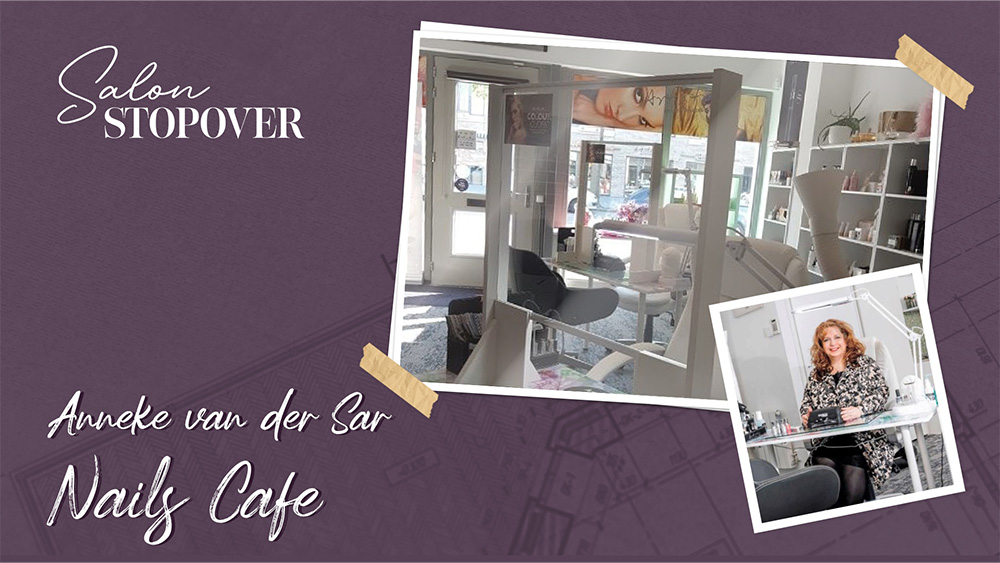
Nails Café
![]()
Nails Café
Anneke van der Sar manages a distinctive nail salon, Nails Café, located in Eindhoven, in the Netherlands. At Nails Café, the focus is not only on delivering exceptional nail treatments but also on prioritizing the client’s relaxation and overall well-being. Anneke boasts over 30 years of experience as a prominent figure in the international nail industry. Renowned as a leading educator, she has been sought-after globally to participate in expos, demonstrate her skills, and introduce cutting-edge techniques and innovations.
Within the Nailympia circuit, Anneke holds the esteemed position of head judge for both booth and floor categories at select locations, showcasing her discerning expertise. Many within the industry rely on her expert eye for guidance.
In addition to her educational roles, Anneke serves as a distributor for the Artistic Nail Design brand.
Want to see your salon featured in an episode of Salon Stopover? We are looking for fabulous salons & unique services to showcase from around the globe. Contact us for details.
SEE MORE SALON STOPOVER
RELATED VIDEOS
MORE TO EXPLORE
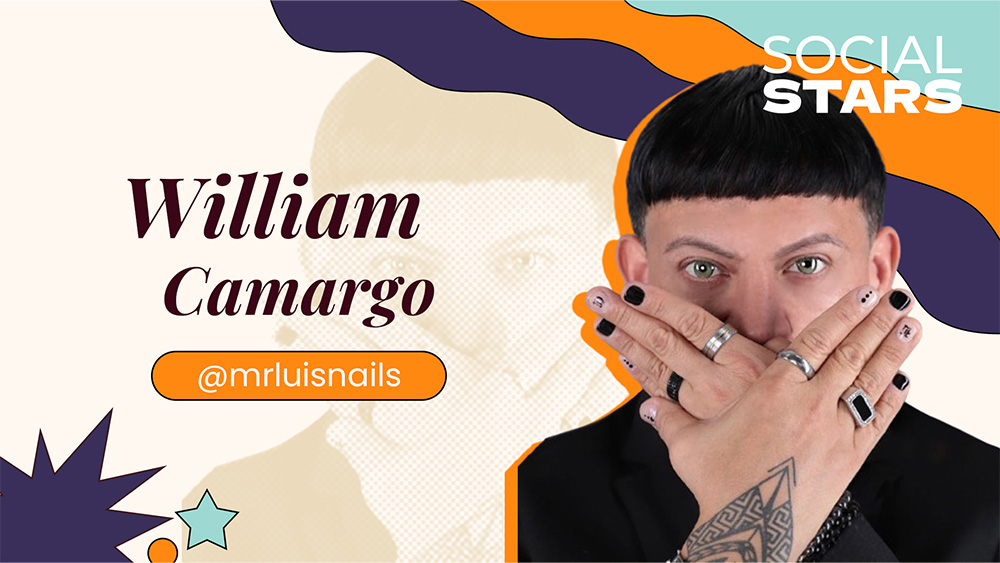
Mr Luis
![]()
Mr Luis
William Camargo, more widely known as Mr. Luis, began honing his craft at the age of 10, and never waivered. He obtained a Masters in Fine Arts from the Mason Gross School of the Arts at Rutgers University. His passion continued to shine when he inherited his father’s New Jersey business, and his infectious positive energy and love for his craft and clients makes him one of the most sought after nail artists on the celebrity scene. Currently William is a Le Chat educator, creative director of nail artistry for Netflix movies and series, lead nail artist and designer for KISS and freelances for a host of celebrities and media personalities including: Bad Bunny, Bella and Gigi Hadid, Gabriel Union, Jennifer Hudson, Tyrese Gibson, ASAP Rocky, Paris Hilton, sisters Venus and Serena Williams, Janelle Monae, Jordan Fisher, Lil Kim, Fat Joe, Remy Ma, Laverne Cox, Georgina Rodriguez, Diane Guerrero and the list goes on and on. Mr. Luis’ designs have also graced the covers of Rolling Stone Magazine, Elle and so much more. Mr. Luis is very proud and honored to be doing what he loves and sharing his success stories with other nail professionals on GlossaryLive.com. @mrluisnails – over 660k followers
SEE MORE SOCIAL STARS
RELATED VIDEOS
MORE TO EXPLORE
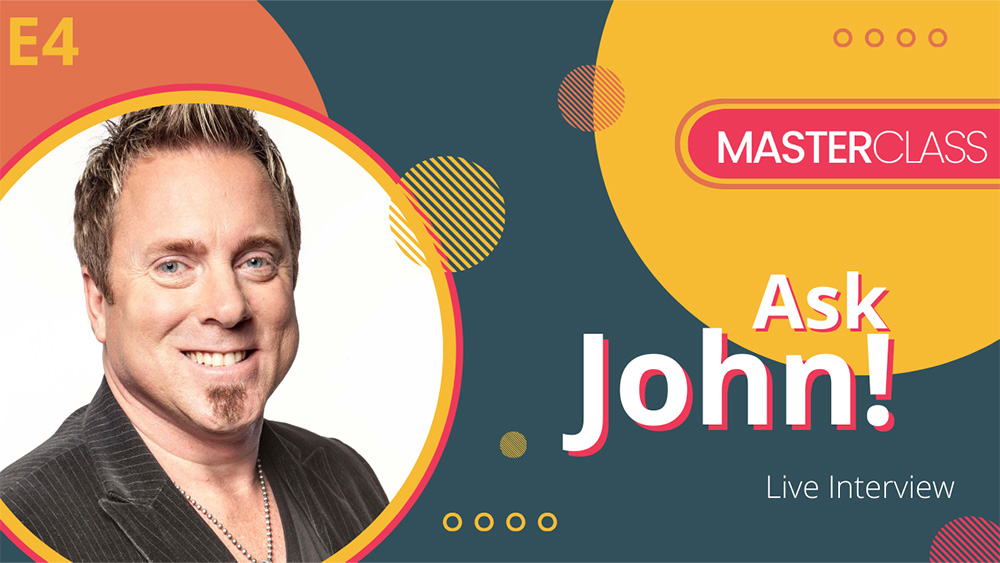
Q&A with John Hauk
This is a custom heading element.
![]()
This is a custom heading element.
As the expert behind Cruise with the Nail Stars, Cincinnati based nail artist and educator John Hauk has led a successful and eclectic nail career. With over 29 years experience as an educator and compeitior, John has accumulated over 300 awards and achieved #1 competitor of the year twice after winning the Nail Pro team cups. Currently an international judge and owner of Royalty Beauty salon, he continues to collaborate with world renown artists to bring nail education and fun to the open seas.
Need Video
![]()
This is a custom heading element.
Do you have questions for the artist? GlossaryLive will present a LIVE interview with this artist. Email your questions to be featured during the Q&A session.
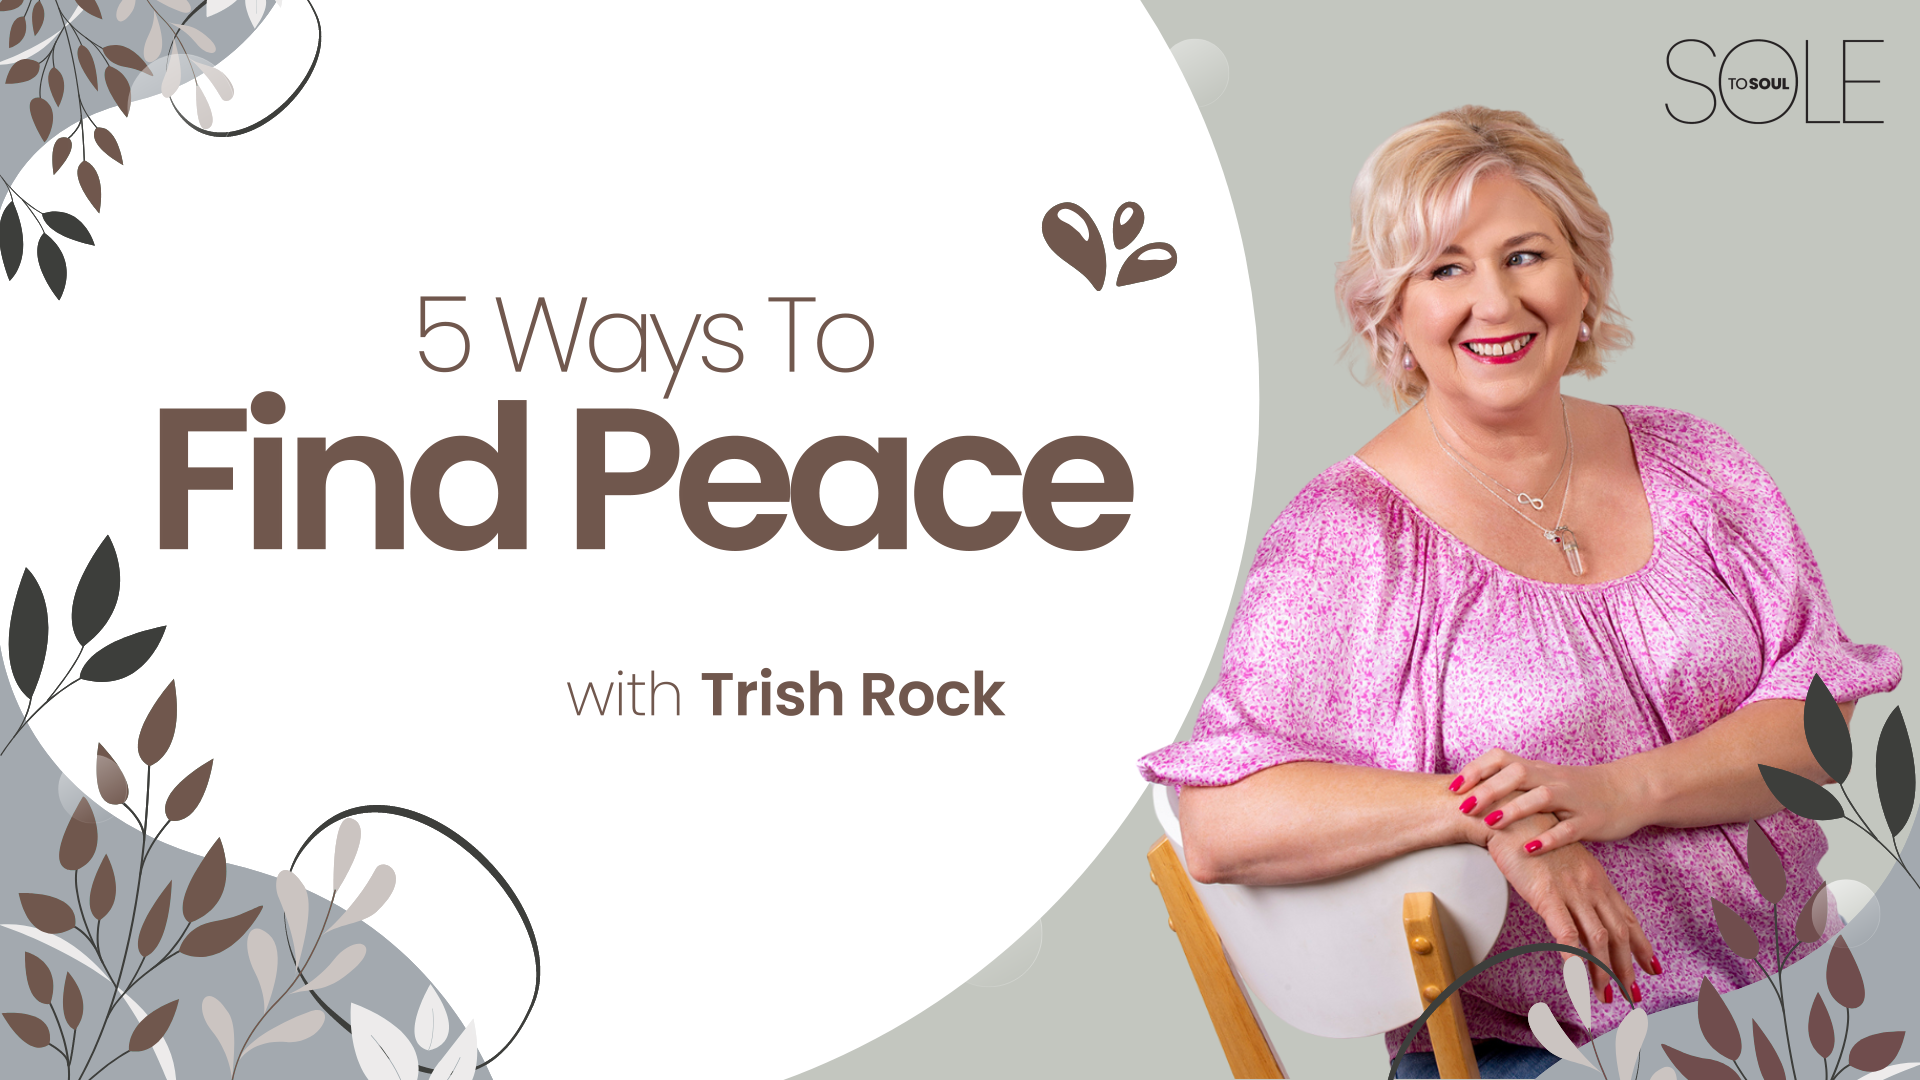
5 Ways To Find Peace
![]()
5 Ways To Find Peace
Presence is the catalyst for inner peace, and Trish Rock offers 5 ways to bring this calming force into your mind and body. This renewing power helps you navigate life in a more focused way, culminating with a healthier body, vibrant energy and a more centered work-life balance.
SEE MORE SOUL TO SOUL
RELATED VIDEOS
MORE TO EXPLORE
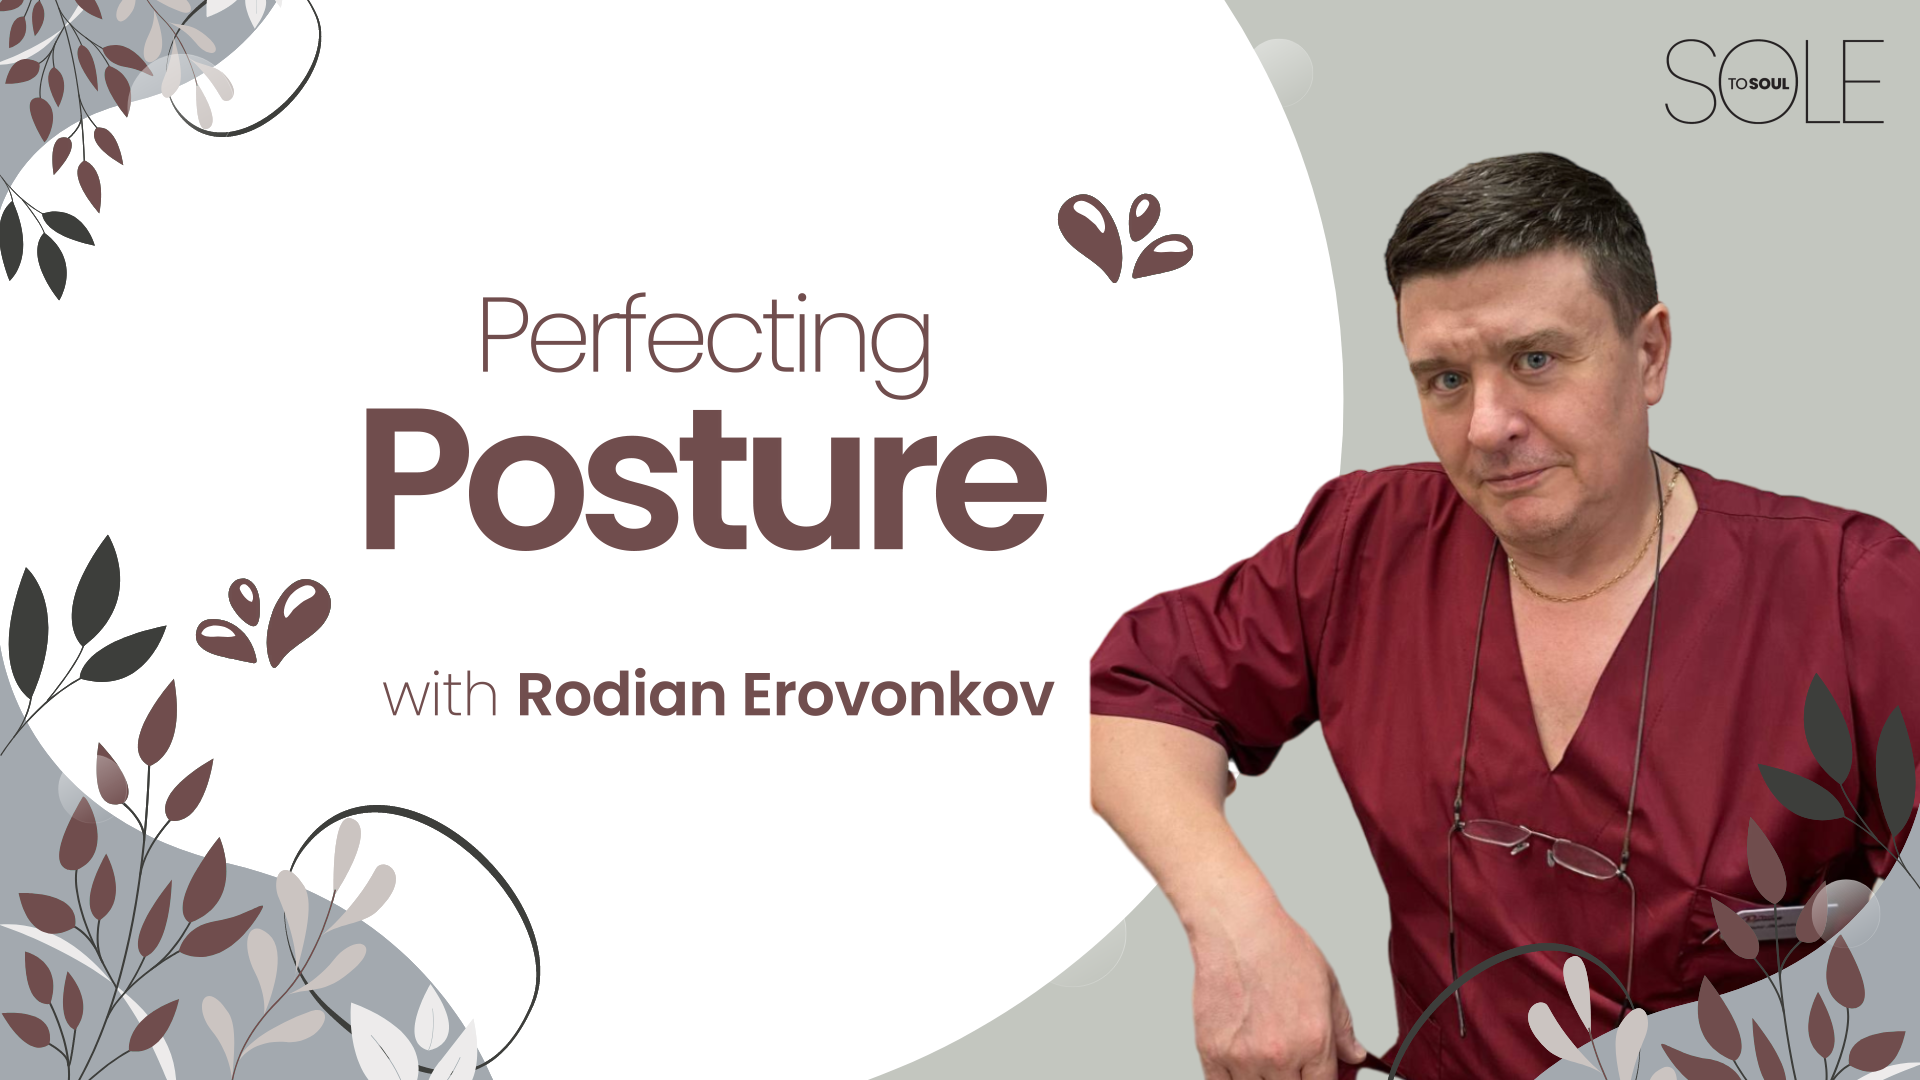
Perfecting Posture
![]()
Perfecting Posture
Rodion Erovenkov, a renowned surgeon and educator at the FootPraktik Clinic and Podiatry School specializes in diabetic foot syndrome. As a respected member of the Society of Surgeons and the Society of Vascular Surgery in Russia, Rodion details the importance of using correct posture during footcare treatments and pedicures. Incorrect posture can lead to serious health conditions later in life but by working mindfully and caring for your posture, these debilitating conditions can be avoided.
SEE MORE SOUL TO SOUL
RELATED VIDEOS
MORE TO EXPLORE
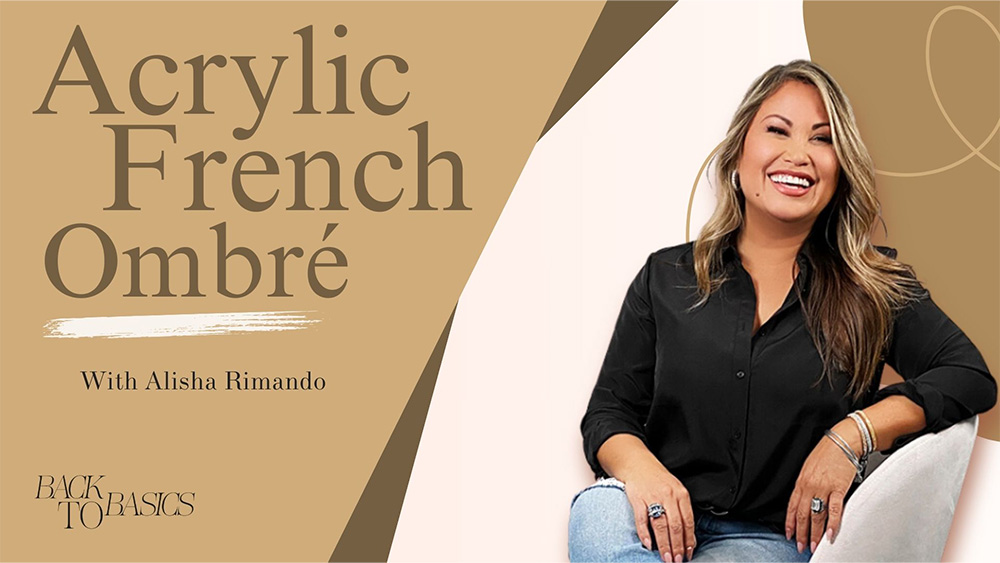
Acrylic French Ombré

Acrylic French Ombré
Are your clients looking for something soft and natural in a world filled with designs and clusters of crystals? When simplicity and natural beauty are on the nail menu, try this faded French technique. This stand-out beauty has been dubbed baby boomer, French graduation or ombré. Regardless of what you call it, it’s simplistic beauty can play base to any nail design or enrapture on it’s own. Creating this look within the nail structure provides strength and a natural appearance that radiates elegance. Go grab your soft white acrylic powder and clear or pink of your choice and practice this fabulous technique with Alisha Rimando.
SEE MORE BACK TO BASICS
RELATED VIDEOS
MORE TO EXPLORE

Metallic Sweater
Metallic Sweater
![]()
Alisha Rimando
Global educator, champion nail artist and session stylist, Alisha Rimando shares a quick, yet stylish design that takes just minutes to create for maximum effect when creating party-themed, seasonal nails.
PRODUCTS USED
- Colored Gel Polishes
- Artistic VIP Bright White Powder
- Mini Striper Brush
- Lint-free Wipes
STEPS
Follow application steps for Rock Hard Extension.
Apply a thin coat of Bride, making sure to cap the free edge. Cure for 30-seconds in LED light or 2-minutes in UV. Repeat.

Using an Artistic Mini Striper Brush dip into Bride & then into Artistic VIP Bright White Powder. Allow the gel & powder to fuse together, then use the thickened Colour Gloss to create the sweater pattern on the nail.
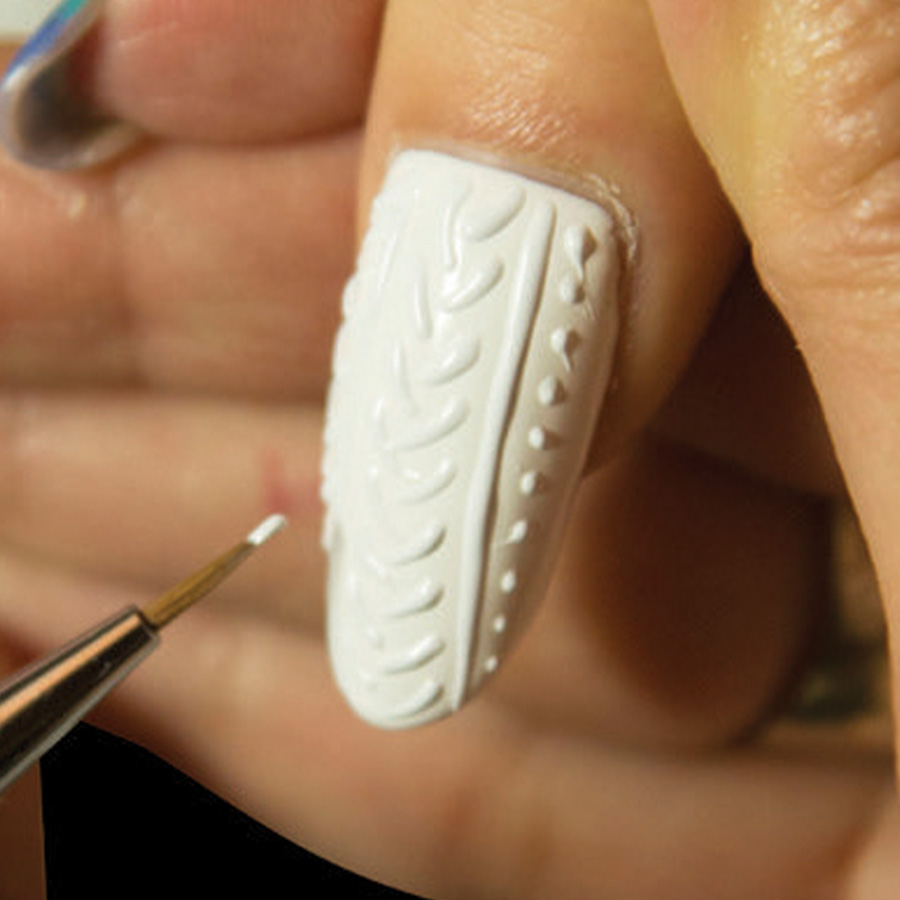
Once the pattern is complete, cure for 30-seconds in LED light or 2-minutes in UV. Repeat on each nail.
Apply This Girl Sleighs to the nail & gently wipe away color off the surface of the design using a lint-free wipe to expose details of the design.
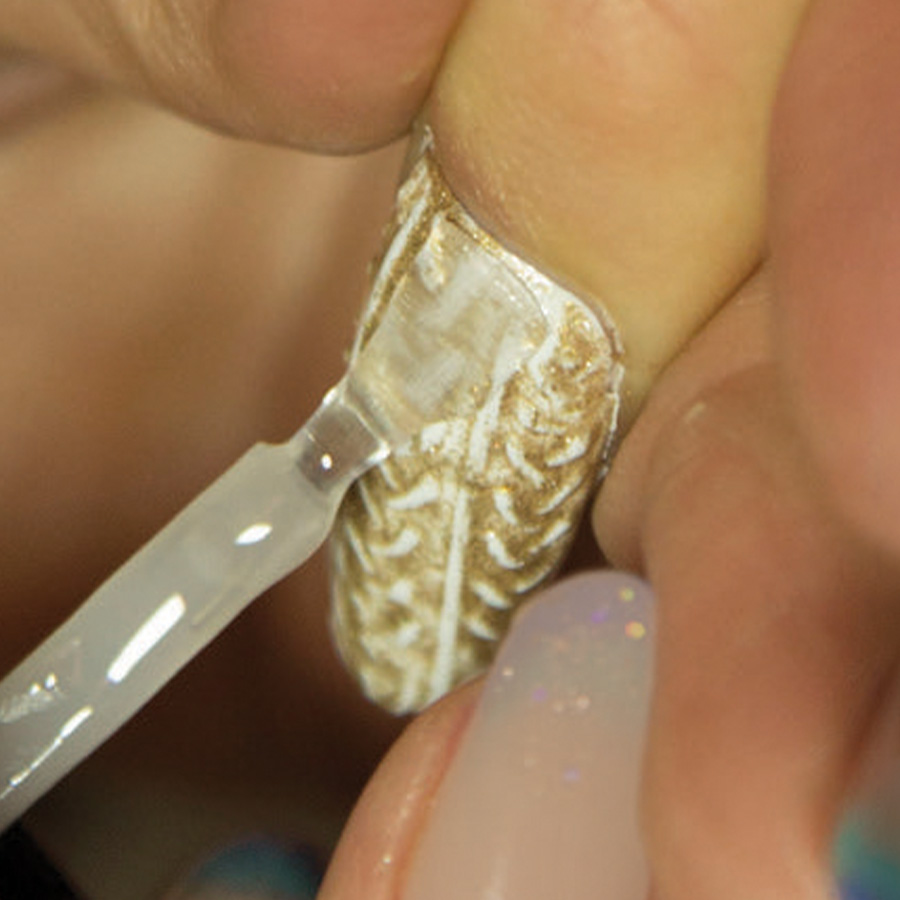
Apply Glossing Gel over the entire nail & cure for 30-seconds in LED or 2-minutes in UV.
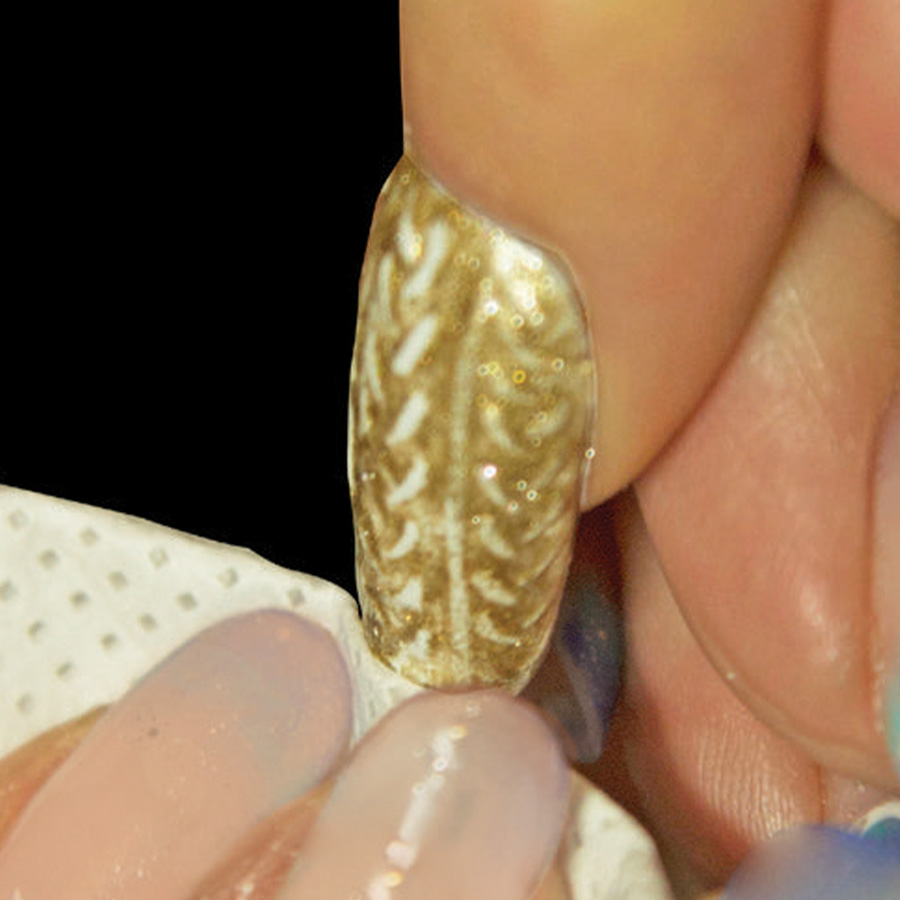
Use Nail Surface Cleanser & a lint-free wipe to cleanse the inhibition layer of the nail.
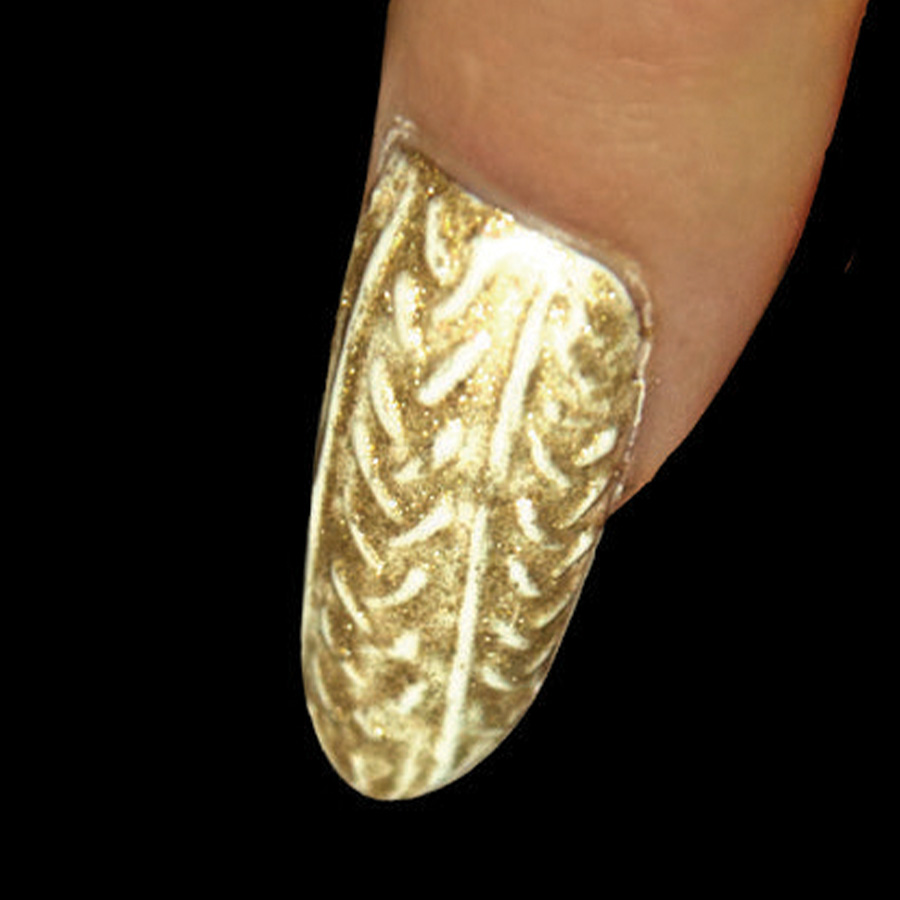
Massage one drop of Revive Cuticle Oil into the skin surrounding the nail plate & enjoy the finished look.

MORE TAG THAT TREND
RELATED VIDEOS
MORE TO EXPLORE
Prep the natural nail using a 180-grit file, remove dust. Apply “Prep It!”, then two thin coats of Flex It! “Cover Peach”, curing each coat for 60-seconds.
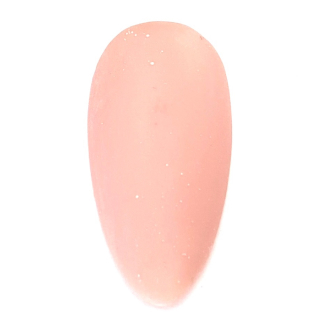
Prep Apply a thin, even coat of HD Pro “Matt It!” Cure for 60-seconds.
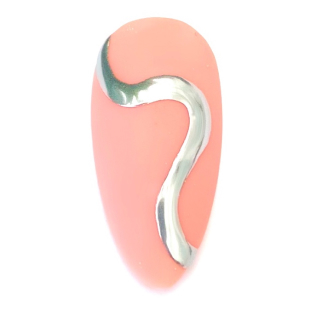
Use the HD Pro Long liner brush and HD Pro Art Gel in “Graphite” to create a wavy line. Cure for 30-seconds, then rub line with a dusting brush.
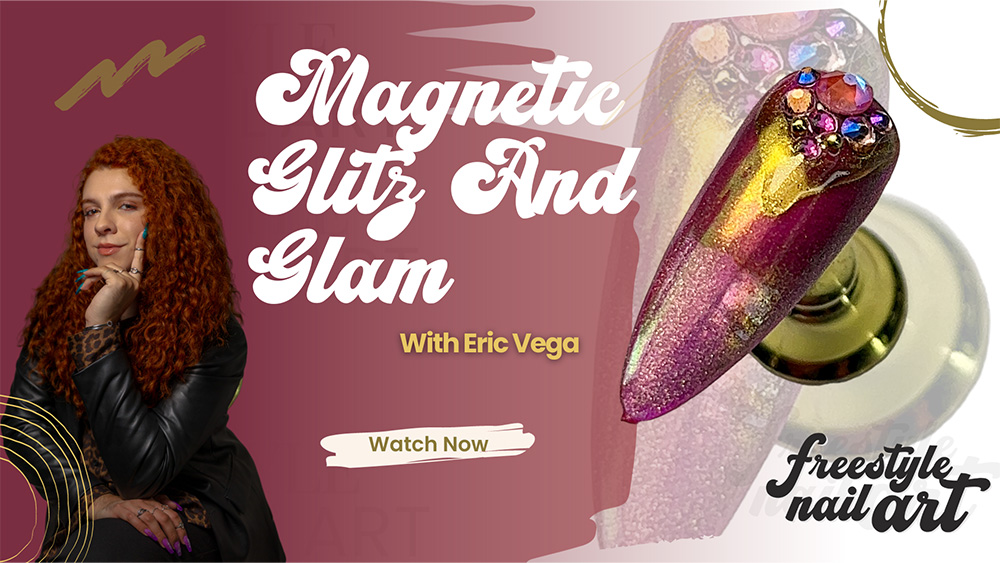
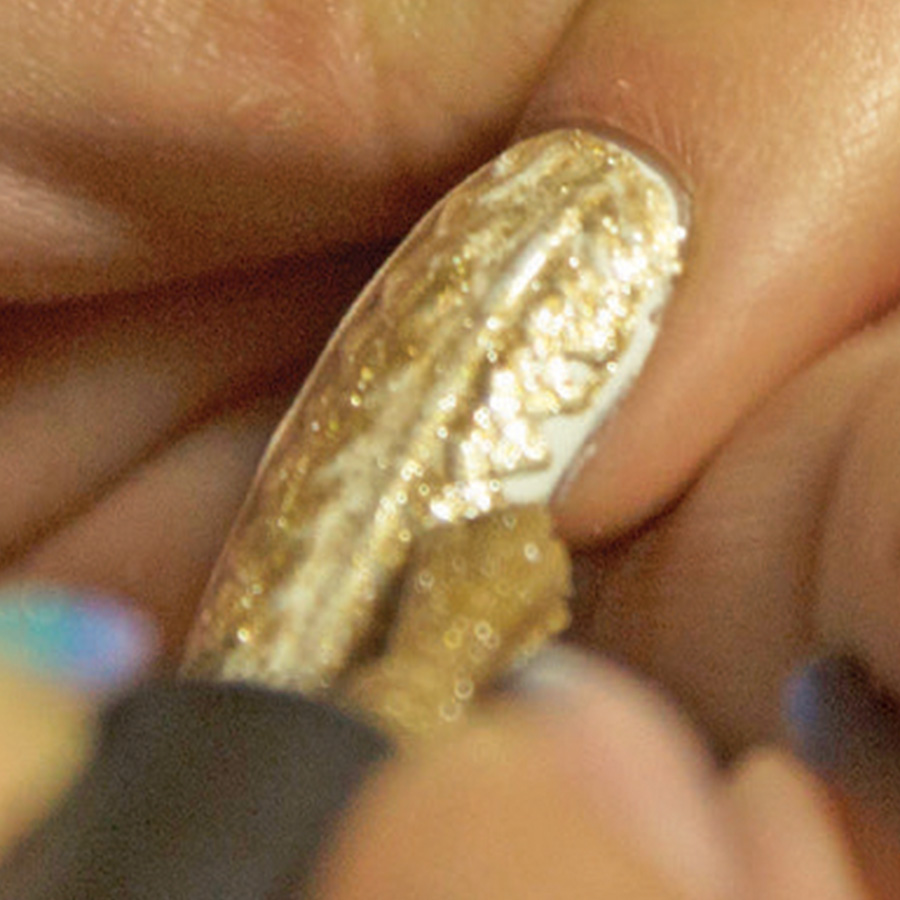
Magnetic Glitz & Glam
![]()
Magnetic Glitz & Glam
There’s a wealth of fun a nail artist can have when using magnetic chrome polish with a magnetic wand, as you watch the design move across the nail. By curing between layers, the design builds up to create a holographic design, literally in seconds. In this design, Eric Vega rubs chome powder onto the nail to create added sparkle, rhinestones are placed for a real sense of glitz and glam, before chrome powder is used on raised gel to elevate the nail ready for the red carpet.