The Perfect Bead
![]()
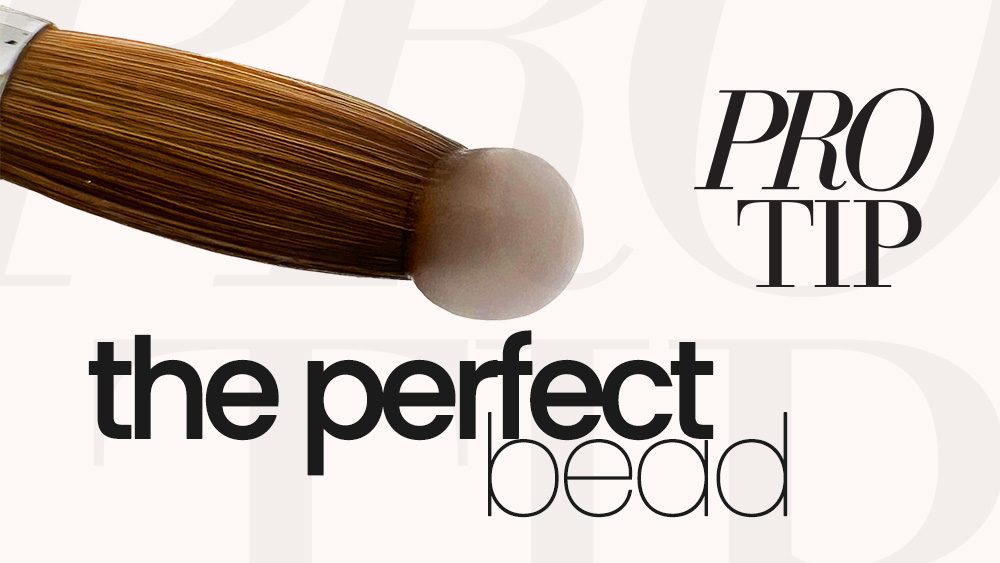
The Perfect Bead
Do you struggle to get the perfect bead, round, shiny and like a pearl, when working with liquid & powder? Struggle no more, expert nailist, Alisha Rimando delivers the solution in this Pro Tip episode.
SEE MORE PRO TIPS
RELATED VIDEOS
MORE TO EXPLORE
Pairing Treats
![]()
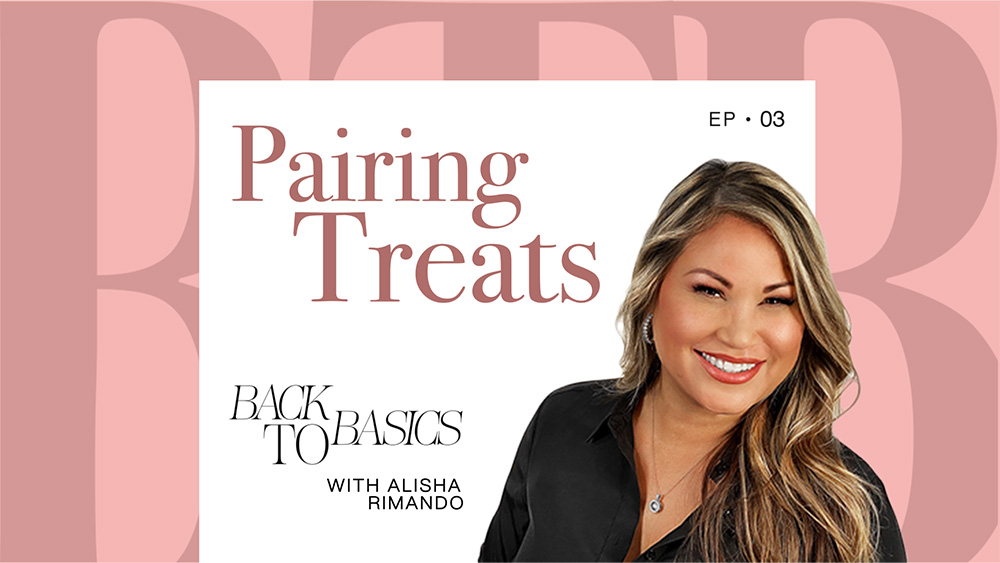
Pairing Treats
Don’t forget TASTE when upgrading your salon services! Adding a special treat to your service will provide that unique touch clients will appreciate. Learn a homeade cupcake recipe from Chef Paddy that can be transformed for any occassion. Be inspired to create your own unique theme for your salon or spa. Whether a special cookie by your favoite baker or homeade, adding a snack to your service will show your clients your gratitude.

SEE MORE BACK TO BASICS
RELATED VIDEOS
MORE TO EXPLORE
Ballet Slippers
Ballet Slippers
![]()
Kim Jieun
Kim Jieun worked in the cosmetics industry for five years and in that time fell in love with nail art. She moved her career into the nail industry and has since developed hundreds of nail products including gel colors and nail art tools.
PRODUCTS USED
Nail File
UV/LED Peel-off Base Gel
UV/LED Non-wipe Glossy Top Gel
UUV/LED Repair Gel
UV/LED Gel Colors
Gel Brushes
Liner Brush
Pearl Stones
Tweezers
a UV/LED Lamp
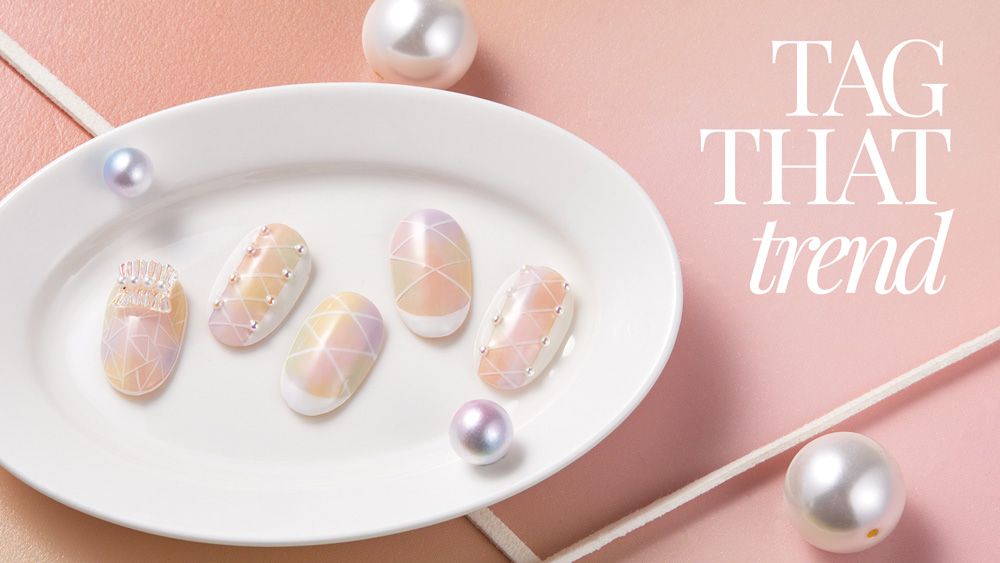
STEPS
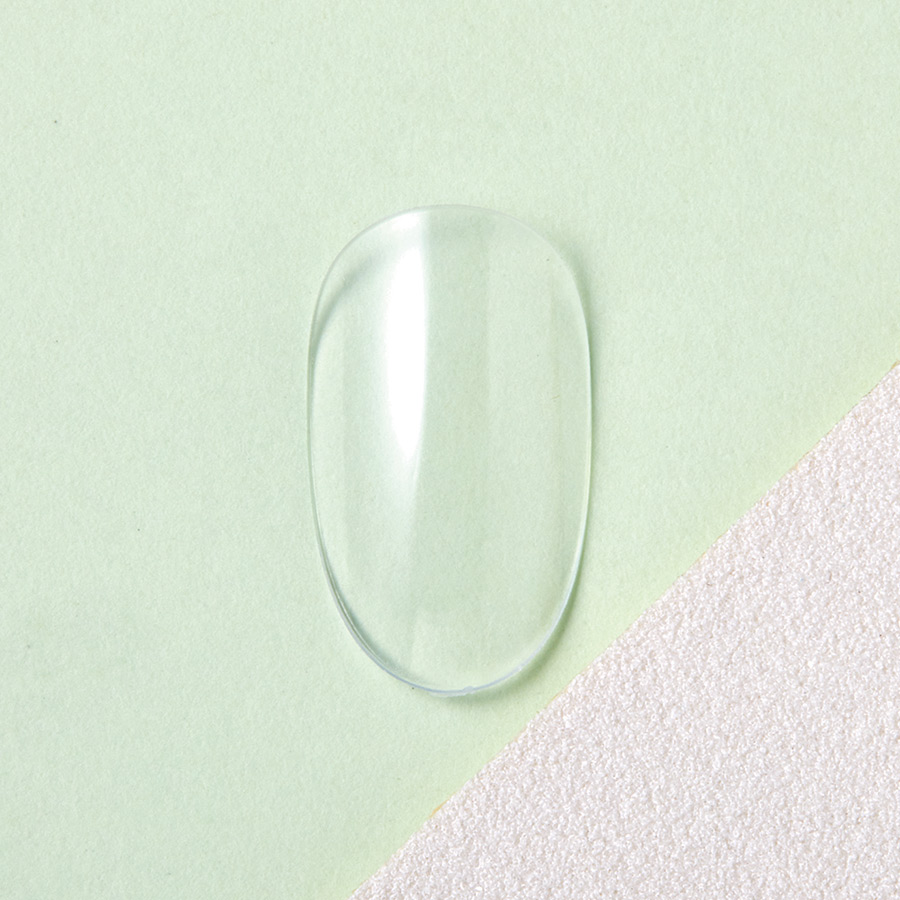
Prepare your tip by sizing & filing to shape.
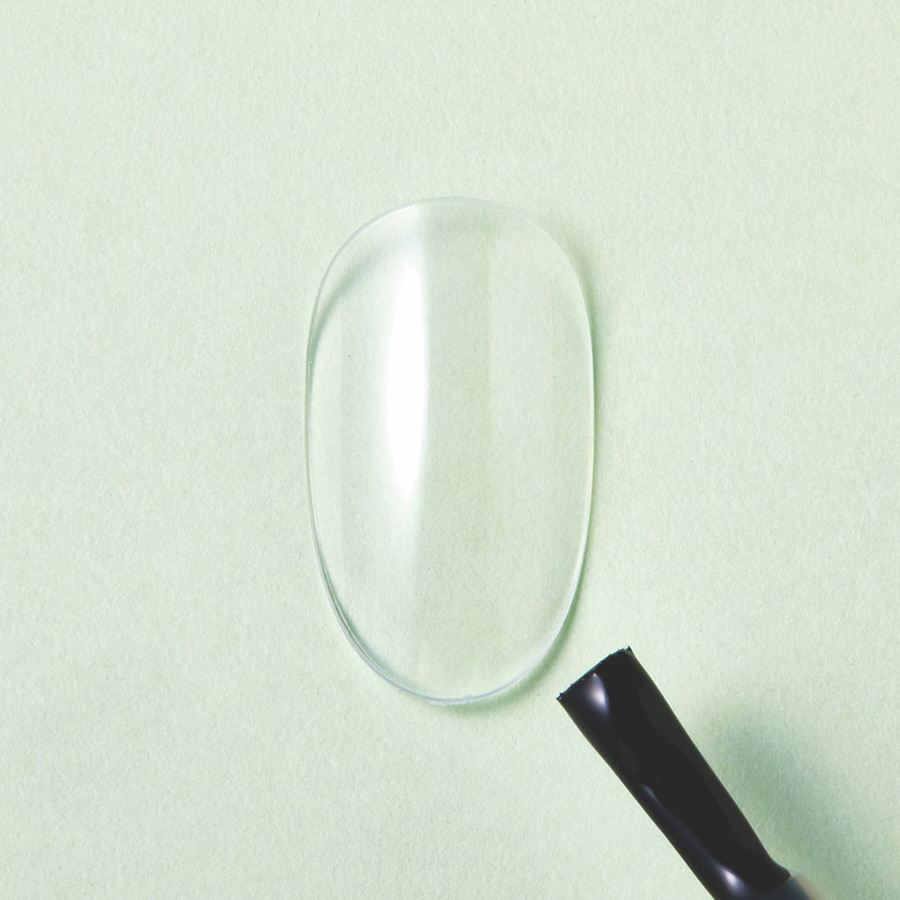
Apply UV/LED Peel-off base gel & cure.
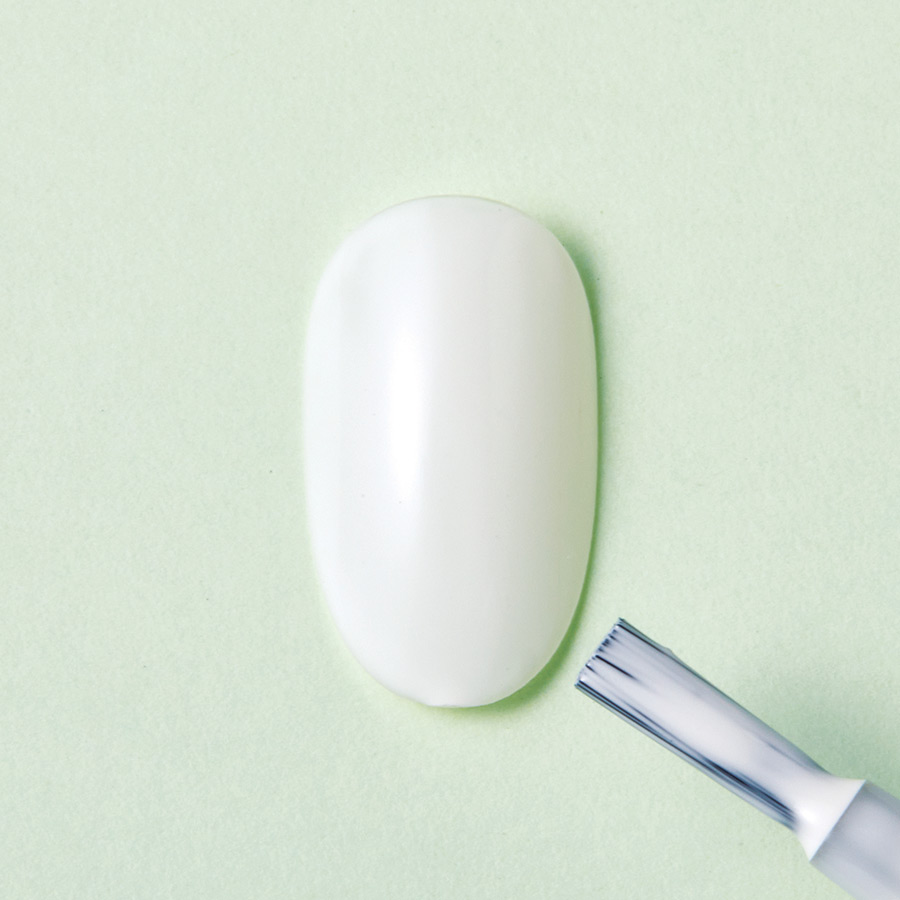
Apply UV/LED gel base color & cure.
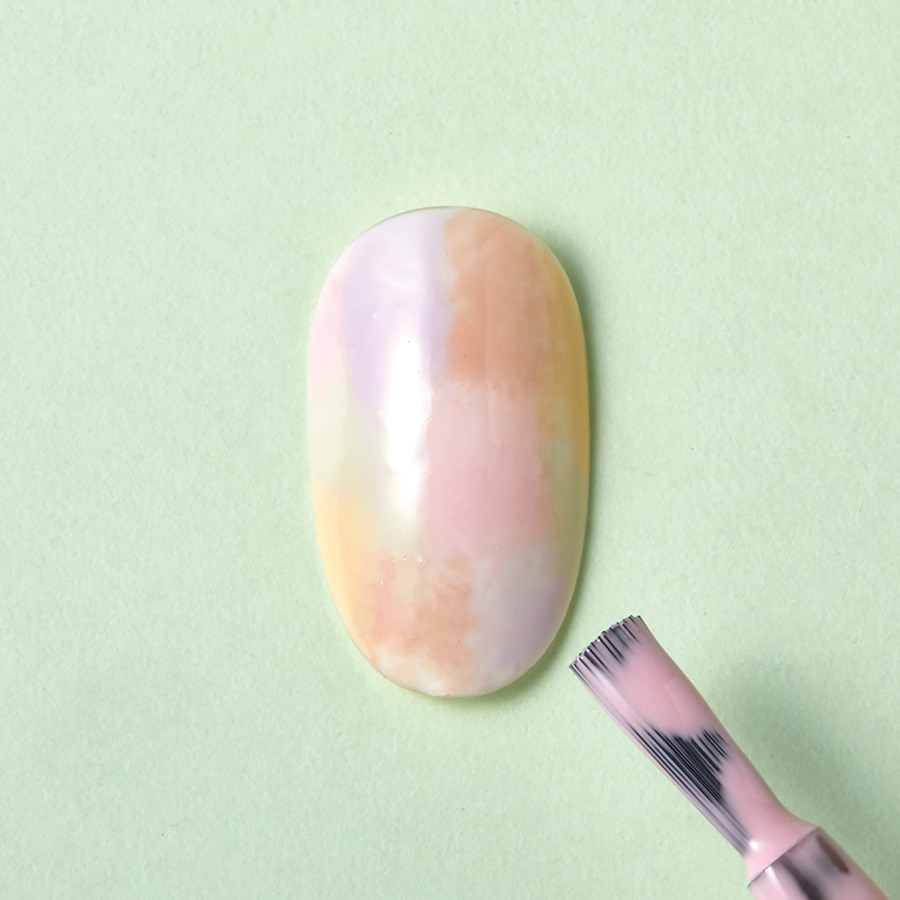
Apply your choice of pastel UV/LED colors & blend using a graduation brush & cure.
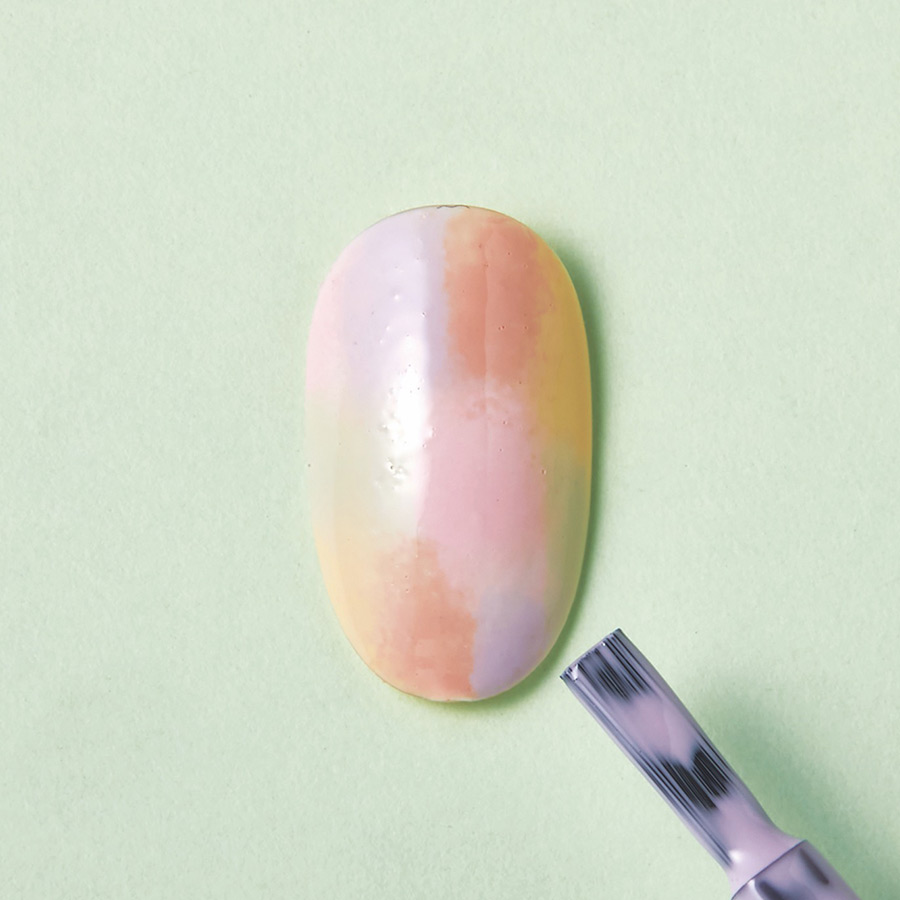
Repeat step 4.
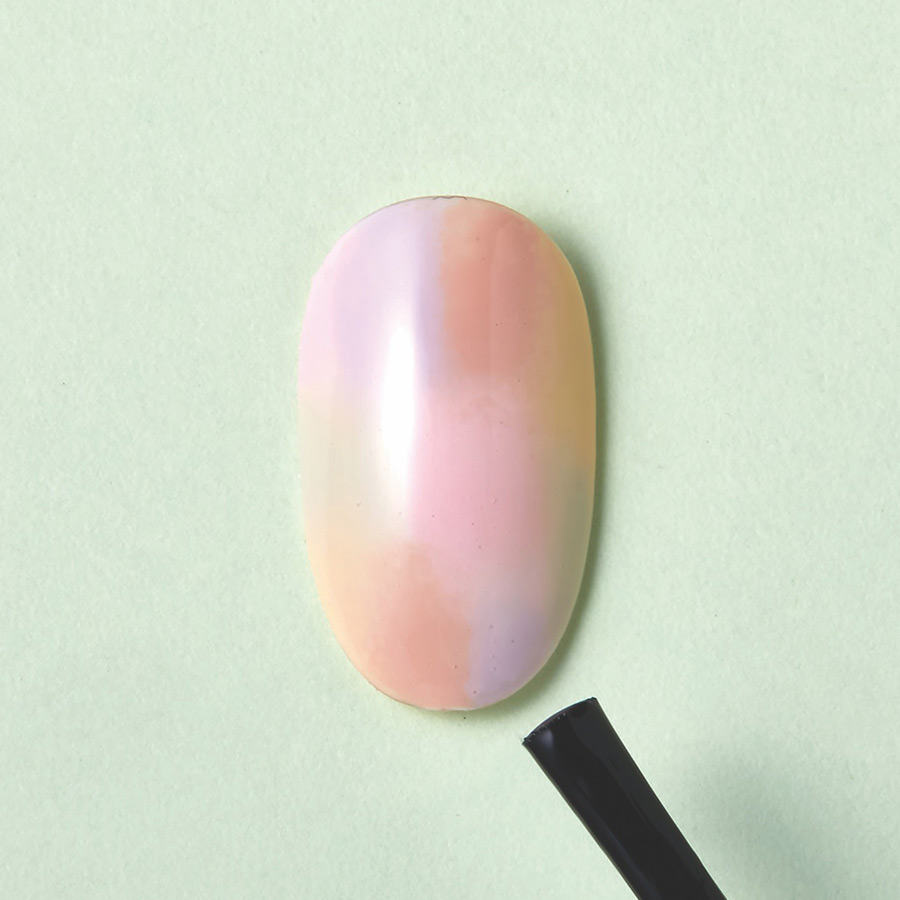
Apply UV/LED Repair gel over the entire surface & cure.
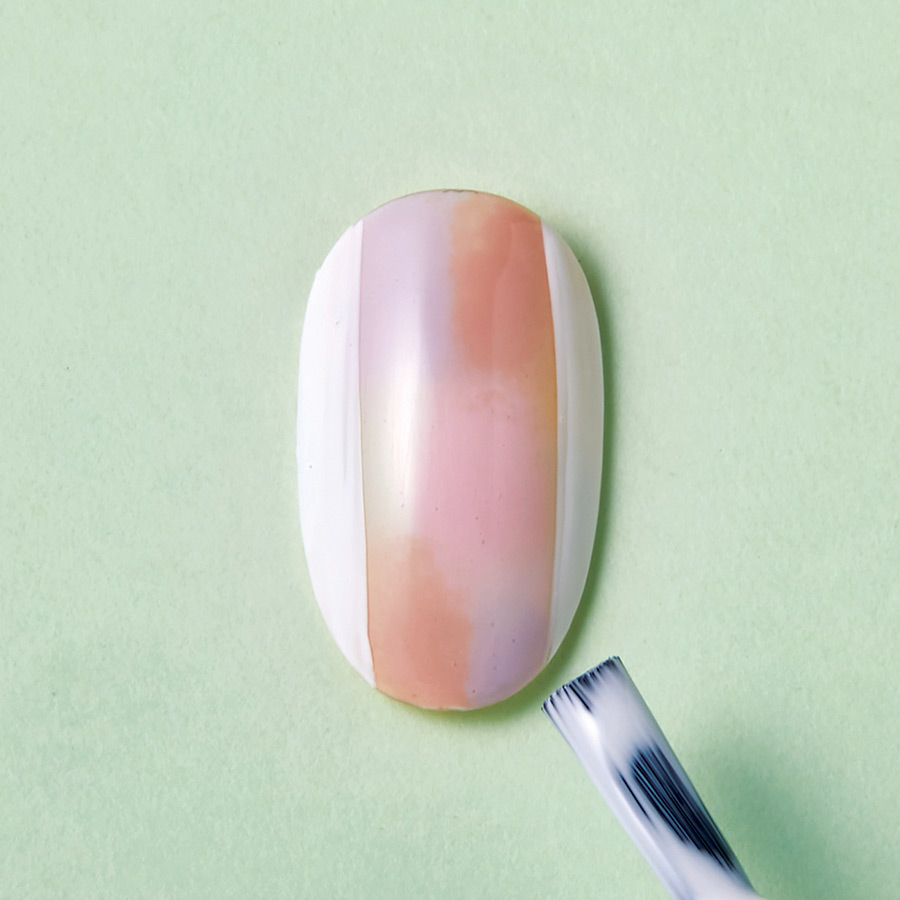
Apply white UV/LED gel color on the left & right sides of the nail tip.
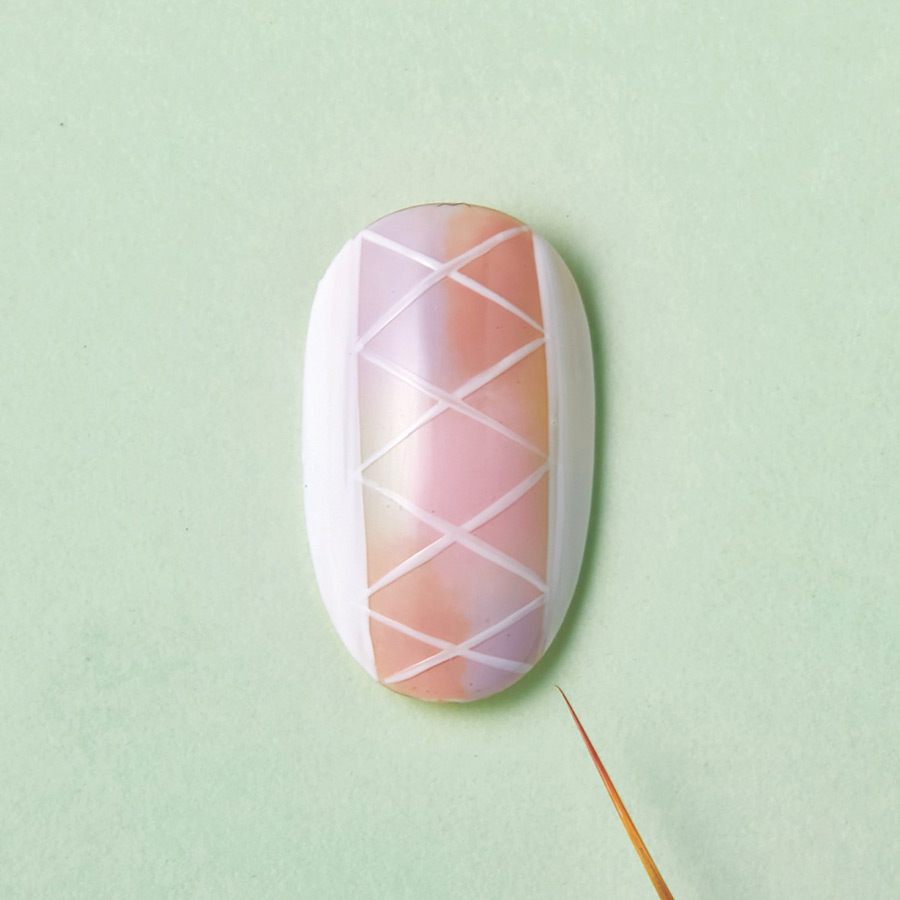
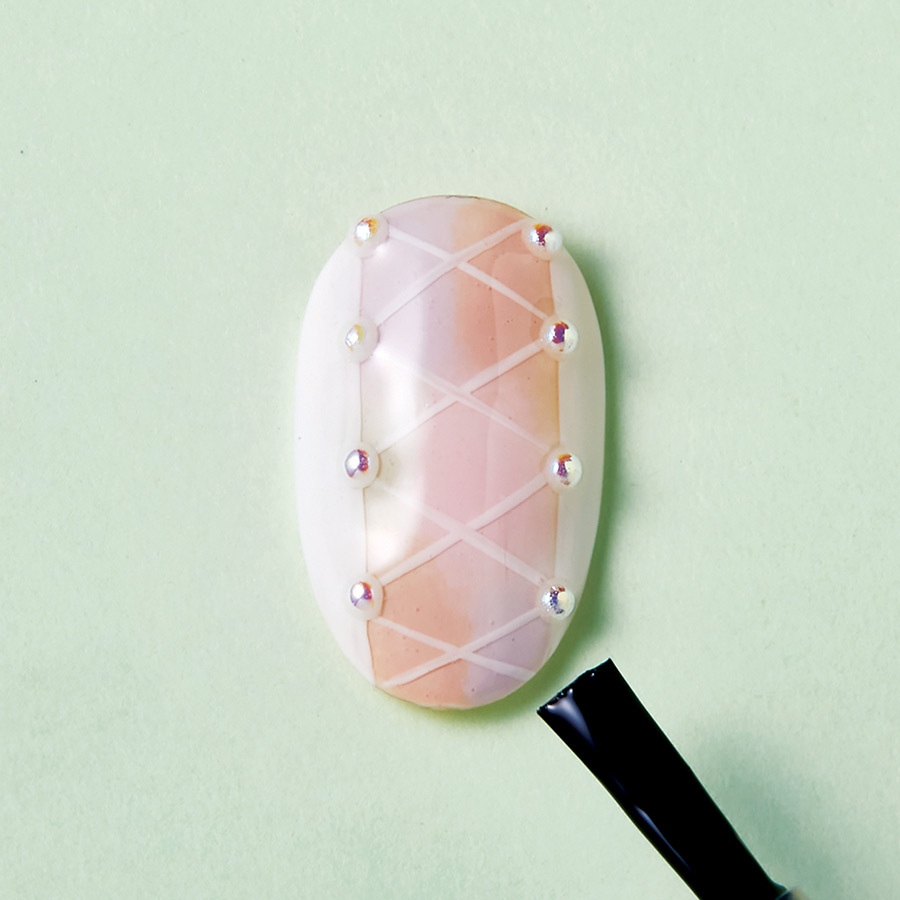
Apply UV/LED Repair gel to the entire surface of the nail tip, then place small pearl stones at the end of each line & cure.

Design & sculpt petals onto the nail tip using a white L&P acrylic powder & liquid.
Apply a Non-wipe UV/LED Glossy top gel & cure.

MORE TAG THAT TREND
RELATED VIDEOS
MORE TO EXPLORE
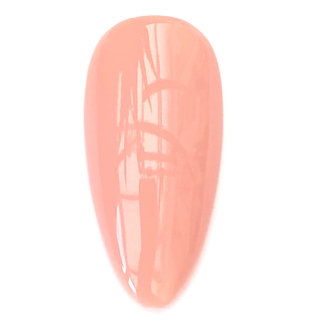
Prep the natural nail using a 180-grit file, remove dust. Apply “Prep It!”, then two thin coats of Flex It! “Cover Peach”, curing each coat for 60-seconds.
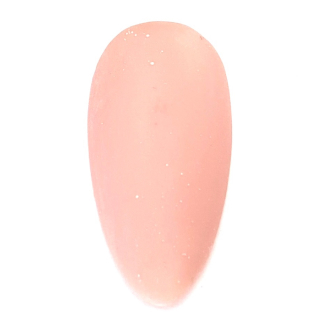
Prep Apply a thin, even coat of HD Pro “Matt It!” Cure for 60-seconds.
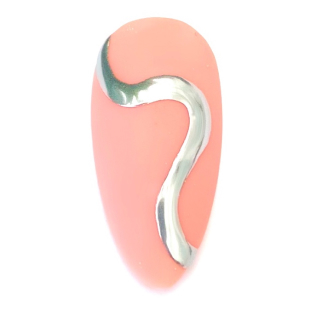
Use the HD Pro Long liner brush and HD Pro Art Gel in “Graphite” to create a wavy line. Cure for 30-seconds, then rub line with a dusting brush.
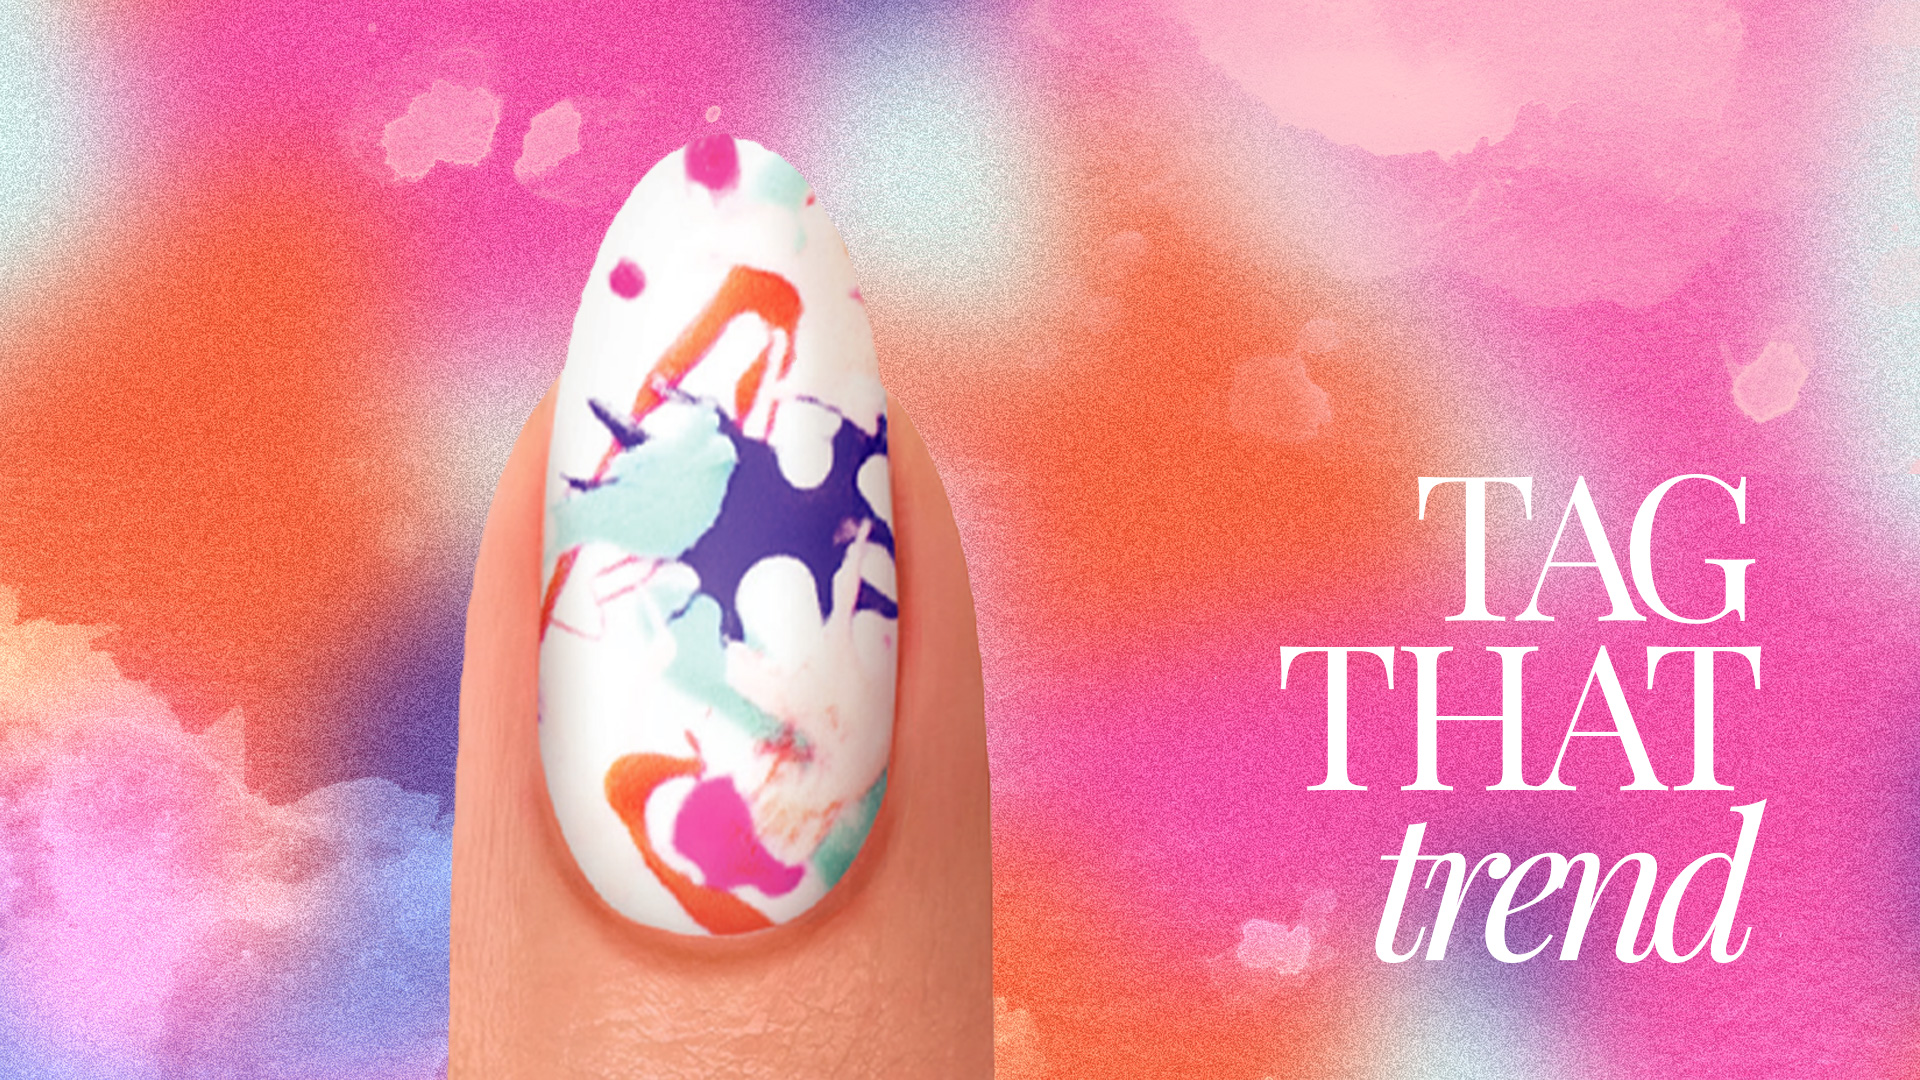
Splash of Color
Splash of Color
![]()
Alisha Rimando
Alisha Rimando is recognized as one of the nail industry’s leading experts in training & education. In her 29 years experience, her work has been described as “ground-breaking” as she’s been a platform artist & motivational speaker for thousands of promotional & educational events, & competed in hundreds of nail competitions around the globe winning the World Nail Championship in 2005 in Pink & White Sculptured Nails. She is the featured artist in many training videos, including hosting the current Milady Standard Nail Technology DVD Series. Alisha’s expertise & application techniques have been featured in more than 150 beauty and trade and she’s also a contributing author for Milady Nail Technology & Standard Cosmetology textbooks. Her passion for educating the nail community takes her on another adventure with the conception and development of GlossaryLive.com
PRODUCTS USED
-
- White gel polish
- Selection of brightly colored gel polishes
- Marbling tool
- Tweezers
- Nail scissors
- Glossing Gel top coat
- Nail Surface Cleanser
- Lint-free wipe
- Paper backing from a nail form
- Revive Nail & Cuticle Oil
- LED Bonding Gel
- LED lamp
STEPS
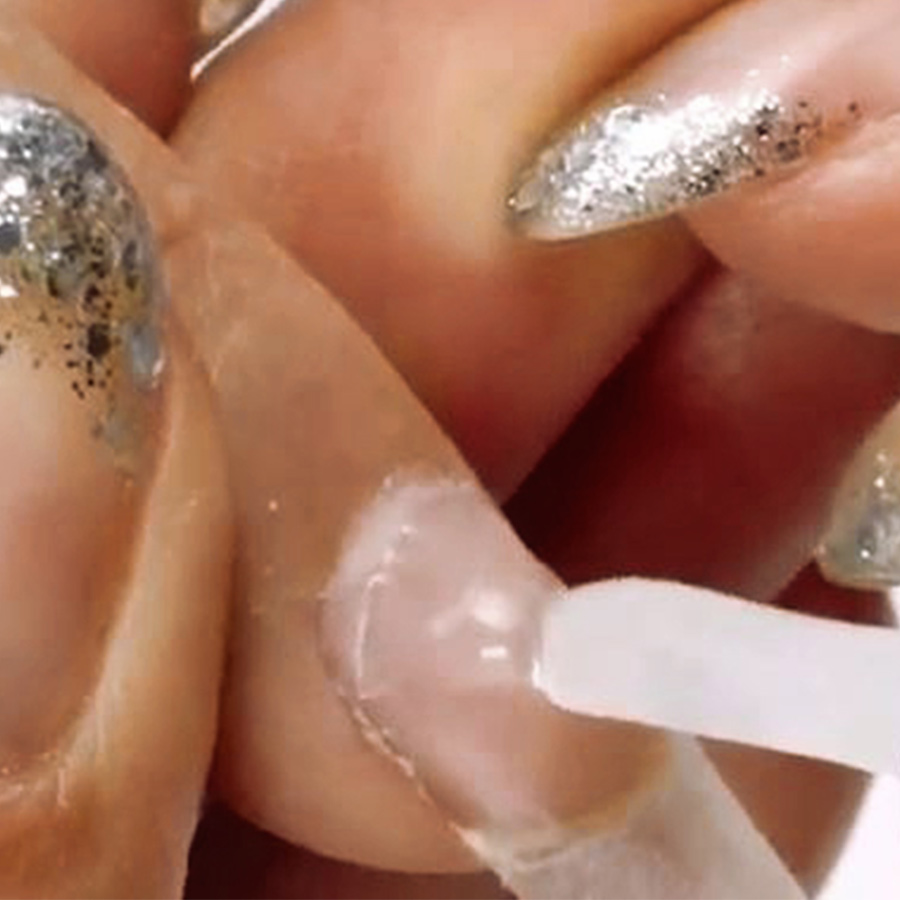
After proper nail prep, apply a thin coat of LED Bonding Gel & cure for 5-seconds in LED light.
Apply Colour Gloss Bride gel polish & cure 30-seconds. Repeat for 2nd coat.
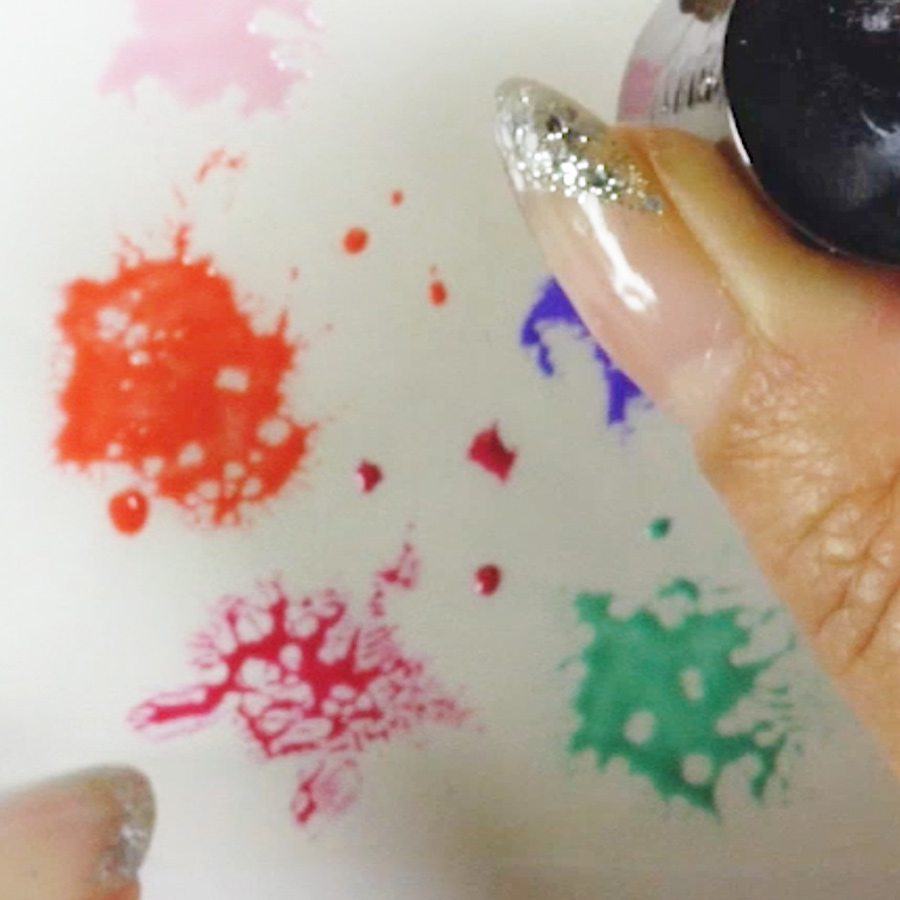
Use the paper backing from a nail form & apply (a selection of brightly colored gel polishes) by dabbing the brush against the paper & spreading the color thin. Wait 3-minutes. The paper is slick so the gel polish will start to move & separate creating a paint splattered look.
Create a series of splatters by using a marbling tool to create & extend the lines. When the look is achieved, cure 30-seconds.
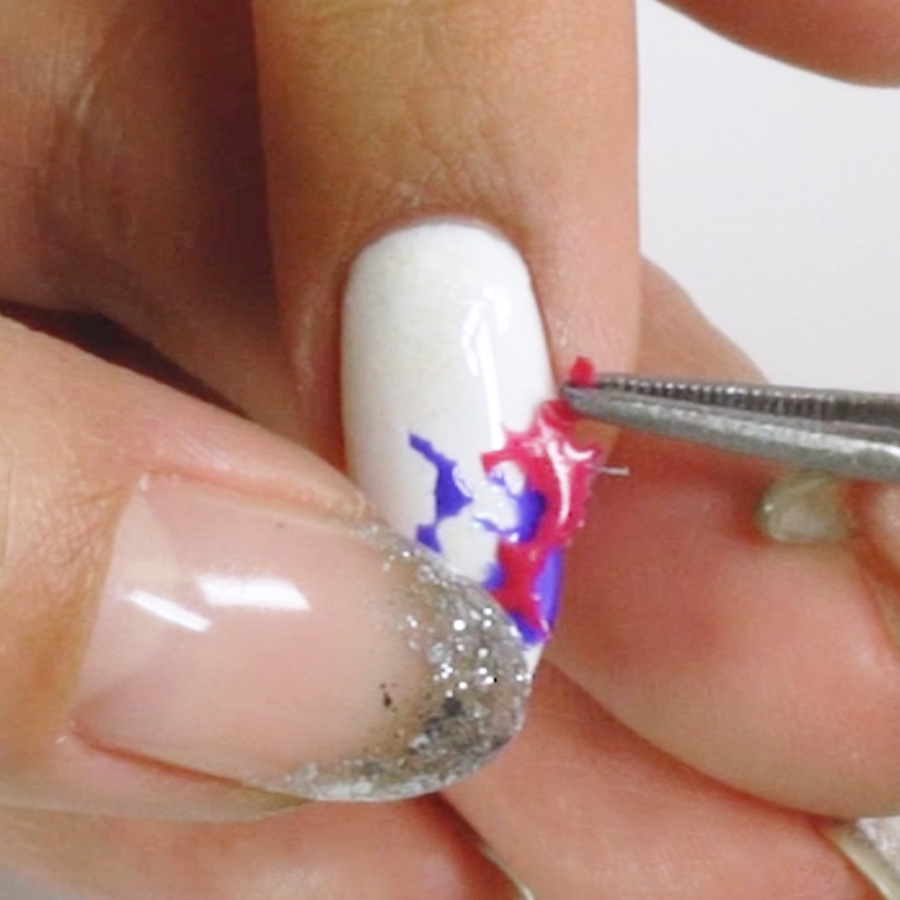
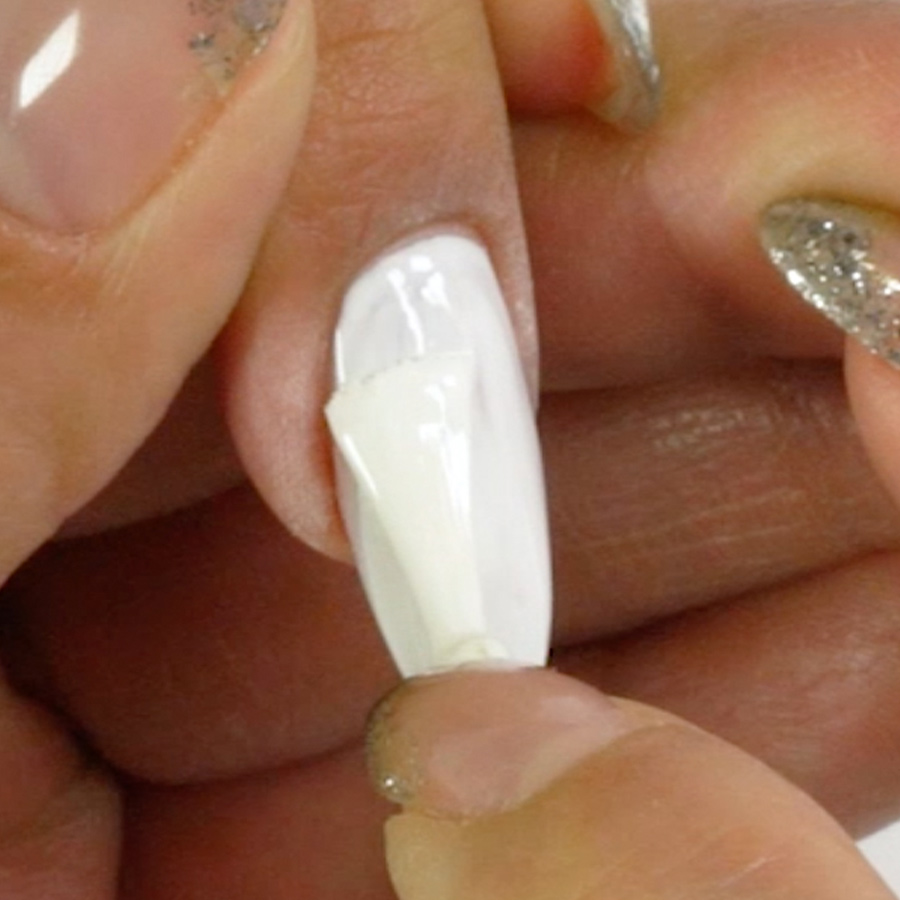
Remove the splattered art from the form with Sani Tongs or tweezers & lay them over the nail. Press in place & trim with scissors or nippers.
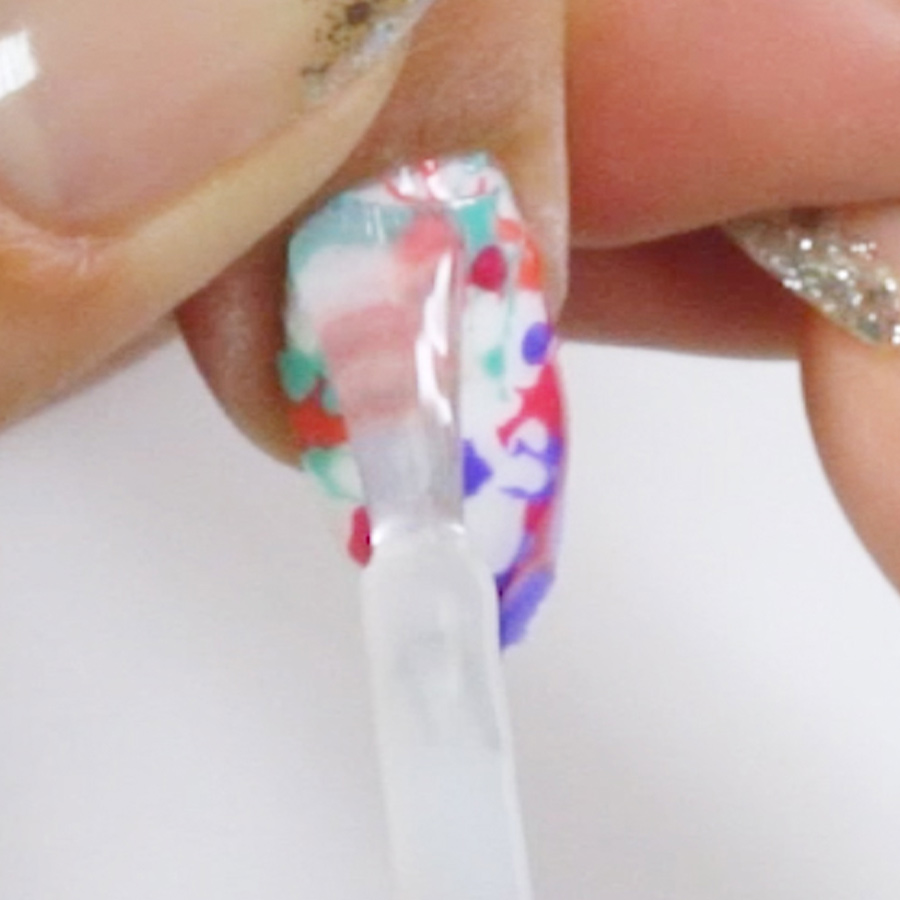
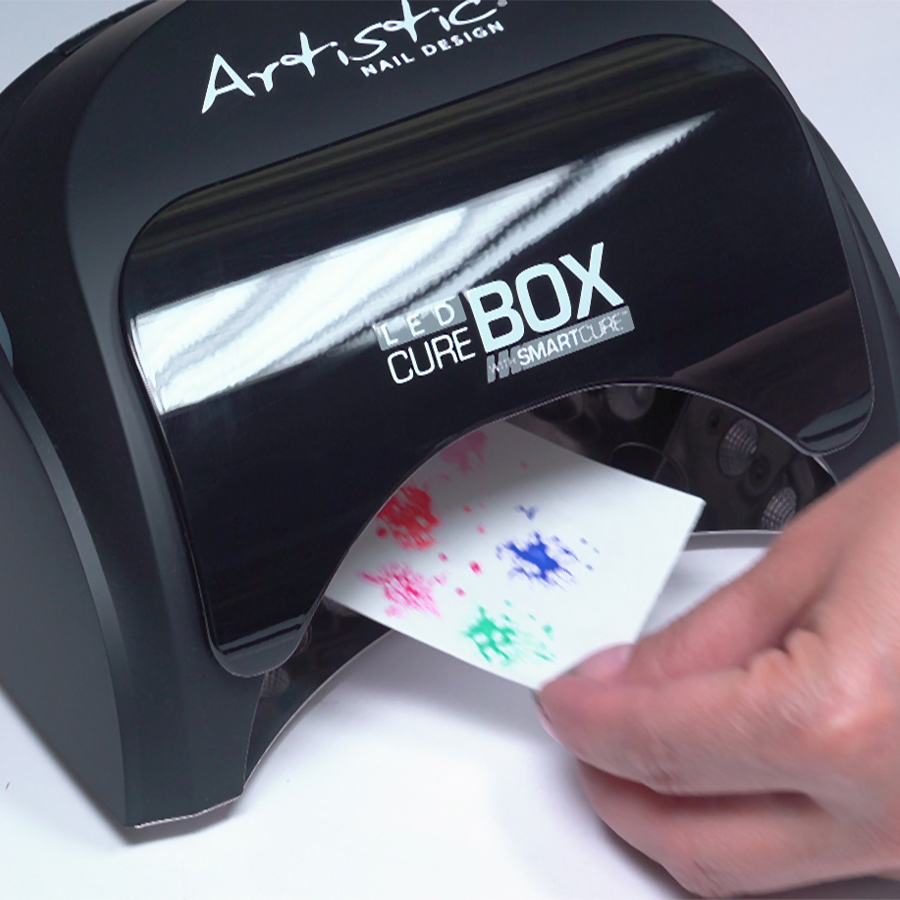
Cover design with Glossing Gel, cure 30-seconds in LED Light.
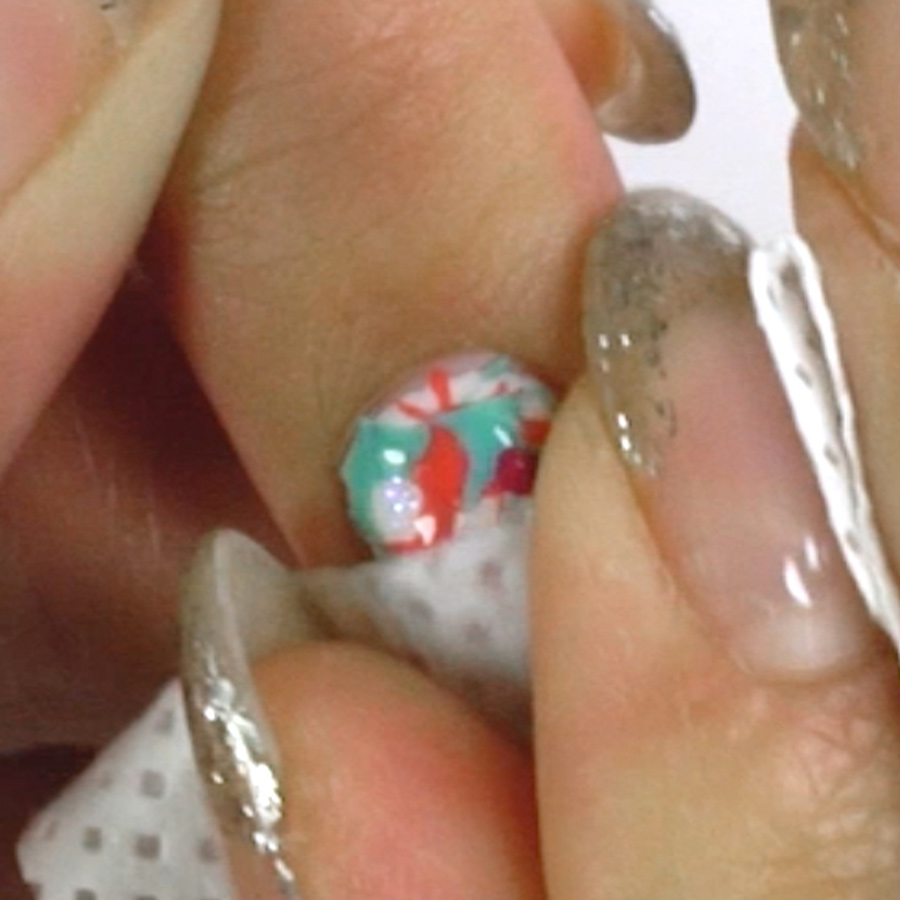
Cleanse the nail design with Nail Surface Cleanser & a lintfree wipe.
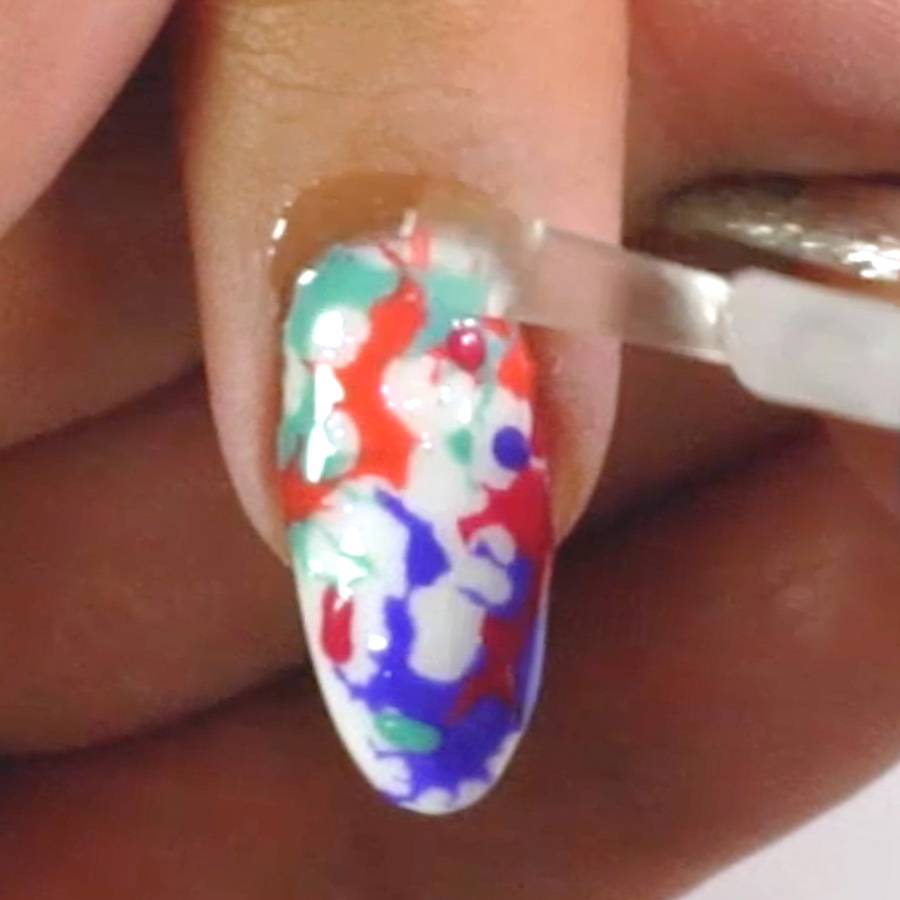
Finish with Revive Nail & Cuticle Oil.
MORE TAG THAT TREND
RELATED VIDEOS
MORE TO EXPLORE
Competition Red
![]()
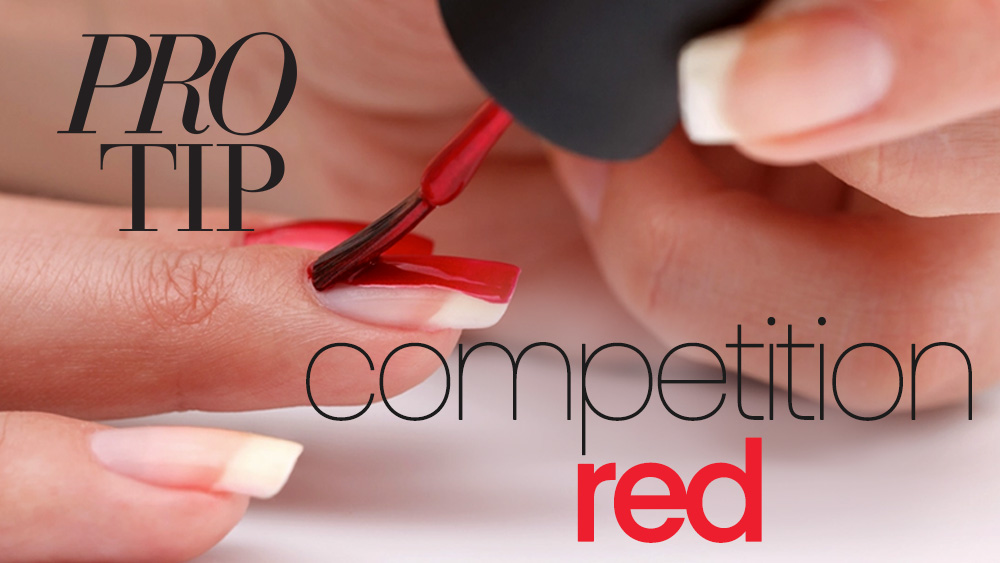
Competition Red
The painted red nails in a nail competition can afford a host of points since it’s a really skilled craft to get the nail polish so close to the cuticle that it almost looks at though the nail has grown red. Let Emese Koppányi share her secret to how she has mastered this skill.
SEE MORE PRO TIPS
RELATED VIDEOS
MORE TO EXPLORE

Bamboo Forest
![]()
Bamboo Forest
This zen-inspired nail design is easier than it looks. Using the one-stroke technique, demonstrated by Chio Ag of Mexico City, you will realize the quick potential of this bamboo design. Use as the main look of your nail style or recreate these stalks for a background effect. Either way, this bamboo forest design will teach you a new way of using one-stroke art techniques.
SEE MORE FREE STYLE NAIL ART
RELATED VIDEOS
MORE TO EXPLORE

Doll Face
![]()
Doll Face
Character art is a popular form of nail art and it’s nothing like as difficult as it first seems. Breaking down the face and features into sections makes this type of nail art so much simpler. Follow Lizbeth Mendoza’s steps and you’ll be creating character art on feature nails in no time at all!
SEE MORE FREE STYLE NAIL ART
RELATED VIDEOS
MORE TO EXPLORE
Mandala Dotting
![]()
![]()
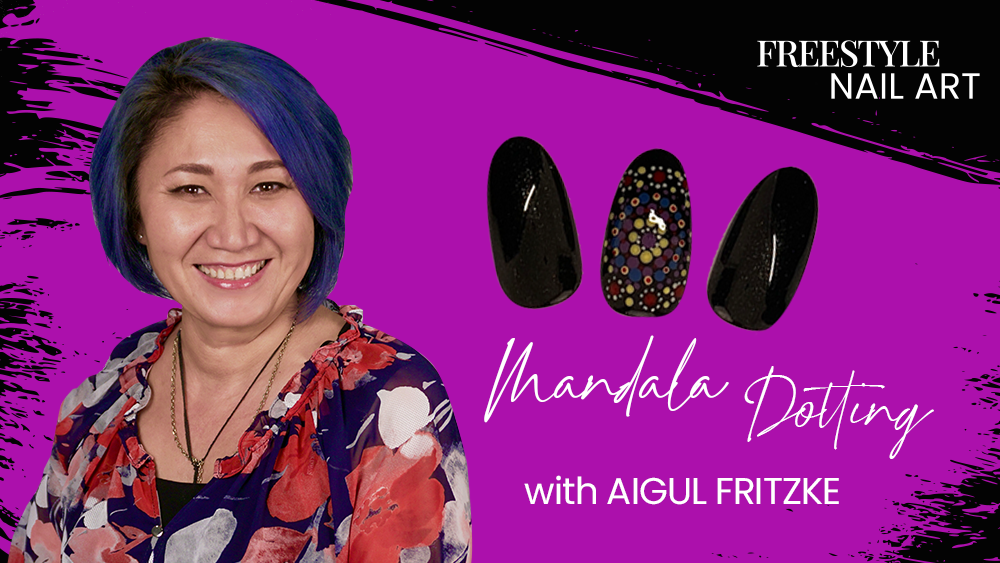
Mandala Dotting
The artform of dot painting, which originated 40 years ago when Aboriginal Papunya painters developed it with their art teacher, Geoffrey Bardon, is a fantastic technique for nail art styling. Take the painting in dots idea, marry it with the mandala geometric circle concept and you have a superb foundation from which to create a wide variety of nail art, which will also give a feeling of calm to the mind as the design unfolds.
SEE MORE FREE STYLE NAIL ART
RELATED VIDEOS
MORE TO EXPLORE

Spring Blooming Flower
![]()
Spring Blooming Flower
Celebrate springtime in a rainbow of colors when creating this floral design. Layer a series of colors to create the flower’s petals before applying blooming gel. A new layer of petals is then applied and the magic of the blooming gel becomes apparent as it takes on new life adding depth and an absract feel to the whole design.
SEE MORE FREE STYLE NAIL ART
RELATED VIDEOS
MORE TO EXPLORE

VBP LED Cordless Lamp
![]()
Valentino - LED lamp
The newest addition to the Valentino Beauty Pure equipment line, comes its sleek, black cordless LED lamp. Alisha Rimando tests the lamp to get a feel for its timing, portability, weight, size and longevity at the desk running off its daily charge.