Blue Roses
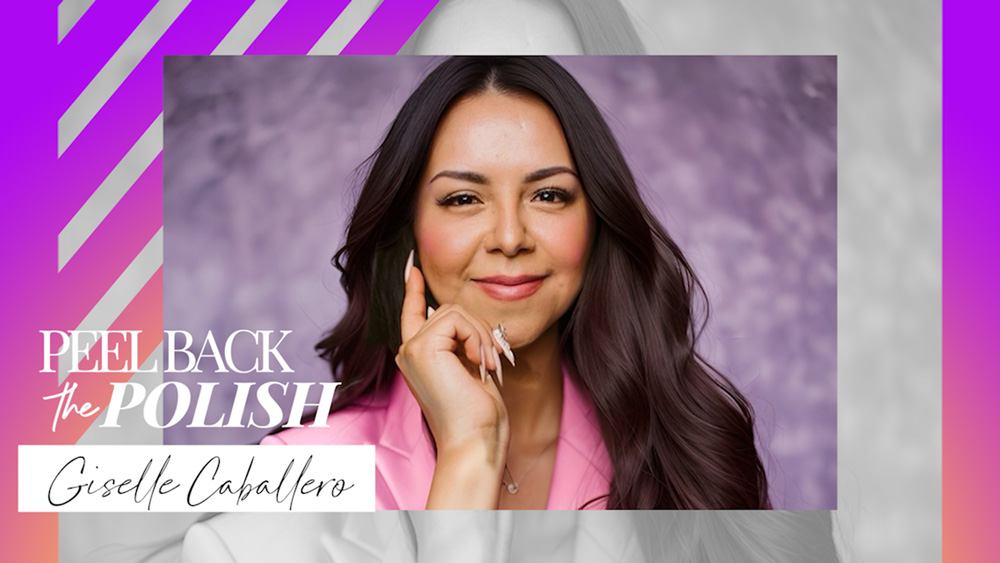
Shelley Laxminarayan
With her roots lying in South Africa, in 2004 Shelley began her nail adventure at the Dream Nail Academy in Paarl, where she attended intensive training to become an All Round Nail Technician in a small group of four people. “I’m incredibly grateful to Sheila, the educator there, for her style of teaching, as she taught me the profession well. “Back in the Netherlands I combined my nail profession with my hairdressing career and in 2009 I opened my own nail salon. In 2018, I was one of the nominees for Nail Talent of the Year where I reached second place. I was so surprised and proud. I then started training for my first national competition and reached 3rd place, this was when my competition fever struck. In the years that followed, I’ve participated in many competitions, nationally and internationally. I’ve always won prizes so far, and can proudly say that I’m a national and international champion. I’m an educator for the LoveNess nail brand, whish I teach with passion, as I love to share my knowledge and watch students’ grow. Education is key to success in this industry.”

PRODUCTS USED
- LoveNess Nail Forms
- Acid-Free Primer
- Bond +
- Revo-Gel Clear
- Revo-Gel X-Treme White
- LoveNess Paint Gels in Space, Lapis, Sky and White
- LoveNess Rubberbase Clear
- Caviar Beads
- Colored Gel Polishes
- LoveNess Holo Shred 04 Holographic Flakes
- Prime Seal
STEPS

Prep the nails, then extend & enhance with your favored system. These have been sculpted using acrygel. Most roses are red or pinkish, however, the power of this design is that the roses are a strong blue shade. Place a dot of your chosen color & place in the center of where your rose will be. This blue shade is a gel paint as it’s very highly pigmented, so one coat is enough. Cure.

Apply a little Rubberbase Clear on the blue dot & apply some caviar beads, then cure. Next, take a dot of Revo-Gel Clear & place it over the blue dot & caviar beads. Make sure it is directly on the blue dot otherwise you’ll get a transparent area, which you don’t want. Shape this dot into a mini cylinder that has a wall where you can apply gel paint after you’ve cured the Revo-gel.

Now take a lighter shade of blue gel paint & mix it with a little of the original darker blue gel paint. Paint one petal & cure. Apply a dot of Revo-Gel Clear on top of it, shape it so it has a wall & cure. Apply each petal in a circle. Repeat these steps & switch to lighter shades of blue as you build & form the rose. Every time you change your shade, create it by mixing the color you used before.

Remember to apply the Revo-Gel Clear over the color you applied, so you don’t create transparentareas. Repeat until the rose arrives at the width where the smile line needs to be added. File the smile line that has been naturally created by the rose, so it is nice & crisp. Use white gel paint mixed with a little light blue to sculpt the first smile line. Apply it against the crisp smile of the last rose petal on the wall & cure. Apply a little Rubberbase Clear & add in some holographic flakes for extra dimension & sparkle, then cure. Apply Revo-Gel Clear along the smile line, cure & file into a crisp line. Complete the sculpture of the free edge in Revo-Gel X-Treme White & cure. File & buff nails, then apply a high shine top coat to complete the look.
MORE TAG THAT TREND
RELATED VIDEOS
MORE TO EXPLORE

Prep the natural nail using a 180-grit file, remove dust. Apply “Prep It!”, then two thin coats of Flex It! “Cover Peach”, curing each coat for 60-seconds.

Prep Apply a thin, even coat of HD Pro “Matt It!” Cure for 60-seconds.

Use the HD Pro Long liner brush and HD Pro Art Gel in “Graphite” to create a wavy line. Cure for 30-seconds, then rub line with a dusting brush.