Dagger
![]()
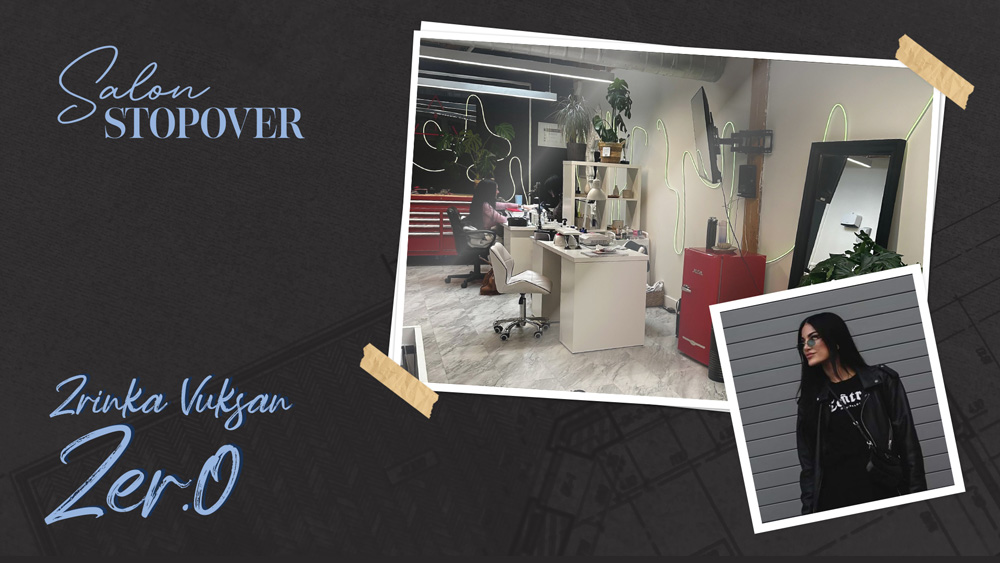
Alisha Rimando
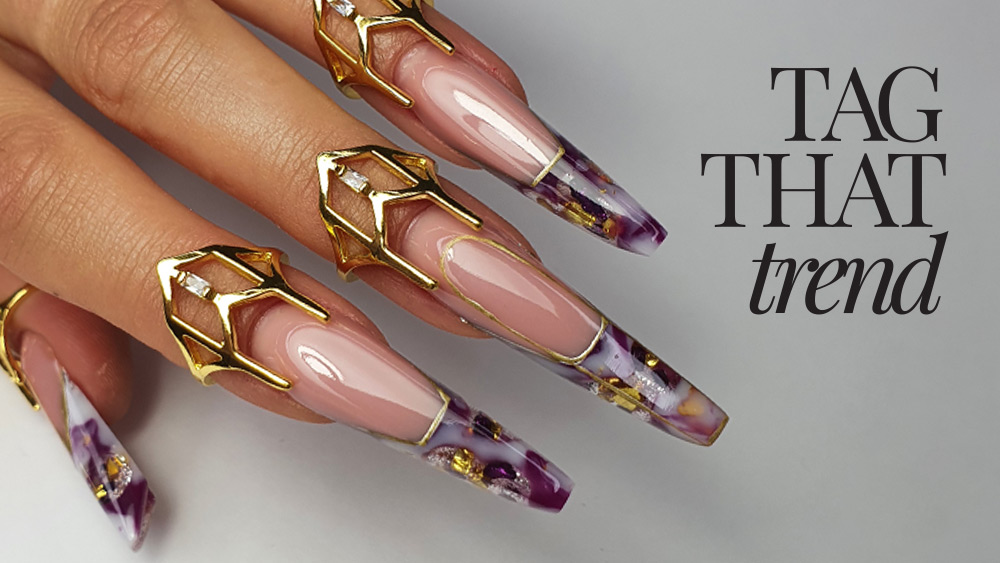
Global educator, champion nail artist and session stylist, Alisha Rimando shares a quick, nail art design that is simple to achieve with a handful of specialist products. This design not only looks stylish but it cleverly slims the nail for an elegant finish.
UPGRADE TO A PREMIUM MONTHLY OR YEARLY SUBSCRIPTION
Upgrade your account to access this Premium tutorial and so much more educational content.
UPGRADE
UPGRADE TO A PREMIUM MONTHLY OR YEARLY SUBSCRIPTION
Upgrade your account to download this Premium workbook.
UPGRADE
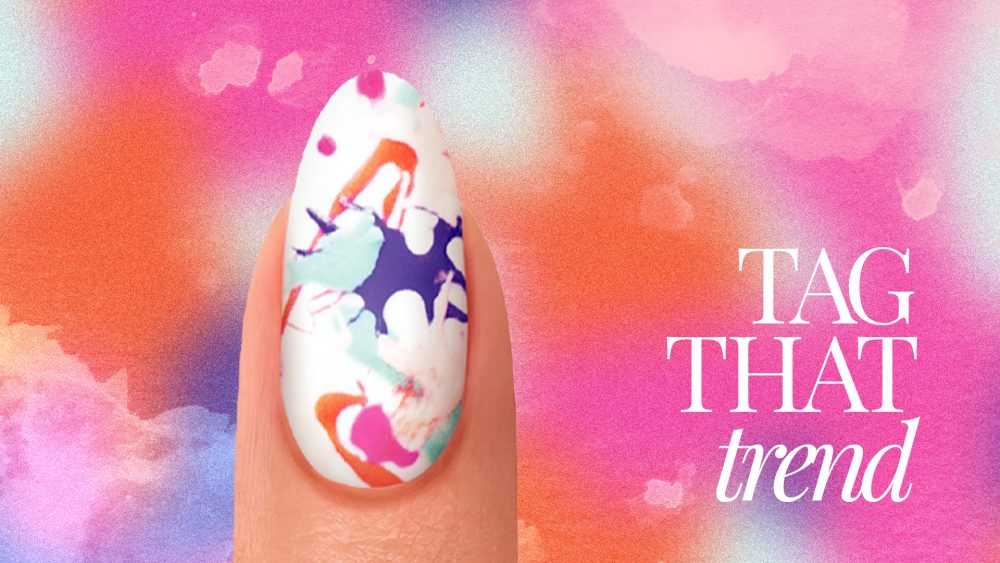
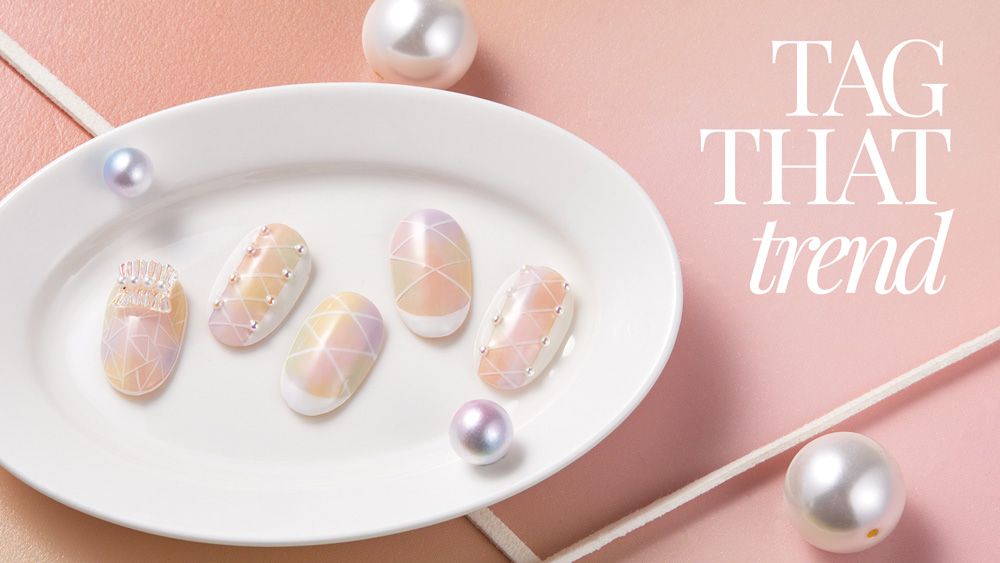
MORE TAG THAT TREND
RELATED VIDEOS
MORE TO EXPLORE