Lace Effect Design on Extreme Nails
![]()
![]()
Erika Nortier
Erika Nortier’s nail journey started in South Africa, where her passion was ignited as a very young girl. After marrying and moving to Italy, Erika discovered a whole new world of nails and realized she had to study further. Taking every step of the way slowly and carefully, Erika, built upon her nail skills while following her dreams and realizing her passion. “In 2019, she entered Nailympia London, where she won her first gold medal and is a qualified educator with her own nail brand, You B You Nails.

PRODUCTS USED
- L&P Acrylic Artificial Nail System
- Color & Pink Powders
- Dappen Dish
- Sculpting Brush
- Series of Chosen UV/LED Gel Polish Colors
- UV/LED Lamp
- Sugar Effect Powder
- UV/LED Gel Paints
- One Stroke Nail Art Brush
STEPS
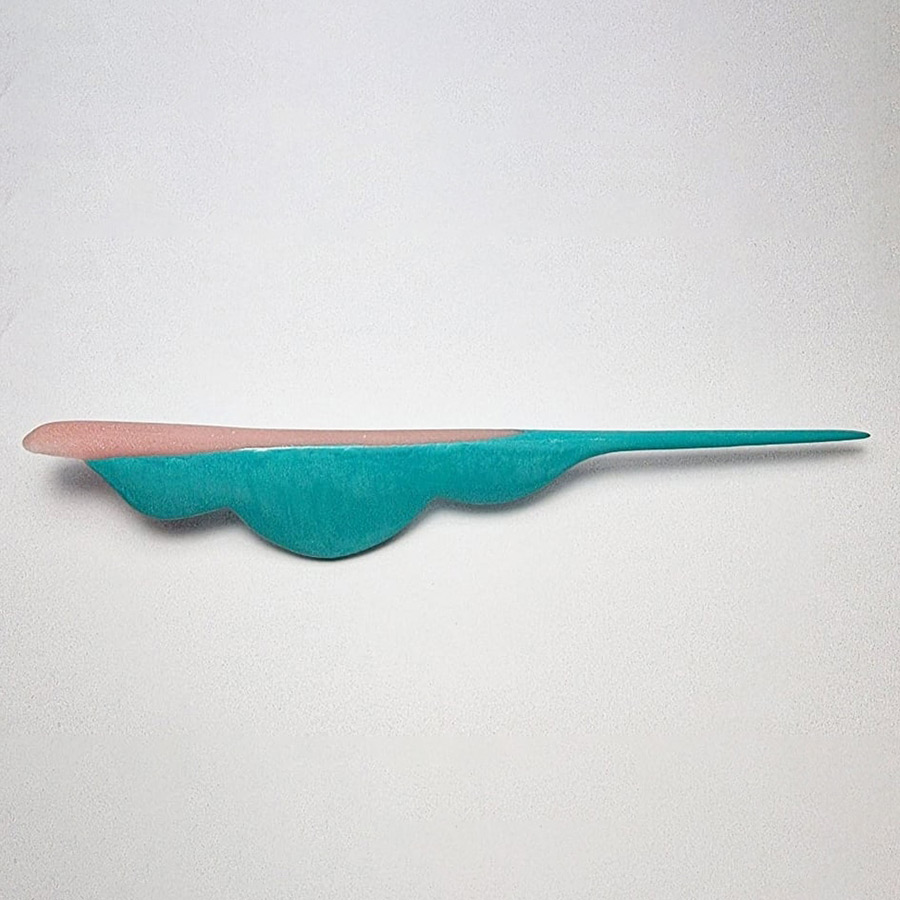
Sculpt an extreme nail in any shape using cover pink for the elongated nail plate (French) & paint the extended nail plate & sides with your choice of UV/LED gel polish color or gel paint.
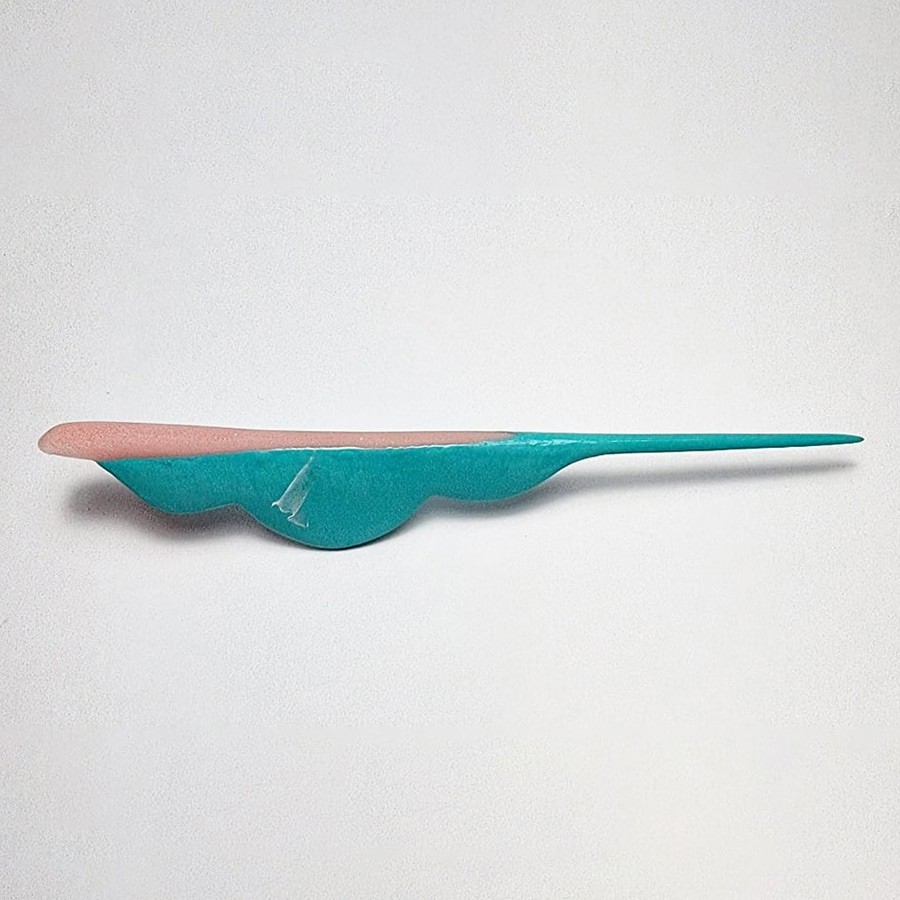
On the smooth sides of the nail use white UV/LED gel paint & start to draw lines to create a lace effect across the sides & cure.
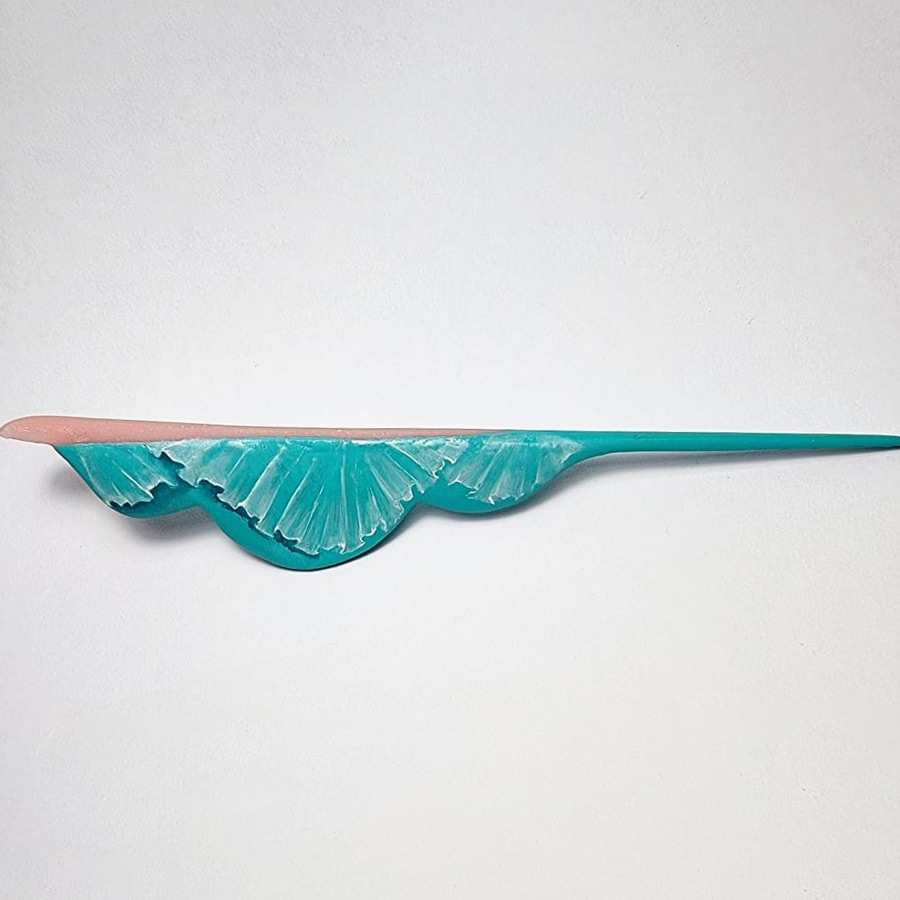
Use very little UV/LED paint, shade in these lines to create a transparent lace effect, then cure in lamp. This technique uses white paint in fine lines & shading to create the effect of lace hanging down the side of the nail.
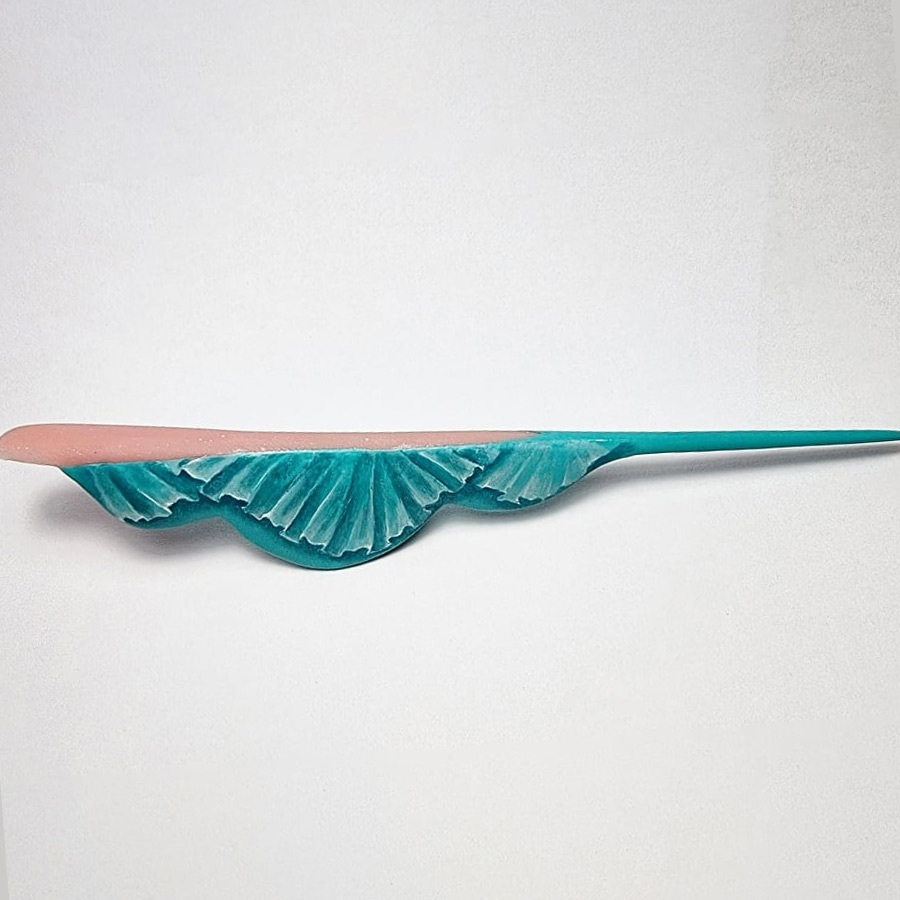
Once you’re finished with your white lace shading. Use a darker color UV/LED gel to shade underneath the bottom part of the lace drawing. This brings the lace to life & the effect becomes more realistic as it appears the lace is lifting away from the nail. Later, you can cover this design with a velvet top coat to help the shading effect to look more beautiful.
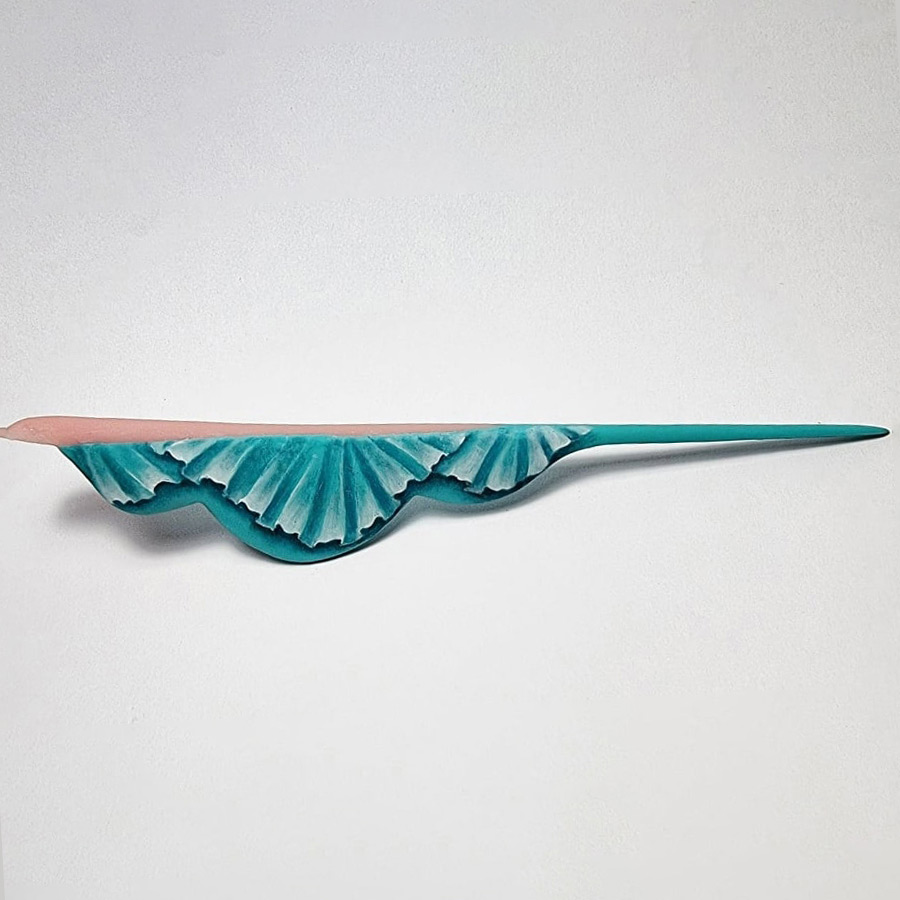
Continue to fine tune & refine each element of the lace with delicate shading & highlighting across the design.
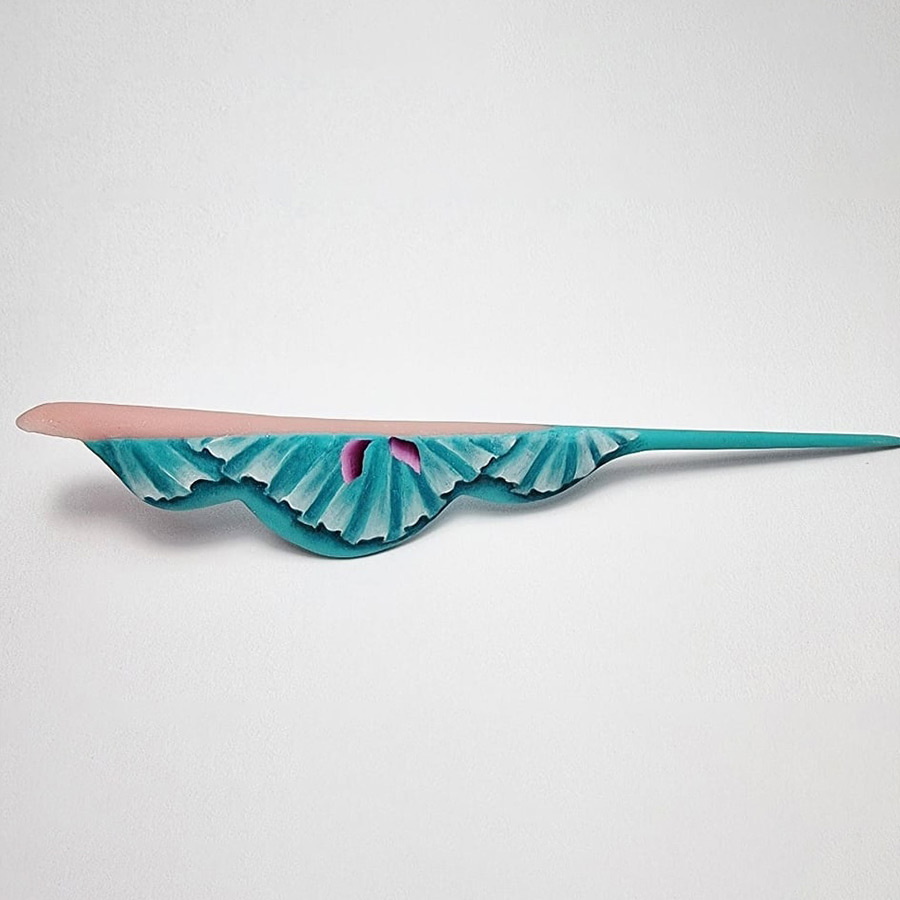
Once you’ve completed the lace design. You can now start to paint beautiful one stroke flowers onto the nail. Start in the middle section of the side of the nail using 2 complementary or contrasting colors & the one stroke technique.
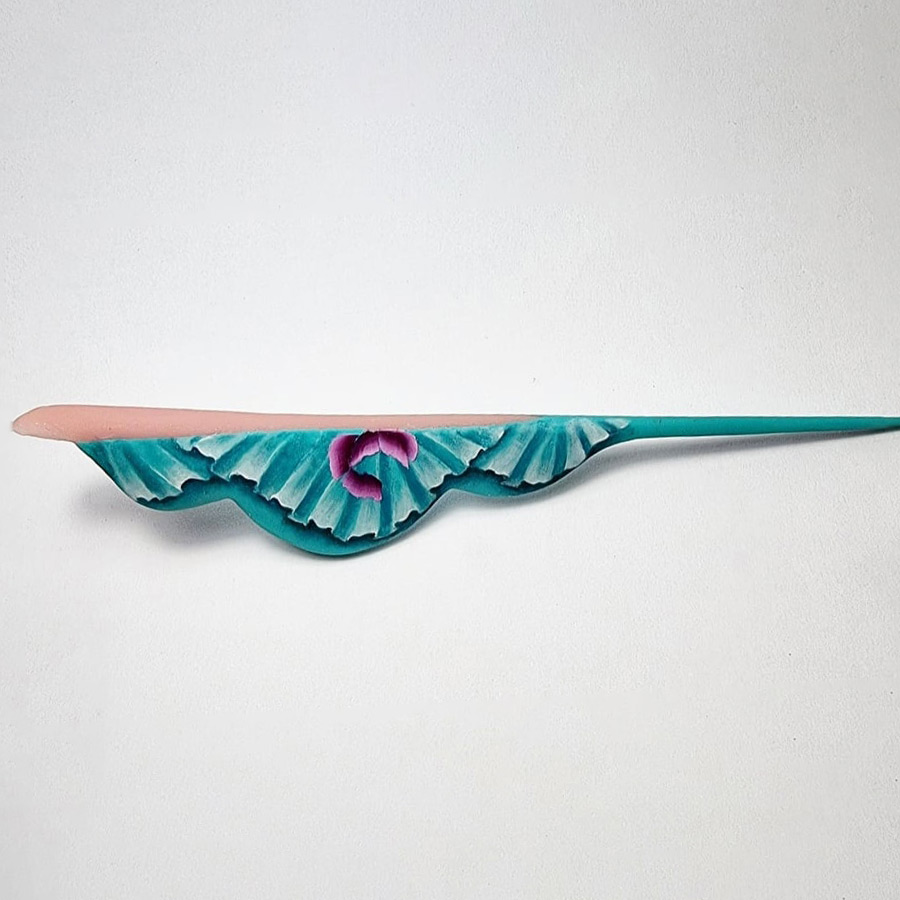
Continue to build up the flower design, adding petals in a circle. You can now decide on the effect you’re looking for. You can choose to cover your nail with velvet, shiny or matte UV/ LED top coat.
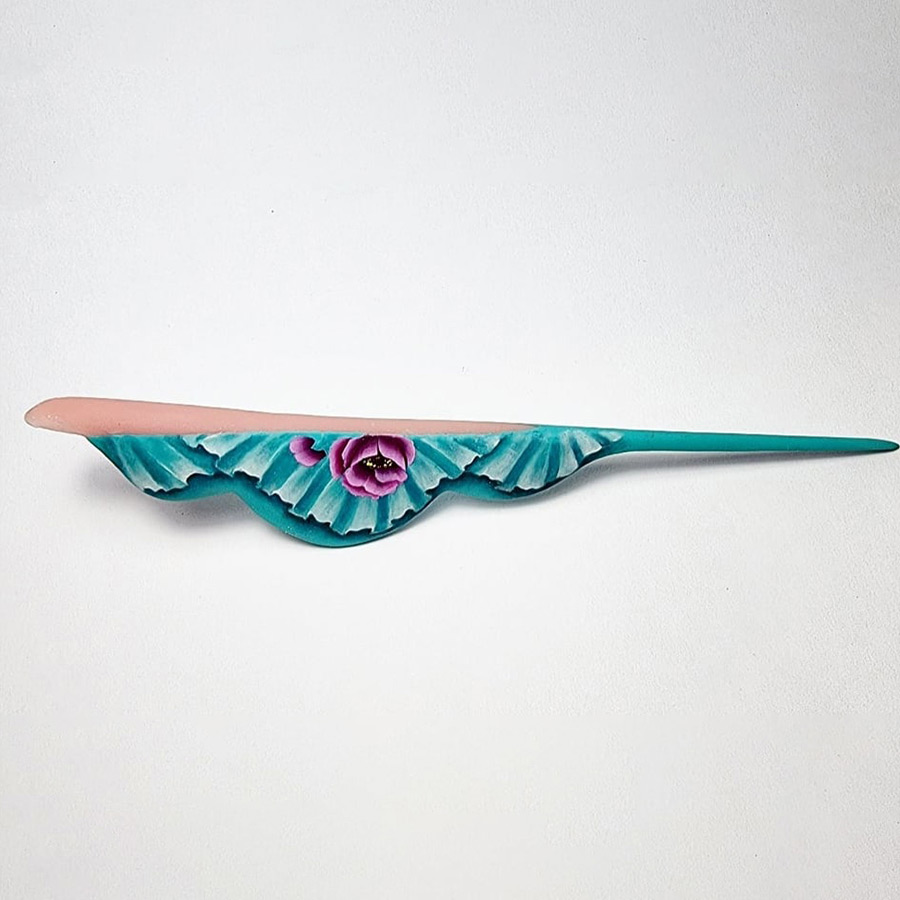
Place an inner layer of petals & start a fresh flower to the left of the first. Use a dotting tool to add the stamen in the center of the flower.
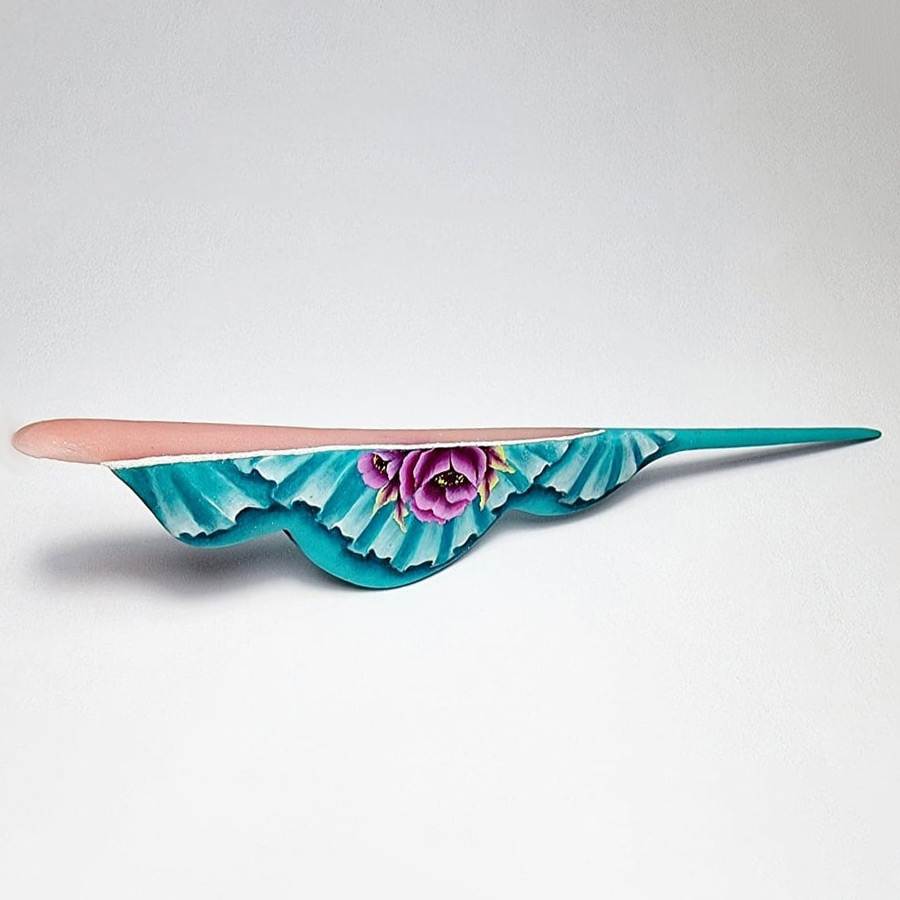
Complete the second flower. Next add leaves to the design & shade them using a small amount of the color used for the petals. To finish, draw a white line around the border of the French with a white UV/LED gel paint. While this line is still uncured, you can throw sugar effect powder over it for added texture before curing in your lamp. Once it’s dry, remove all excess powder with a brush.
MORE TAG THAT TREND
RELATED VIDEOS
MORE TO EXPLORE
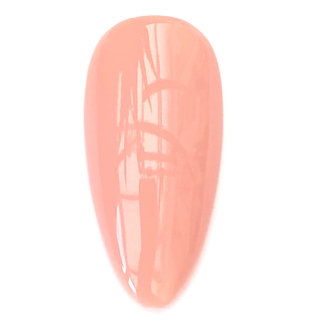
Prep the natural nail using a 180-grit file, remove dust. Apply “Prep It!”, then two thin coats of Flex It! “Cover Peach”, curing each coat for 60-seconds.
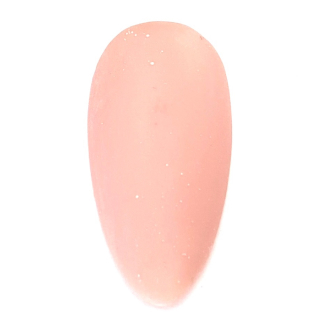
Prep Apply a thin, even coat of HD Pro “Matt It!” Cure for 60-seconds.
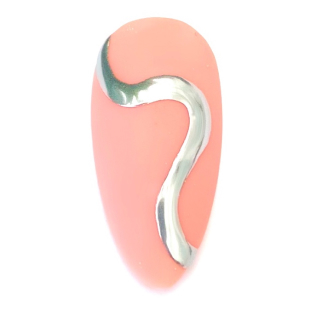
Use the HD Pro Long liner brush and HD Pro Art Gel in “Graphite” to create a wavy line. Cure for 30-seconds, then rub line with a dusting brush.


