Love is the Point
Kayley Cairns
Kayley Cairns is a nail artist and educator from Essex, UK. Beginning her career in 2009, Kayley has since gone on to win a host of top industry awards including Nail Professional of the Year – Professional Beauty, BABTAC Nail Technician of the Year, 4 x Scratch Stars Awards, 2 x Nailympia Art Winner of Winners trophies and Nailympia UK Top Tech alongside a host of other UK and international competition wins. Having previously been a CND educator for five years, Kayley is now a lead educator for the Hazel Dixon Nail Artist academy. Whilst having a passion for nail art, Kayley holds a strong belief in the power of education to change lives and currently focuses on her continued professional development as an educator with a mission of empowering others to achieve their goals.
PRODUCTS USED
- Krista Paulitti Extreme Nail Form
- HD Pro Acrylic Liquid & Powder System
- Dappen Dish
- Acrylic Bbrush
- Nail Art Brush
- 100/180-grit Nail File
- 2-way Buffer
- Airbrush Pain
- Alcohol Inks in Various C olors
- Sponge
- Akzentz Clear LED Gel
- Selection of Rhinestones
- LED lamp
- Top Coat
STEPS
Sculpt out a stiletto shape in liquid & powder. Keep the form shut tight.
Sculpt the shaped lower arch onto the stiletto using the guidelines on the nail form to create your style.
Carefully remove the form, then file & buff the shape & create a smooth surface.
Apply a very light pink or white base color onto the nail using your favored choice of art paint or using an airbrush gun.
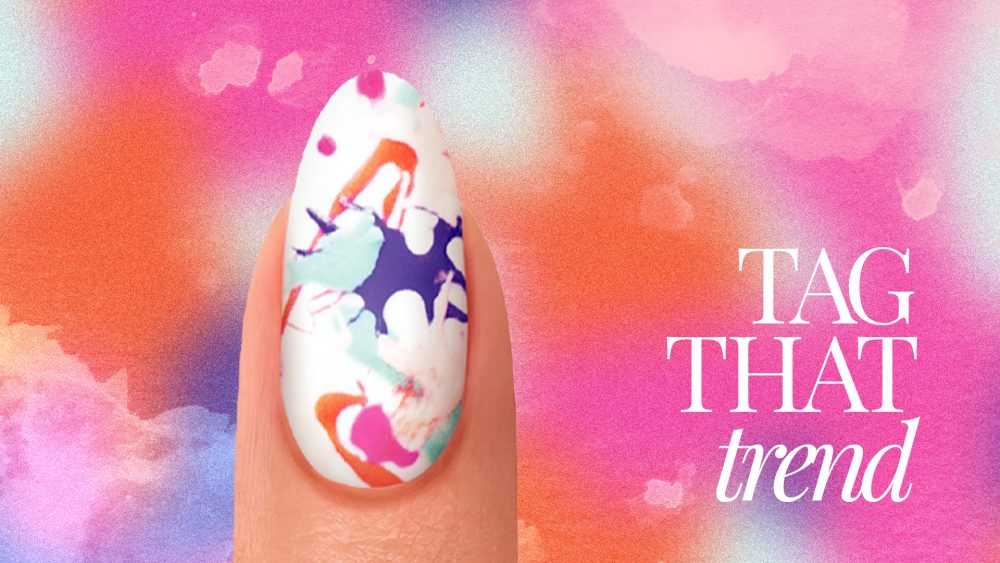
Apply alcohol ink in hot pink, red and gold onto a sponge (you can try different sponges eg. Make-up or kitchen sponge) for different effects.
Use the sponge to randomly press the colors onto the nail.
Apply a thick LED gel like Akzentz ‘bling on’ to the nail in areas where you’d like to embellish with crystals. Apply the crystals, spreading out any excess gel smoothly before curing.
Apply any additional remaining 7 crystals & cure.
Finish the nail with top coat.
MORE TAG THAT TREND
RELATED VIDEOS
MORE TO EXPLORE
Prep the natural nail using a 180-grit file, remove dust. Apply “Prep It!”, then two thin coats of Flex It! “Cover Peach”, curing each coat for 60-seconds.
Prep Apply a thin, even coat of HD Pro “Matt It!” Cure for 60-seconds.
Use the HD Pro Long liner brush and HD Pro Art Gel in “Graphite” to create a wavy line. Cure for 30-seconds, then rub line with a dusting brush.