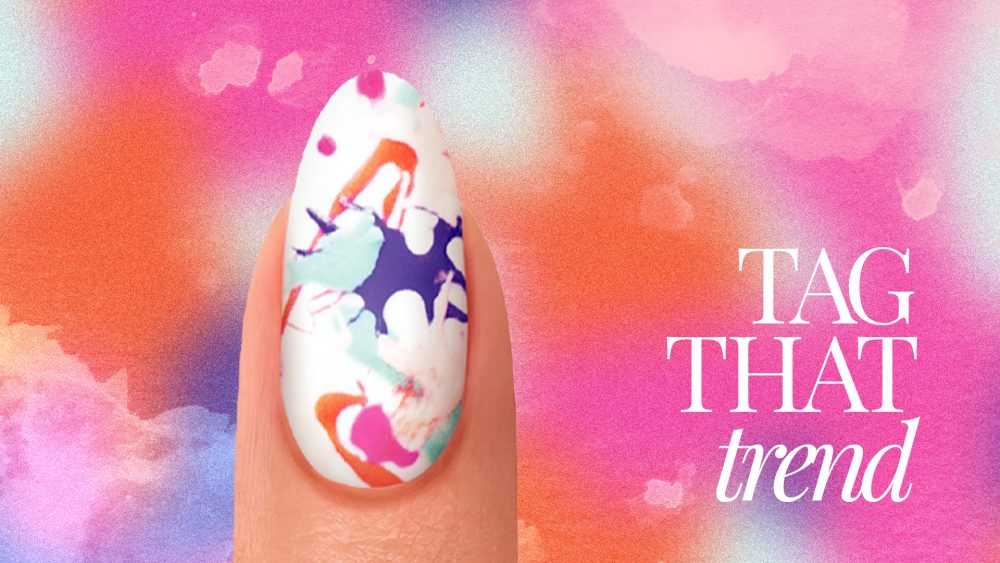
Pinstriped
![]()
Alisha Rimando
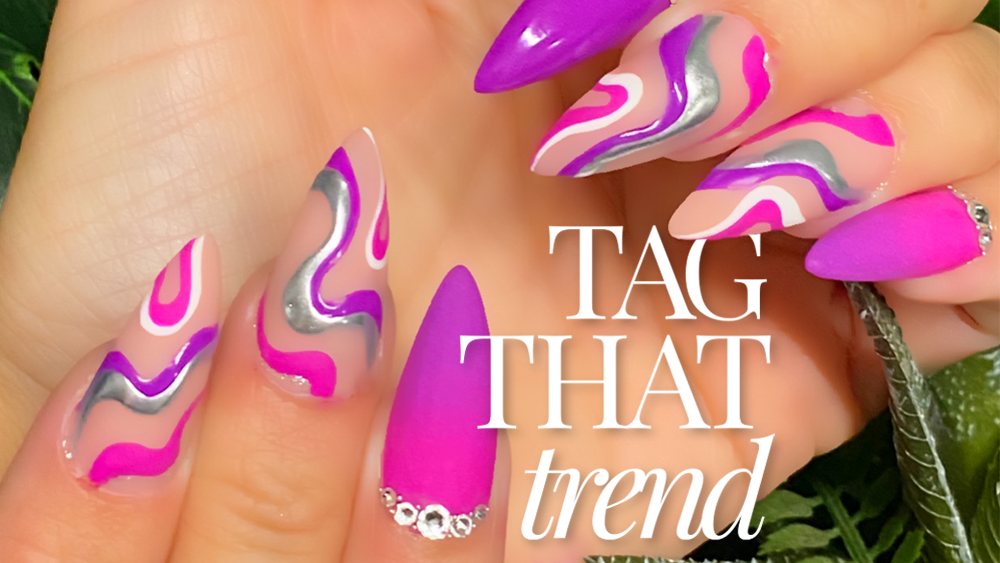
The light handling of a striper brush can create a very stylish nail design. Choose your palette of colors, using a very light pink as the base, then a few quick slicks of the striper brush brings this design to life quickly. Add an accent with the addition of some carefully placed crystals to complete the design.
PRODUCTS USED
- Bonding Gel
- UV/LED Lamp
- Pink Gel Polish
- Blue Gel Polish
- Green Gel Polish
- Striper brush
- Nail surface cleanser
- Lint-free Wipes
- Art Palette
- Sani-tongs
- Large Rhinestones/Rrystals
- Revive Cuticle Oil
STEPS
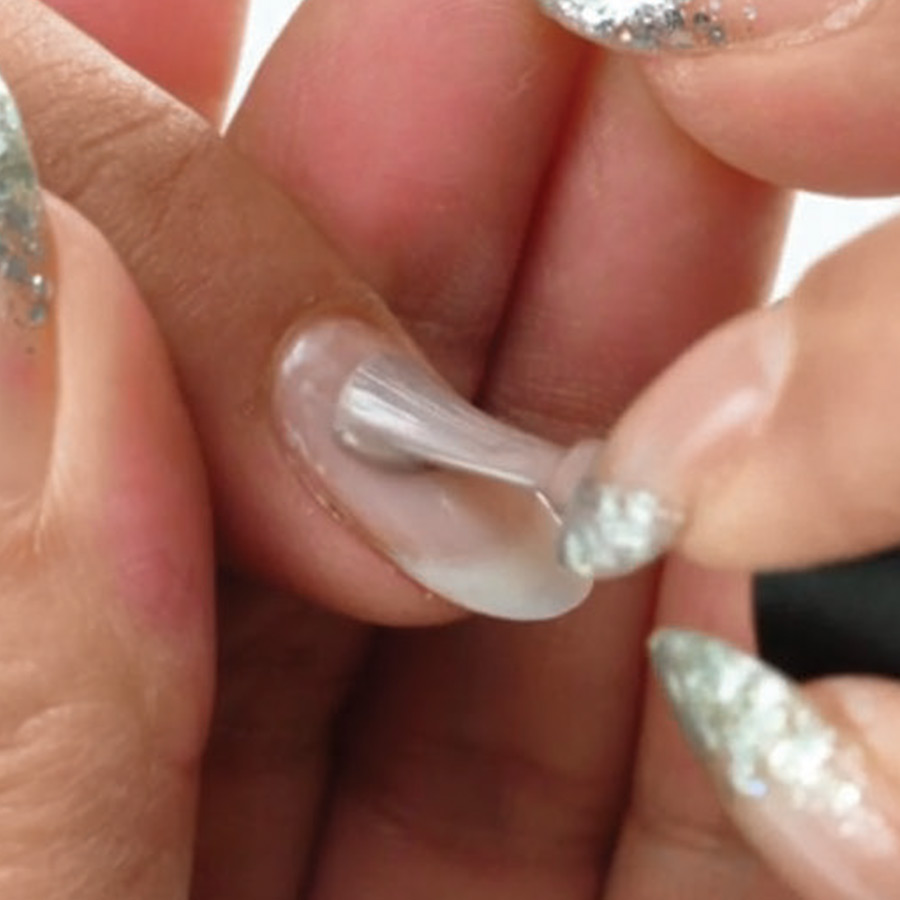
After proper nail prep, apply a thin coat of Bonding Gel, cure for 5-seconds in LED light, Cure for 30-seconds in LED Light or 2-minutes in UV. Apply a thin coat of Oh Crepe, making sure to cap the free edge. Cure for 30-seconds, then repeat.
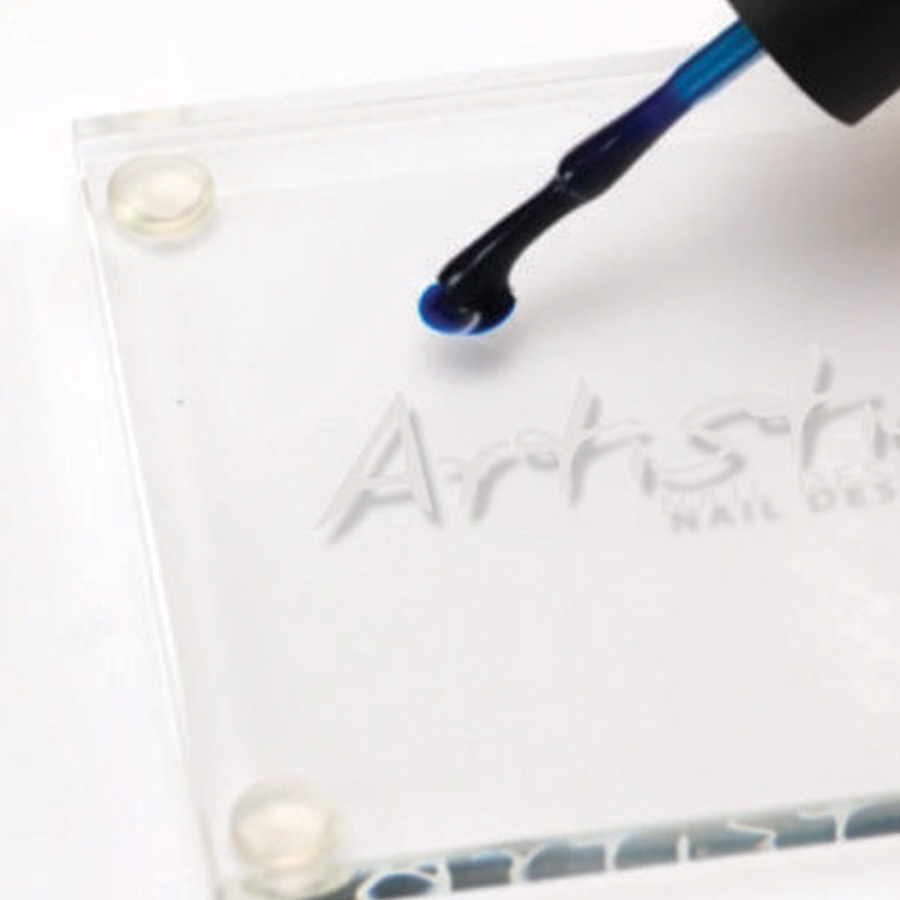
Apply two drops of Serving Up Sass & Wok & Roll On Baby on the Artistic glass palette.
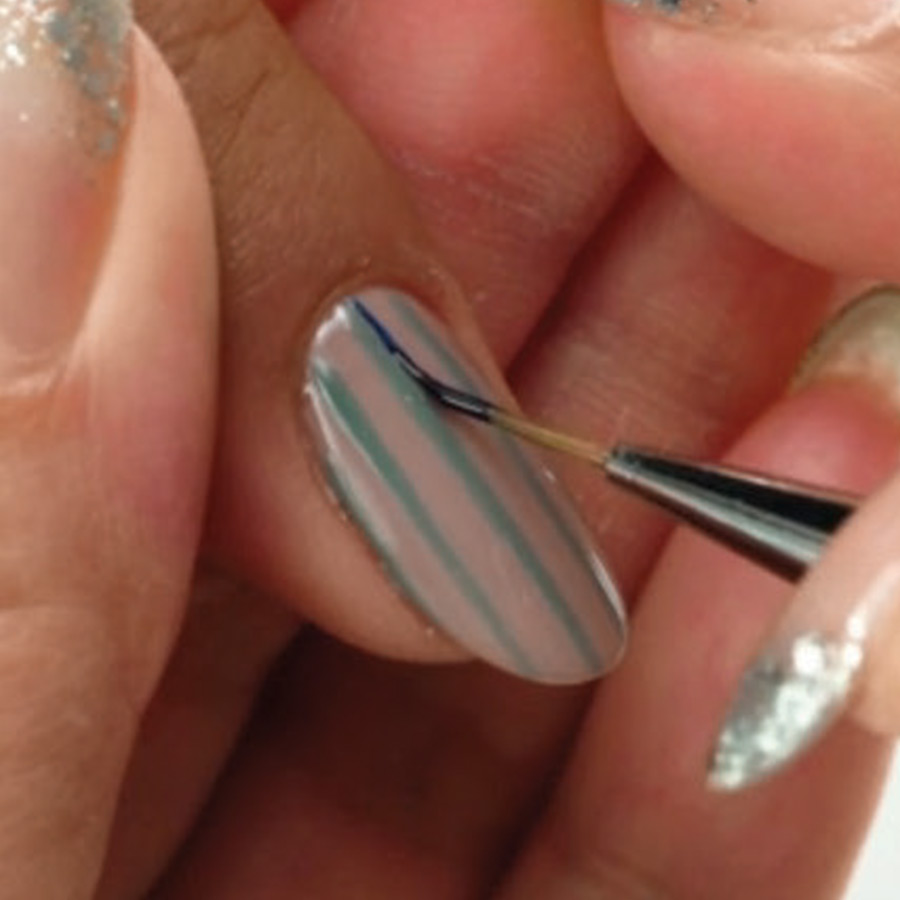
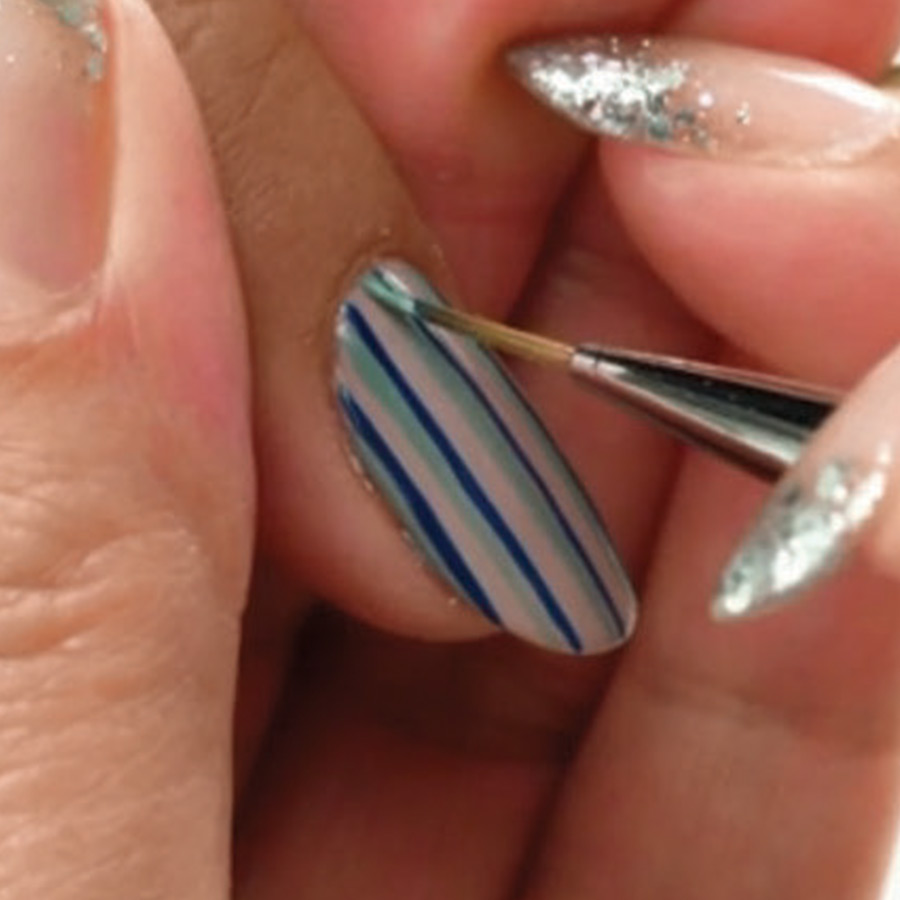
Using Artistic Striper Brush, apply Serving Up Sass & create four straight lines to the right of the Wok & Roll Baby lines.
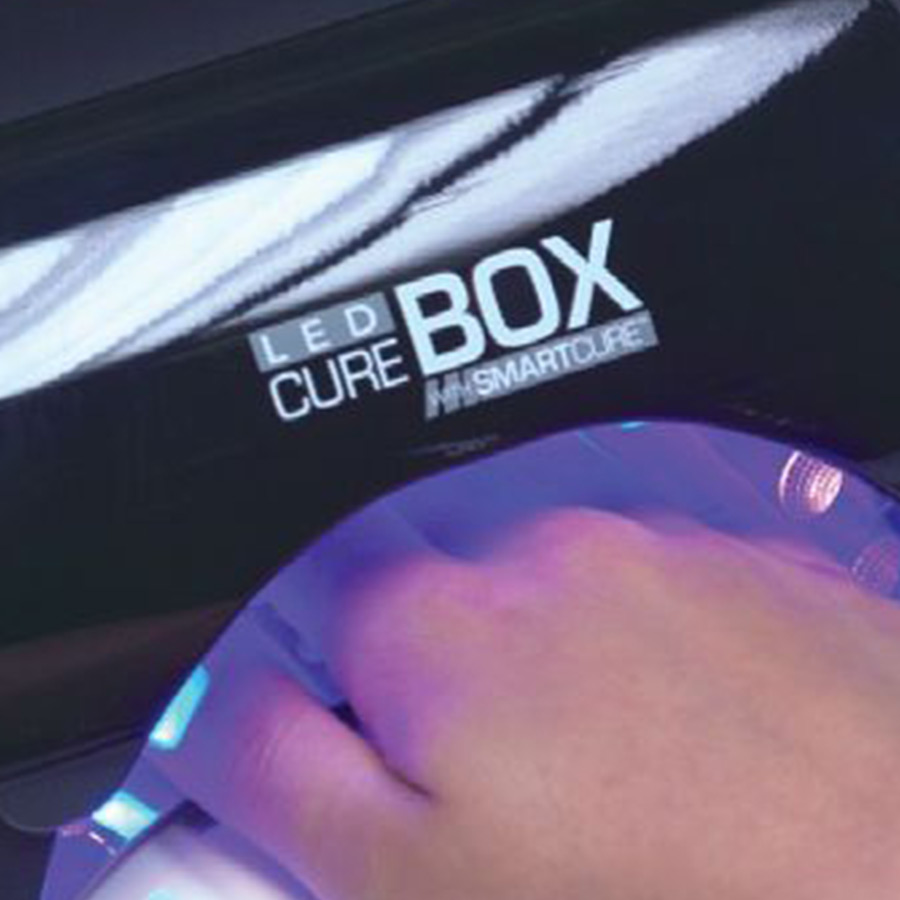
Cure for 30-seconds in LED Light or 2-minutes in UV.
Repeat steps to perfect your lines & repeat twice on top of the lines. Cure for 30-seconds.
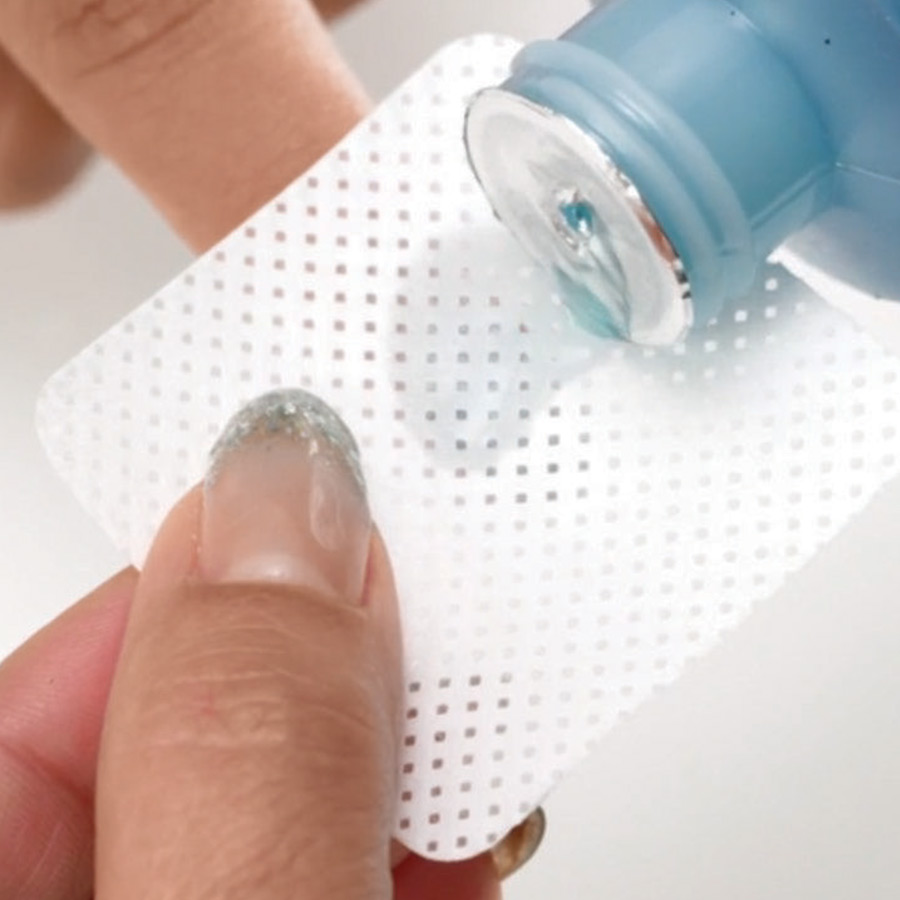
Use Nail Surface Cleanser & a lint-free wipe to cleanse the inhibition layer of the nail.

Apply a drop of Bonding Gel to the Artistic glass palette.
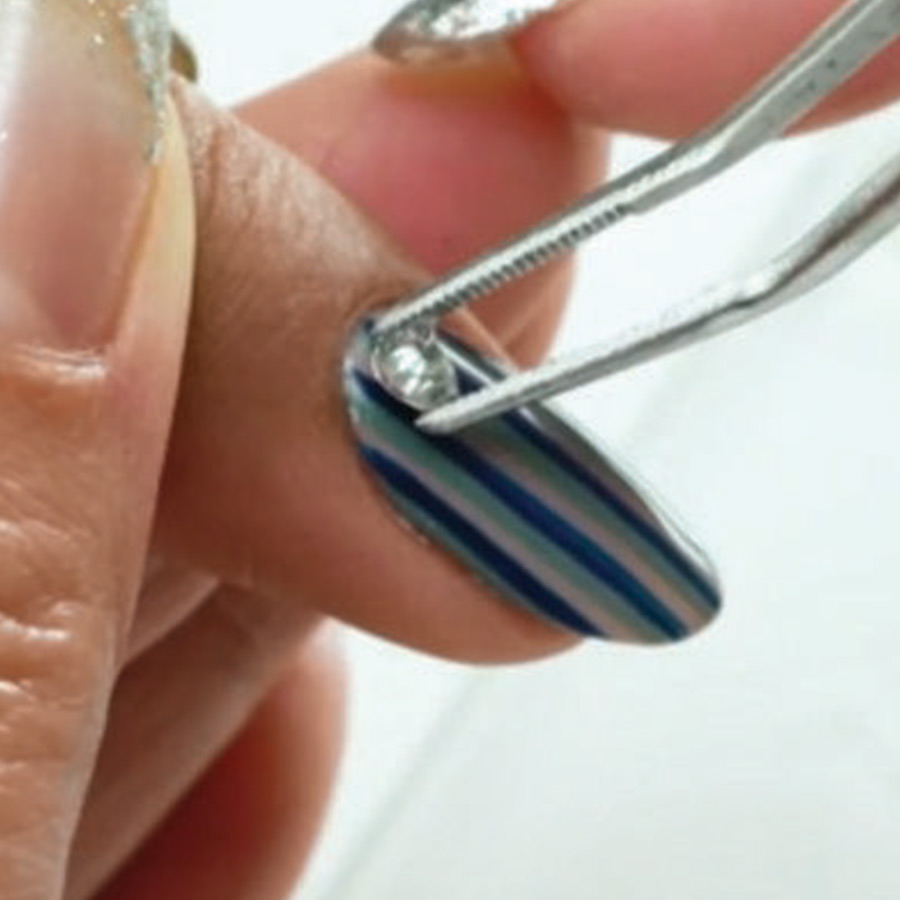
Using Sani Tongs, apply large stones/diamonds to the base of the nail while using Bonding Gel as the adhesive. Cure for 30-seconds.
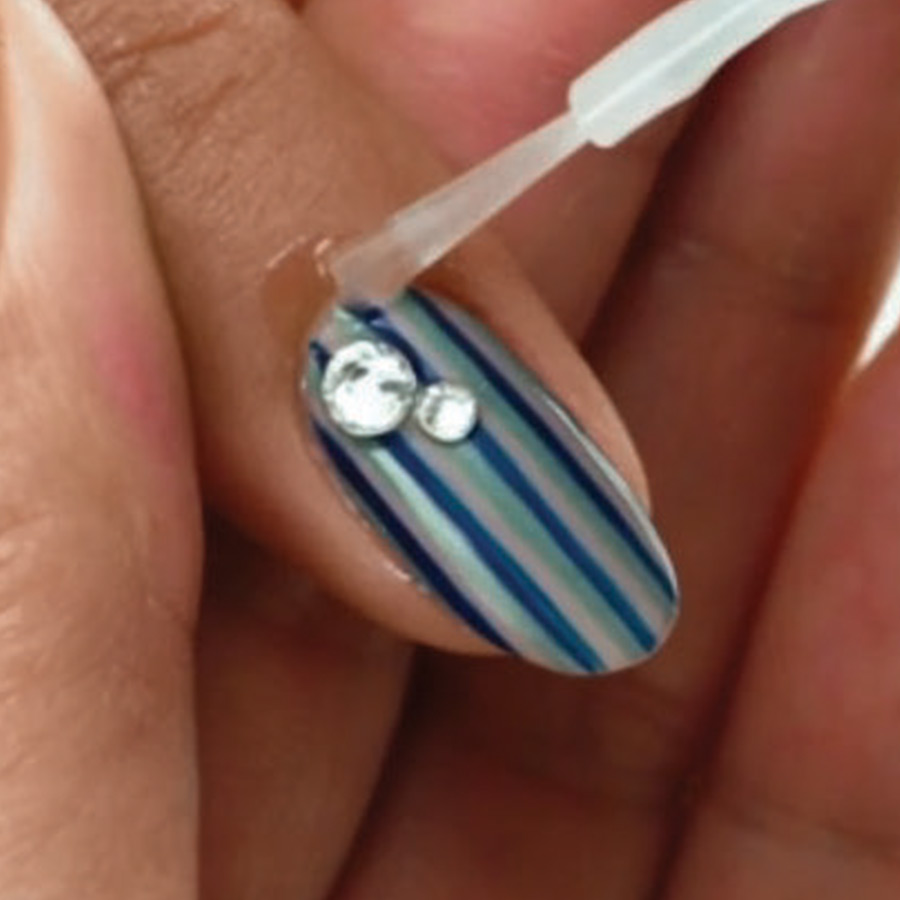
Apply Revive Cuticle Oil & massage into the nail & surrounding skin to finish.

MORE TAG THAT TREND
RELATED VIDEOS

MORE TO EXPLORE
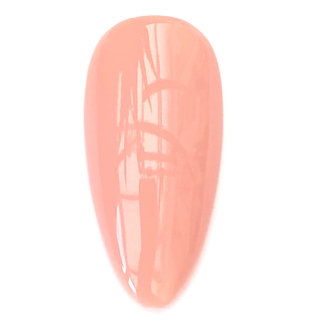
Prep the natural nail using a 180-grit file, remove dust. Apply “Prep It!”, then two thin coats of Flex It! “Cover Peach”, curing each coat for 60-seconds.
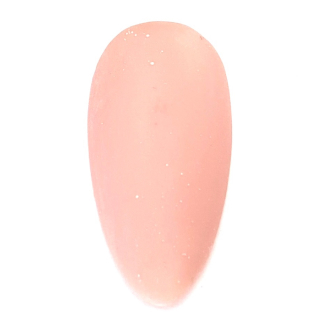
Prep Apply a thin, even coat of HD Pro “Matt It!” Cure for 60-seconds.
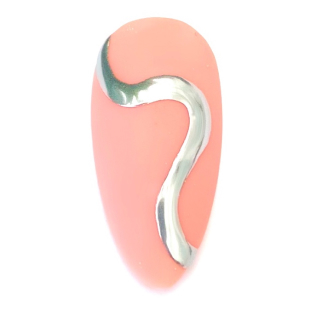
Use the HD Pro Long liner brush and HD Pro Art Gel in “Graphite” to create a wavy line. Cure for 30-seconds, then rub line with a dusting brush.