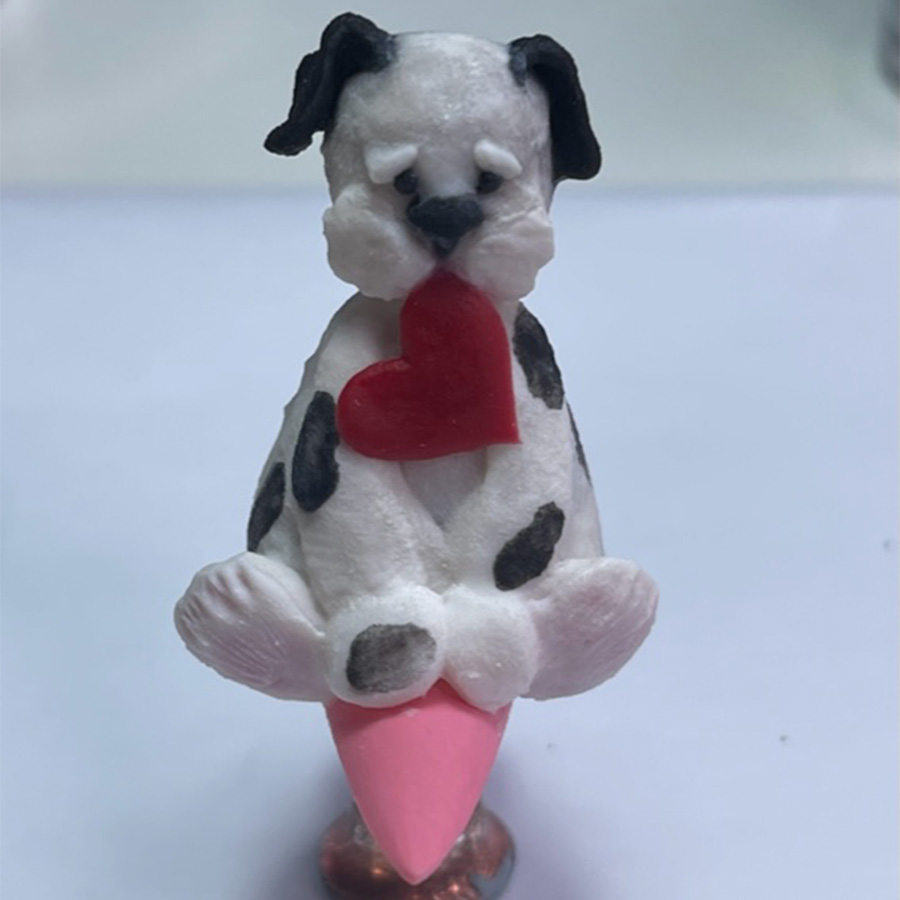
Puppy Love in 3D
![]()
Gemma Dawson
Desperately unhappy in her career working at a university during her PhD in statistical analysis,” Gemma Dawson retrained in nails. “Whether painting my own and attempting some DIY nail art or having them done in salon, I soon discovered I loved nails,” smiles Gemma. “I’ve now found the competition circuit and Im fascinated by what can be created on nails. It merges two areas that I already love; craft and nails, so I’ve decided that my long-term goal is to compete, hence my love to busilding 3D figurines in nail products.”

PRODUCTS USED
- The HD Professional Nail Systems L&P Acrylic System, White, Black and Red Powders
- HD Professional Nails No-Wipe Top Coat, Acrylic Paints in Black, Gray and White
- HD Professional Nails White Gel Paint
- HD Professional Nails Mini 3D Art Brush
- Silicone or Dotting tool
- A Nail Form
STEPS
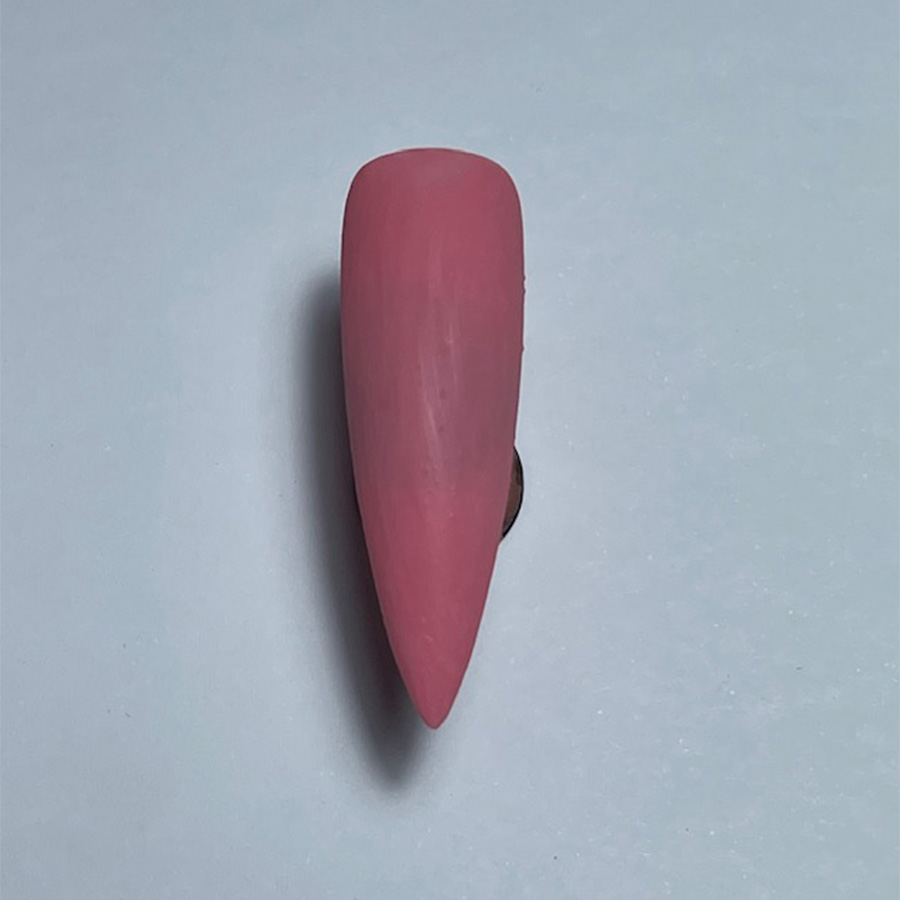
Apply base color to the nail tip. I’ve used matte top coat & then buffed over it.
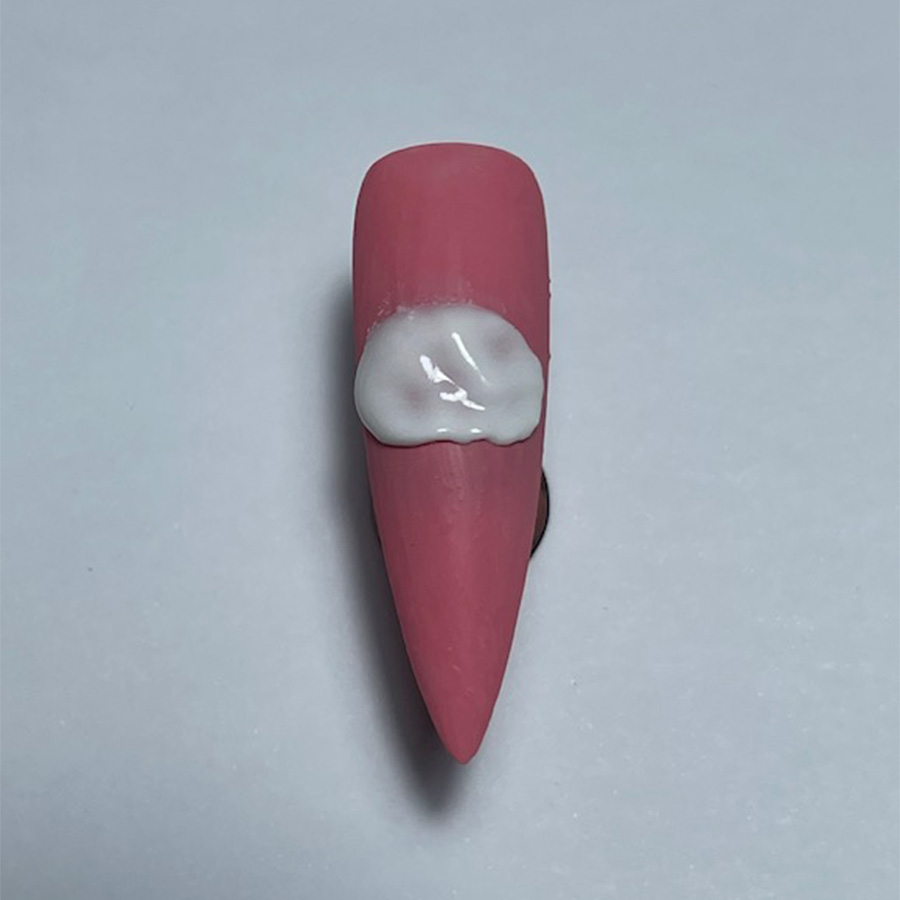
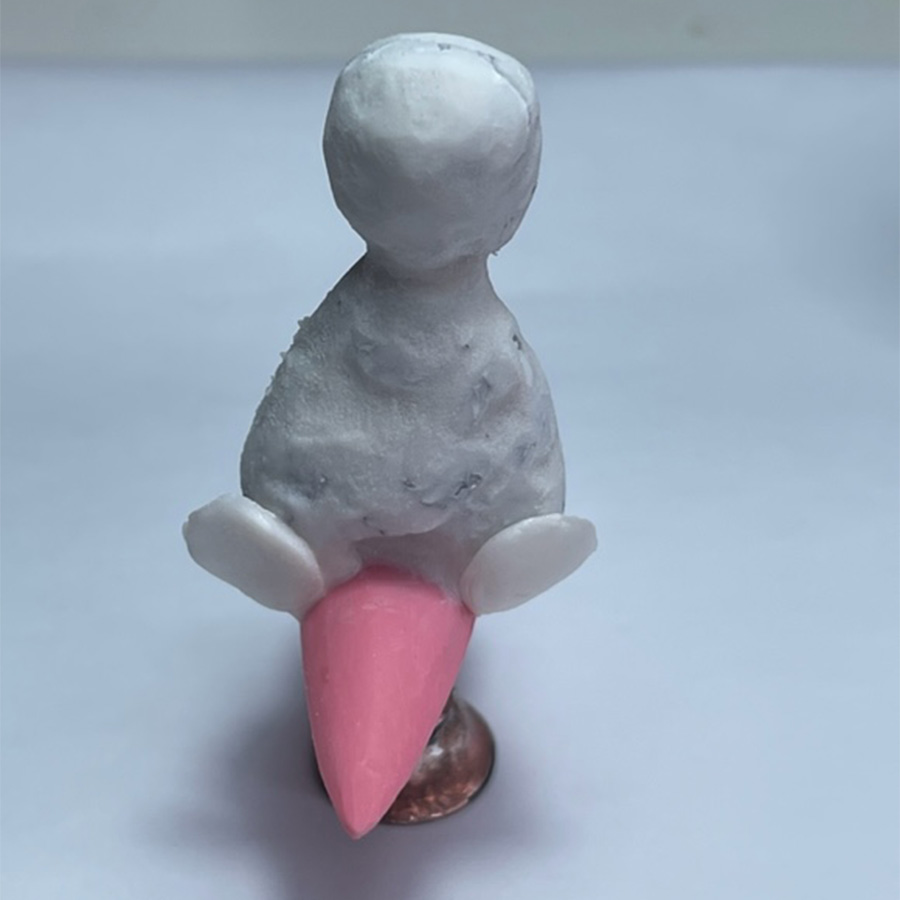
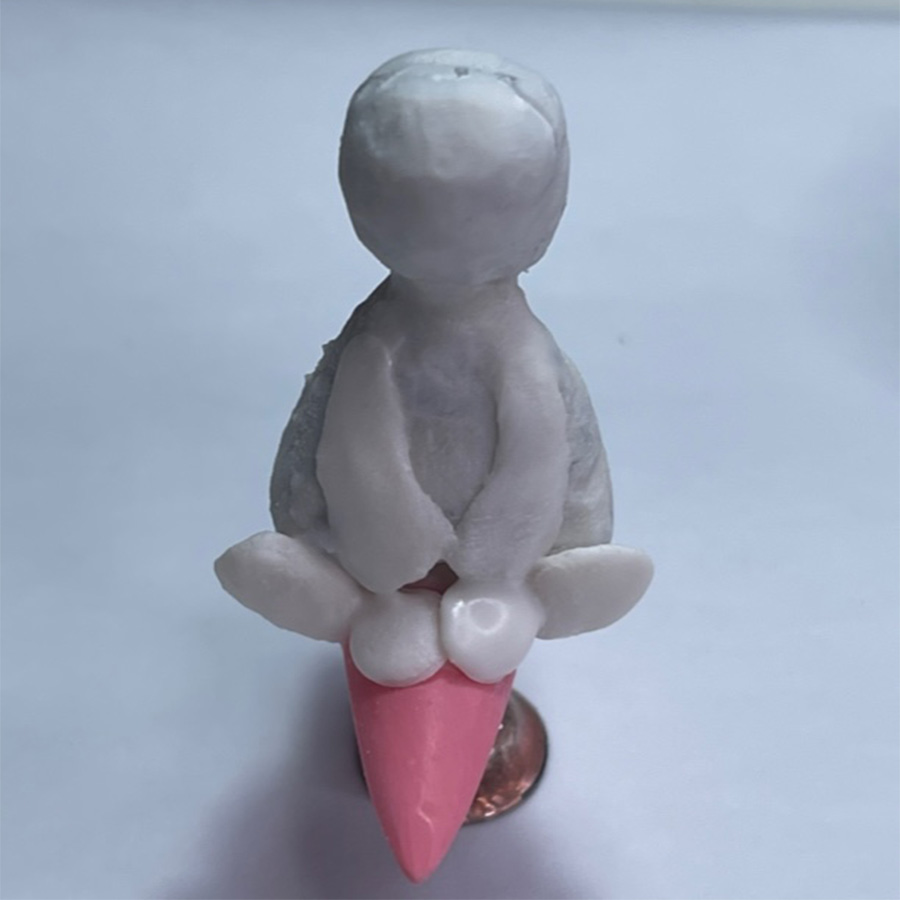
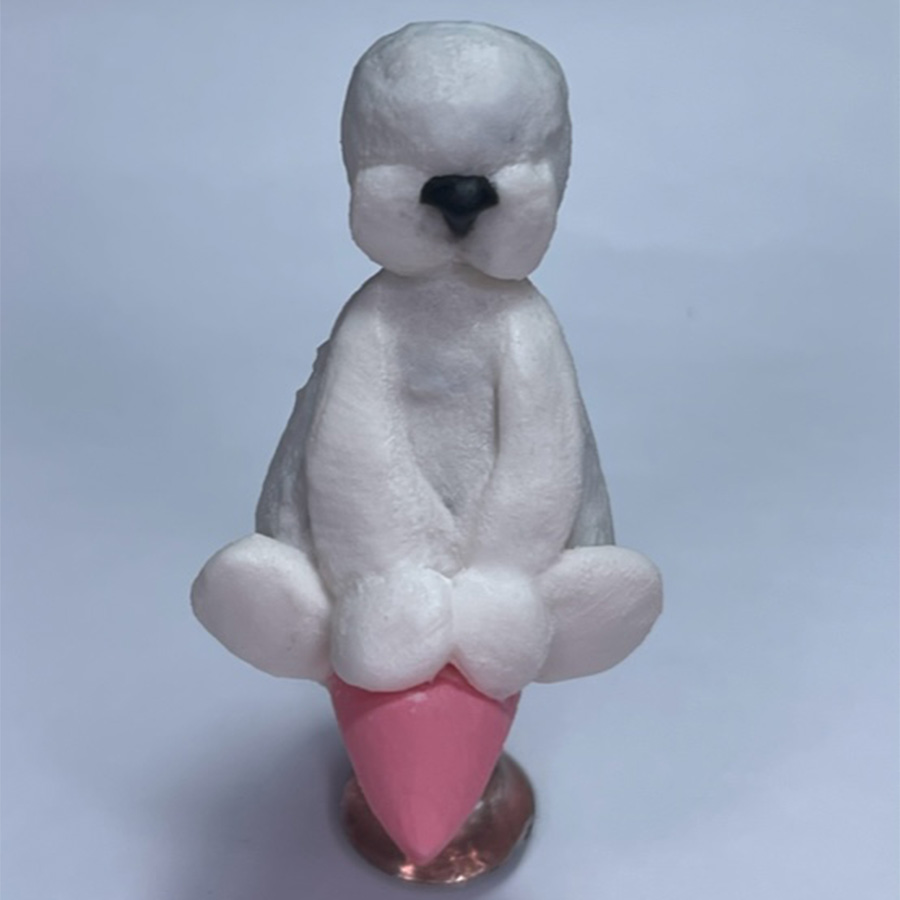
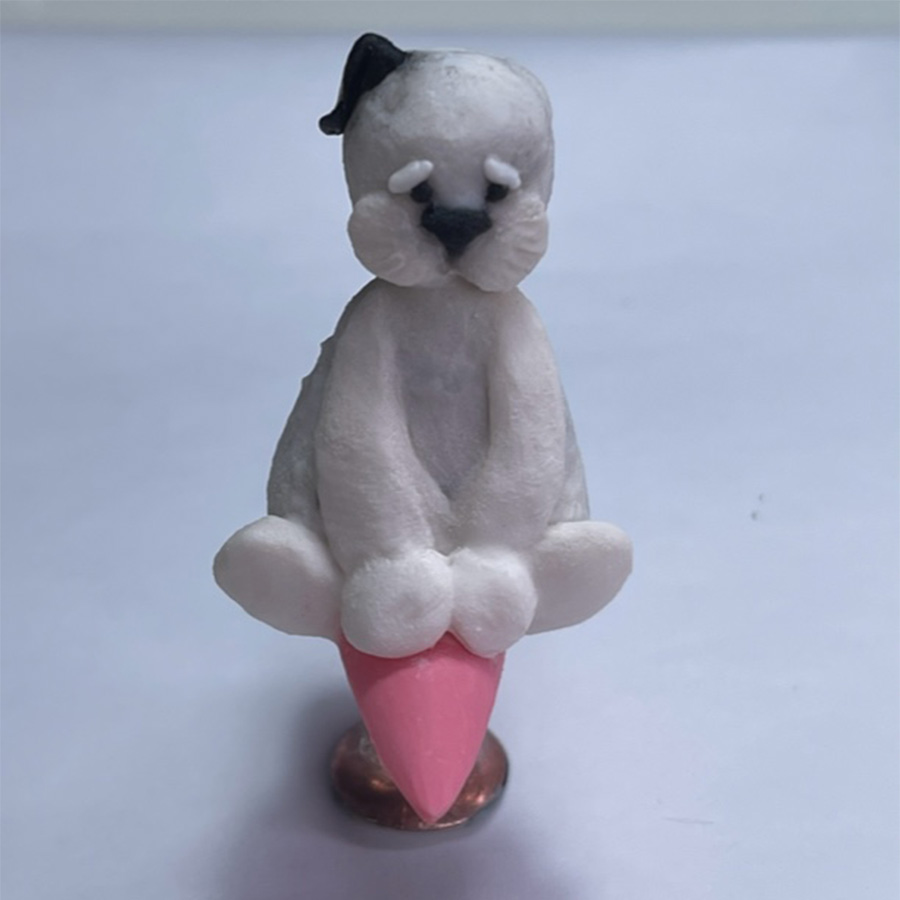
Apply a medium-sized bead of acrylic, centrally on the nail where you want your puppy to sit.
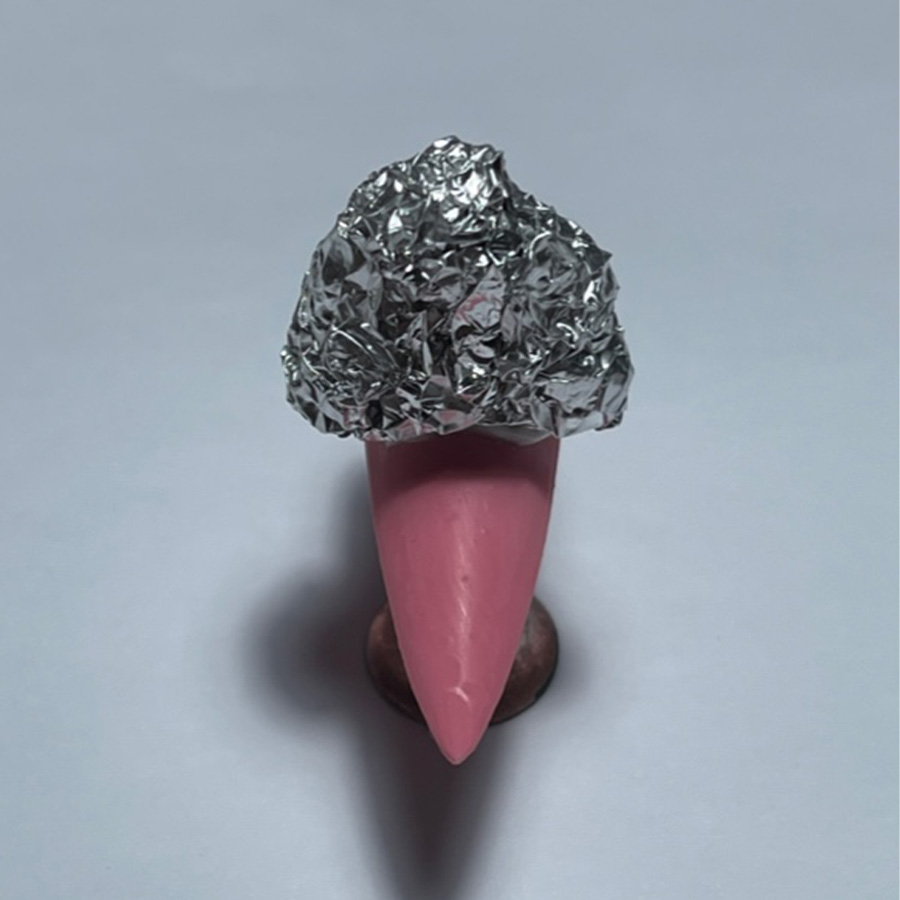
Create a triangle out of aluminum foil or product if you prefer. This will become the puppy’s body.
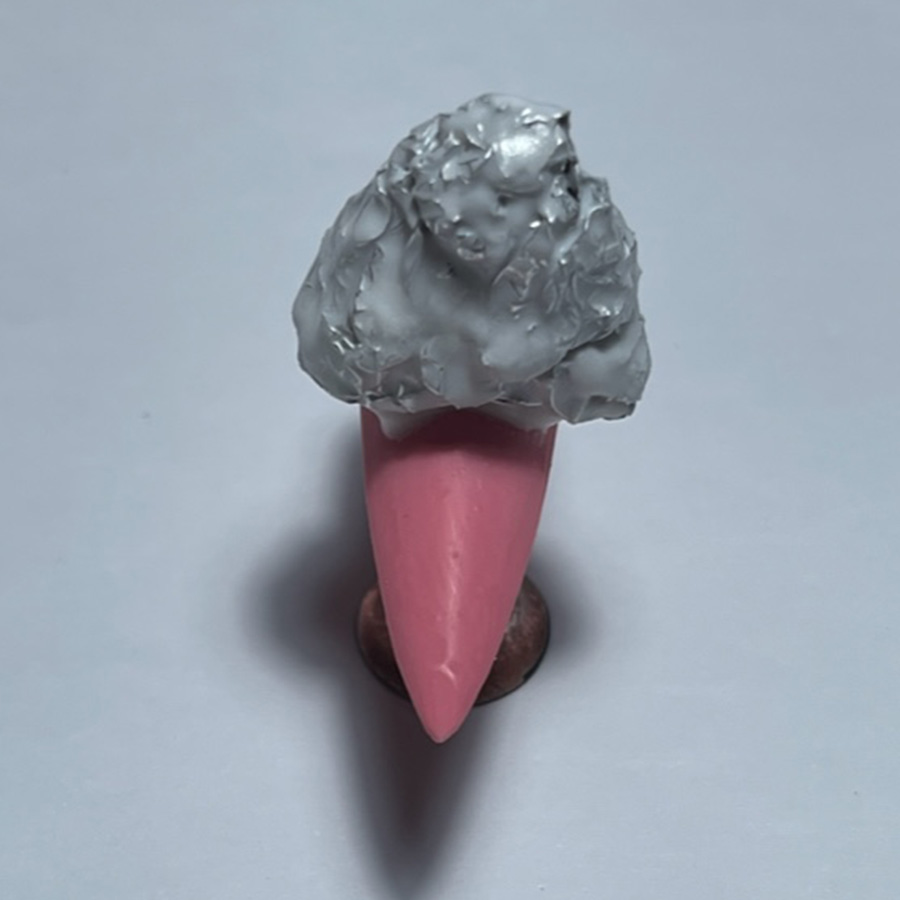
Cover the foil in a layer of gray acrylic to give it a hard exterior.
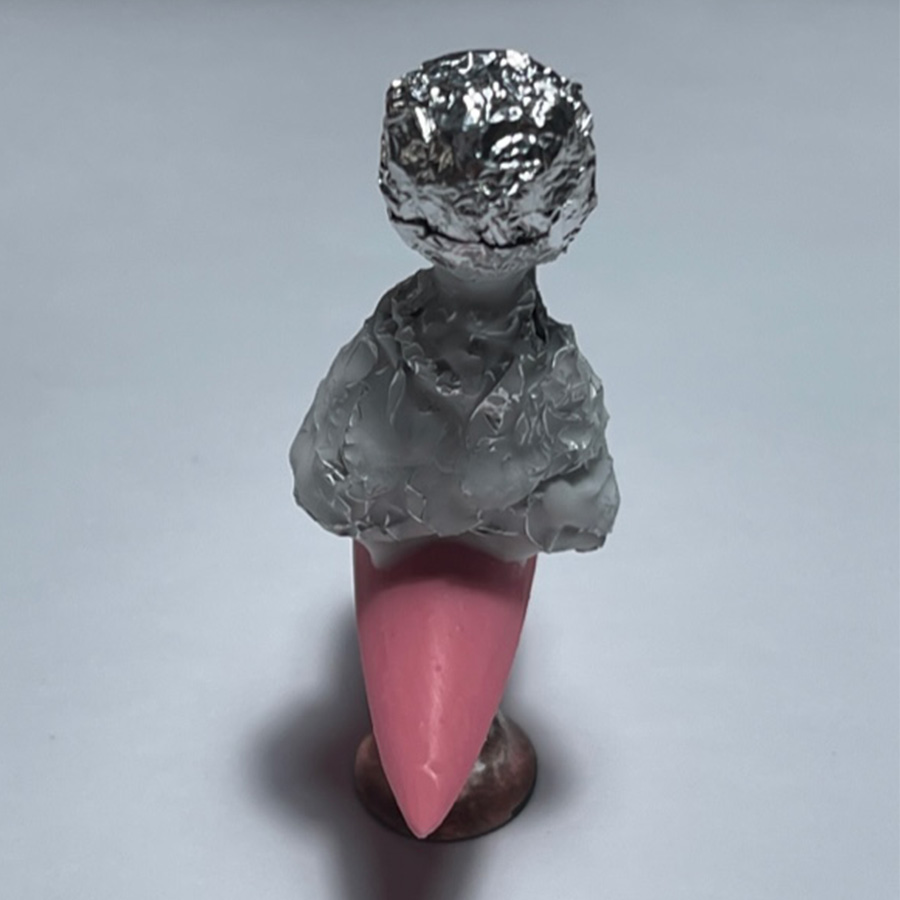
Apply a small bead of L&P to the top of the triangle & attach a small foil sphere. This will act as a base for the puppy’s head.
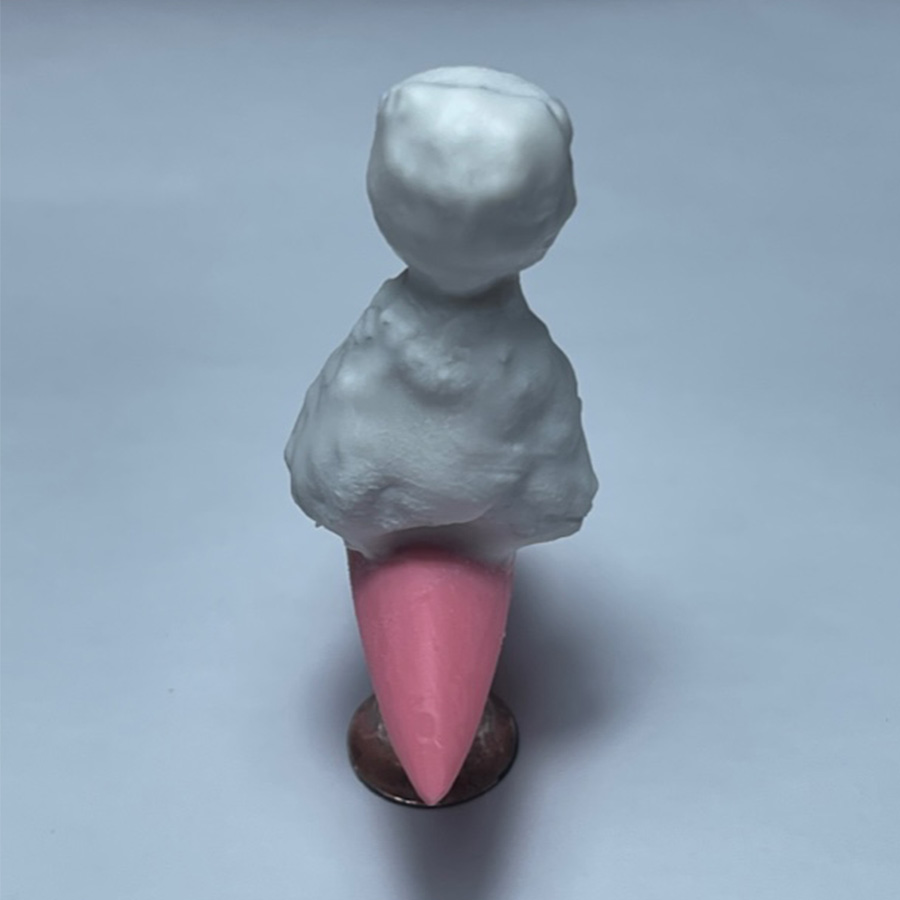
Repeat the process of covering the foil with gray acrylic until the foil is well disguised.
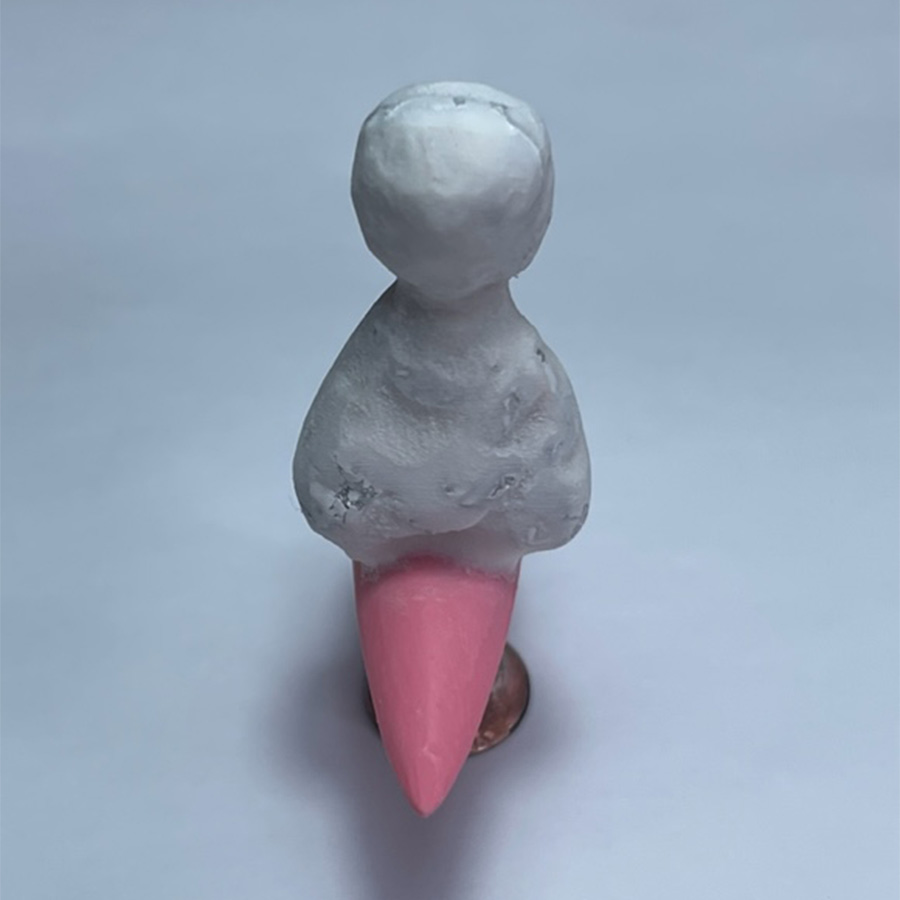
Now refine the shape & smooth away any roughness to create the body shape.
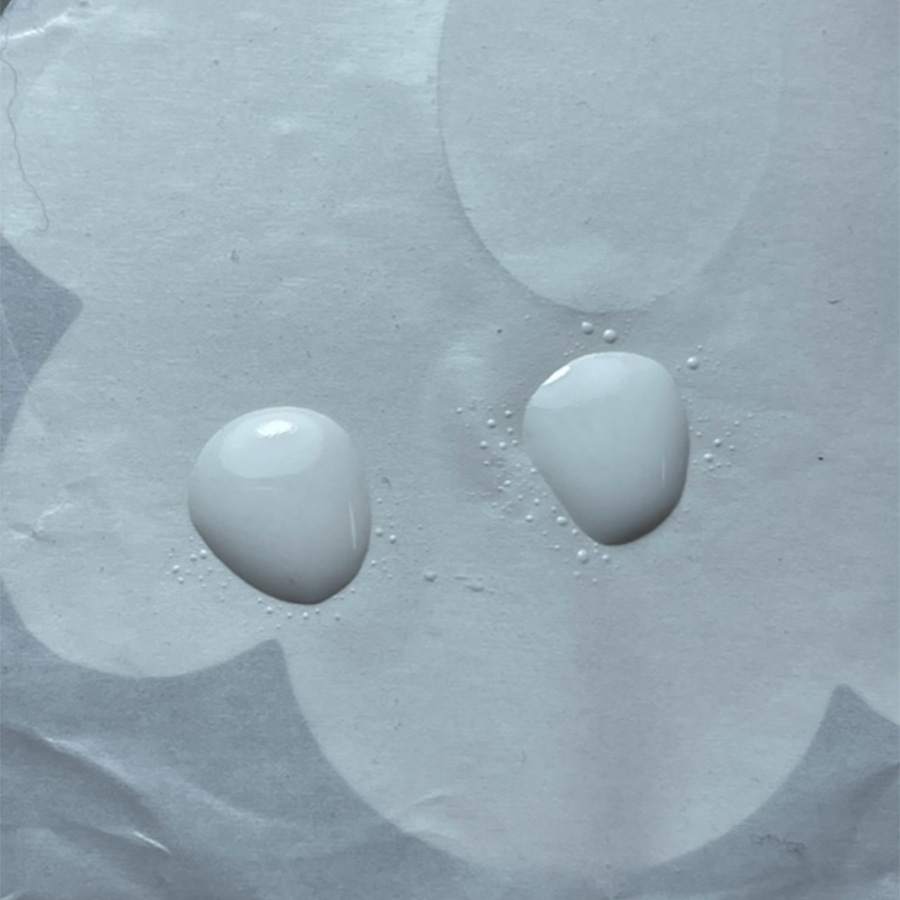
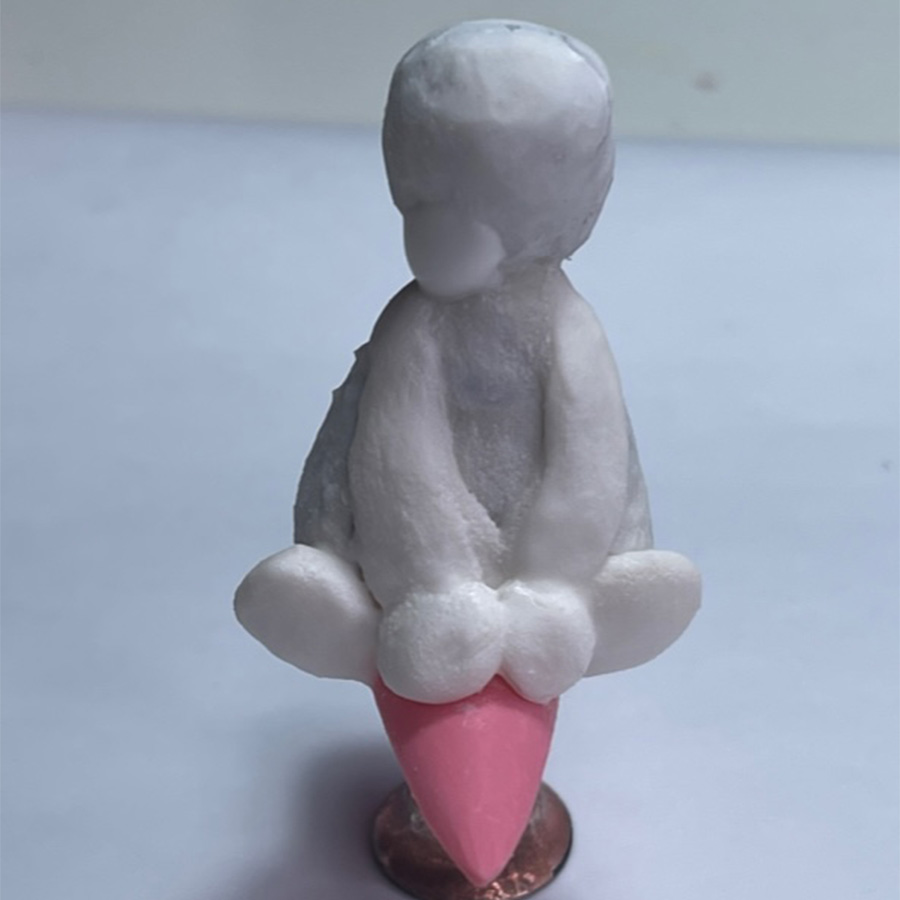
On a sculpting form, place two beads of acrylic & drag them into two slightly curved shapes, that fan out at the bottom. Then place two circles below them. These will become the puppy’s front legs & paws.
Once set, attach the paws using a small amount of acrylic to the base of the puppy.
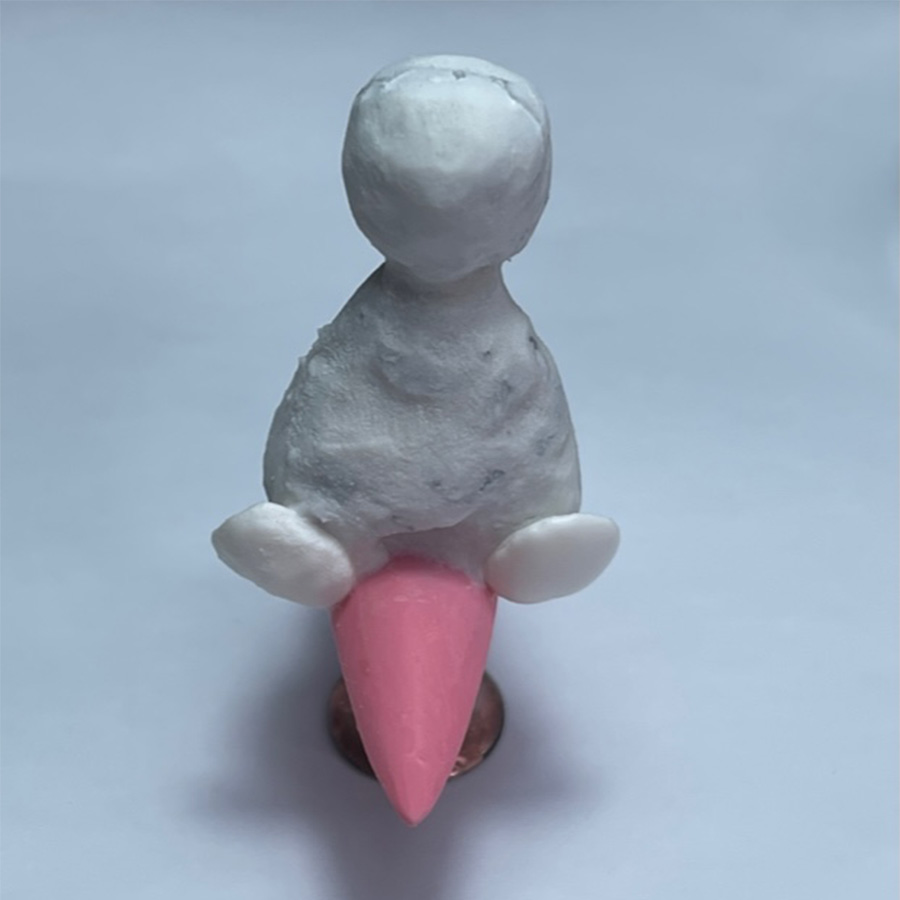
Next apply small beads of acrylic to the paws to build them up, make them fuller & less flat.
On a sculpting form, place two beads of acrylic & drag them into two slightly curved shapes, that fan out at the bottom. Then place two circles below them. These will become the puppy’s front legs & paws.
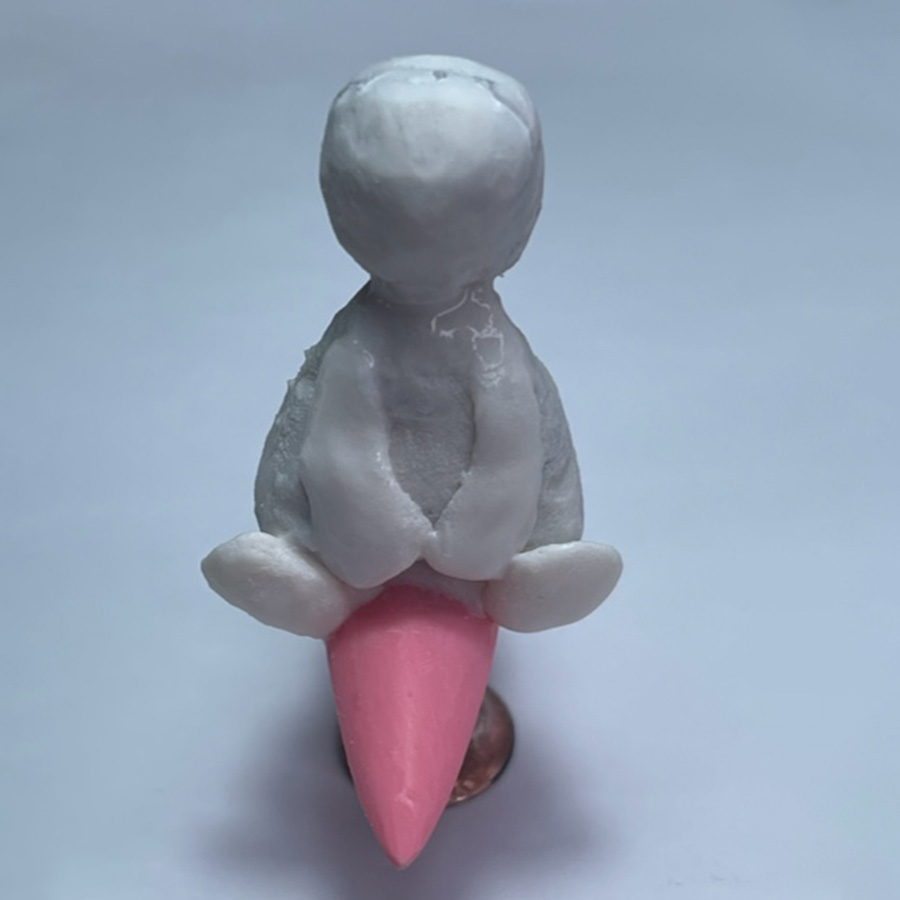
Attach the two arms using a small amount of acrylic, it’s ok if they overlap a little.
Repeat the process & add the two paw circles.

Join the two paws to the arms & build them up, so they are no longer flat & separate.
Place a small bead of acrylic to the bottom of the head to the left of center. This is the start of the puppy’s snout.
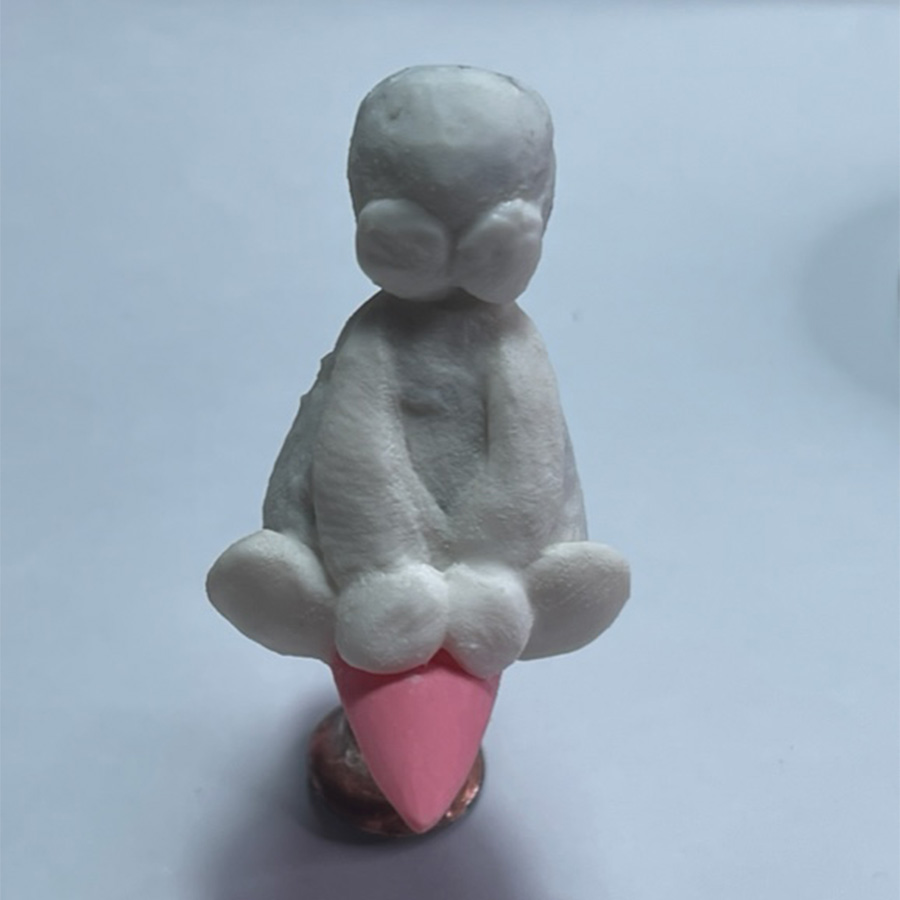
Repeat step 15 for the right of center side of the head.
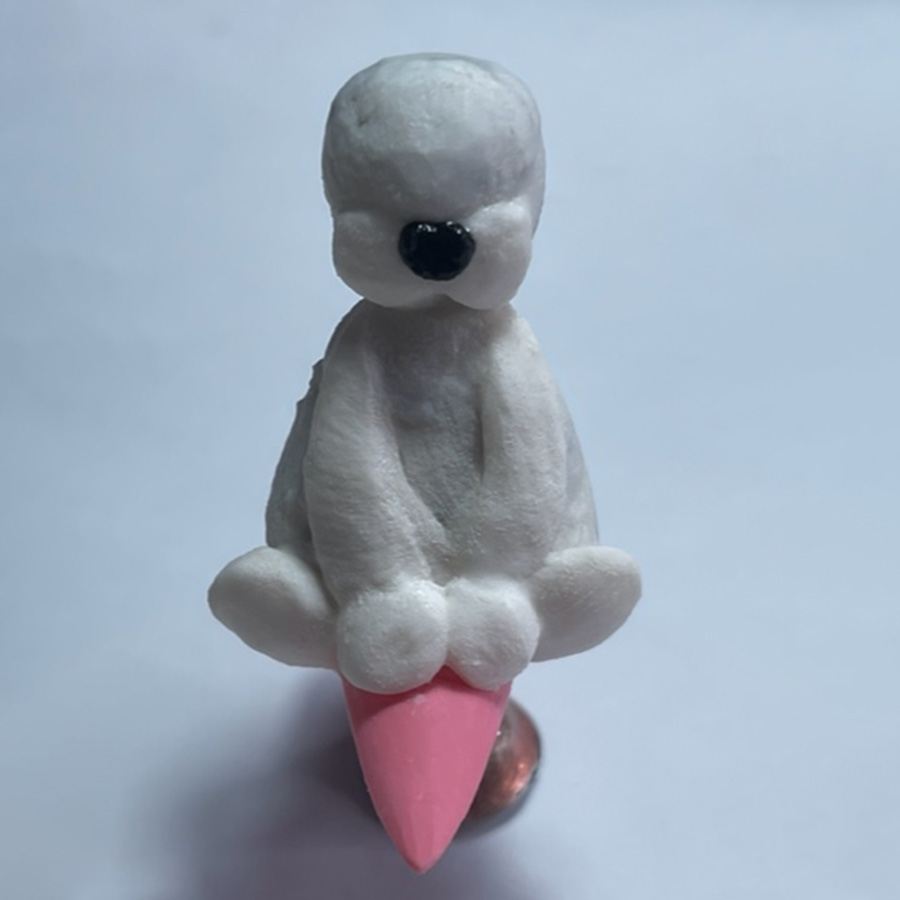
Use black acrylic powder, create a small bead & add for its nose.
Using your brush, a silicone tool or a dotting tool, push in the nose shape to produce nostrils.
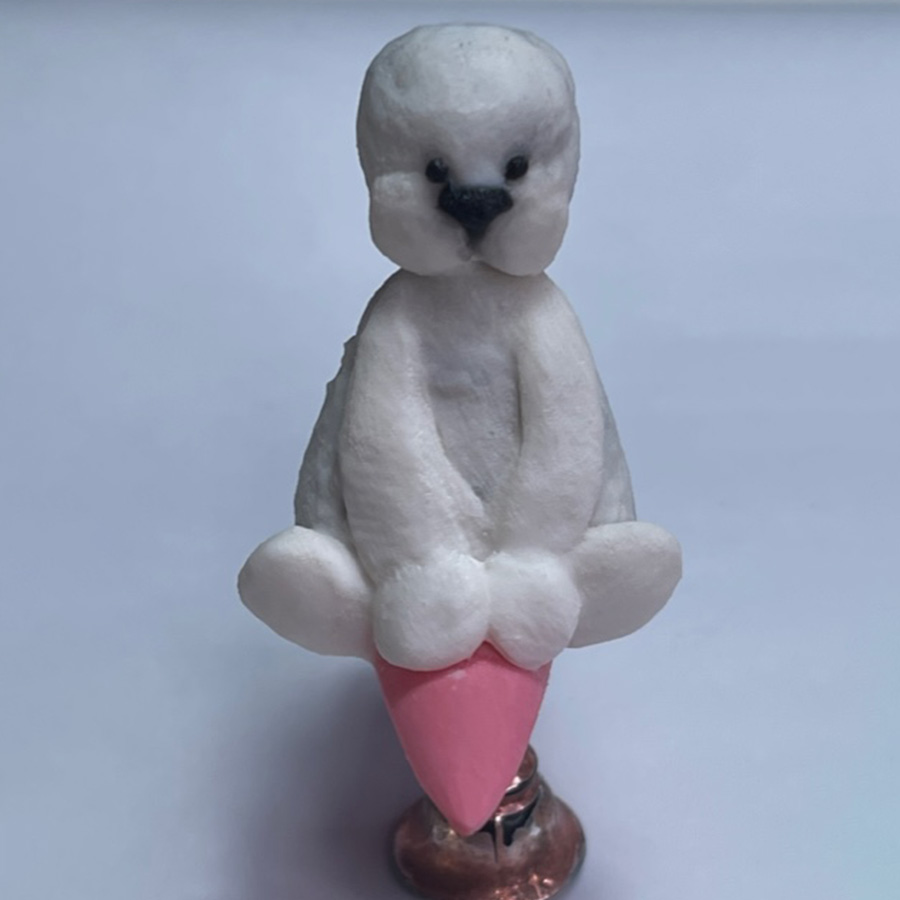
Take two very small beads of black acrylic & place small eyes either side of the nose.
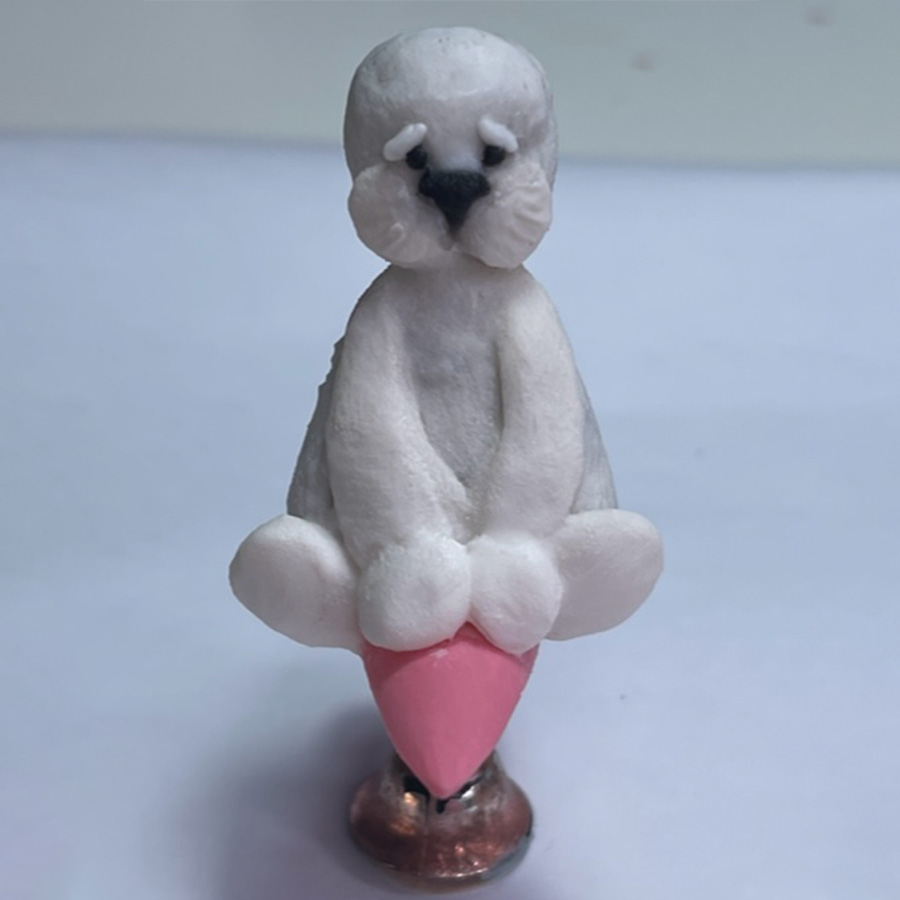
Add two small, elongated beads of white acrylic & place these as eyebrows above the eyes. Apply a small amount of white acrylic either side of the snout, then using a silicone tool, push indentation lines to give the effect of a fluffy snout.
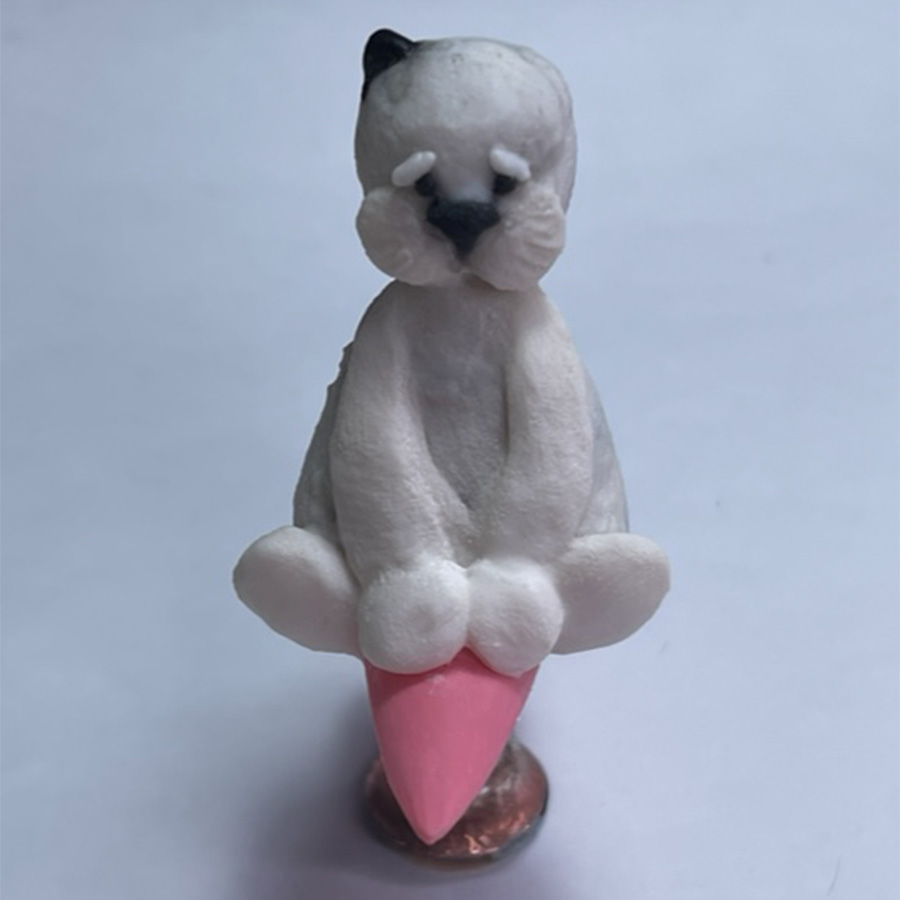
Next apply a small amount of black acrylic & sculpt it into a small triangle-shaped ear to the left of his head.
Then, gradually using small amounts of black acrylic, sculpt a floppy ear shape. You can also sculpt separately on a form if you prefer.
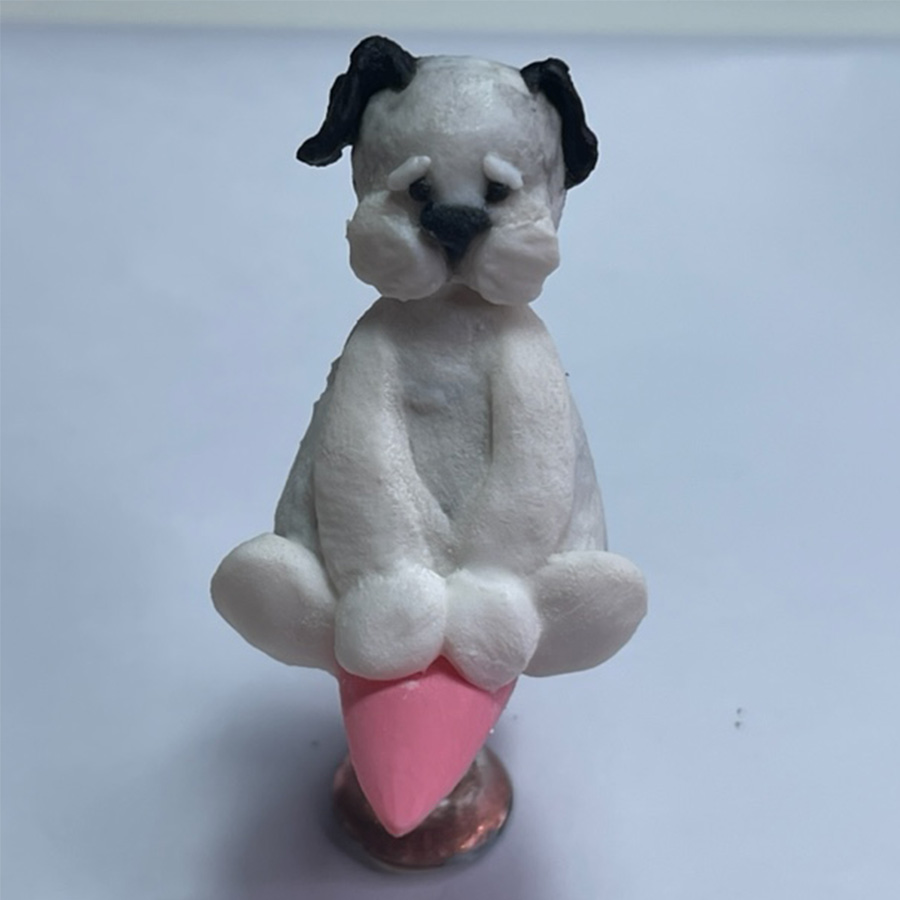
Repeat step 22 for both ears.
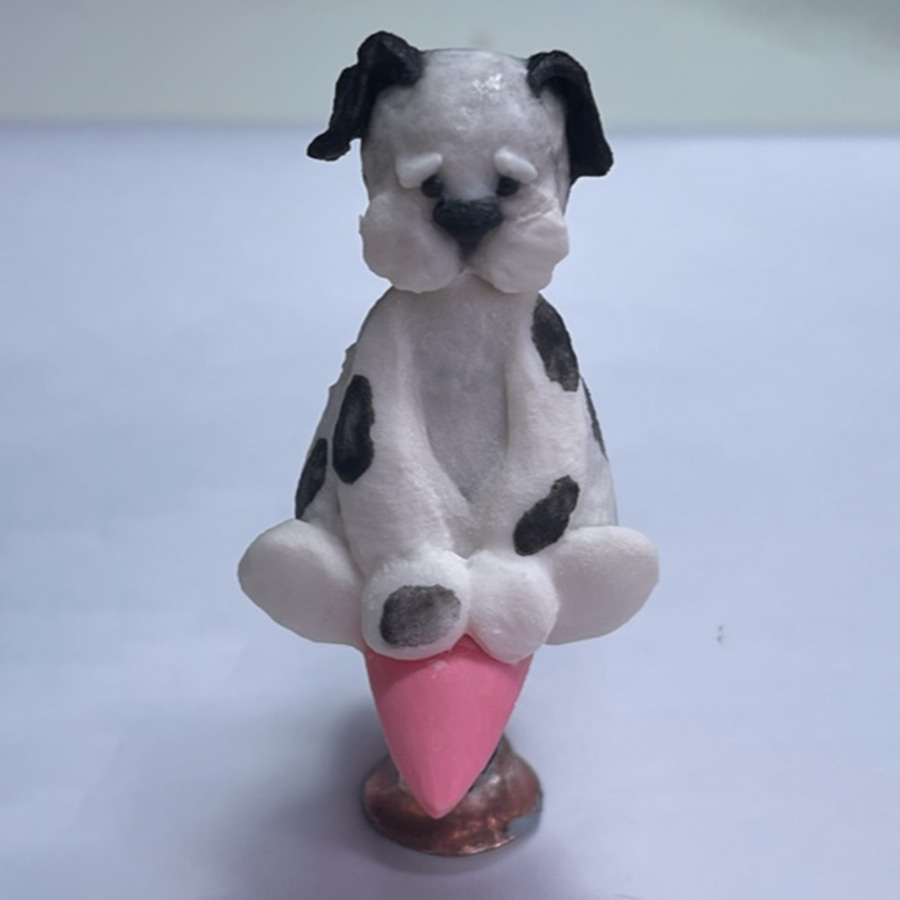
Add any additional acrylic to the snout or feet to get the shape you require, add further indentations to emphasize the fur across the body, then use a small amount of black powder & monomer to paint on black spots.

Place two small red acrylic beads next to each other on a form, allowing them to touch.
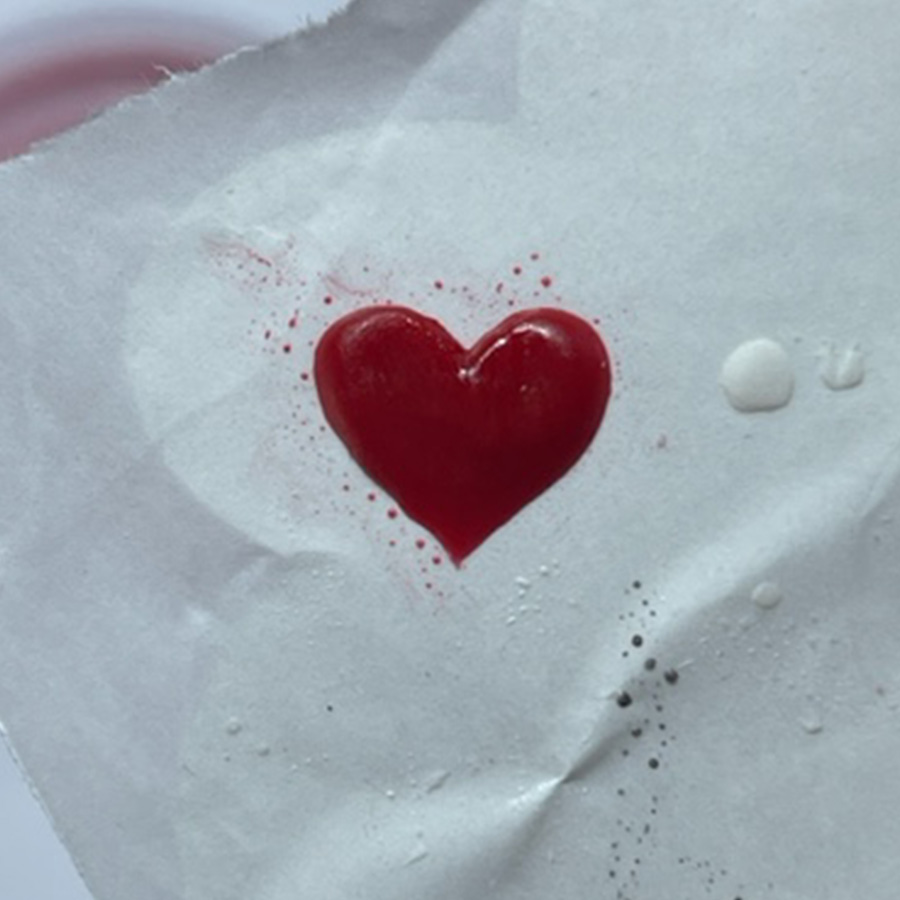
Use your brush to drag them into a joining point that will create a heart shape.
With a small amount of acrylic, attach the heart to the puppy’s face, so it looks as if he’s holding it in his mouth.

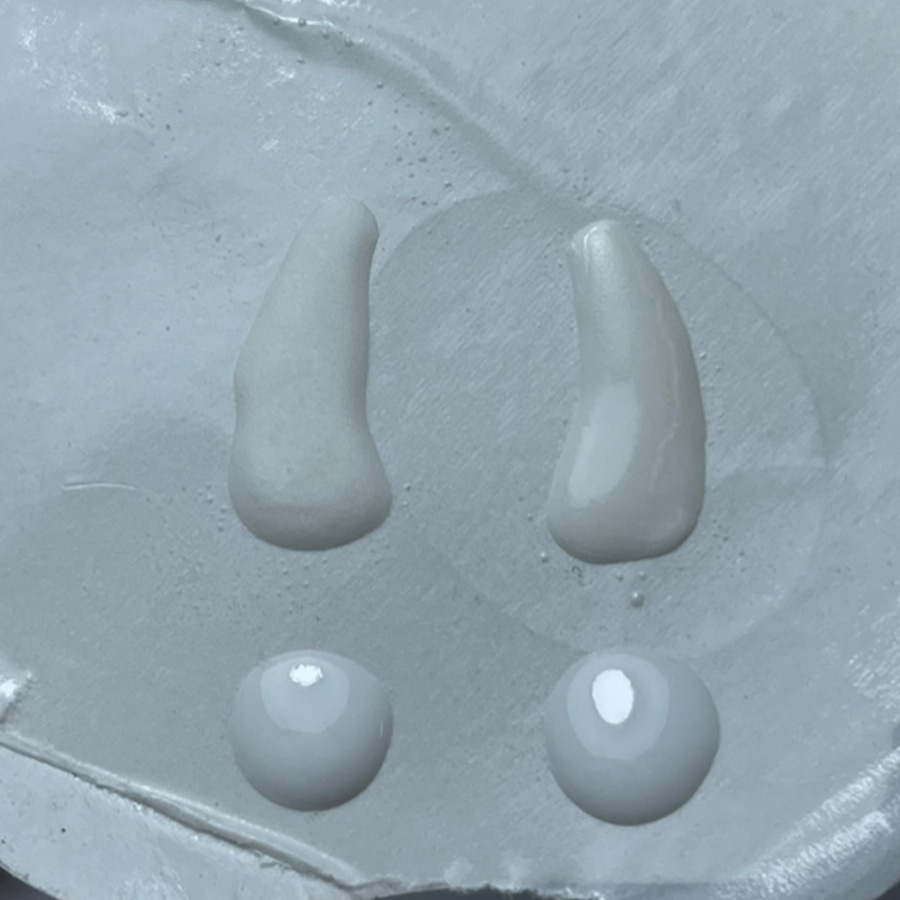
Sculpt a long, curved tail shape onto a nail form using a white acrylic bead. Press into it along one edge with your brush to give it a fluffy effect.
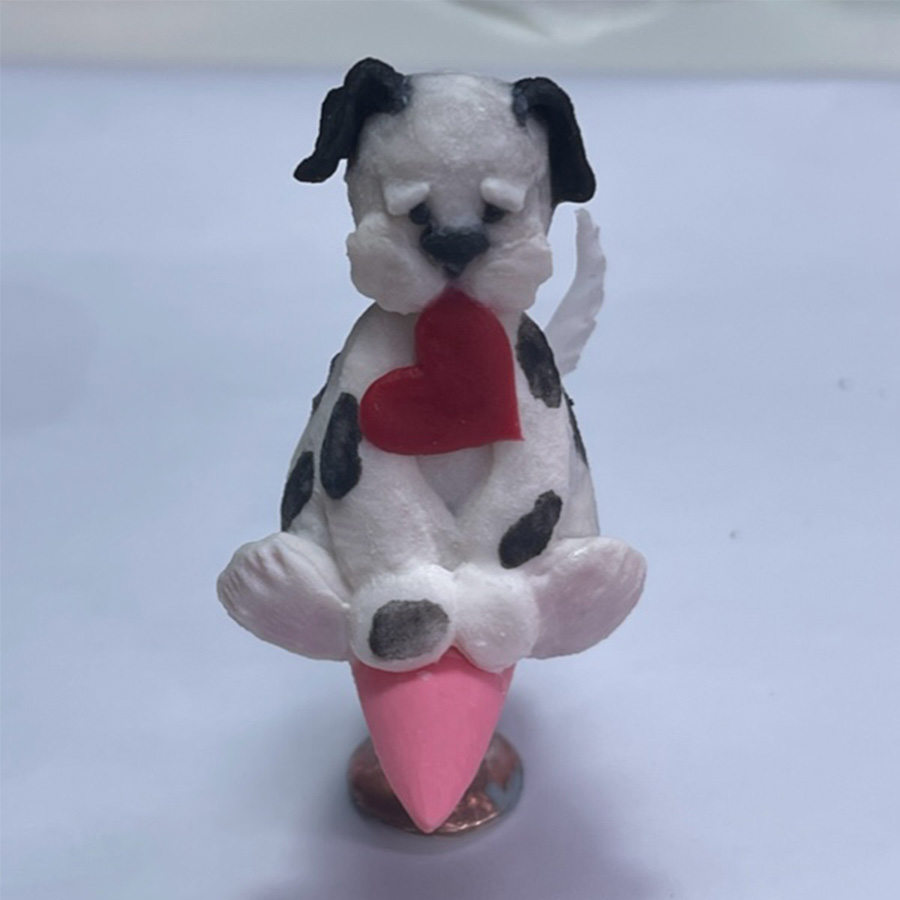
Sculpt a long, curved tail shape onto a nail form using a white acrylic bead. Press into it along one edge with your brush to give it a fluffy effect.
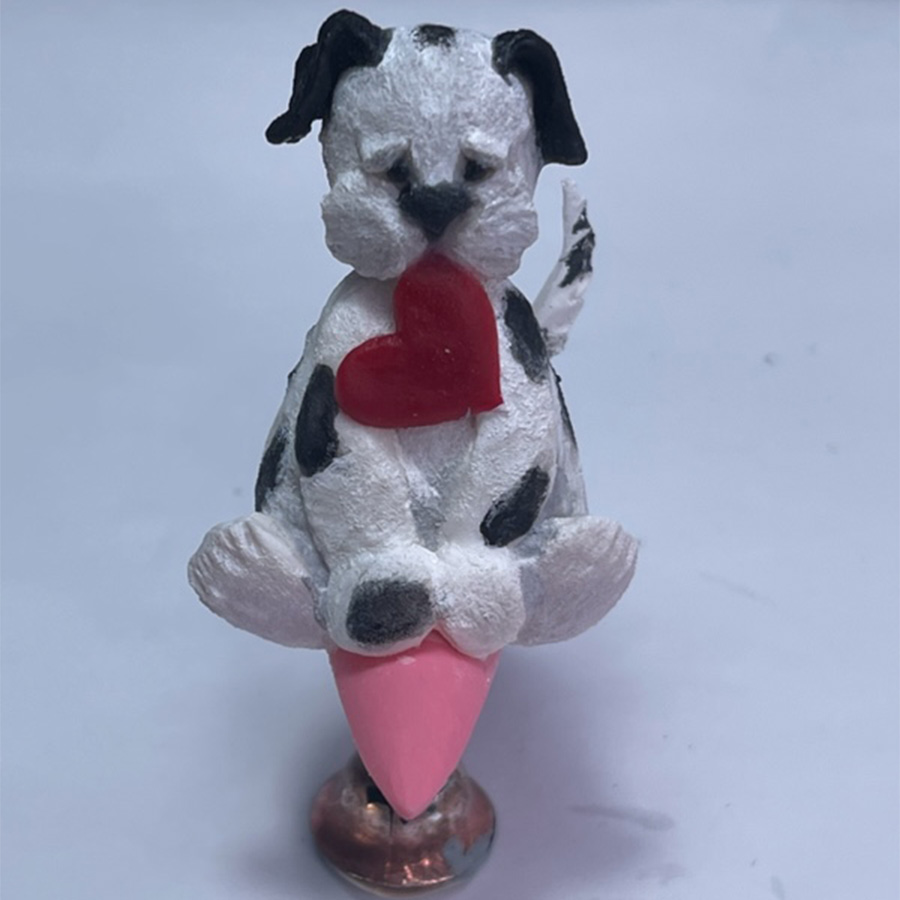
To further accentuate the styling, paint over the body with acrylic paints using an almost dry brush. Use the paint sparingly so it gives the effect of a furry, body. Use a little gray paint to accentuate some areas where a natural shadow would fall.
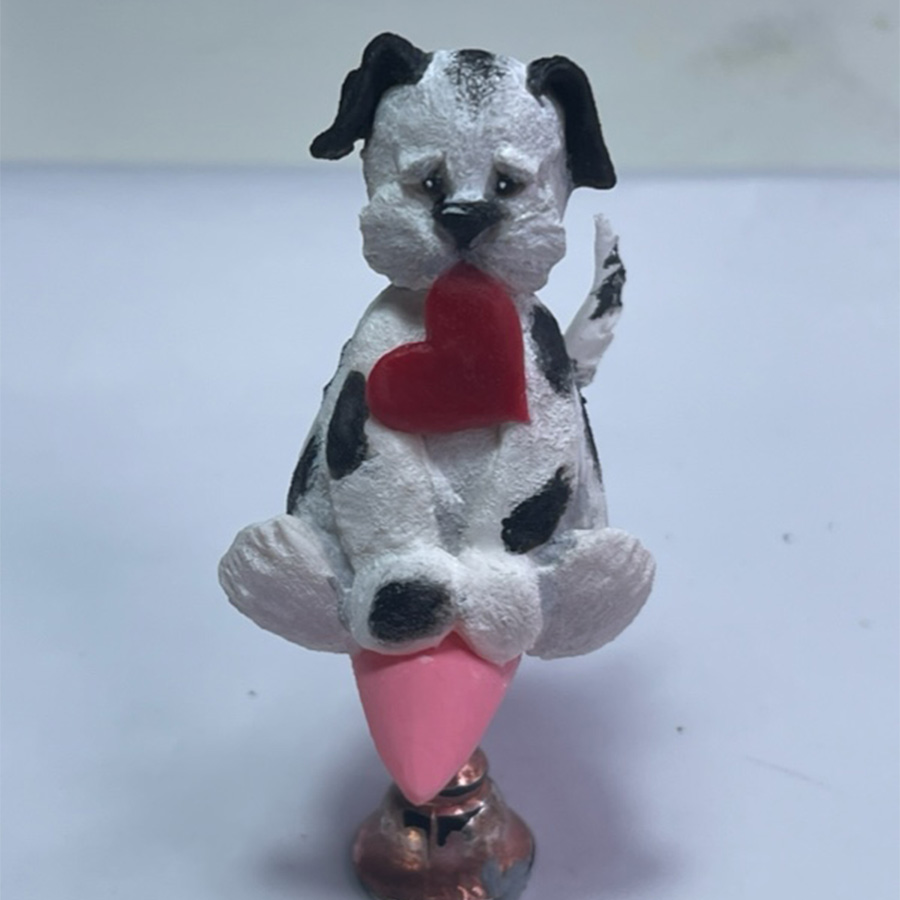
Next, with gel paint, add white highlight flecks to the eyes & nose.
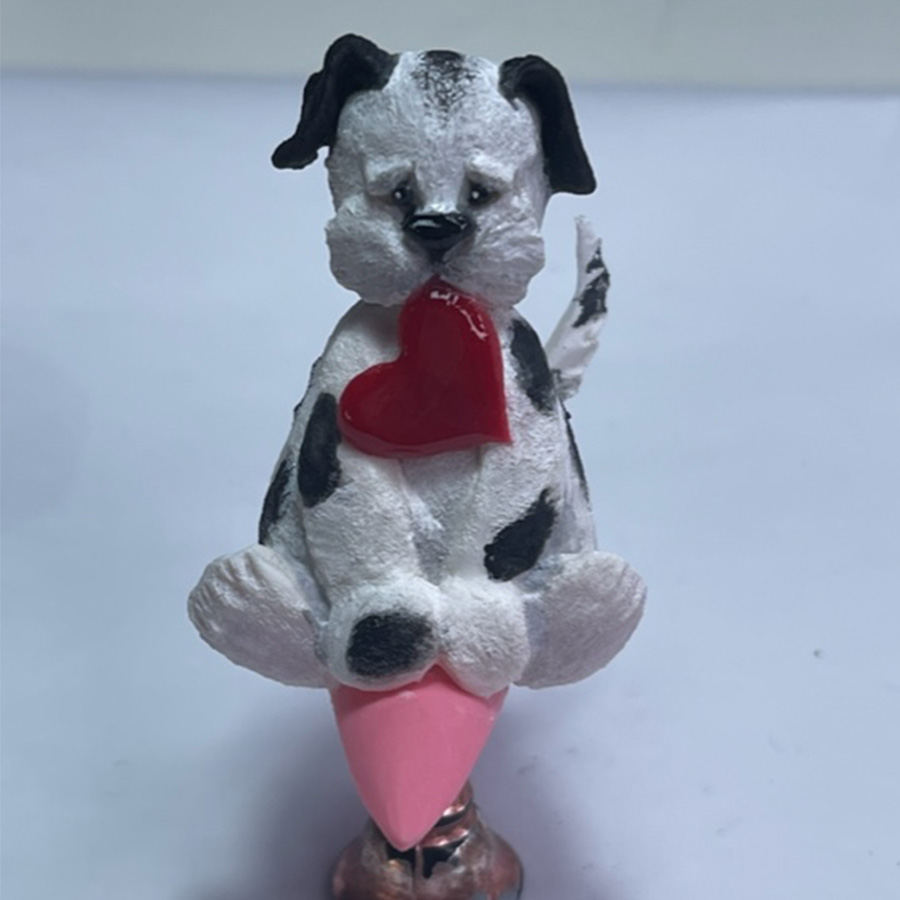
Lastly apply top coat to the heart – to make it shine as the focal point, the eyes – to make them sparkle – & the nose – to make it look wet, then cure.

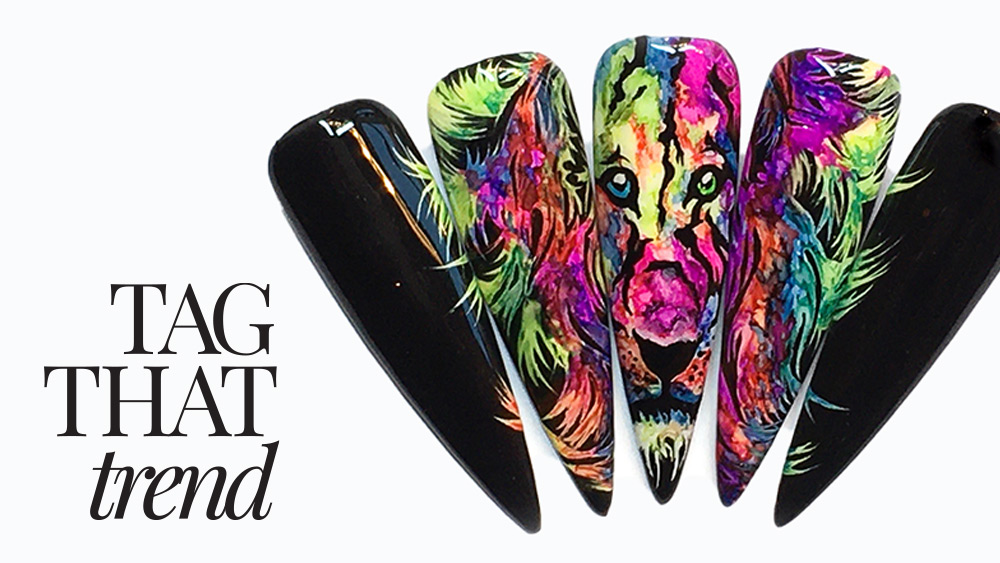
MORE TAG THAT TREND
RELATED VIDEOS

MORE TO EXPLORE

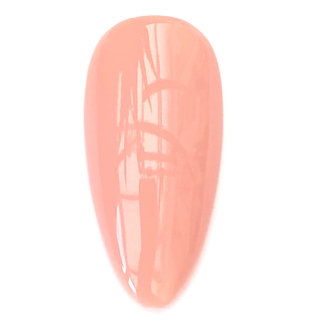
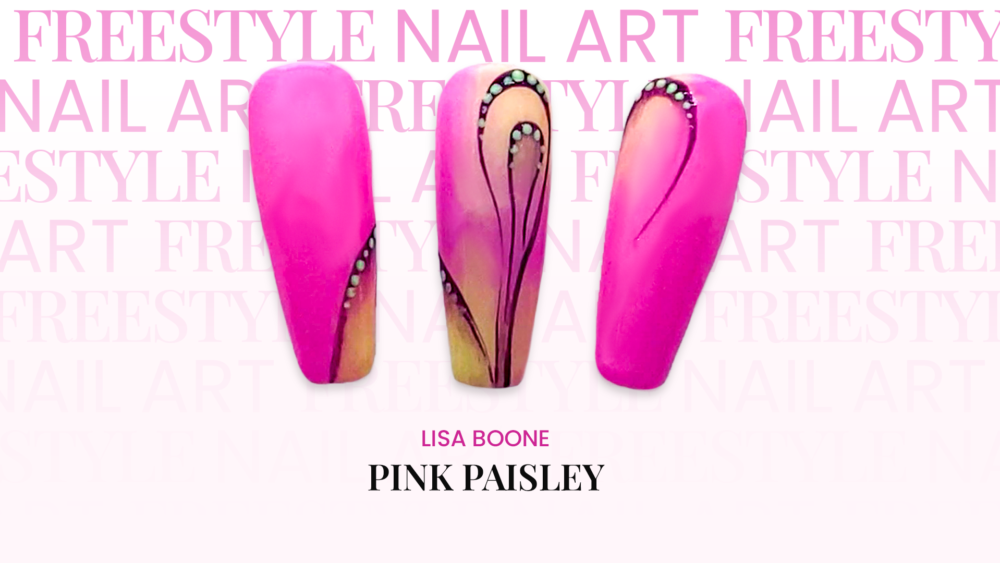
Prep the natural nail using a 180-grit file, remove dust. Apply “Prep It!”, then two thin coats of Flex It! “Cover Peach”, curing each coat for 60-seconds.
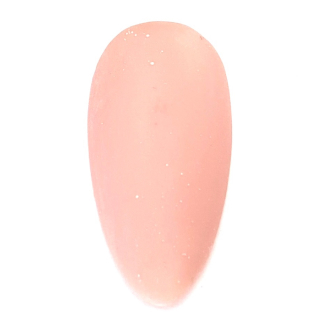
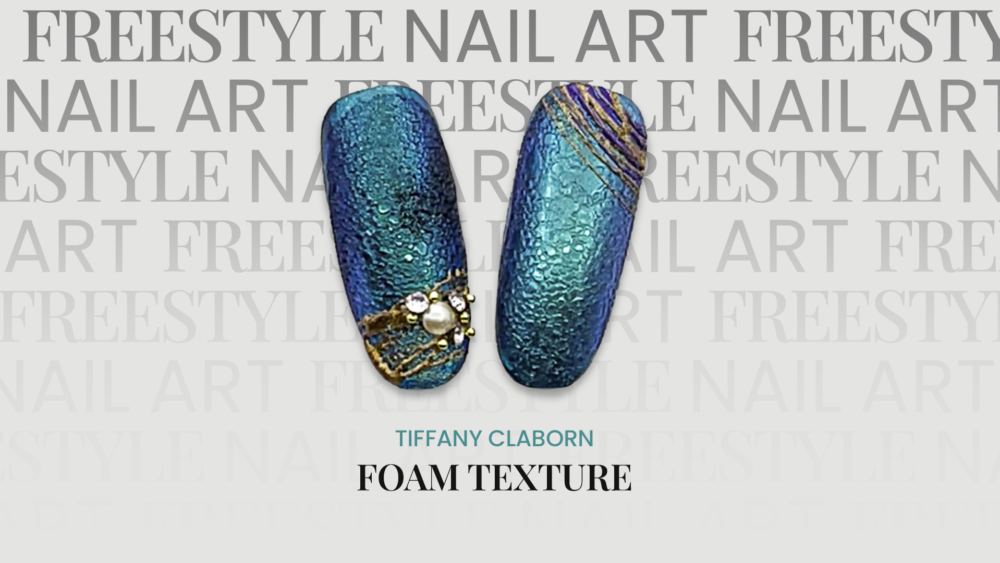
Prep Apply a thin, even coat of HD Pro “Matt It!” Cure for 60-seconds.
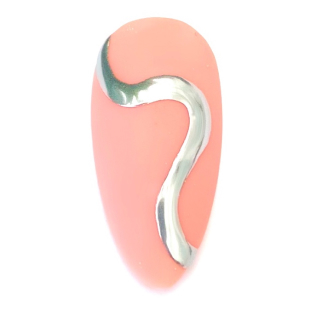
Use the HD Pro Long liner brush and HD Pro Art Gel in “Graphite” to create a wavy line. Cure for 30-seconds, then rub line with a dusting brush.