The Mexico Nail Shape
![]()
Mino Vo
Starting out in nails self-taught in 2015, Mino’s career really began to take off in 2019, when he entered his first competition at Nailympia London and won UK Top Tech Division 1. From that day, he decided to work towards a new dream in the nail industry. He’s now recognised for his signature Avant-Garde nails, and teaches this technique globally, as well as running one of the busiest salons in North London with over 10 team members.

PRODUCTS USED
- The Mino Vo L&P Acrylic System
- Mino Vo Acrylic Brush and Mino Vo Metal Files
- Krista Paulitti Extreme Nail Form
- Airbrush Gun & Paints by Project Nails & A Needle
STEPS

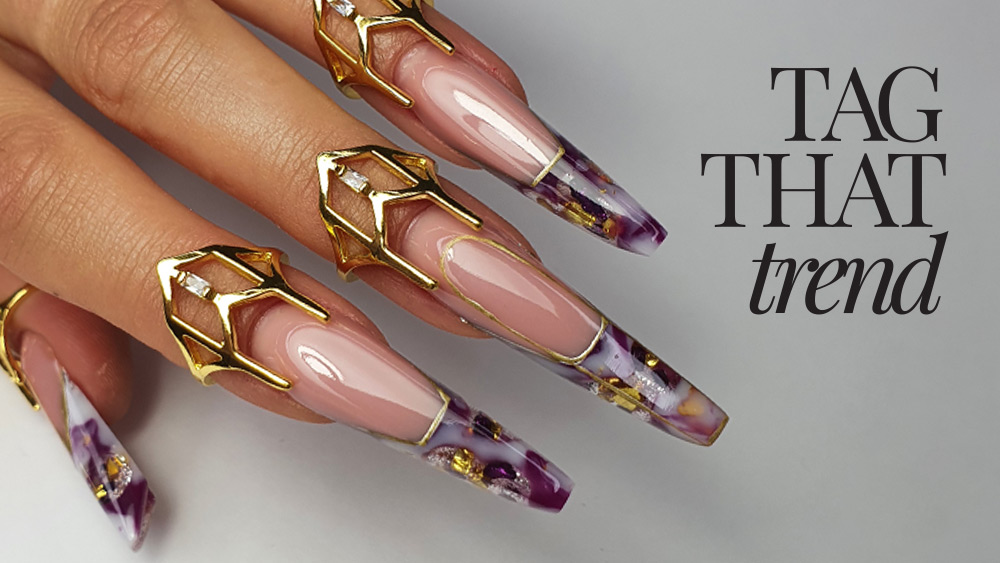
Apply the extreme form to a fully prepped natural nail. Using the liquid & powder acrylic system, build a stiletto nail, a spine, along the extreme nail form to the length you desire.

Assess the Mexico shape of the sidewalls & then using your acrylic brush, build a thin wall of this shape along both sides of the nail form. Make sure to match the shapes on either side.

Attach a needle into the very end of the stiletto point & then fill in the surface.
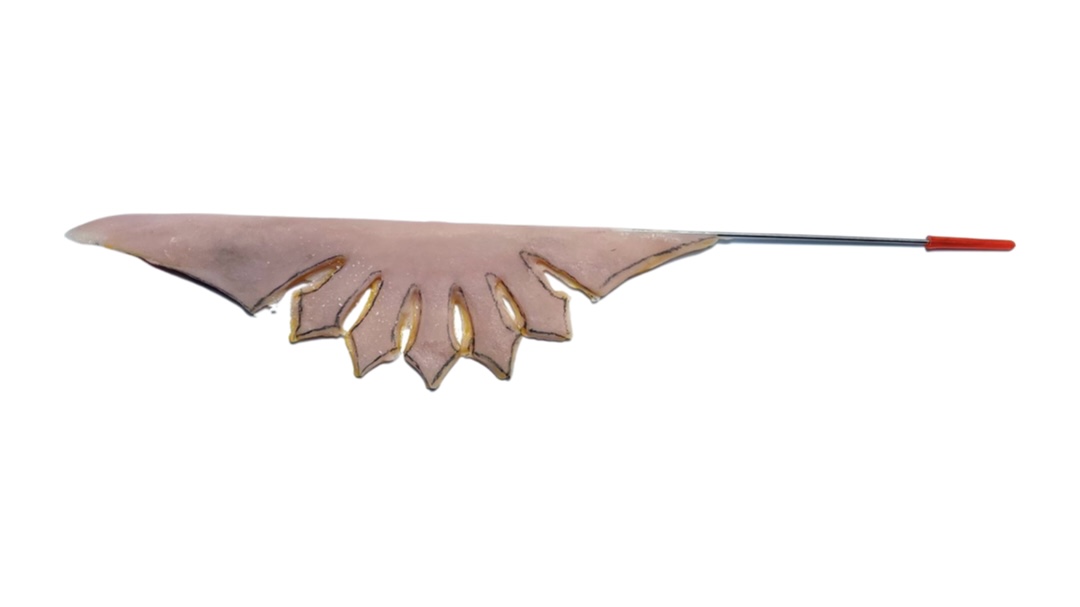
Using the Artistic Marbling Tool, apply a dot of Bubblegum Is Poppin’, Sorbae All Day, Scoop There It Is!, Summer Stunner, Sunshine Tan Line on the nail. Then cure in the UV/LED lamp for 30-seconds.

Now move your filing to the body of the stiletto nail & refine it. Be very gentle at the end where the needle is.Now move your filing to the body of the stiletto nail & refine it. Be very gentle at the end where the needle is.
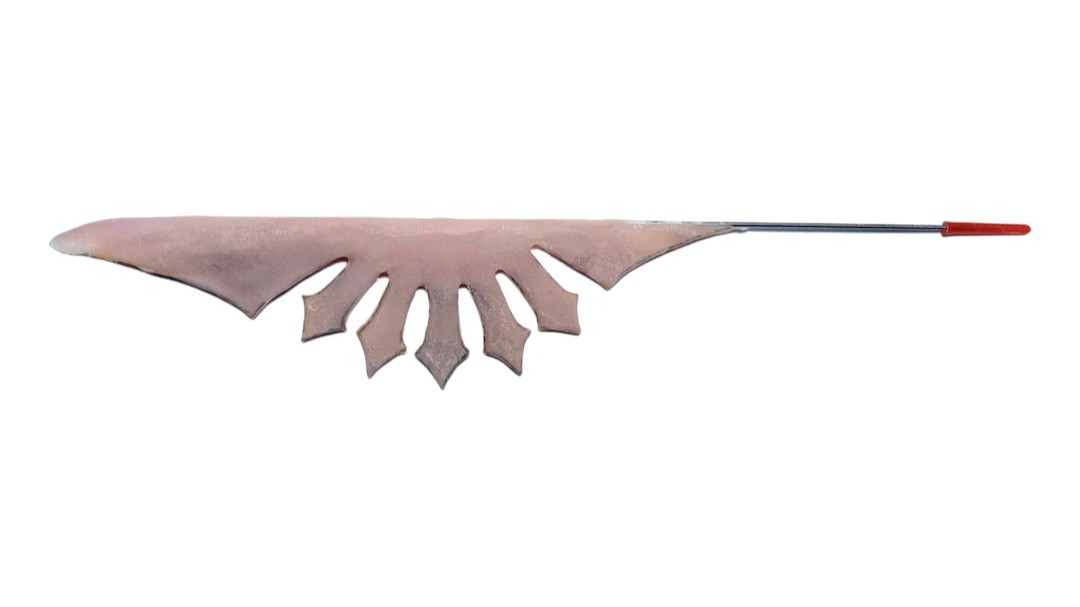
Use your filing to flatten the surface of the nail, and to create a smooth, flawless finish on both sides, on top & underneath. When ready, take your chosen color palette & airbrush a design onto the nail. Airbrushing is a good choice as it brings no bulk to the nail.
MORE TAG THAT TREND
RELATED VIDEOS
MORE TO EXPLORE
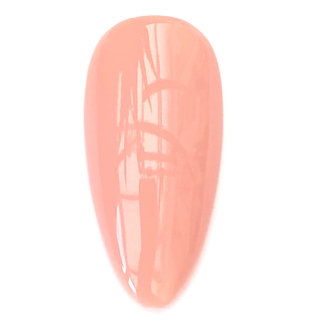
Prep the natural nail using a 180-grit file, remove dust. Apply “Prep It!”, then two thin coats of Flex It! “Cover Peach”, curing each coat for 60-seconds.
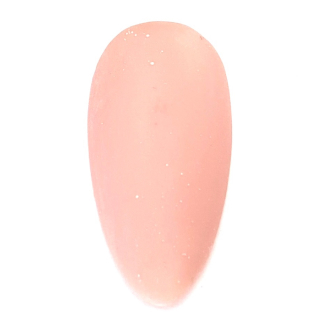
Prep Apply a thin, even coat of HD Pro “Matt It!” Cure for 60-seconds.
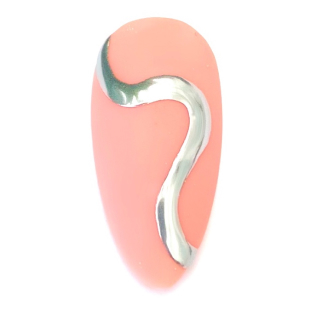
Use the HD Pro Long liner brush and HD Pro Art Gel in “Graphite” to create a wavy line. Cure for 30-seconds, then rub line with a dusting brush.


