Character Portraiture
![]()
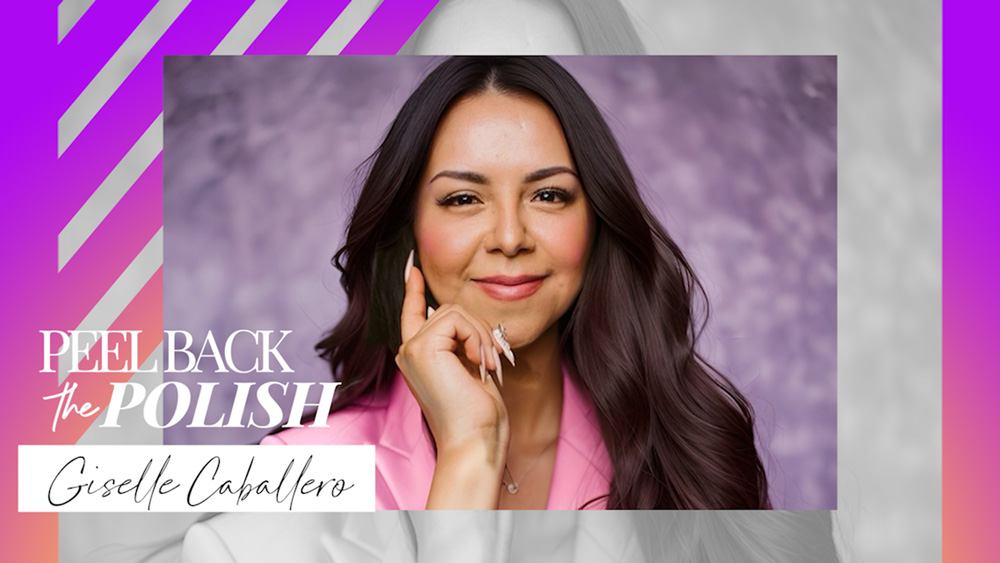
Jacqueline McClement
Award-winning Jacqueline McClement, certified nail technician and owner of private nail studio, Lux Nail Art Studio Inc in Estevan, Saskatchewan in Canada is also a successful published children’s book illustrator. “I’ve created many different types of art throughout my life, from large outdoor wall murals and backdrops, to children’s books and wall paintings. However, I never found my true niche until I discovered nail art. This is where I really found my passion and I’ve never been so happy as when I’m creating mini masterpieces on nails.”
PRODUCTS USED
- Emi Nail gel paints
- Emi Nail Velvet Top Coatl
STEPS

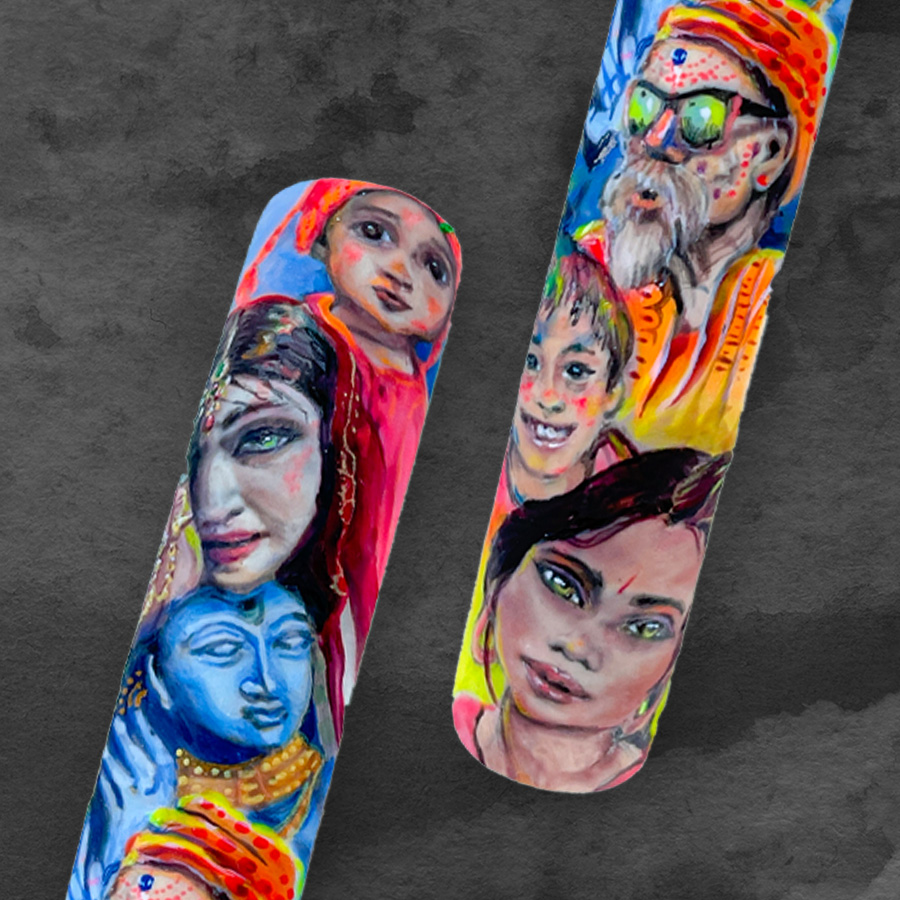
Apply a coat of white gel polish & cure. Then buff the surface of the nail to create a matte surface. Use a pencil to lightly draw outlines of the faces. Use alcohol to erase any errors then top coat with a matte gel polish.
Add some flesh color thinly to the areas of skin & begin to add darker.
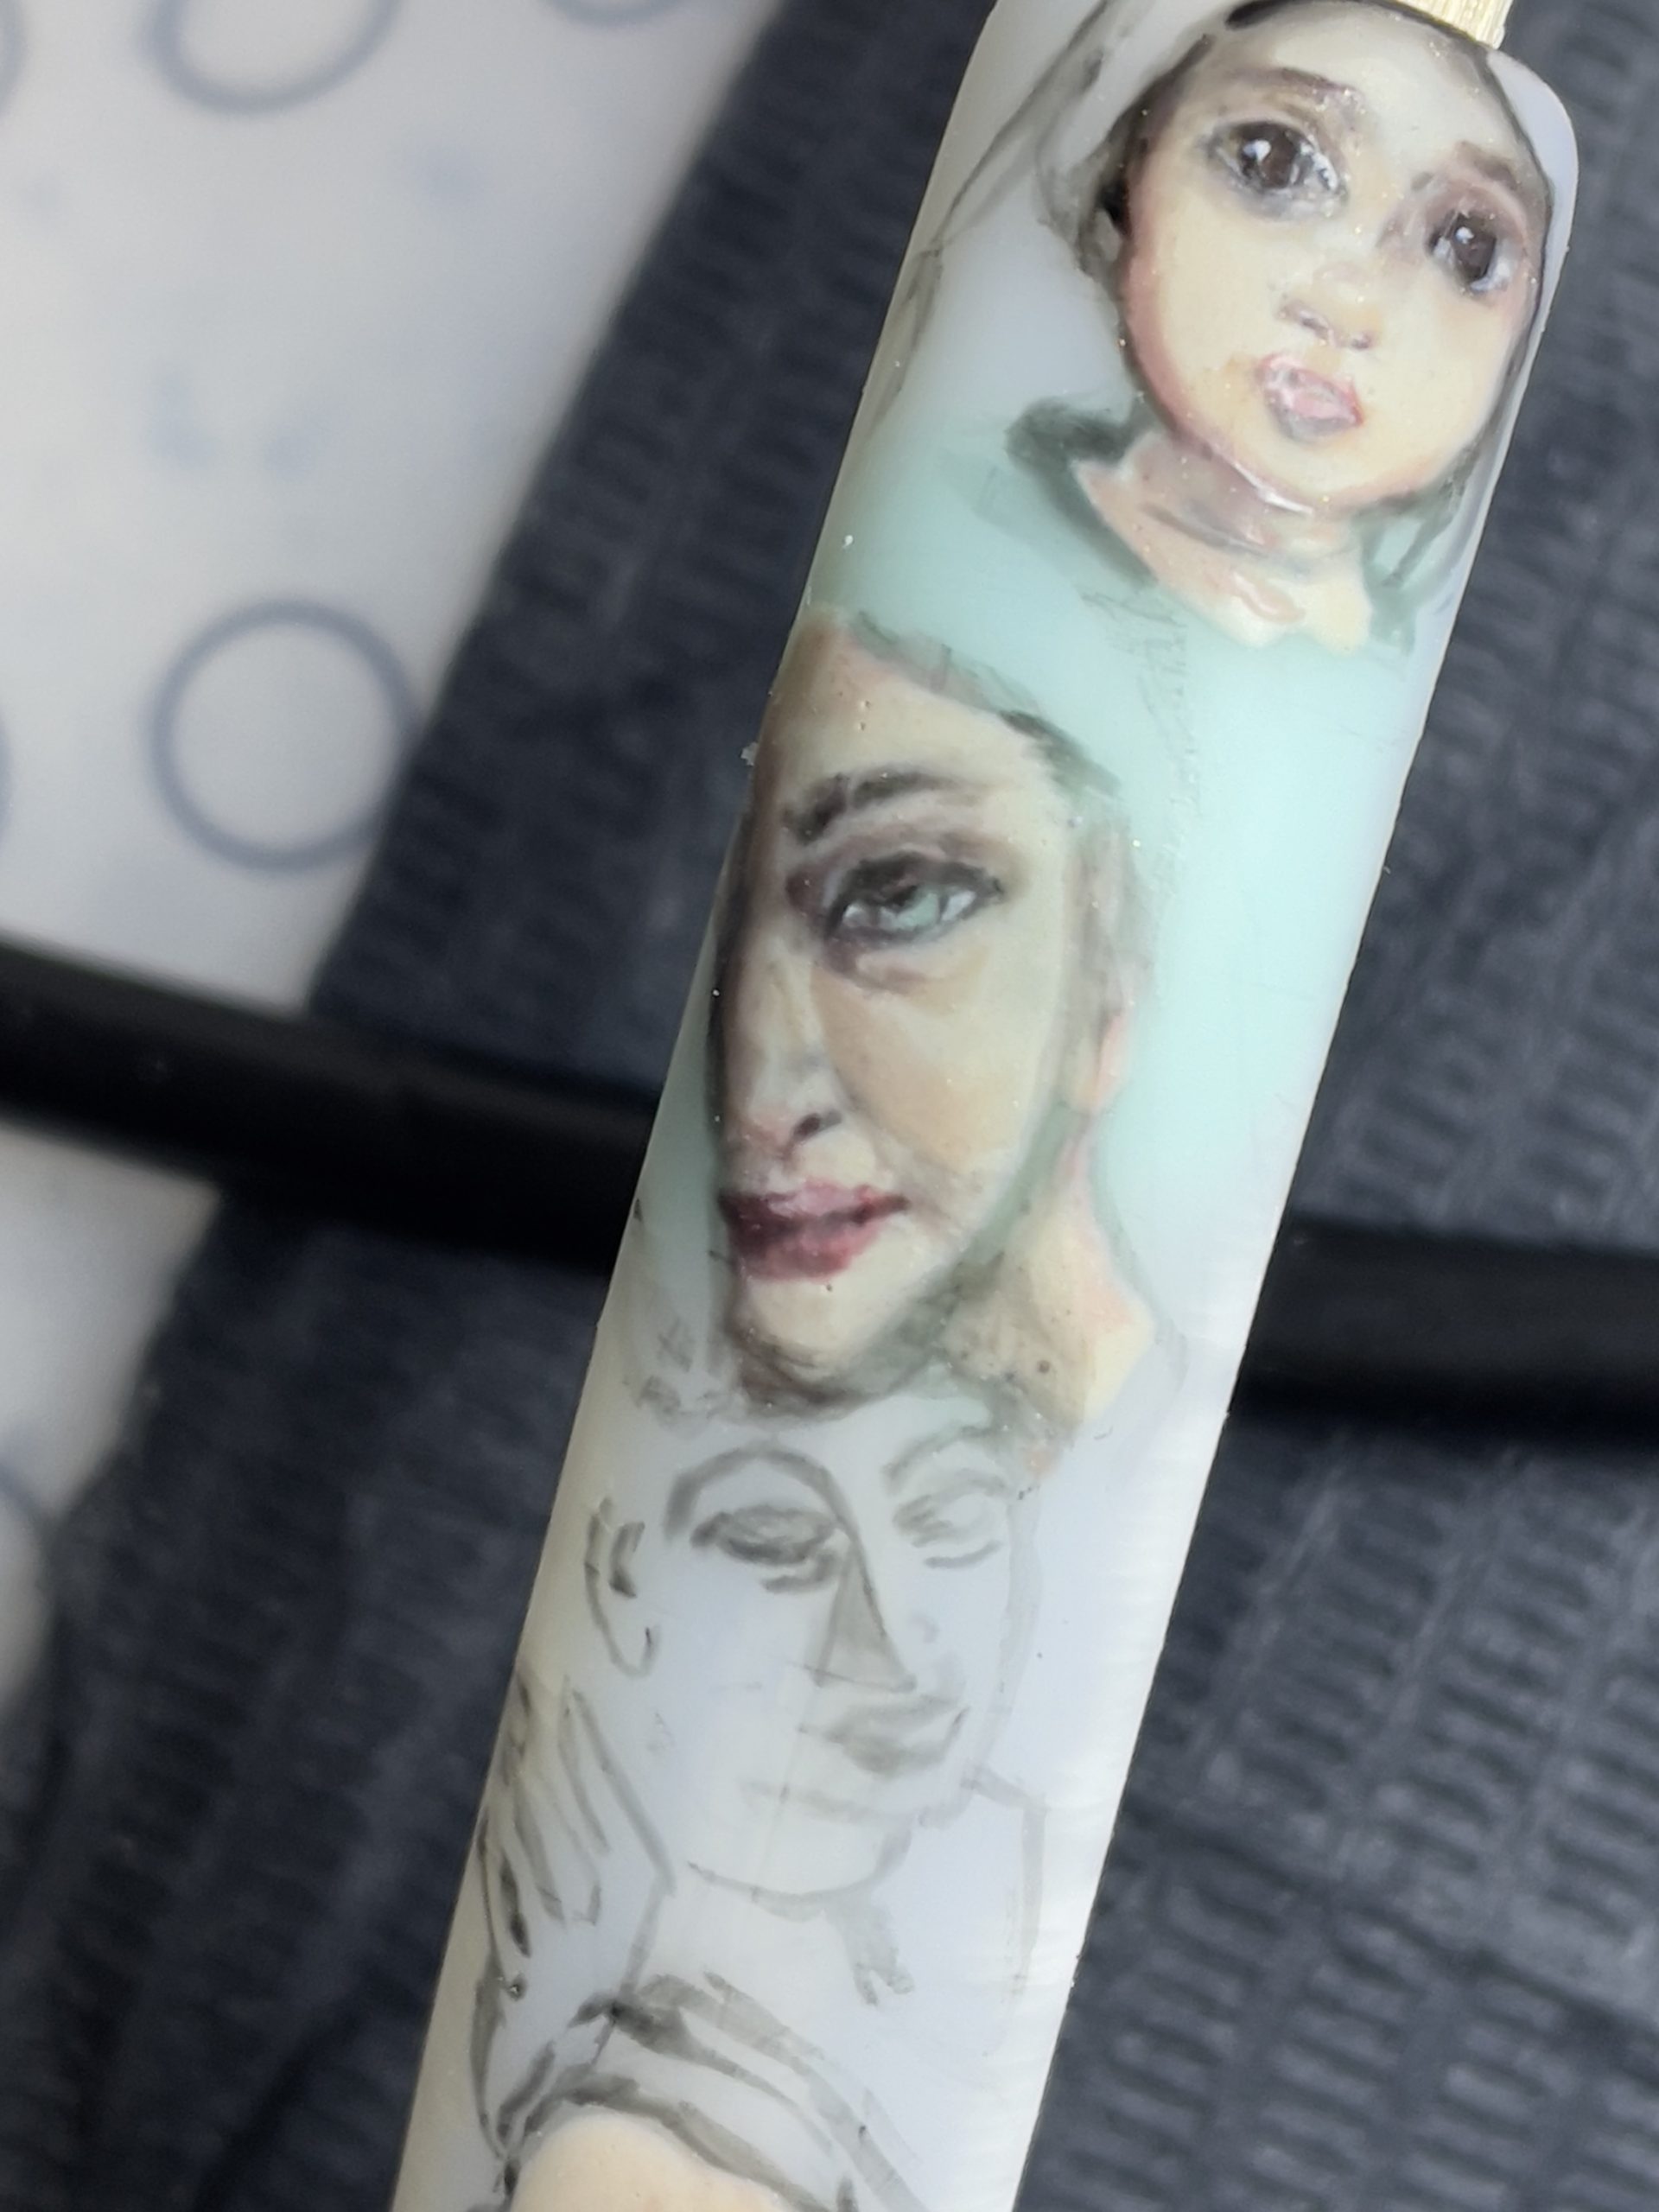
Continue to add details and softly blend in facial shadowing. Start with the eyes because you then begin to ‘feel’ the characters as they come to life. Begin to add a light background shade to the scene.
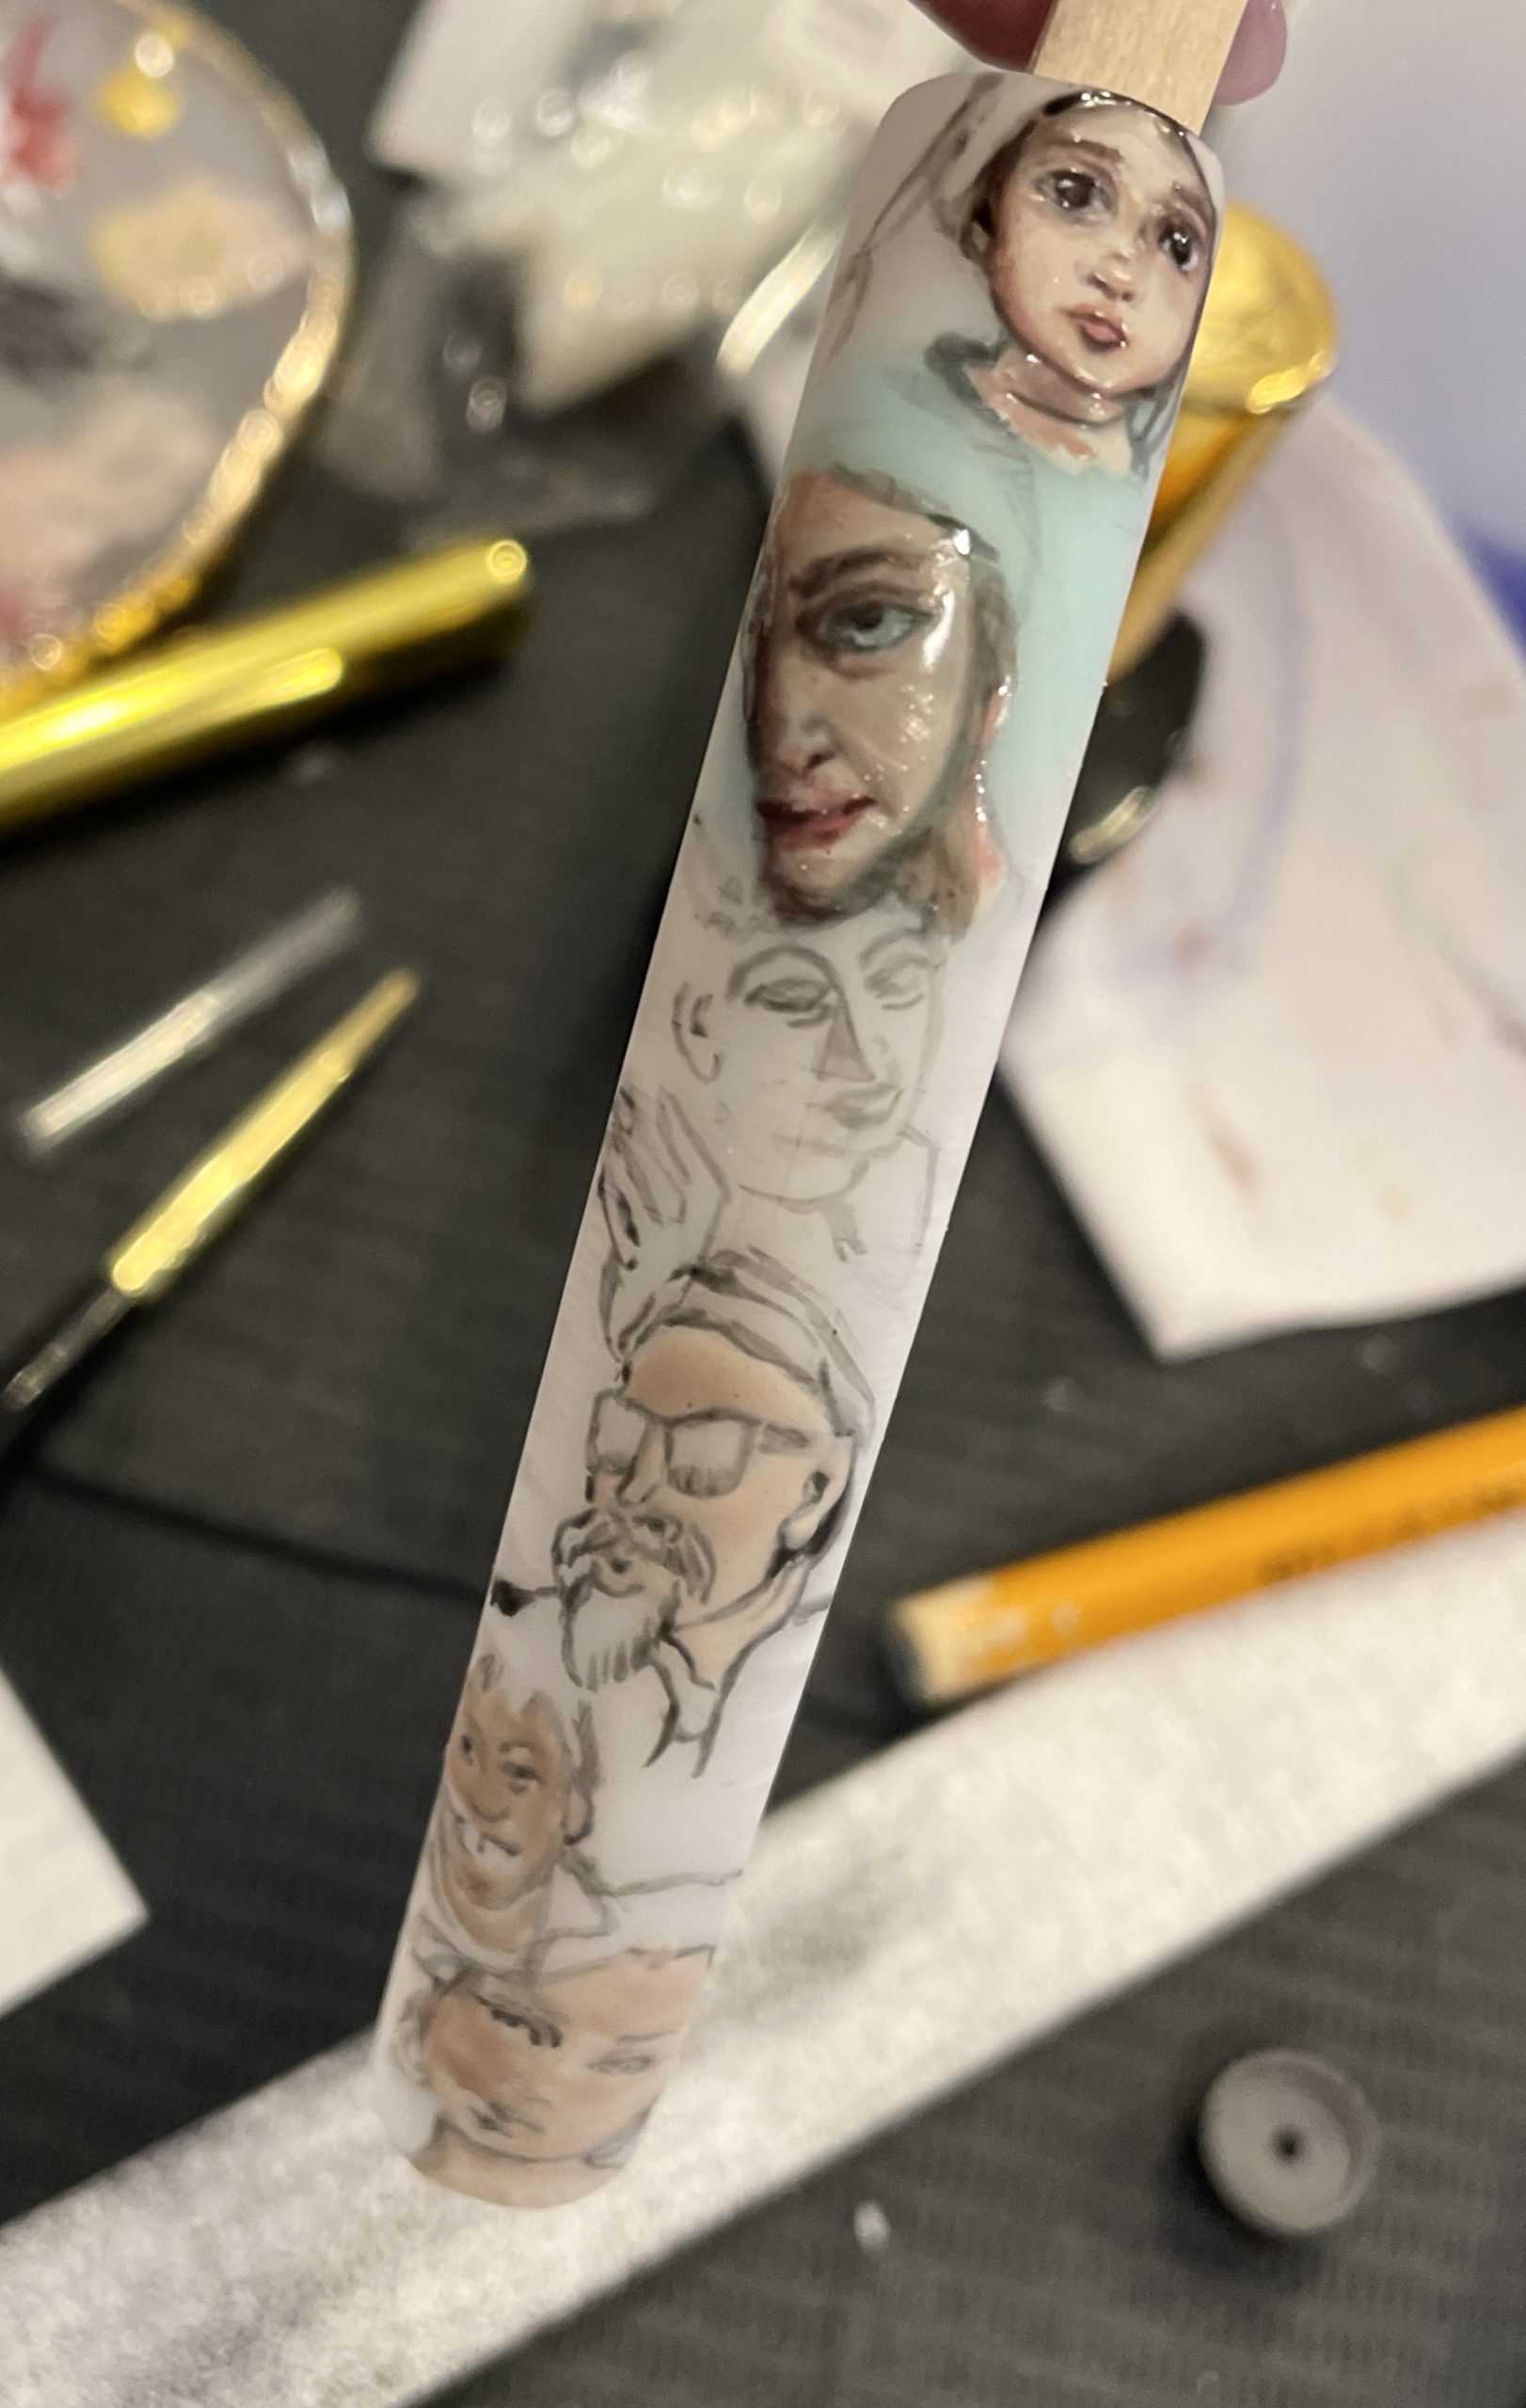
Start to lightly add in color, carefully & thinly at first. Take your time to build this intricate design.
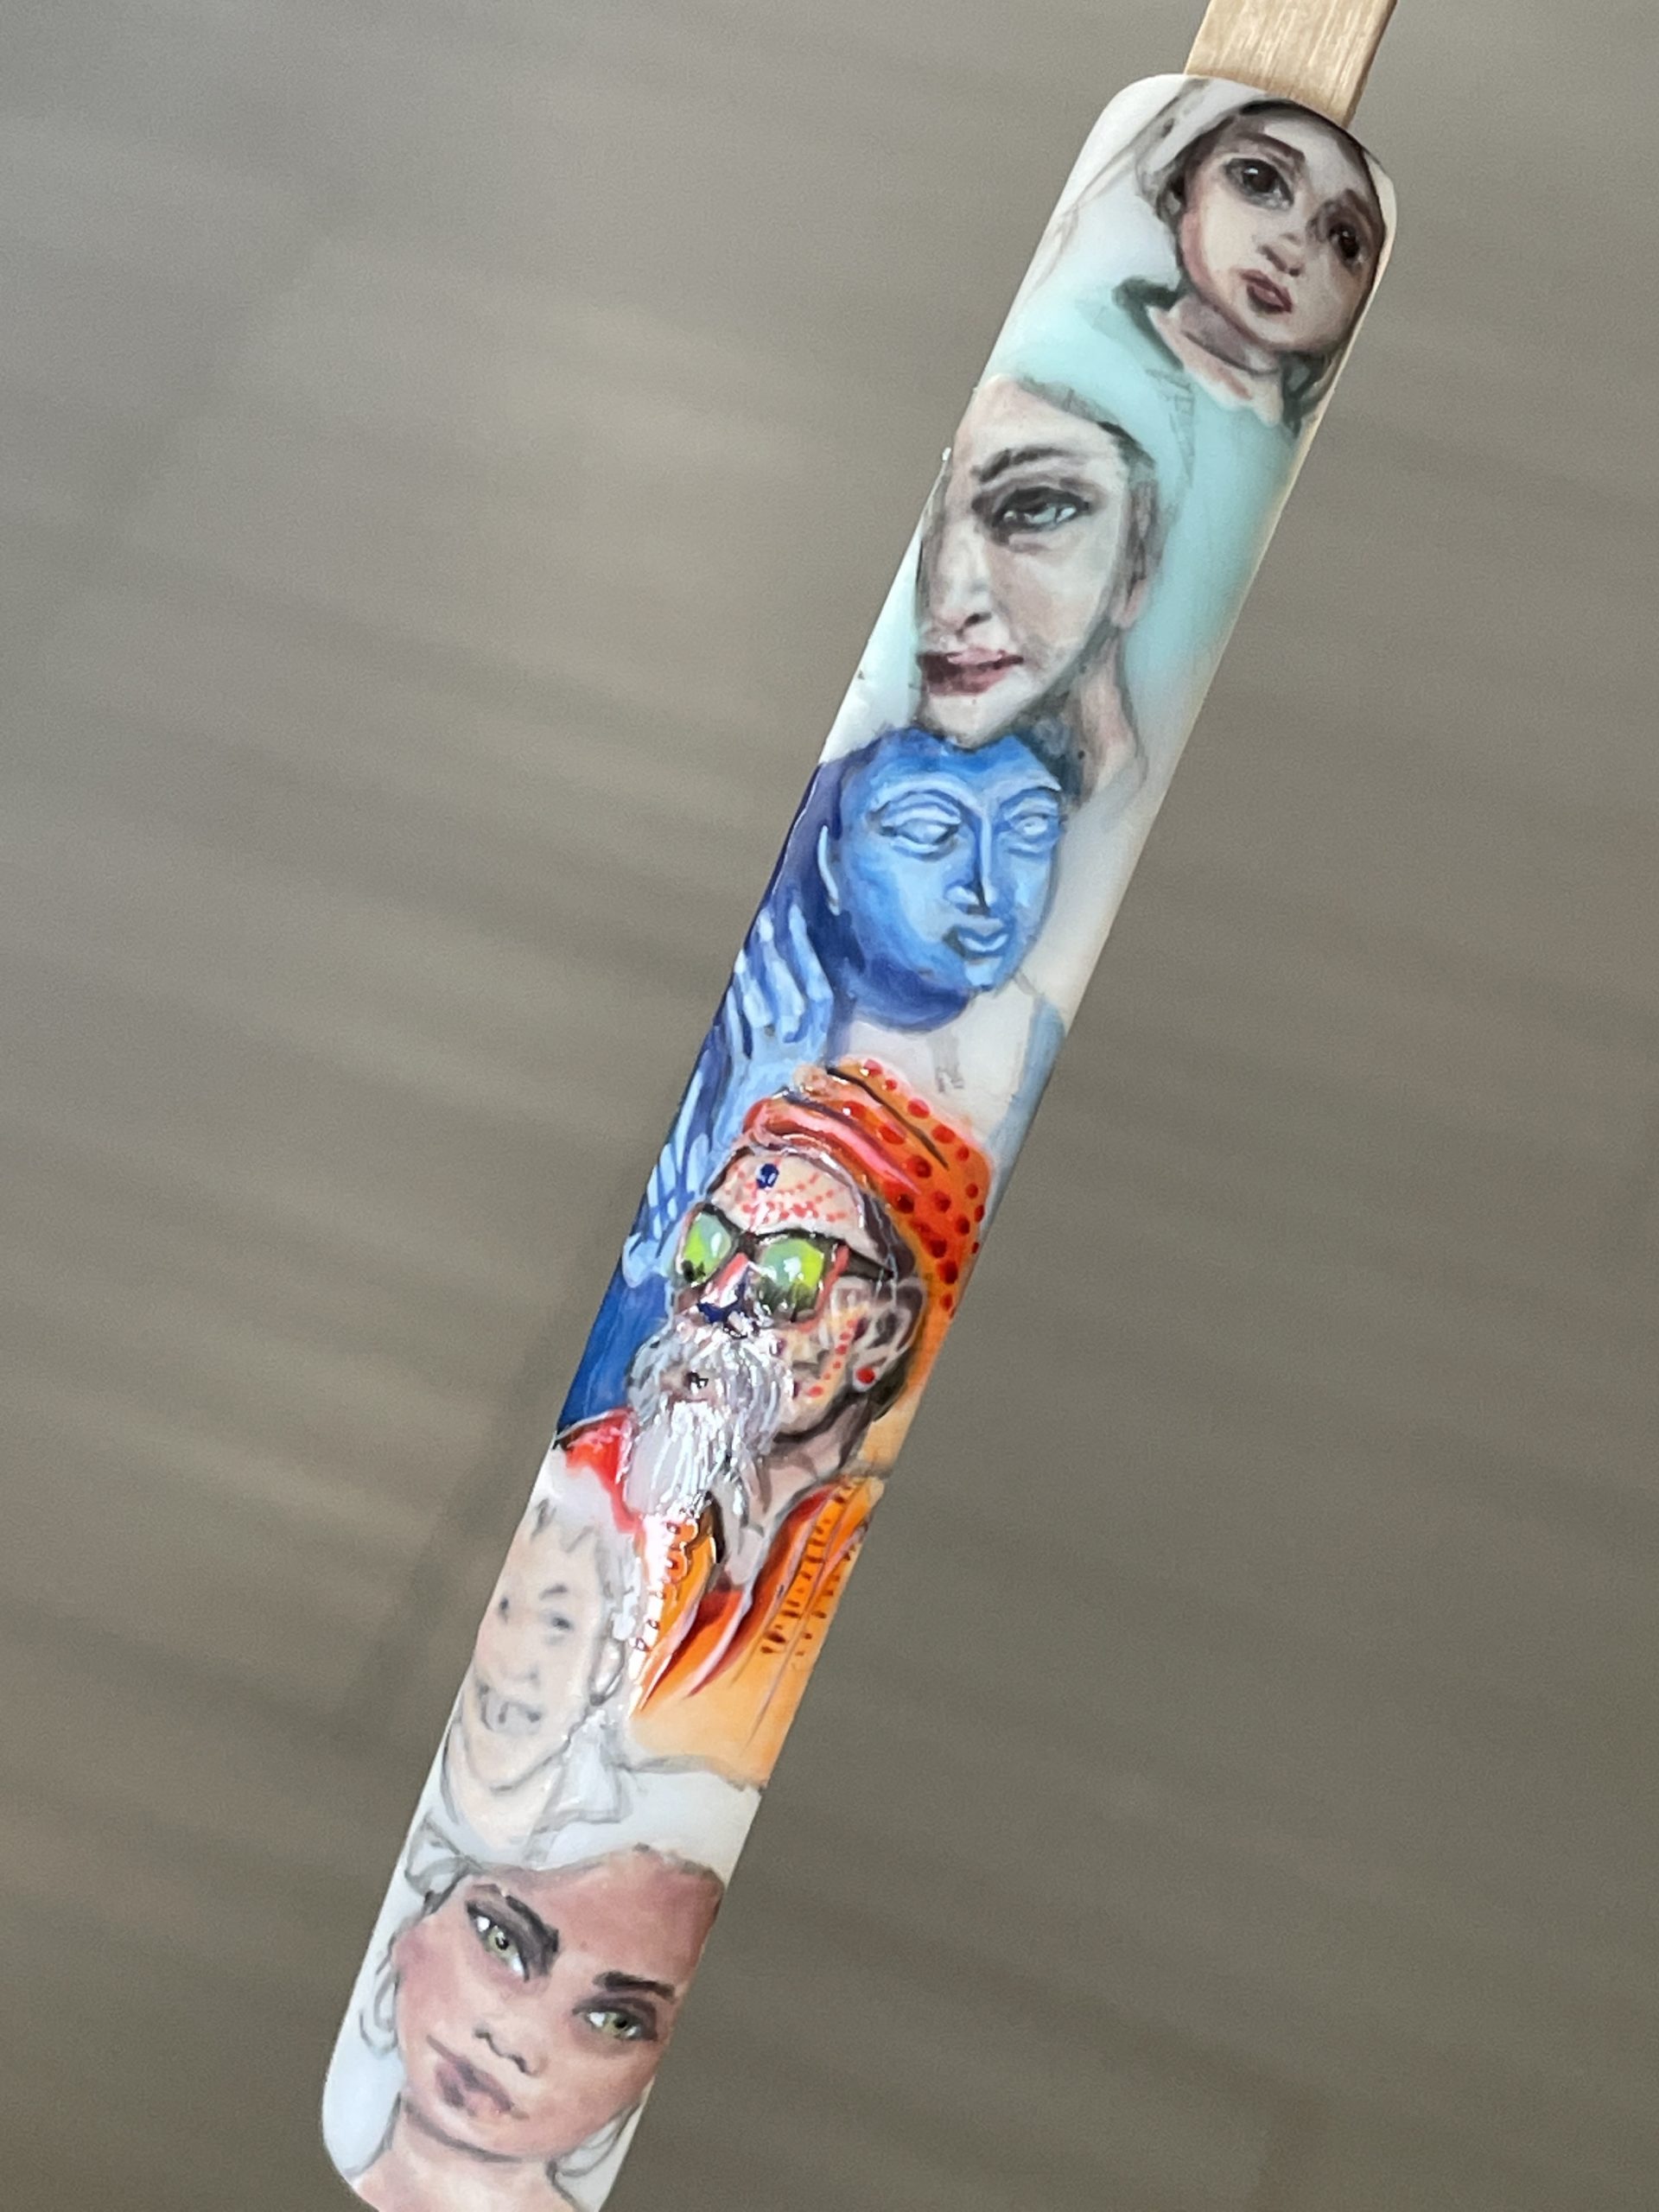
Now it’s time to start adding in bolder color across the design. Make sure to consider the color placement. Bold colors must flow around the image to keep consistency & balance across the whole image.
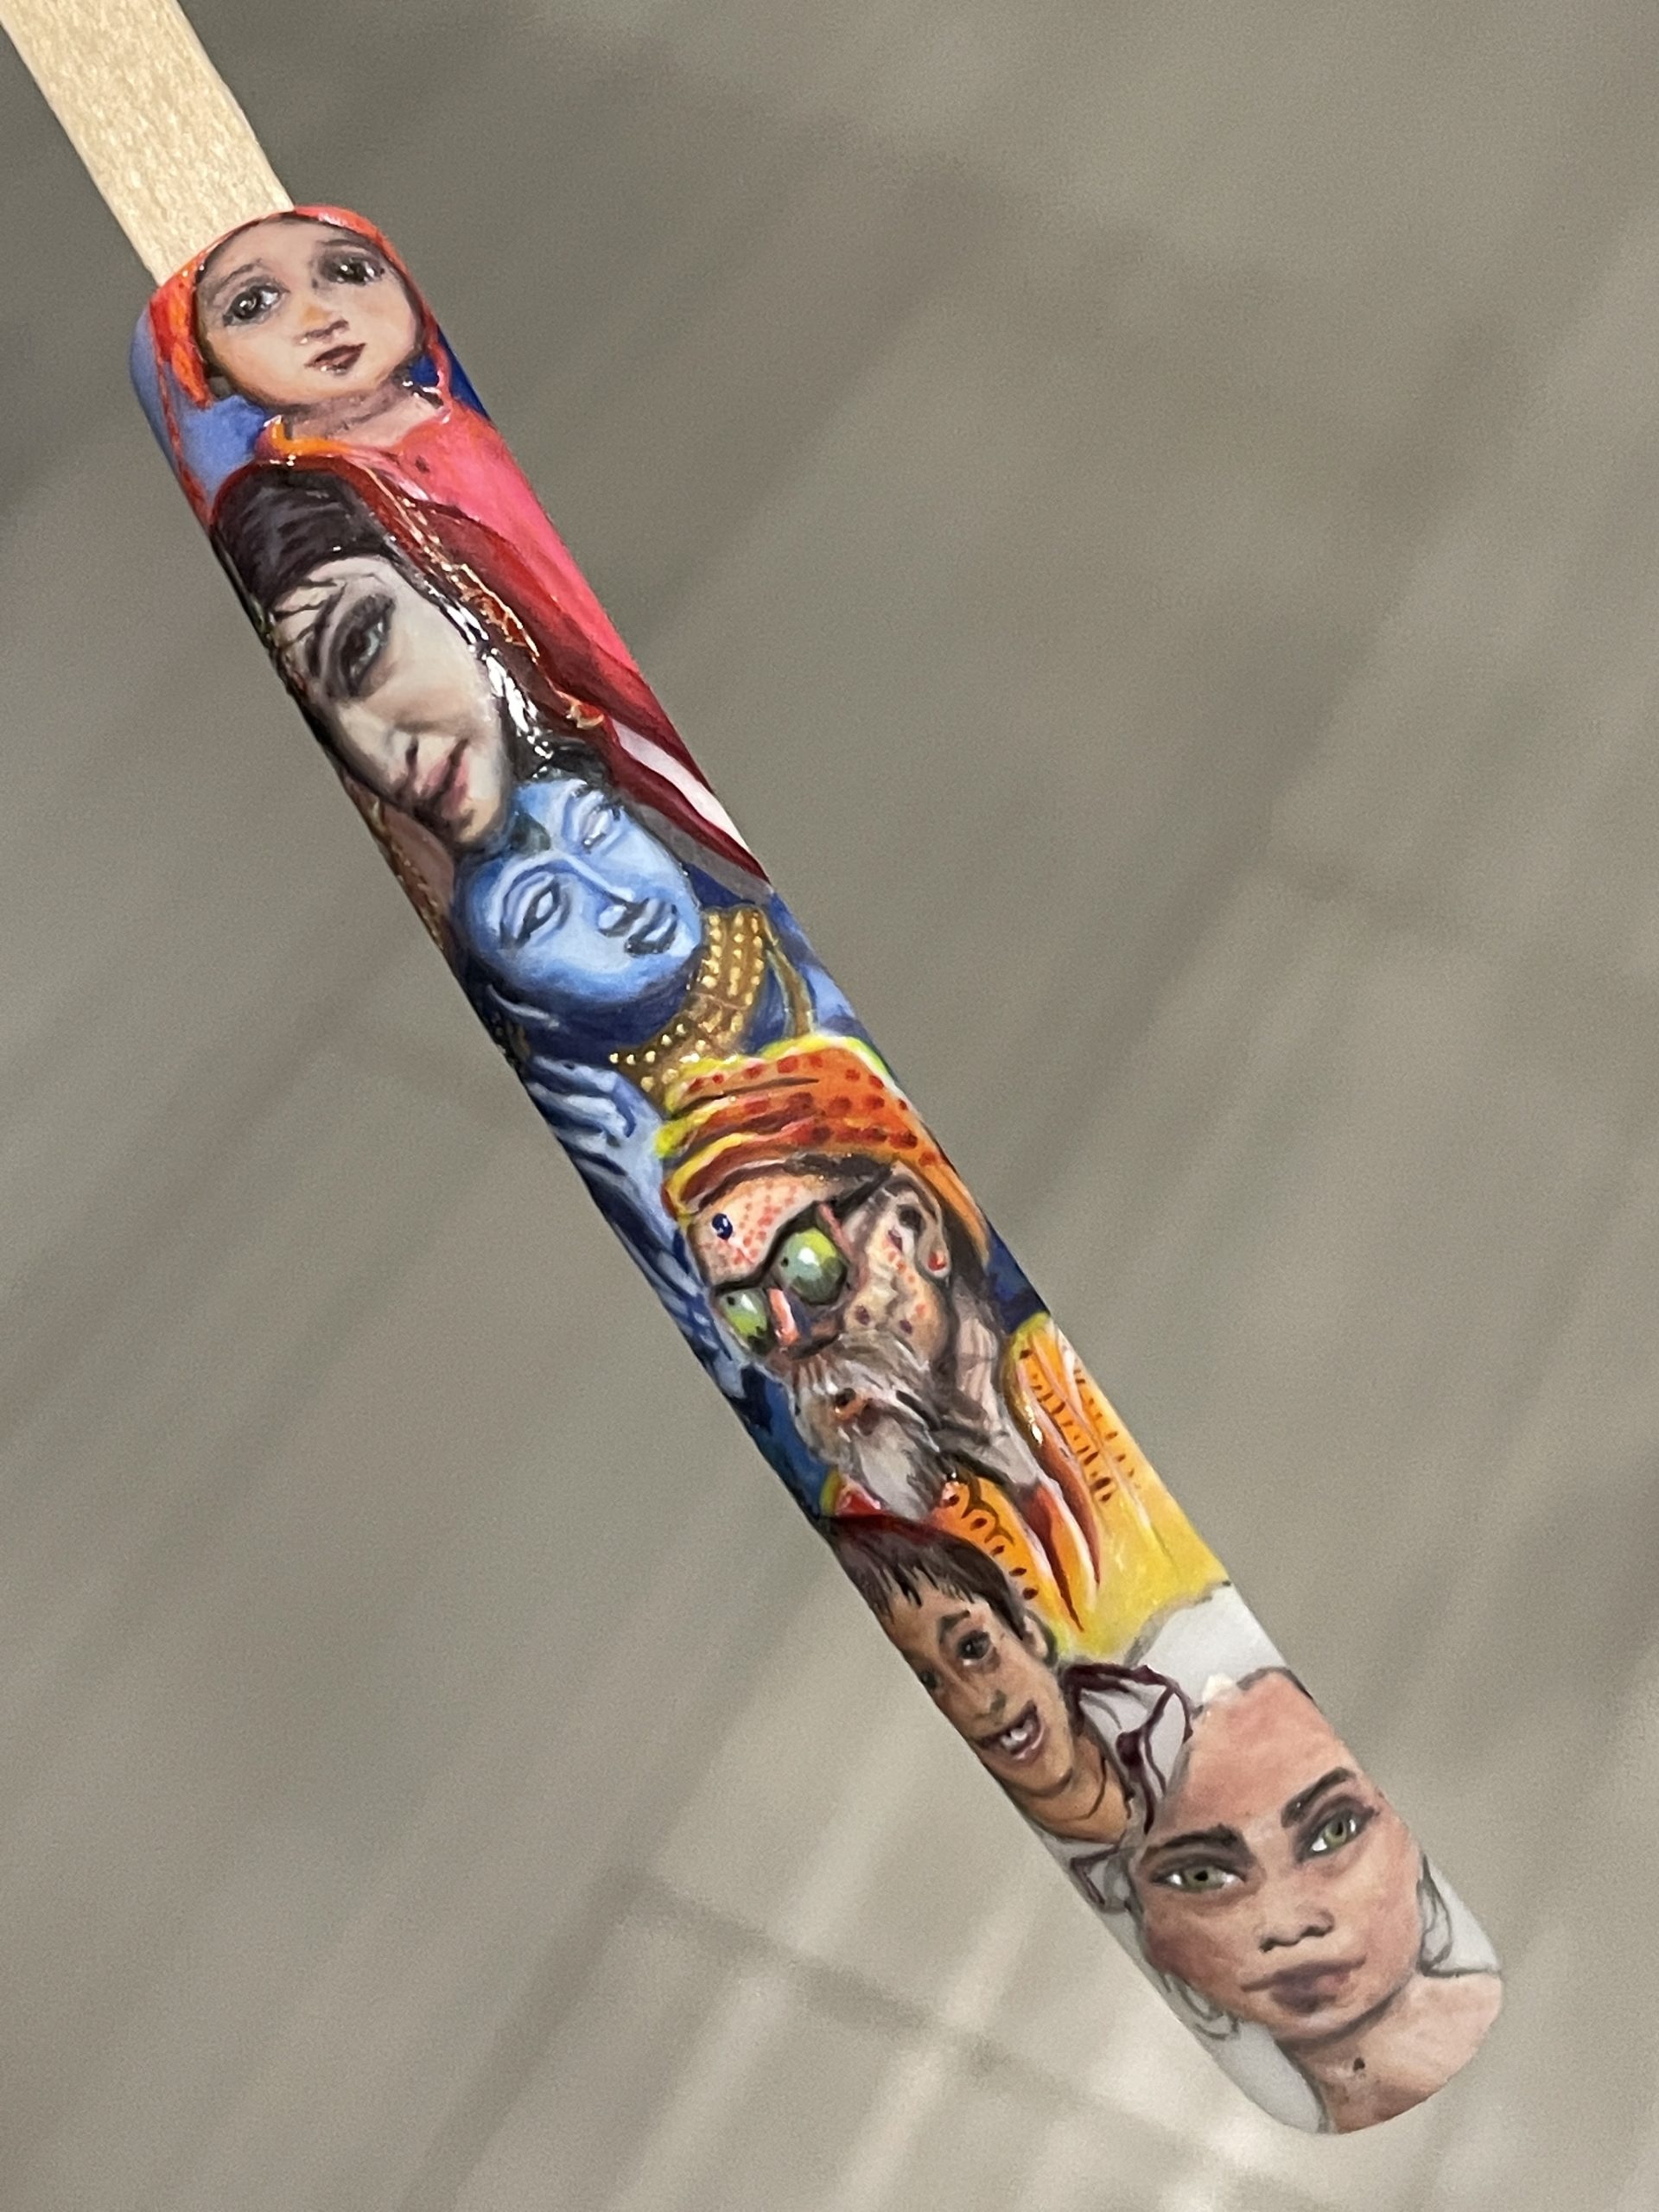
Now darken the colors, add shadowing & defining details.
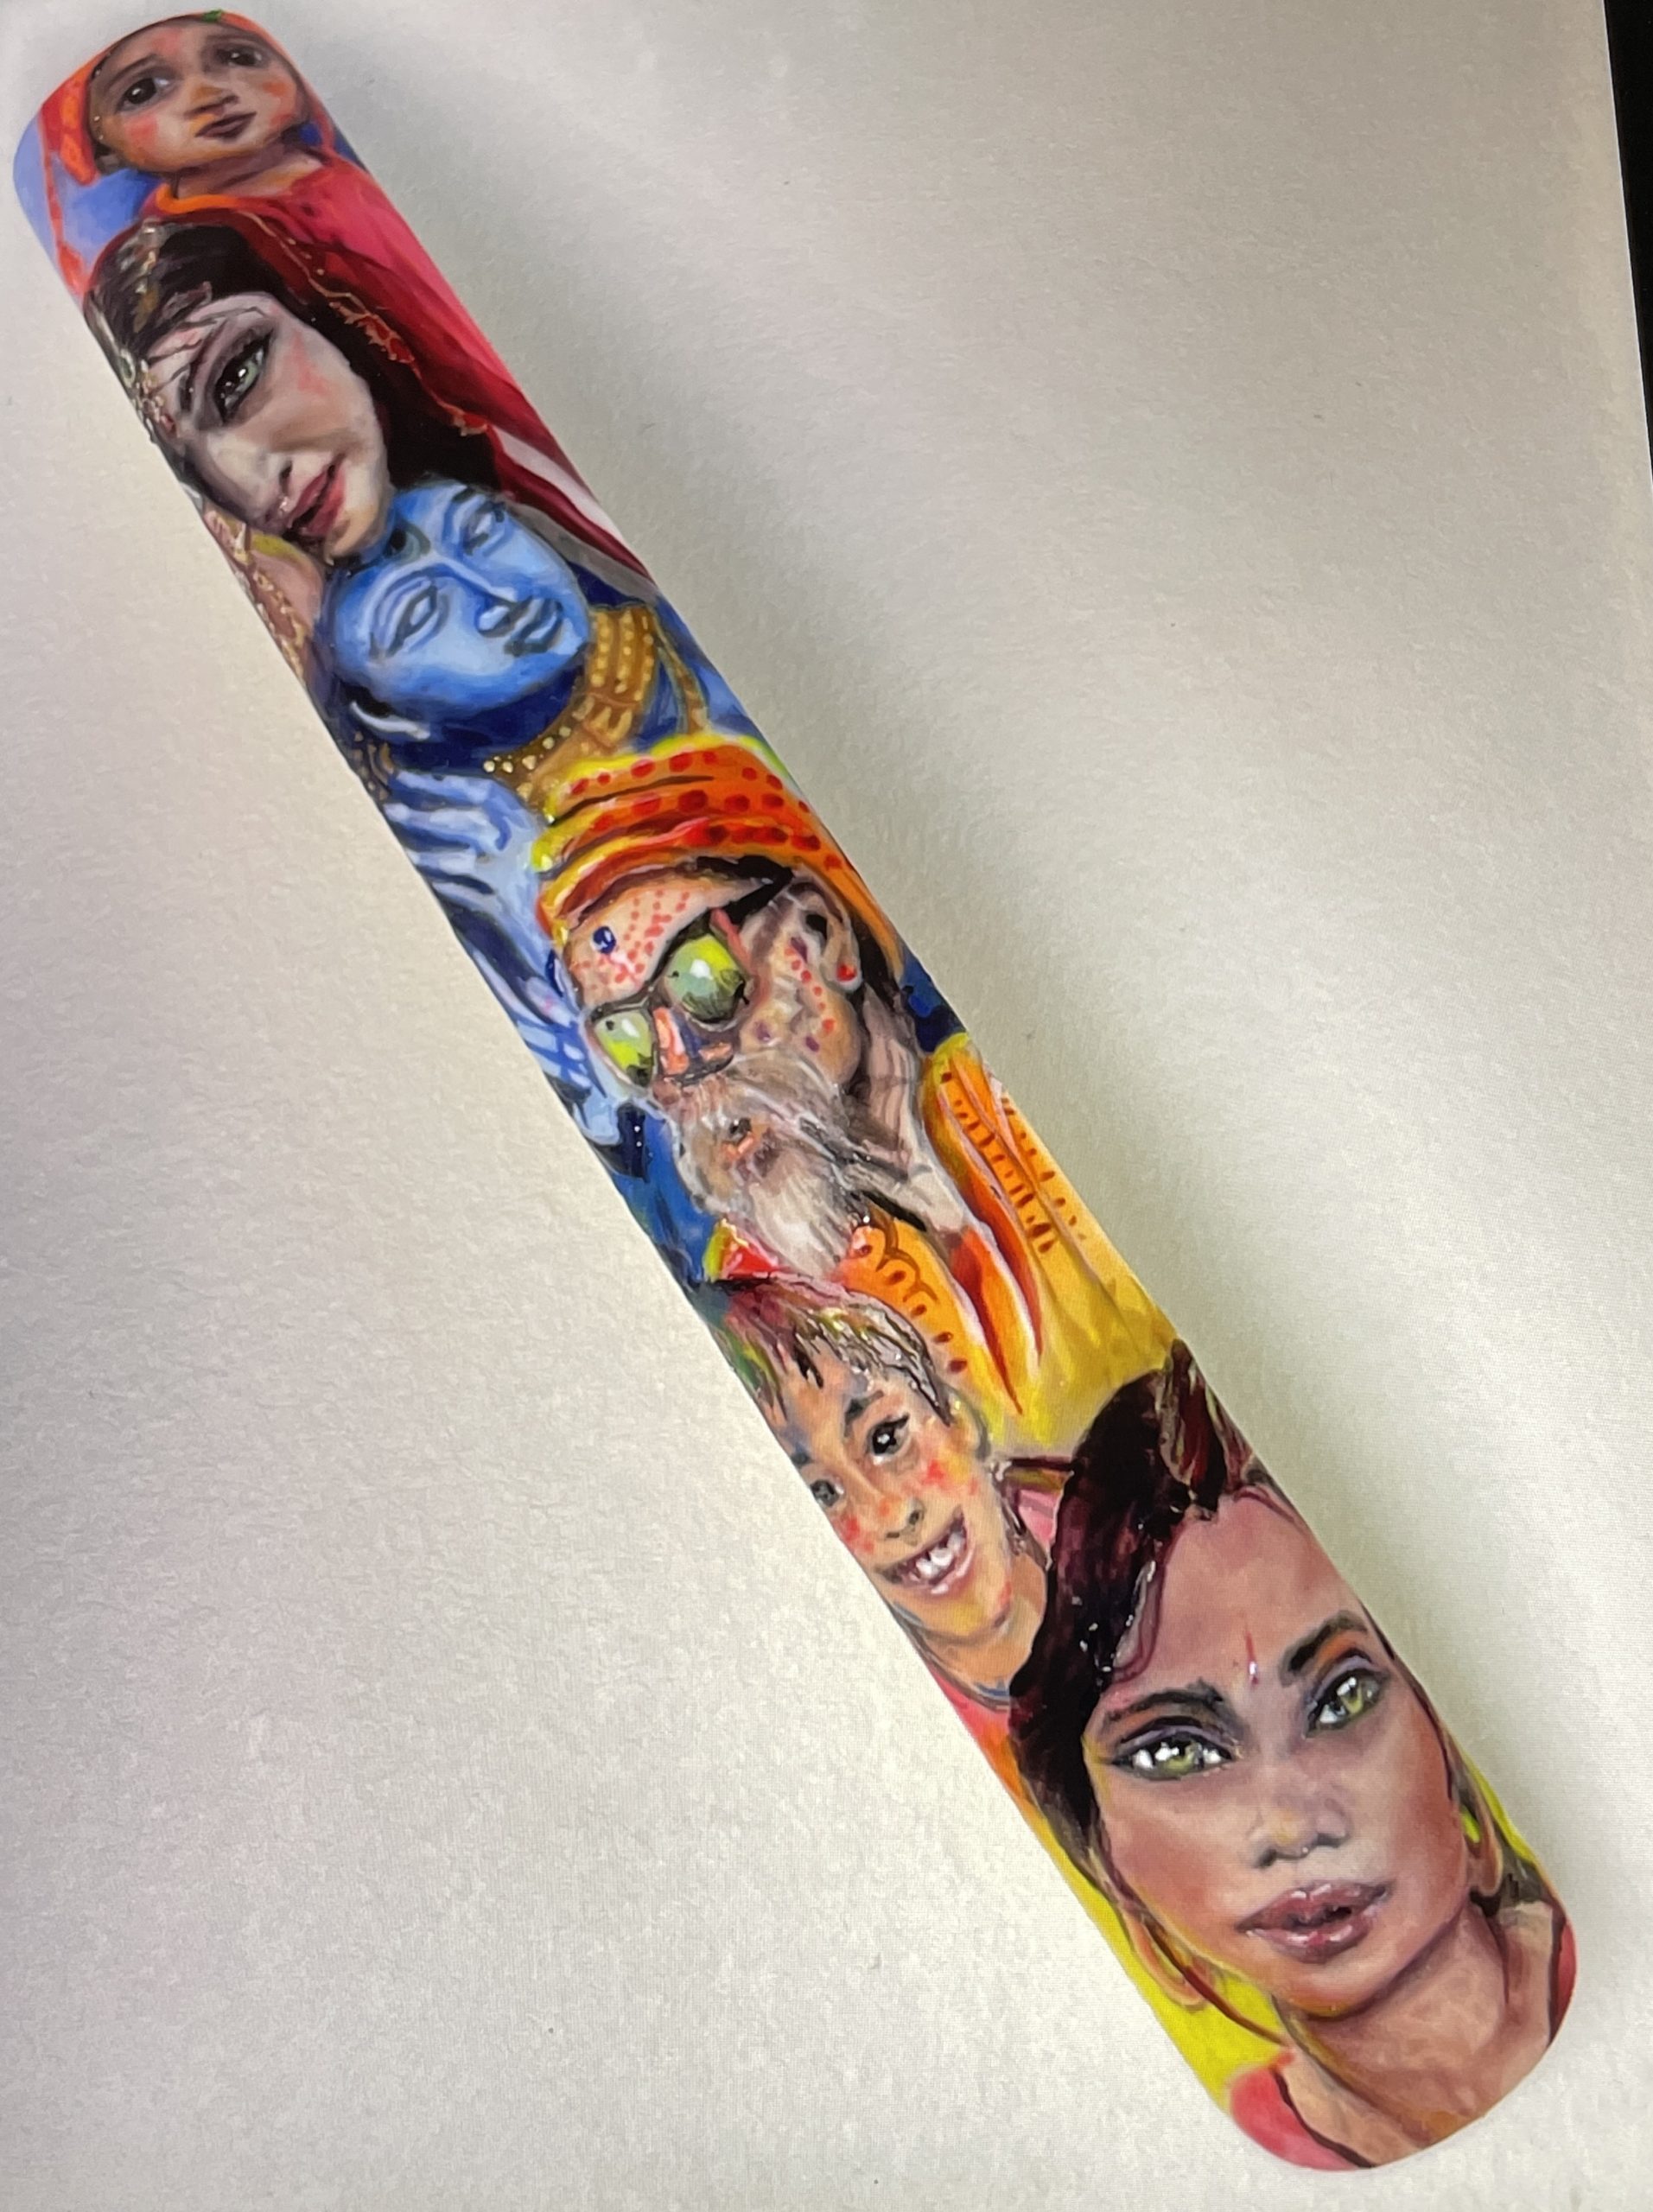
Decide on the finish you require such as whether to top coat or not. Take several photos at this stage to see how it looks without top coat. Depending on the type of gel paints used, you may not need to top coat at all.
MORE TAG THAT TREND
View all Tag That Trend
RELATED VIDEOS
MORE TO EXPLORE
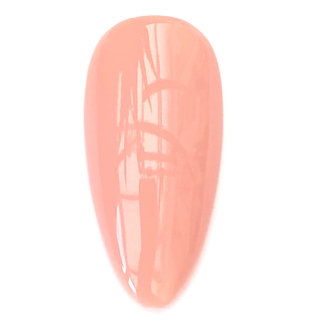
Prep the natural nail using a 180-grit file, remove dust. Apply “Prep It!”, then two thin coats of Flex It! “Cover Peach”, curing each coat for 60-seconds.
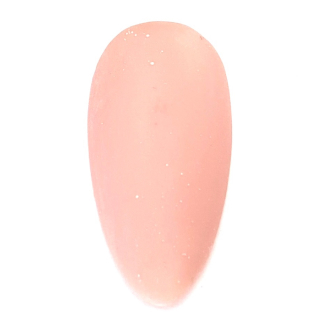
Prep Apply a thin, even coat of HD Pro “Matt It!” Cure for 60-seconds.
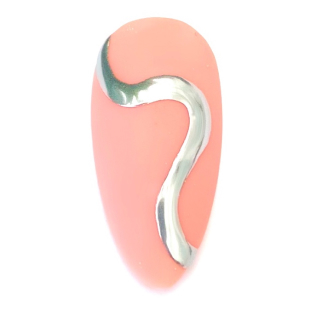
Use the HD Pro Long liner brush and HD Pro Art Gel in “Graphite” to create a wavy line. Cure for 30-seconds, then rub line with a dusting brush.


