Paisley Nails
![]()
Sarah Petersen
Co-owner of Salon Legacy in Rolla, Missouri & international principal educator for Artistic Nail Design, Sarah Petersen has turned her passion for art & nailcare into a burgeoning business during her 14-year career. A successful nail artist & salon owner, Sarah is constantly enhancing her craft & made it her mission to continue to grow & develop her skill set in order to expand in & with the nail industry. “I love the variety of work this industry has to offer & its challenges too; it’s consistently growing, & I plan on growing with it,” Sarah states.
Proud to have had her nail work featured on the cover of NAILS magazine’s February 2012 issue, this nail artist has enjoyed showcasing her work in several other NAILS issues throughout her nail career.
PRODUCTS USED
- Gel Polish in white, red, green, rose and yellow
- UV LED Lamp
- Matte Top Coat
STEPS
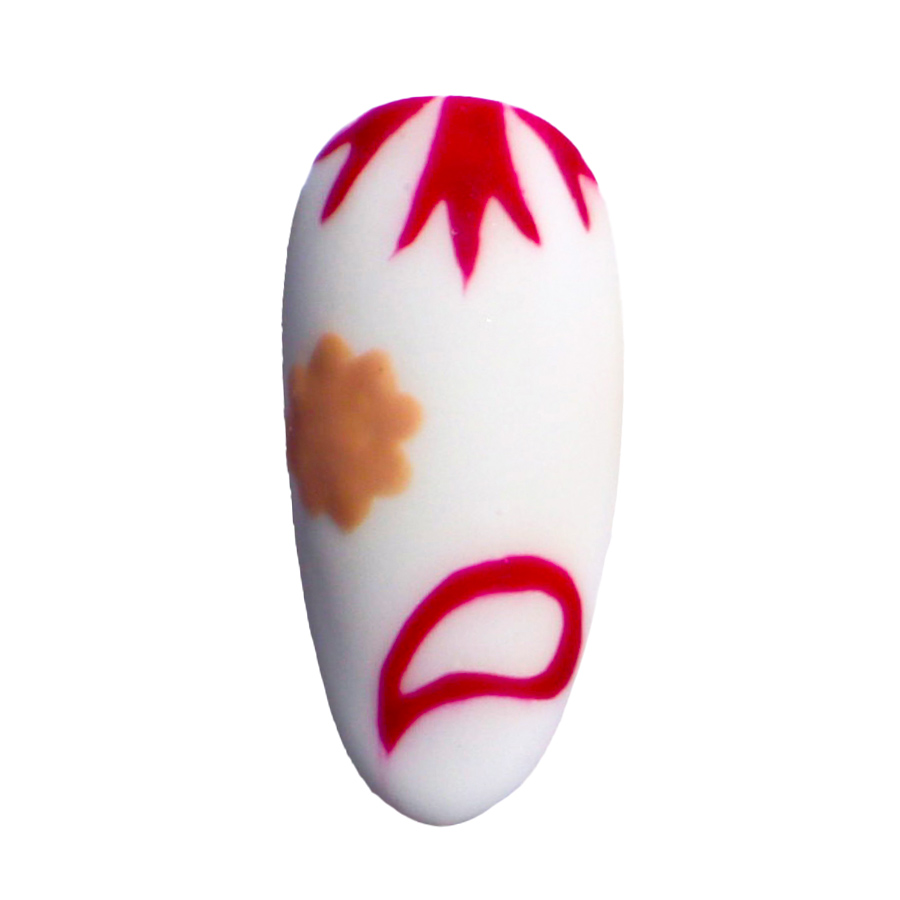
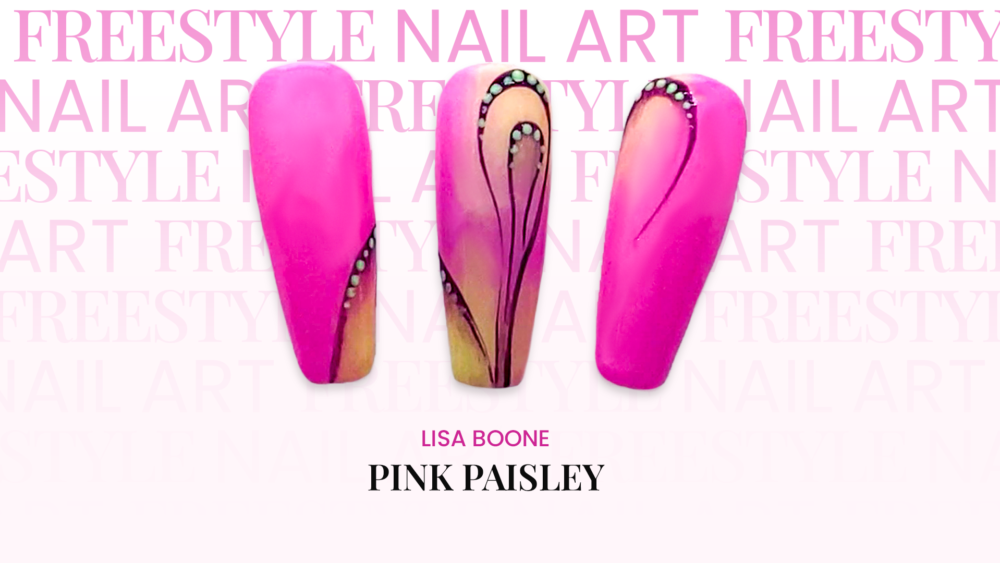
Apply base coat and cure. Then apply 2 coats of white gel polish over the entire nail and cure under a UV or LED lamp after each coat.
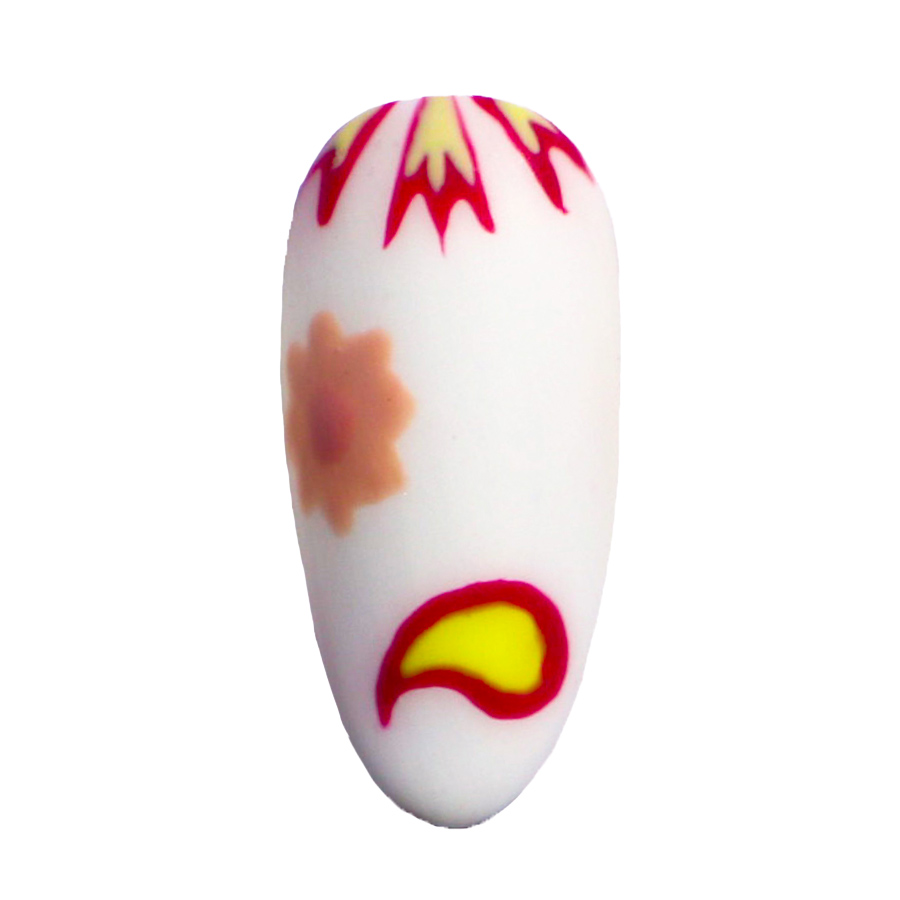
Now add in the base layer of the design by using red (for the fronds at the cuticle end and the paisley shape towards the tip) and tan for the flower shape to the left of center, then cure.
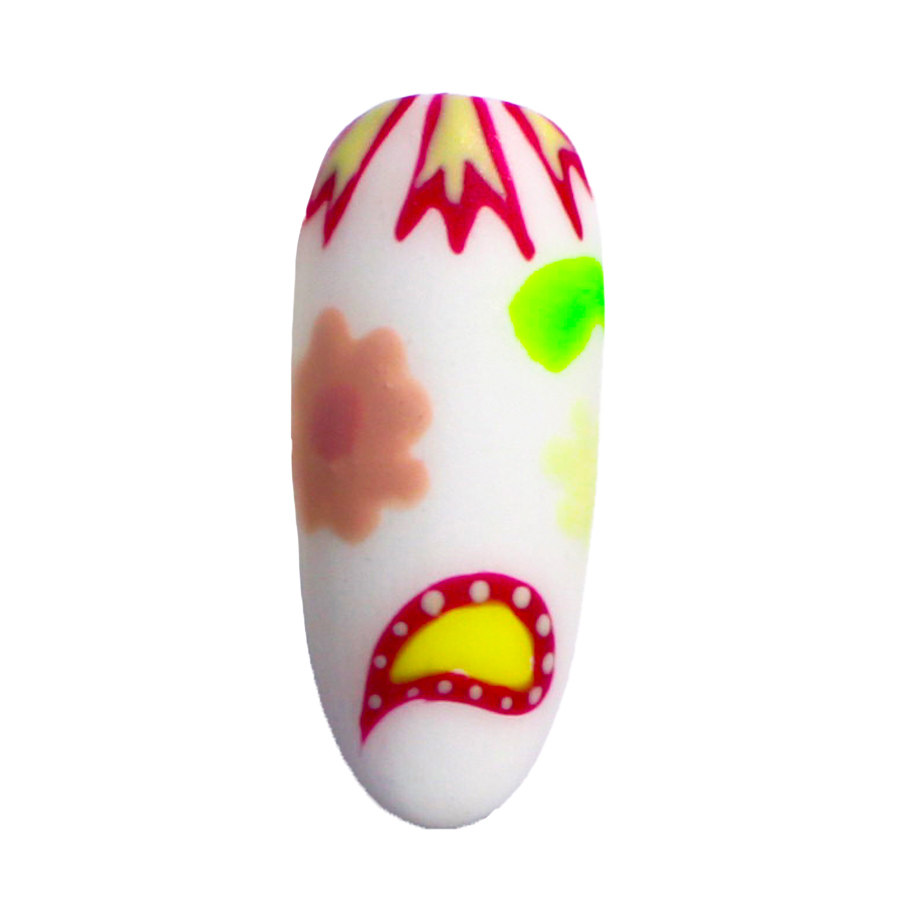
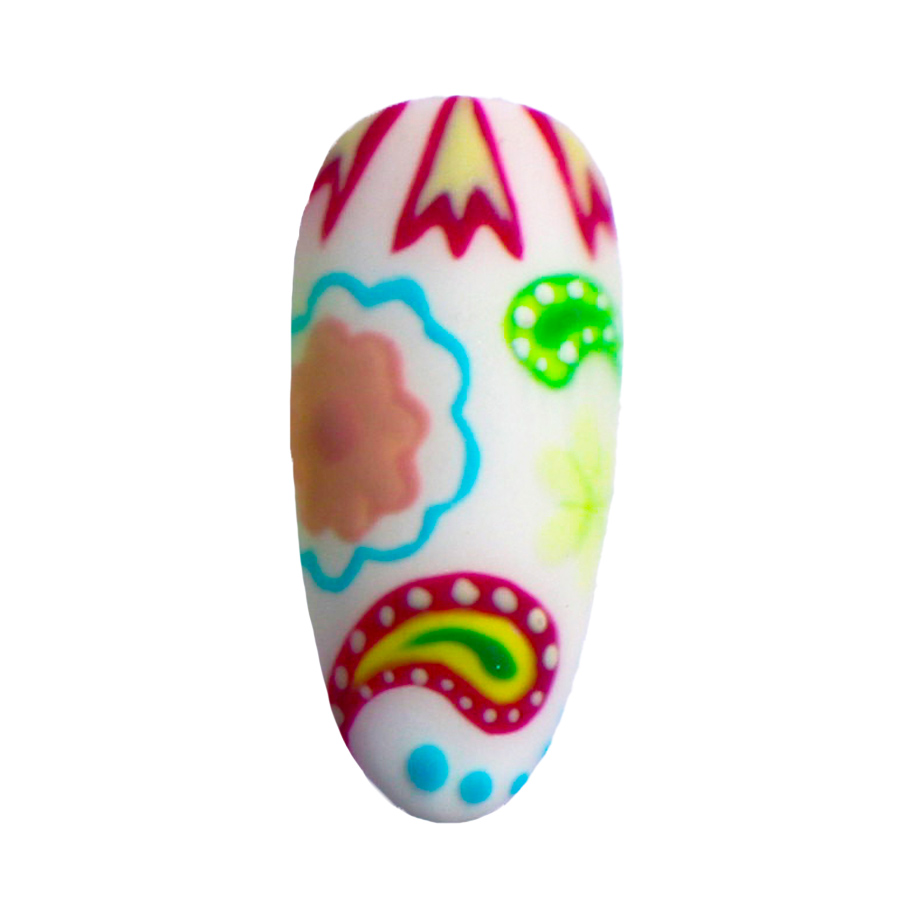
Build the design up by adding new colors. Layer yellow onto the existing red fronds design and using light green, form a paisley-shape in the top right area. Place a yellow flower directly underneath. Next, cure under UV or LED light.
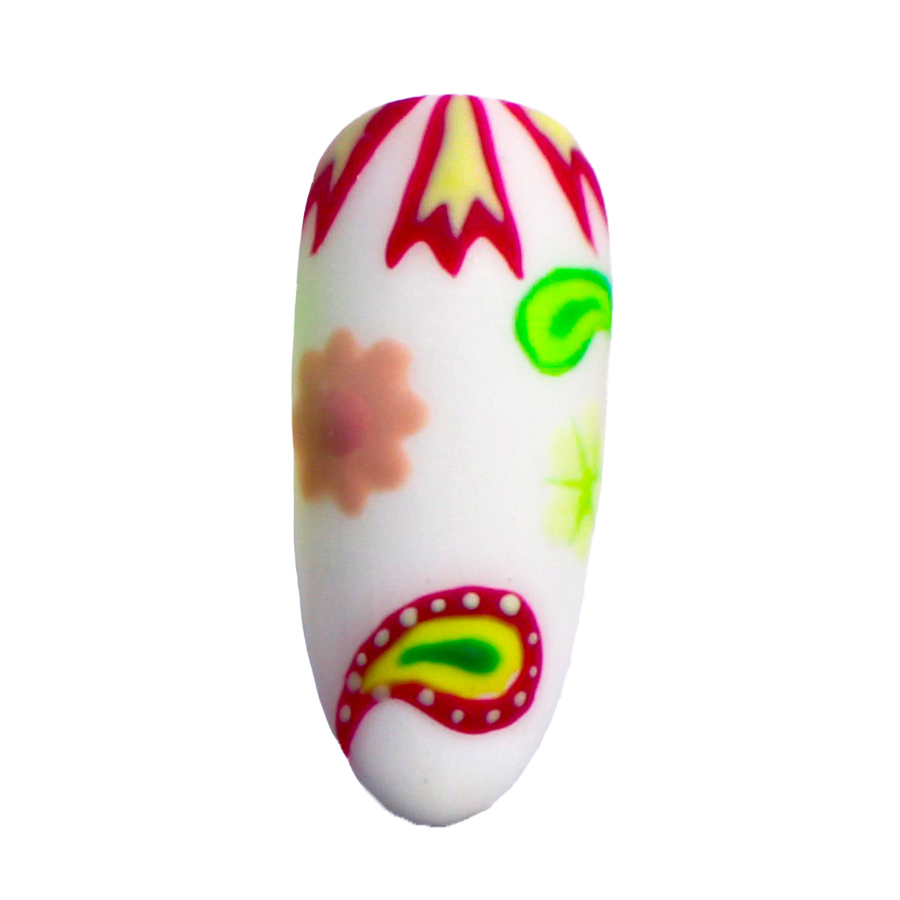
Now start adding in the final details of the design. Place tiny white dots in the border of the red paisley shape, put a pink dot in the center of the tan flower and add a dark green border to the paisley shape, place a dark green center in the paisley design at the tip and add a lighter green detail to the yellow flower. Now cure.

Add a blue border to the tan flower and good-sized blue dots across the bottom tip section and cure. Now cover the nail in a matte top coat and cure once more to complete the design.
MORE TAG THAT TREND
RELATED VIDEOS
MORE TO EXPLORE
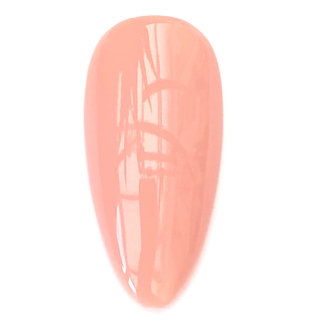
Prep the natural nail using a 180-grit file, remove dust. Apply “Prep It!”, then two thin coats of Flex It! “Cover Peach”, curing each coat for 60-seconds.
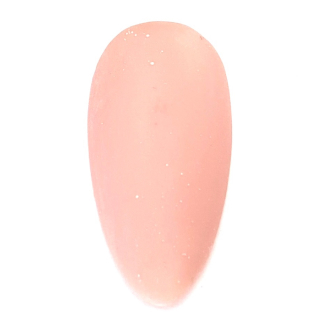
Prep Apply a thin, even coat of HD Pro “Matt It!” Cure for 60-seconds.
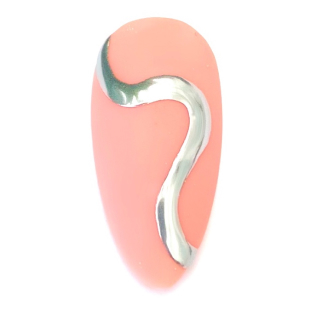
Use the HD Pro Long liner brush and HD Pro Art Gel in “Graphite” to create a wavy line. Cure for 30-seconds, then rub line with a dusting brush.


