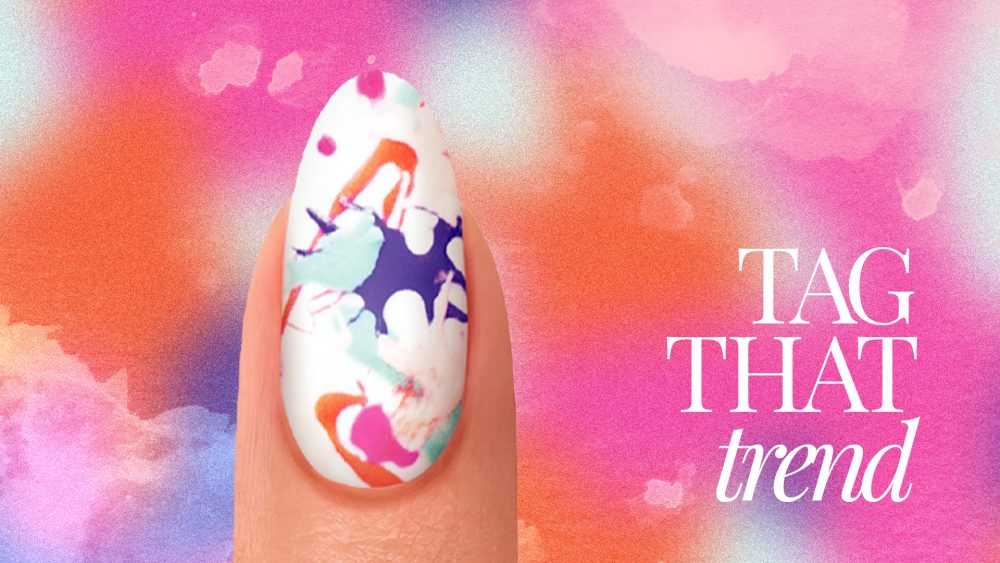
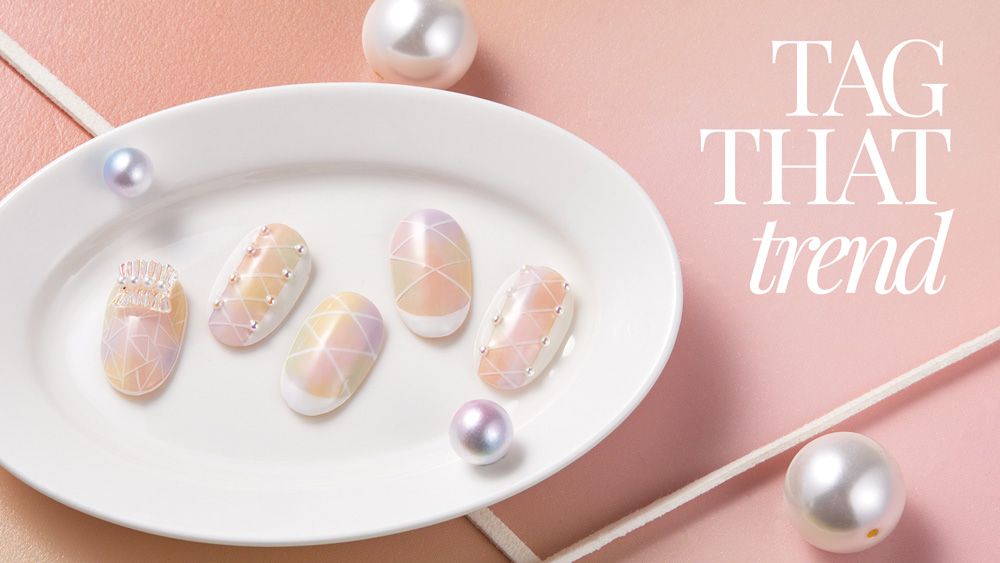
Splash of Color
![]()
Alisha Rimando
Alisha Rimando is recognized as one of the nail industry’s leading experts in training & education. In her 29 years experience, her work has been described as “ground-breaking” as she’s been a platform artist & motivational speaker for thousands of promotional & educational events, & competed in hundreds of nail competitions around the globe winning the World Nail Championship in 2005 in Pink & White Sculptured Nails. She is the featured artist in many training videos, including hosting the current Milady Standard Nail Technology DVD Series. Alisha’s expertise & application techniques have been featured in more than 150 beauty and trade and she’s also a contributing author for Milady Nail Technology & Standard Cosmetology textbooks. Her passion for educating the nail community takes her on another adventure with the conception and development of GlossaryLive.com
PRODUCTS USED
-
- White gel polish
- Selection of brightly colored gel polishes
- Marbling tool
- Tweezers
- Nail scissors
- Glossing Gel top coat
- Nail Surface Cleanser
- Lint-free wipe
- Paper backing from a nail form
- Revive Nail & Cuticle Oil
- LED Bonding Gel
- LED lamp
STEPS
After proper nail prep, apply a thin coat of LED Bonding Gel & cure for 5-seconds in LED light.
Apply Colour Gloss Bride gel polish & cure 30-seconds. Repeat for 2nd coat.
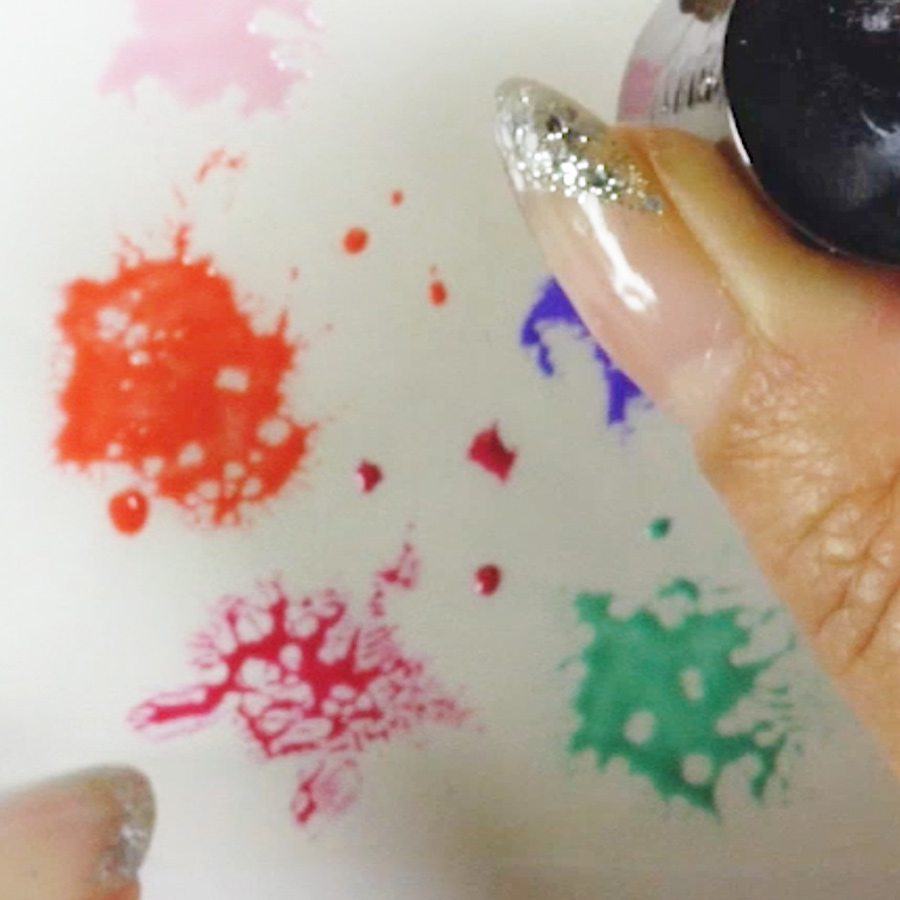
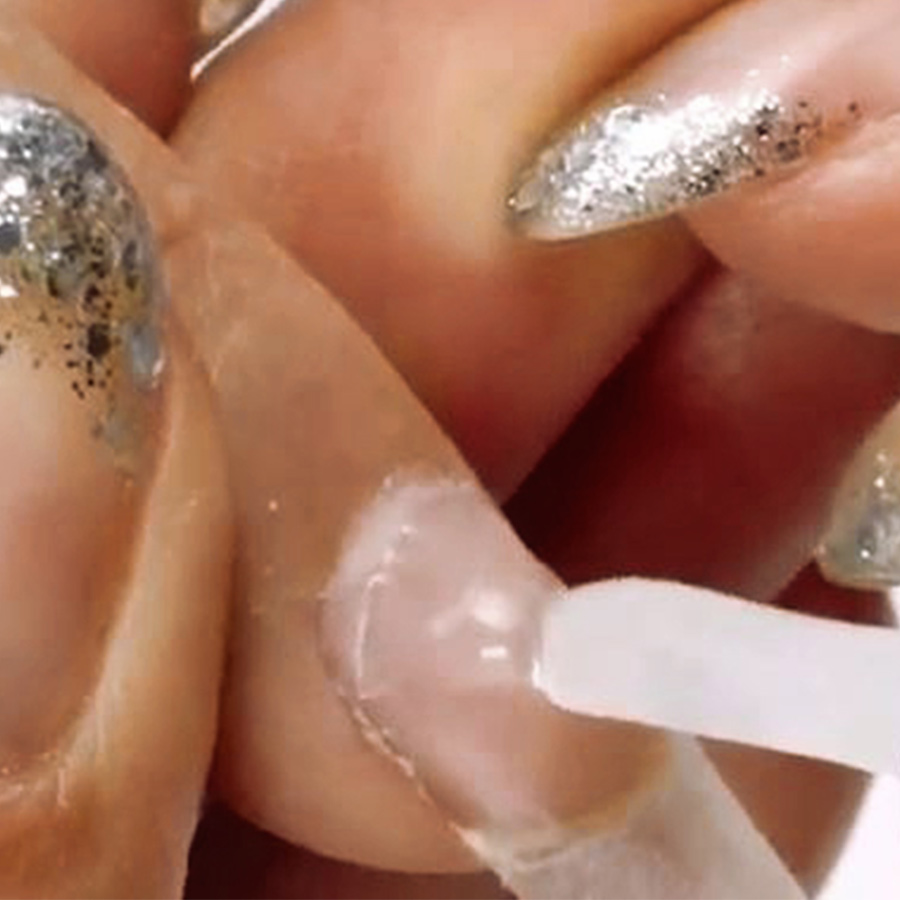
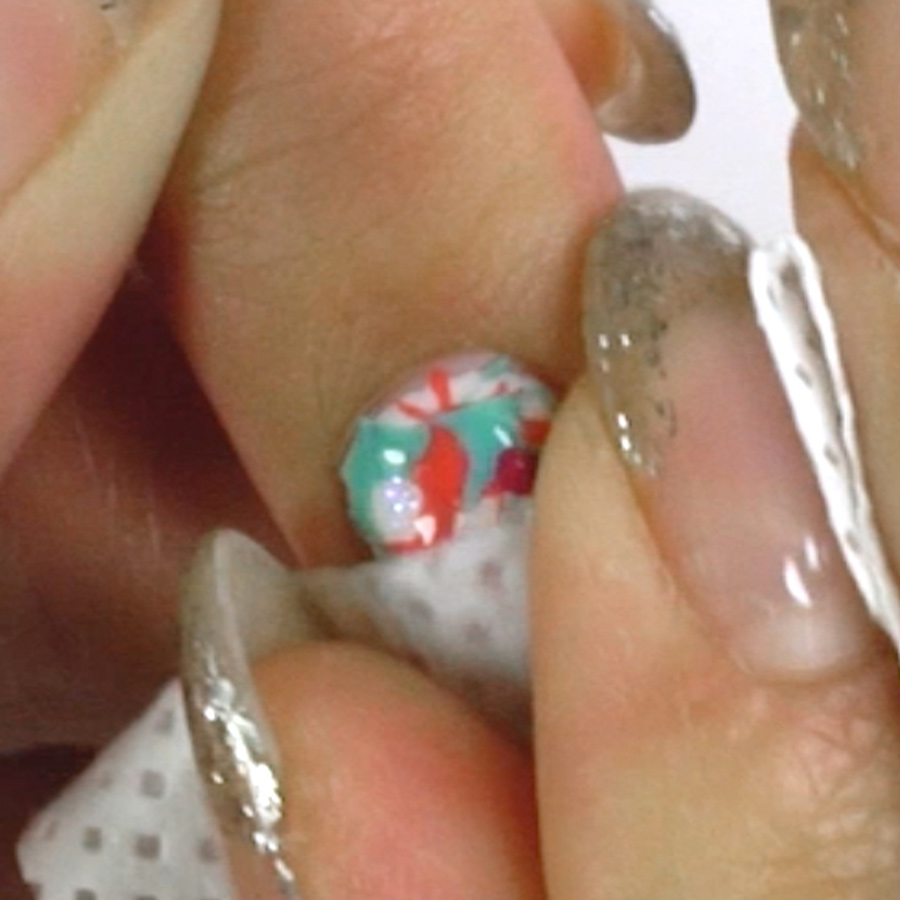
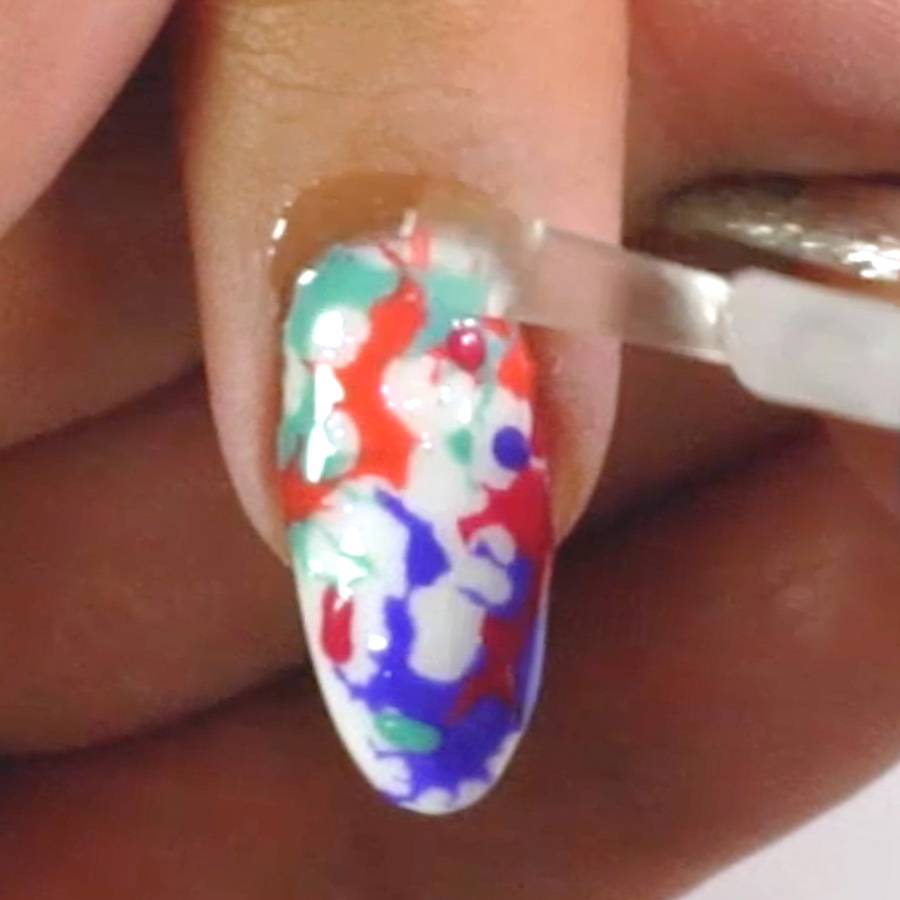
Use the paper backing from a nail form & apply (a selection of brightly colored gel polishes) by dabbing the brush against the paper & spreading the color thin. Wait 3-minutes. The paper is slick so the gel polish will start to move & separate creating a paint splattered look.
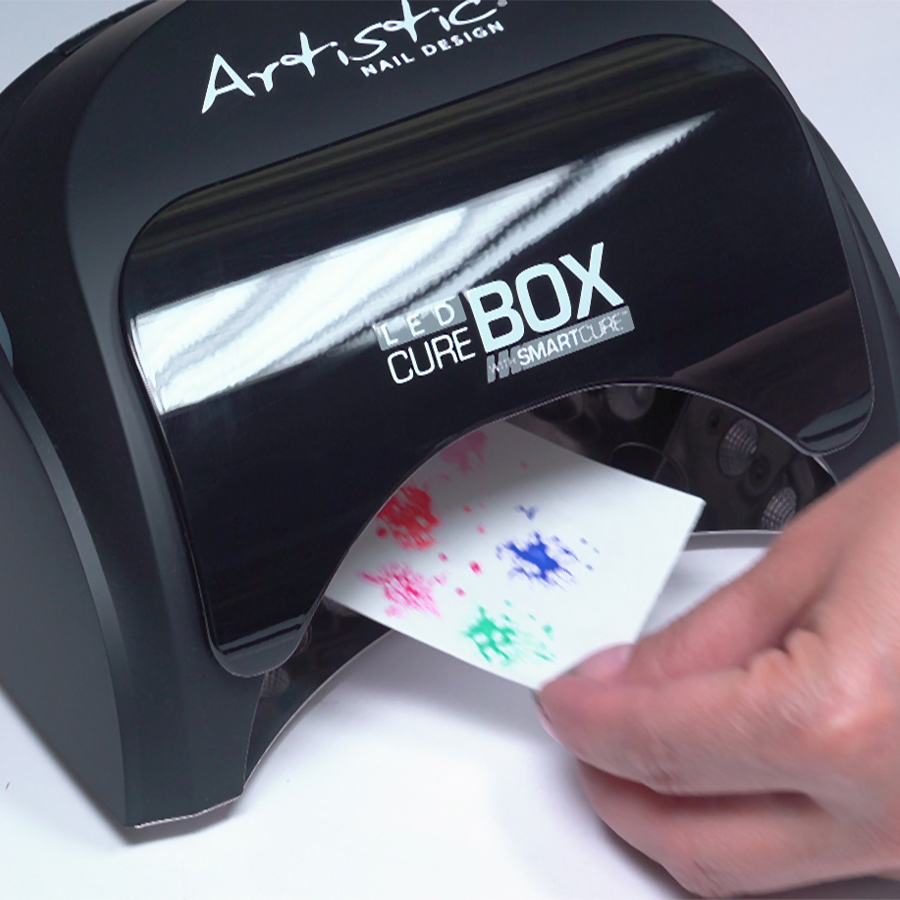
Create a series of splatters by using a marbling tool to create & extend the lines. When the look is achieved, cure 30-seconds.
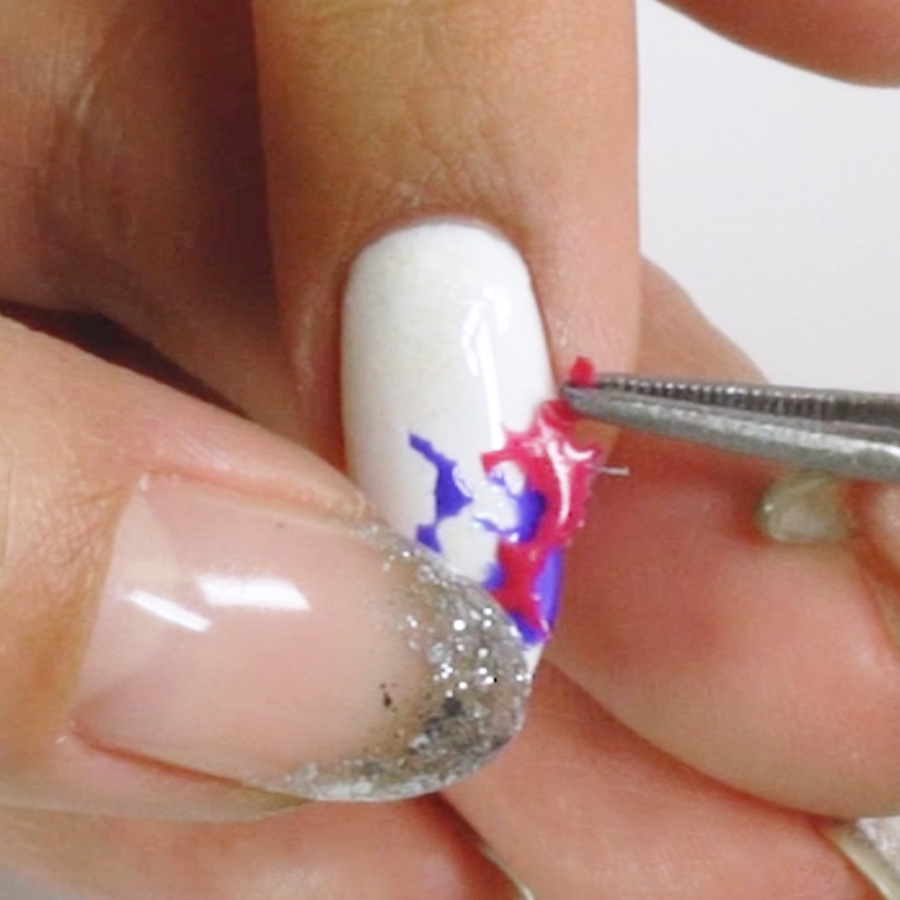
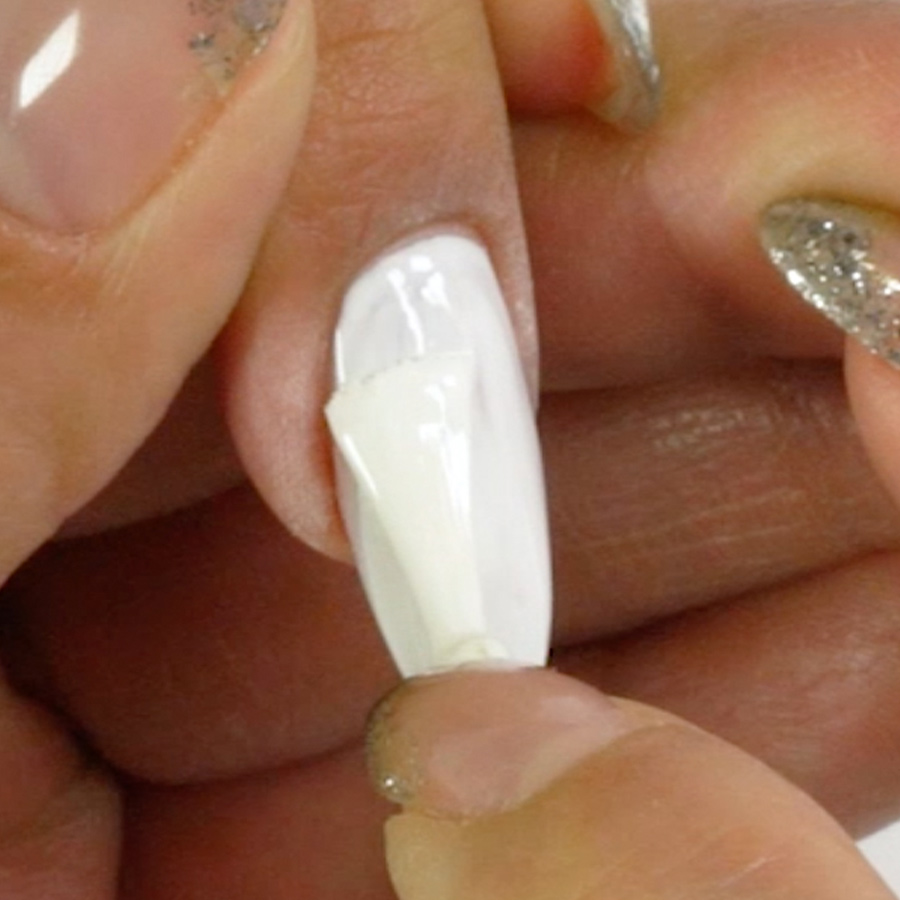
Remove the splattered art from the form with Sani Tongs or tweezers & lay them over the nail. Press in place & trim with scissors or nippers.
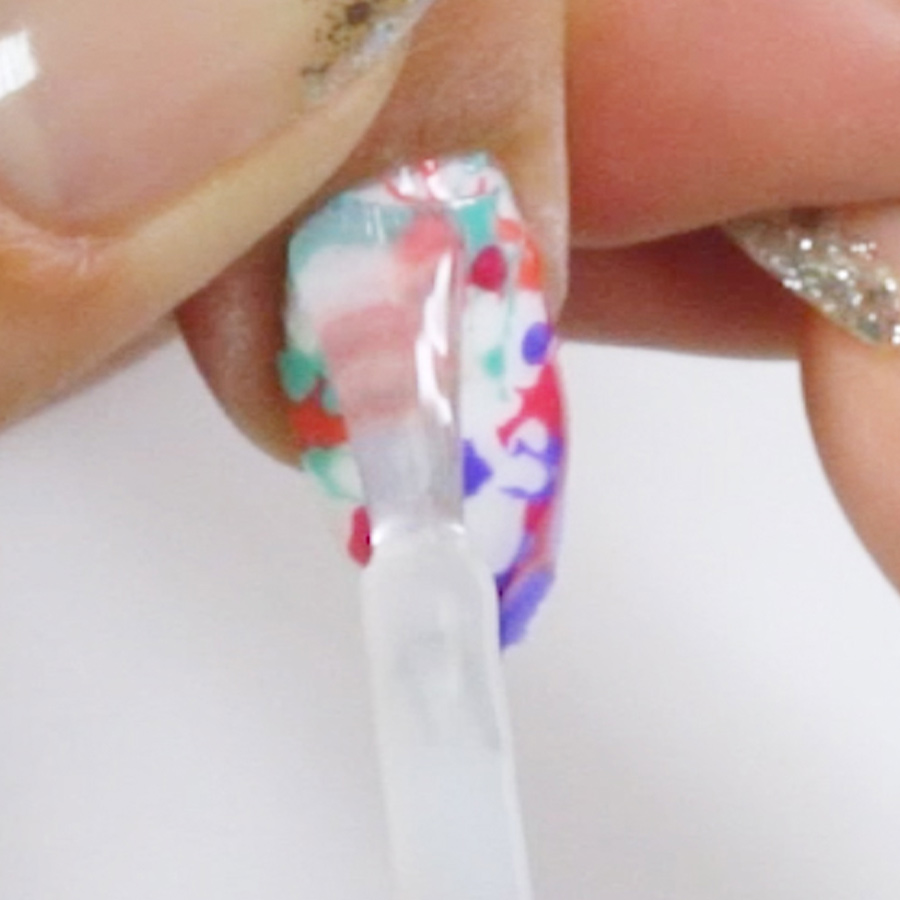
Cover design with Glossing Gel, cure 30-seconds in LED Light.
Cleanse the nail design with Nail Surface Cleanser & a lintfree wipe.
Finish with Revive Nail & Cuticle Oil.

MORE TAG THAT TREND
RELATED VIDEOS


MORE TO EXPLORE