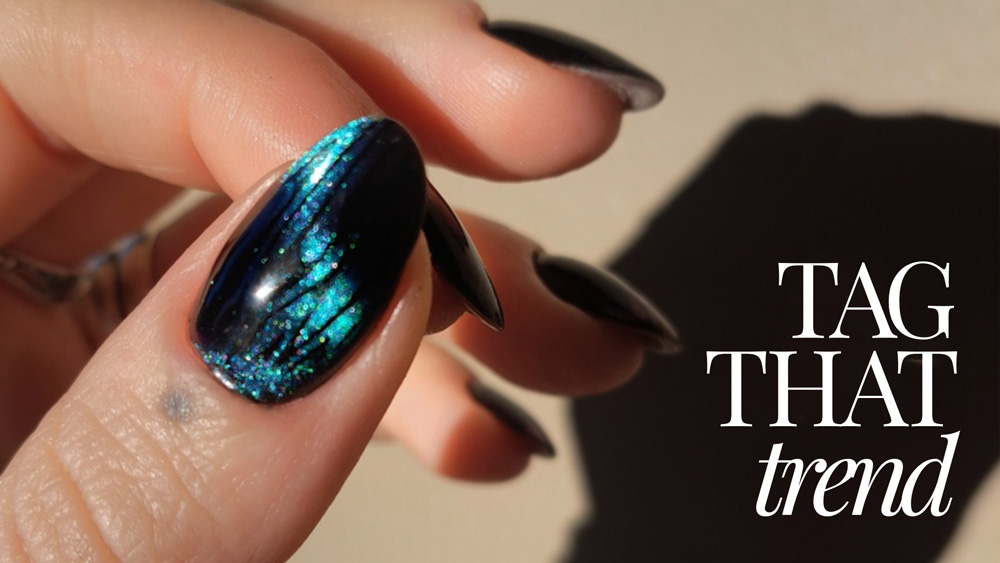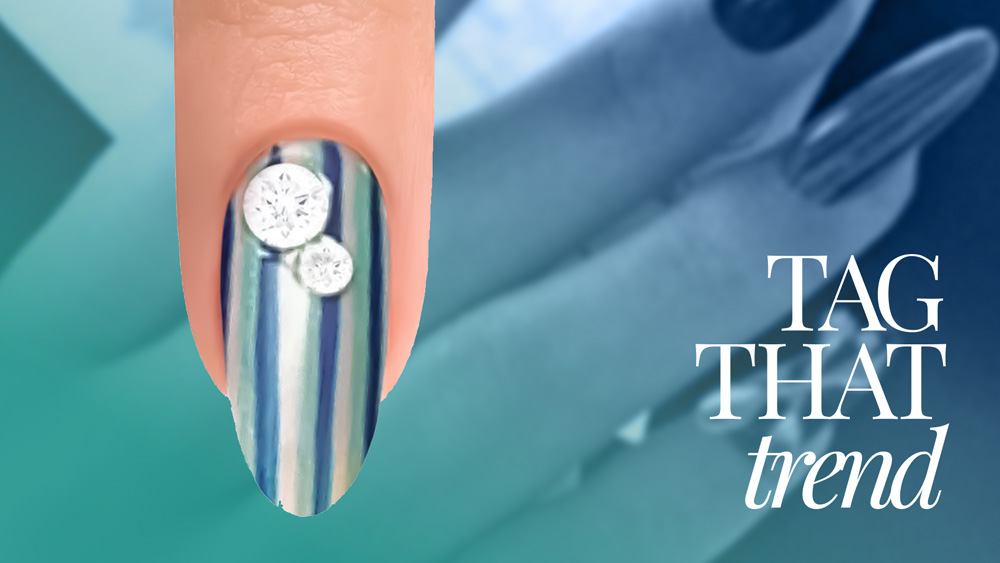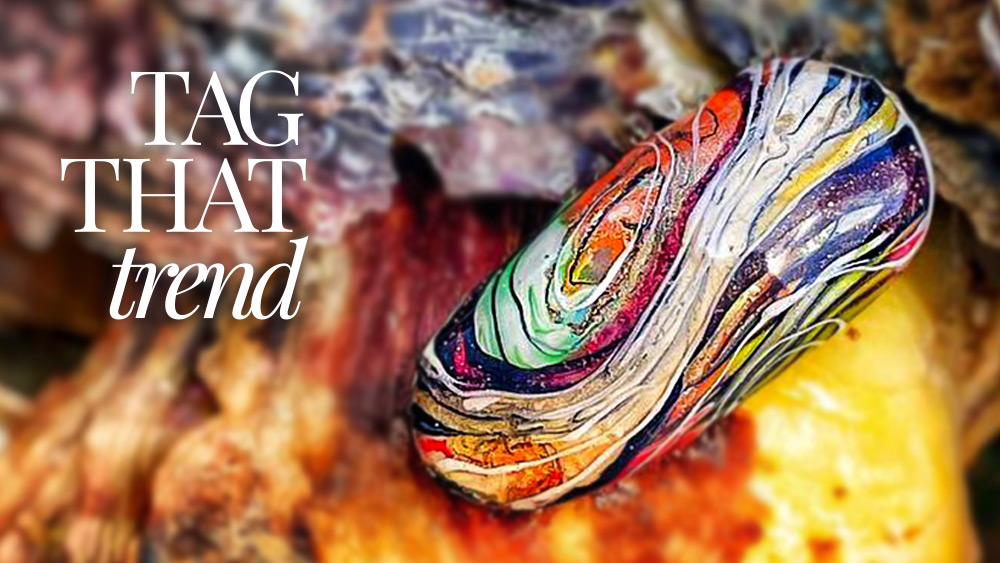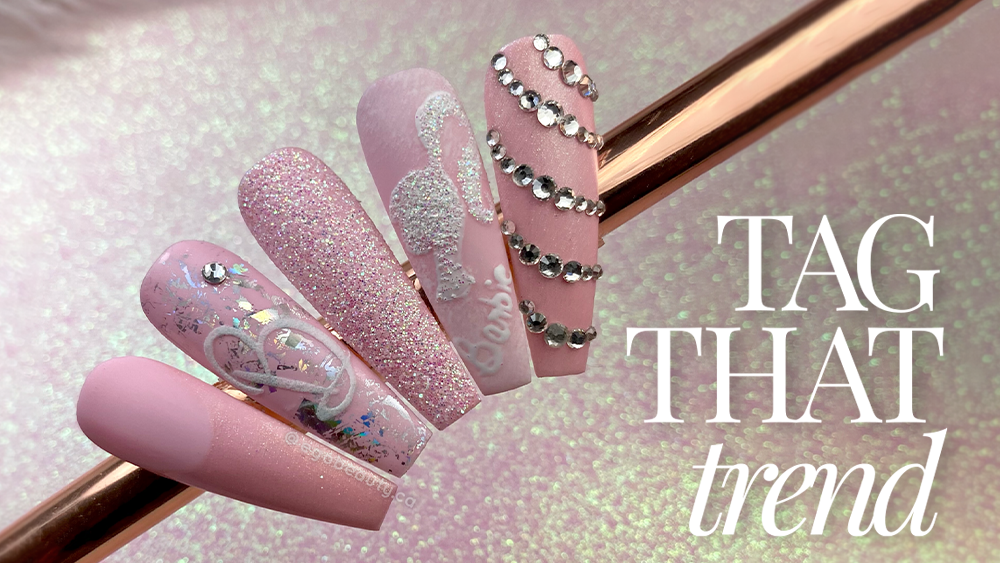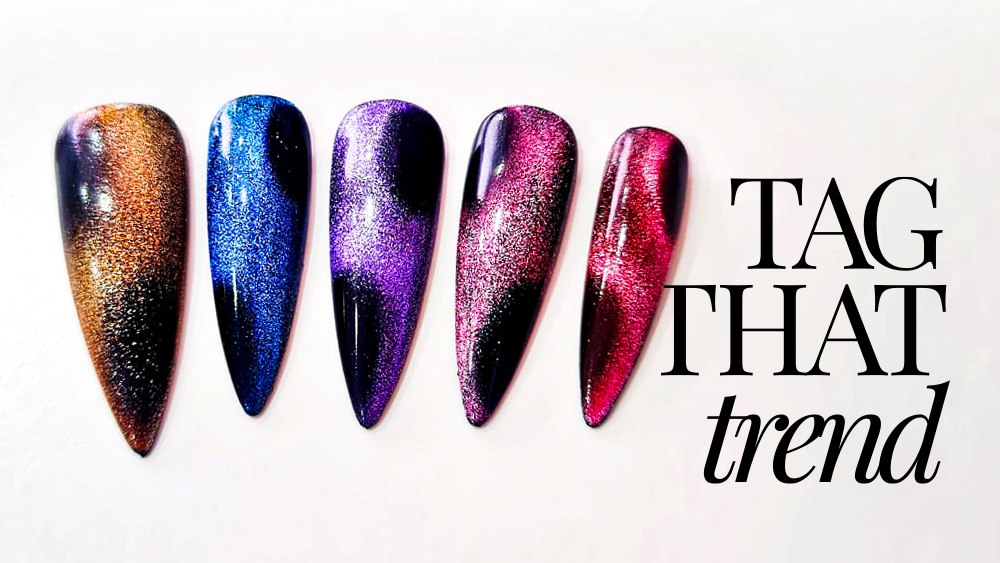

tag that trend
![]()
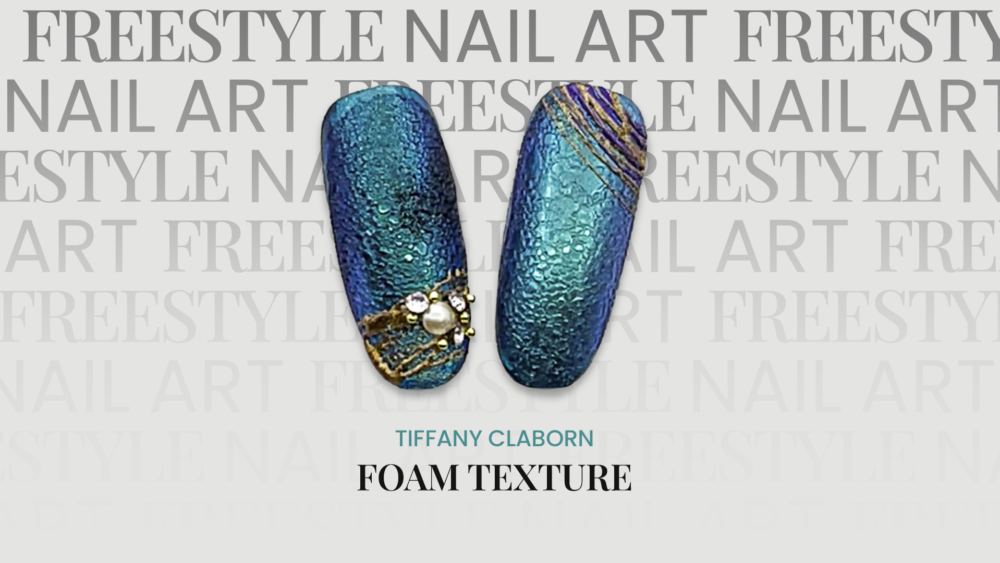
Milena Mingozzi
Learn how to approach a piece of 3D mixed media / fantasy artwork using the L&P acrylic liquid & powder system. Here, Milena showcases how to start imagining your piece, drawing it out, creating its architecture, form & structure and then how you move into the crafting of the character as well as the detailing of all elements that bring it to life.

PRODUCTS USED
-
- Hobbyist Clay
- Orangewood Stick
- Nail Art Tools
- Acrylic Brushes in Various Sizes
- A Series of Colored Powders
- Liquid Monomer
- Dappen Dish
- Forms/wax Paper
- Small Hand Roller
- Bird’s Feather
- Small Pin to Add Very Tiny Detailing
- Brush Fibers
workbook and so much more educational content.
STEPS

Choose a picture from which to gain inspiration & ideas for shape, structure & detailing.

Draw an outline sketch of the witch as you want her to look.


Build the shape of your witch using white hobby clay. Manipulate & sculpt it into shape, then leave it to harden. Place a pin inside the body for stability.

Take a series of pink beads of acrylic & cover the entire clay form. Use a thin implement to start adding features to the body to sculpt her form. Start at her buttocks & down her spine.

Now sculpt her nose & form her facial features, creating hollows for eyes & humps for cheekbones to give her a wizened look.

Using a series of colored acrylic powders, monomer & brushes in a suitable size for each part of the body, give life & color to this witch.

Use small beads of acrylic to build out her boney chin.

Use a small nail art tool to gently sculpt her facial expression.

Use black ink in a pen to outline the eyes with black liner.

Take small dark colored acrylic beads & add warts to her face, & a big bushy eyebrow. Use a small nail art tool to give the eyebrow texture. Stick small hairs from an old art brush into the warts to make her look truly ghastly before they cure. A small white bead in the center of a darker bead to create her eyeball, will give the idea of a cataract, giving her a sense of moodiness.

Build up the character in her face with small beads of relevant shades around the eyes. Bring her character to life with careful placing of tiny beads.

Use varying shades of pink skin tone shades to highlight & shade the details on her face.

Move to her buttocks & legs, cover with a very thin, wetter bead of your chosen shade for her stockings.

Continue with the colored beads as you completely cover her legs.

Create the black stripes of the stockings using black ink, a pen & brush.

For the tailcoat to her cloak, take a wet bead of your chosen color & place it between two sheets of wax paper of the disused part of a nail form. Then use a roller to flatten & thin out the bead. Let it cure & then attach using an acrylic bead to the figurine.

Add the hair using the filaments from a black raven bird’s feather. This was collected from Milena’s garden. “Nature gives us everything for our work & our imagination,” Milena cites.

Use the same method as you used for the cloak to create a flat, thin piece of colored acrylic for her hat. Place this on your finger, use hot air if you need to make it softer, then fold it around your finger to create the shape of a hat.

Using a small bead of acrylic pop the hat on her head to stabilize it.

Before the hat cures, bend & shape it to make it look well worn.

To shape the fingers create tiny beads of skin-toned acrylic & create each single finger to look lumpy & boney, remembering to create bumps where her knuckles will sit. Sculpt each one with a tiny tool & micro beads of acrylic. Next sculpt her hands onto the end of the arms & attach each individual finger using a very small 3D brush.

Complete your witch by adding more of her cloak, her collar & then check her all over to add in any further details, color shading, shapes, shadows & highlights. You now have a witch, you just need to sculpt her broom!
Want to see your nail art featured on Tag That Trend? Our team is excited to see your work and get you published. Contact us for details.