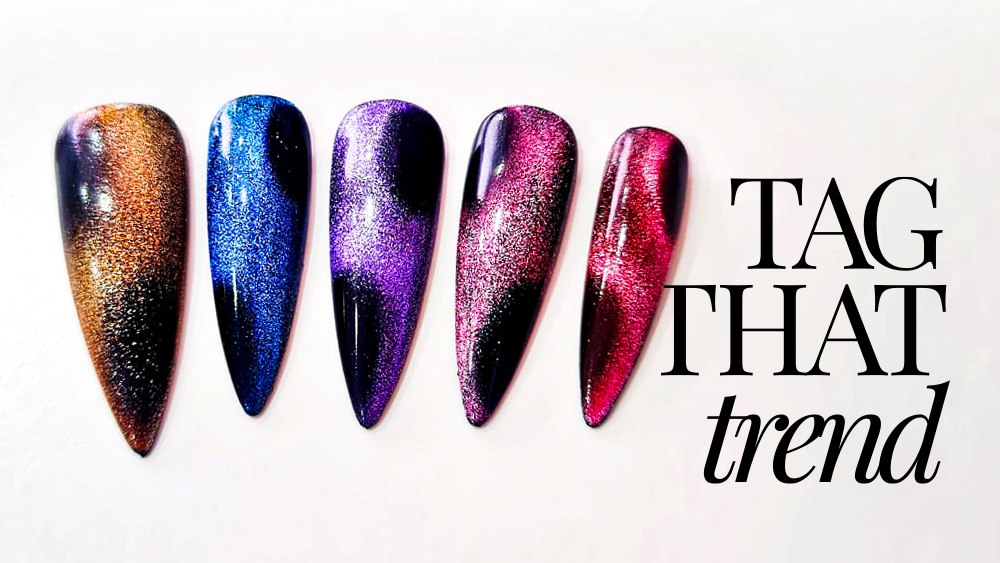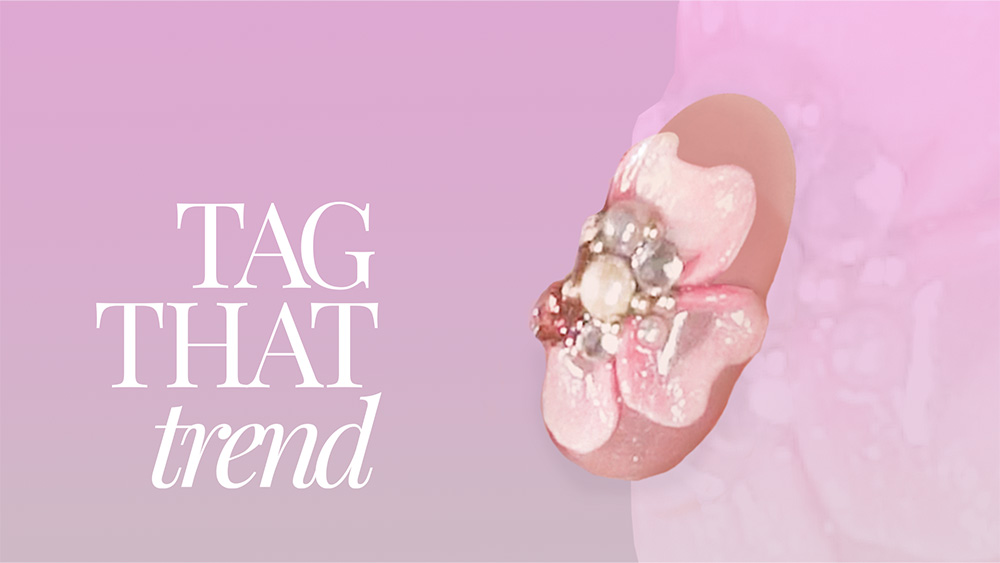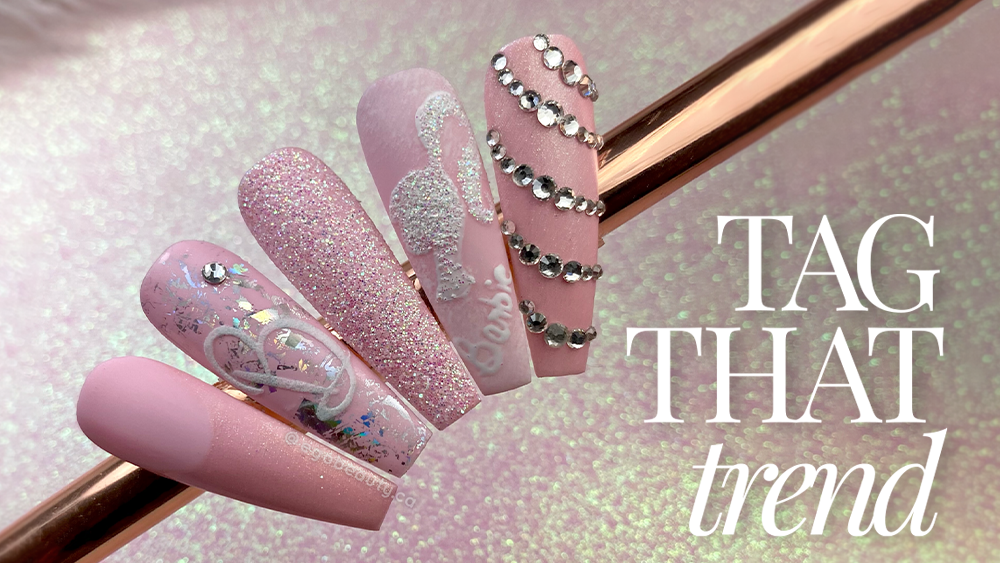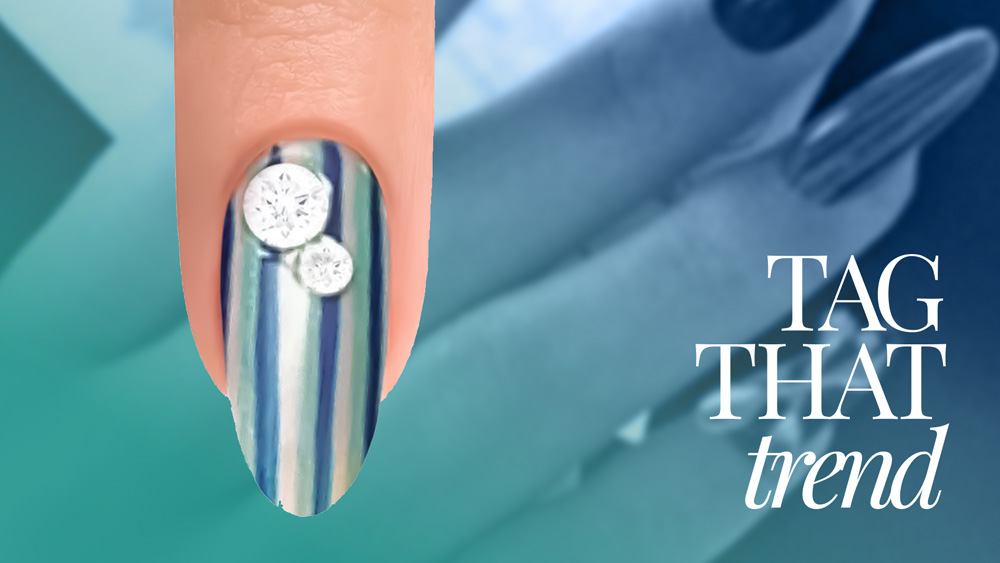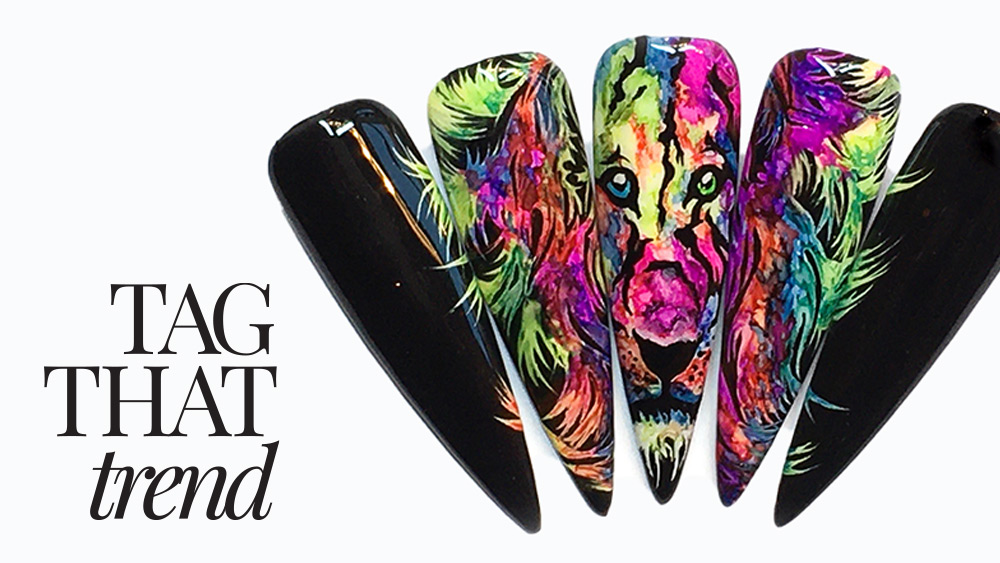
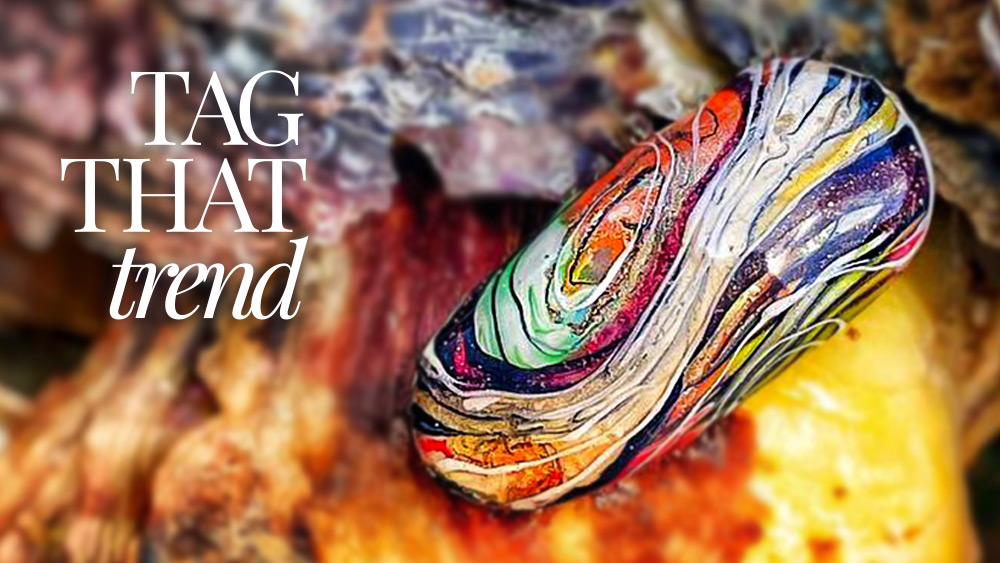
tag that trend
![]()
Elena Maltseva
Elena Maltseva is a world-renowned nail designer, educator & coach who joined the industry in year 2000. Having graduated from an arts school, her passion was always ‘miniature’. The principles Elena uses for teaching nail art to her students differ from what’s seen in other manicure schools. Instead of making students copy her work, Maltseva teaches the basic techniques that everybody can understand & repeats. Having her students learn the basics, Elena then gives a special program of transforming simple techniques into complex designs that are easy to complete. Thus, even if you don’t have an arts school background, you still can be a great nail designer. Today, Elena Maltseva runs her own Nail Design Academy in Saint-Petersburg, Russia. She’s won numerous nail design competitions, & taken the World Champion title 3 times. As of today, Elena judges nail championships & conducts trainings all around the world. Maltseva has worked with & judged nail competitions alongside, Tom Holcomb, Danny Haile, Trang Nguyen, Alisha Rimando, Antonio Sacripante, Antony Buckley, Jewel Cunningham, Carla Collier, Amy Becker & many more. Elena delivers nail art classes in Russia, The Netherlands, Switzerland, Norway, Italy, Japan, USA & the UK. She also offers online individual & group nail design training & coaching.
PRODUCTS USED

- NA Selection of UV/LED Gel Polish Colors that Mimic Shades Found in Stones
- Liquid Chrome
- Set of Nail Art Brushes
- UV/LED Gel Paste or Paint in Black
- Assorted Iridescent Glitters & Detail Brushes
- UV/LED Glossy or Matte Top Coat
- Lint-Free Nail Wipes
- UV/LED Lamp
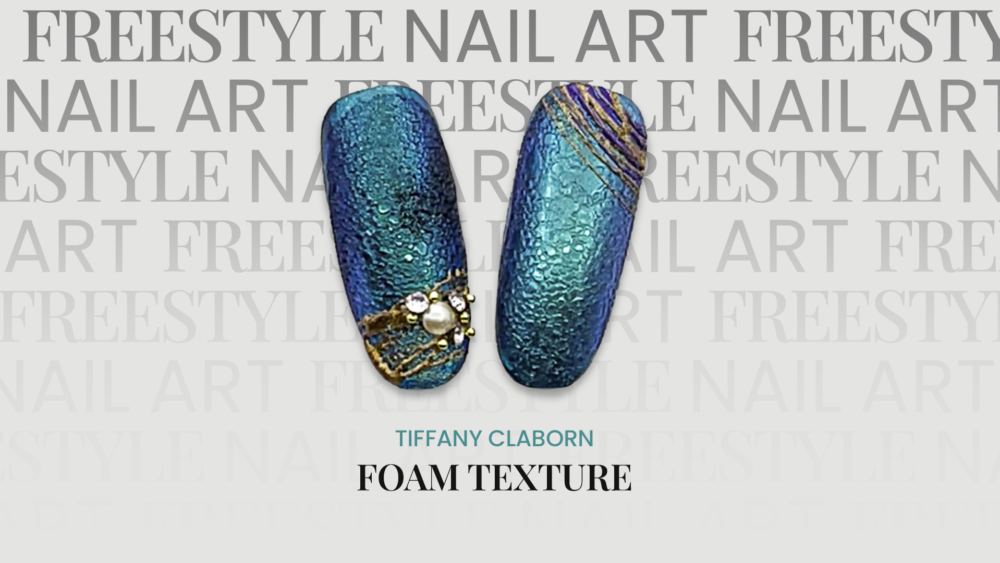
STEPS

Cap the nail with UV/LED white gel polish, do not cure.


Over the uncured surface of the nail art, apply two strokes of golden liquid chrome. Do not cure.

Using a thin nail art brush, create several line strokes over the uncured surface. Here the lines are created in the diagonal movement with a slight curvature. In the areas of the created strokes, the uncured colors start to intermix. Do not cure.

Apply LED/UV gel paste or gel paint in black with a clean thin nail art brush. Apply thin black lines to the same areas as in step 4. On the left & to the right add barely visible curved lines of semi-transparent black to imitate the texture of stone (use very little product on the brush). Use a photo for reference as you create the effect of the texture. Cure in LED/UV light (the curing time depends on the brand of gel polish, paints & pastes). Apply no cleanse LED/UV glossy or matte gel top coat (choice of finish of the top coat is not vital here,). Fulyl cure the top coat.

Over the cured top coat (should be dry to the touch), add black lines running from thick to thin in a curved motion; try to copy the lines on the reference photo. These lines are more ‘active’ than the ones you created previously. Cure.

Golden glitter UV/LED gel polish or golden gel paste/ paint may be added over the previously created black lines. Do not fully overlap the black lines, leave a thin margin of black still visible on the right & left of the line. Cure. Apply no cleanse UV/LED glossy or matte gel top coat (finish of the top coat is not vital here). Fully cure the top coat.

Over the cured top coat (should be dry to the touch,) add delicate thin white lines, trying to copy the lines as shown on the reference photo. They will give the nail art the required volume & emphasize the depth. Fully cure & make sure the white color is fully cured, otherwise you risk smudging it in the next step.

Cap the nail art with no cleanse matte UV/LED gel top coat & cure
Want to see your nail art featured on Tag That Trend? Our team is excited to see your work and get you published. Contact us for details.