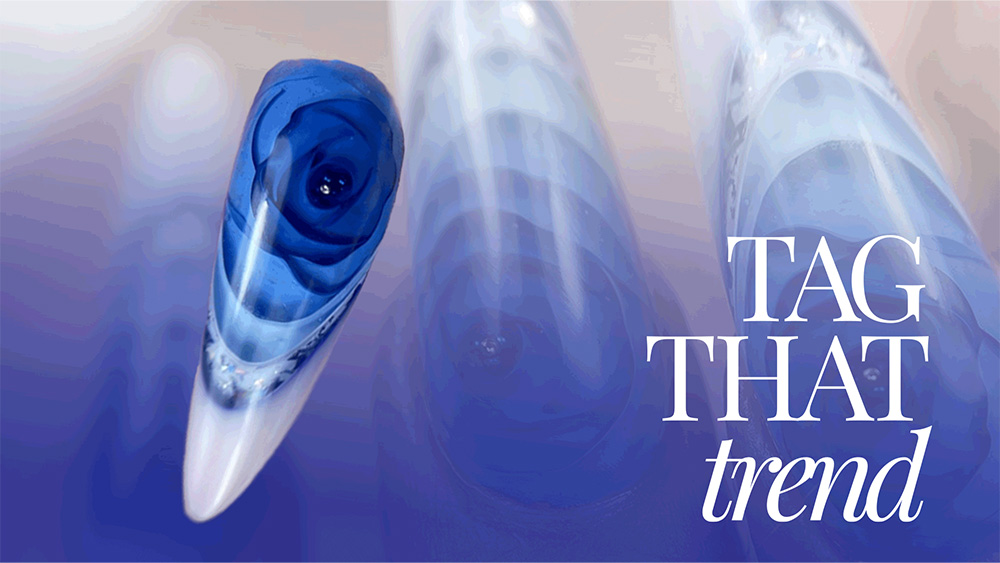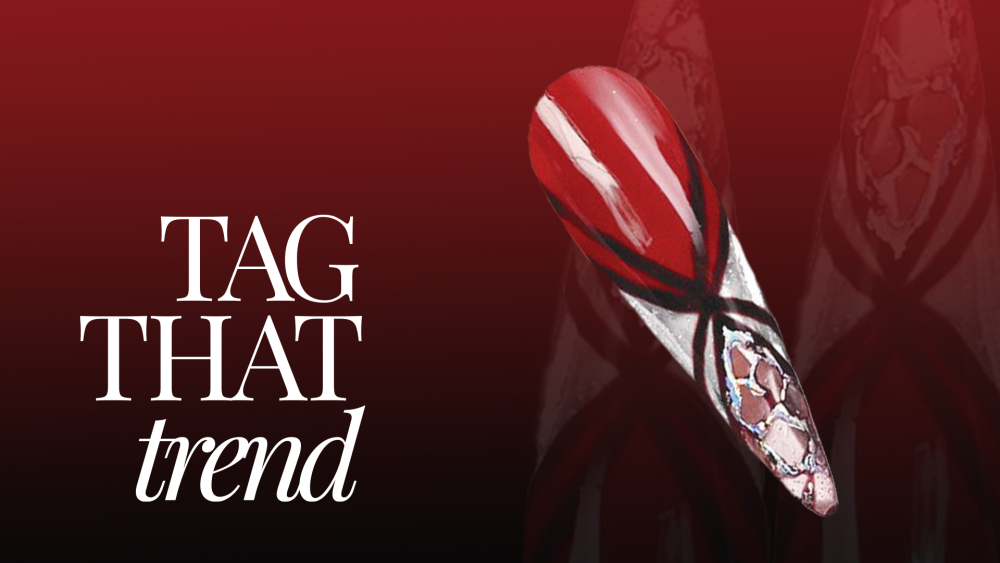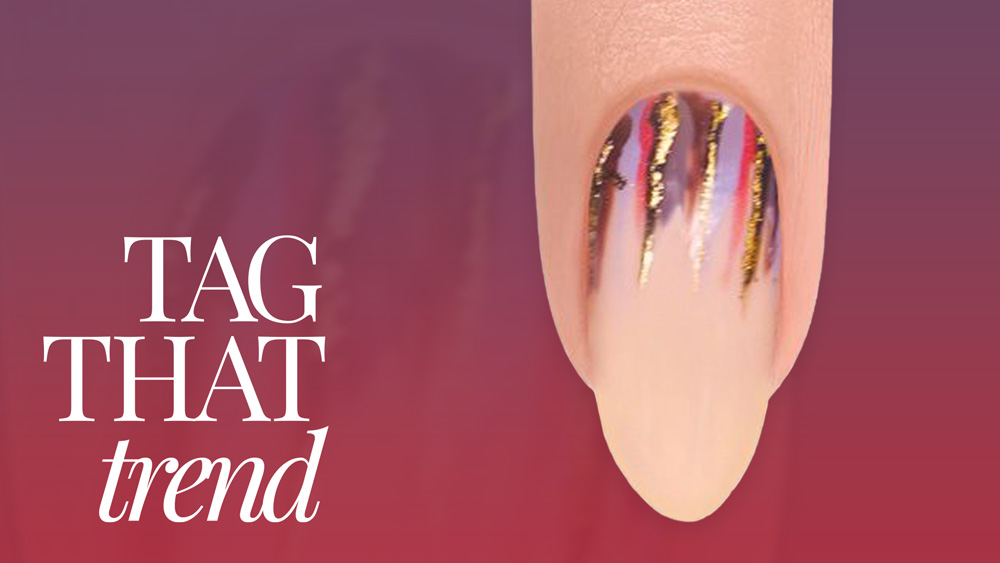

Metallic French Stiletto
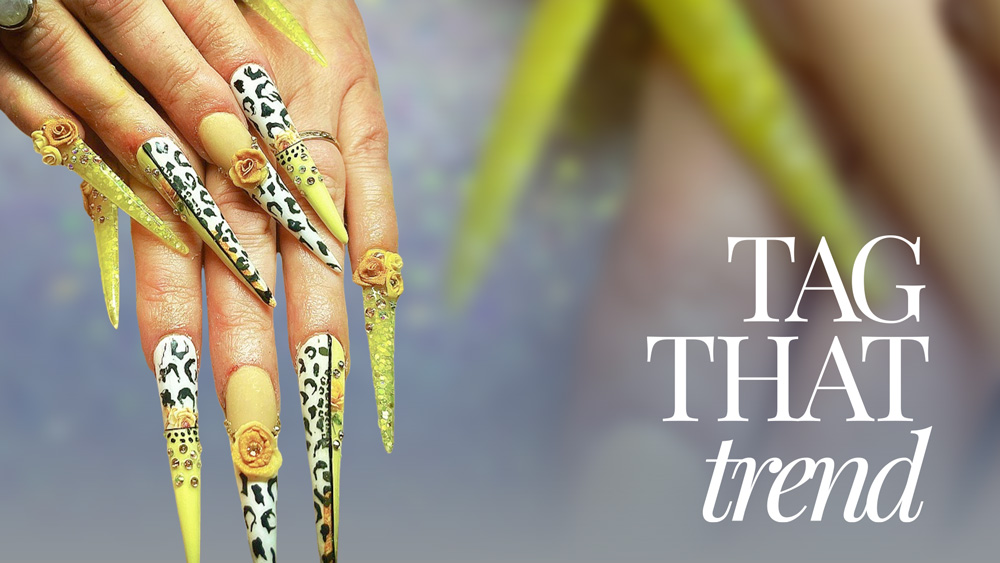
tag that trend
![]()
Alisha Rimando
Nail art is an ever-evolving canvas for personal expression, and three trends are currently stealing the spotlight: stiletto nails, classic French tips, and edgy metallics. With expert guidance from world champion nail artist Alisha Rimando, you can transform these trends into one stunning look for your adventurous clients. Whether you’re preparing for a photo shoot, competition, or simply want to inspire your clients, these trends provide a wealth of creative possibilities. Explore the full step-by-step directions to master these techniques and take your nail art to the next level.

PRODUCTS USED
- Artistic Colour Gloss in #2100146 I Need Space
- #2100148 Heart Of Chrome
- #2100149 Vortex Vixen
- #03314 Artistic Striper
- #03210 Revive Cuticle Oil
- Nail Surface Cleanser
- Lint-Free Wipe
- Glossing Gel
- LED Light
workbook and so much more educational content.
STEPS

Follow application steps for Rock Hard Extension.

Apply a thin coat of Vortex Vixen, making sure to cap the free edge. Cure for 30-seconds in LED Light. or 2 minutes in UV. Repeat.

Using a thin application of Heart of Chrome create a French edge, making sure to cap the free edge. Cure for 30-seconds in LED Light, or 2 minutes in UV. Repeat.

Use your Artistic Striper & I Need Space to create line at smile line, flash cure for 10 seconds in LED light.

Use your Artistic Striper & I Need Space to create circle designs. Cure for 30-seconds in LED Light, or 2 minutes in UV.

Apply a thin coat of Heart of Chrome under the free edge. Cure for 30-seconds in LED Light, or 2 minutes in UV. Repeat.

Apply a thin coat of Glossing Gel over the entire nail & underside of nail. Cure for 30-seconds in LED Light, or 2 minutes in UV.

Use Nail Surface Cleanser & a Lint-Free Wipe to cleanse the inhibition layer of the nail.

Massage one drop of Revive Cuticle Oil into the skin surrounding the nail plate, & enjoy the finished look.
Want to see your nail art featured on Tag That Trend? Our team is excited to see your work and get you published. Contact us for details.