![]()
![]()
No Bubbles in the Pink
Nail hacks, hints and tips from top techs!
Nail hacks, hints and tips from top techs!

Hi, this is Emese Koppányi.
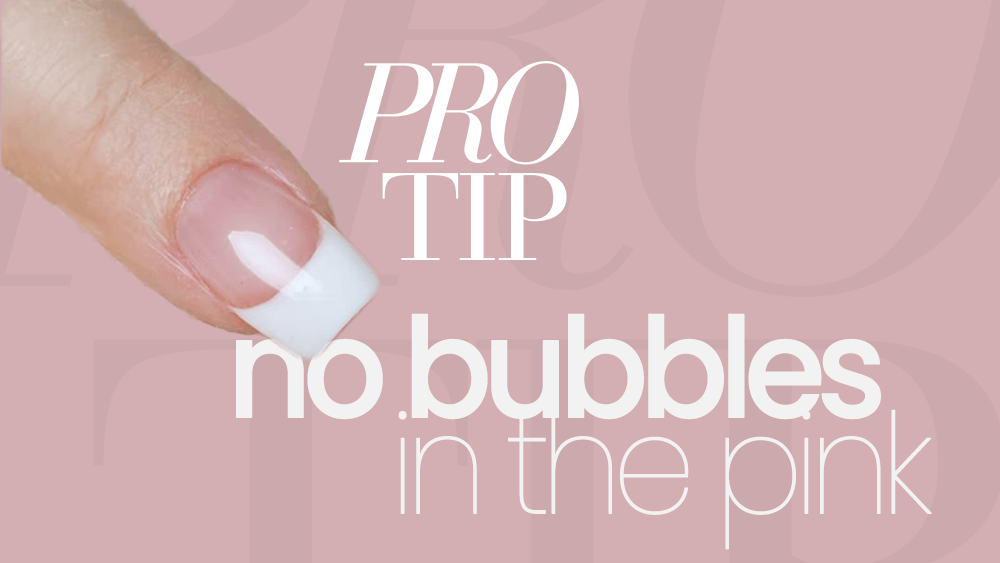
There is a problem when you're doing pink & white acrylic competition-style nails.
The problem is many, many times you can see small bubbles in your pink.
This is because you are using a huge amount of pink acrylic powder.
So instead, you have to use smaller amounts and more pink powder
when applying your pink part of the nail.
So, when applying smaller beads, and you press with your brush, you can get out all the bubbles from your pink.
So good luck.
See you next time.
![]()
![]()
![]()
![]()
![]()
Want to see your salon featured in an episode of Salon Stopover? We are looking for fabulous salons & unique services to showcase from around the globe. Contact us for details.
![]()

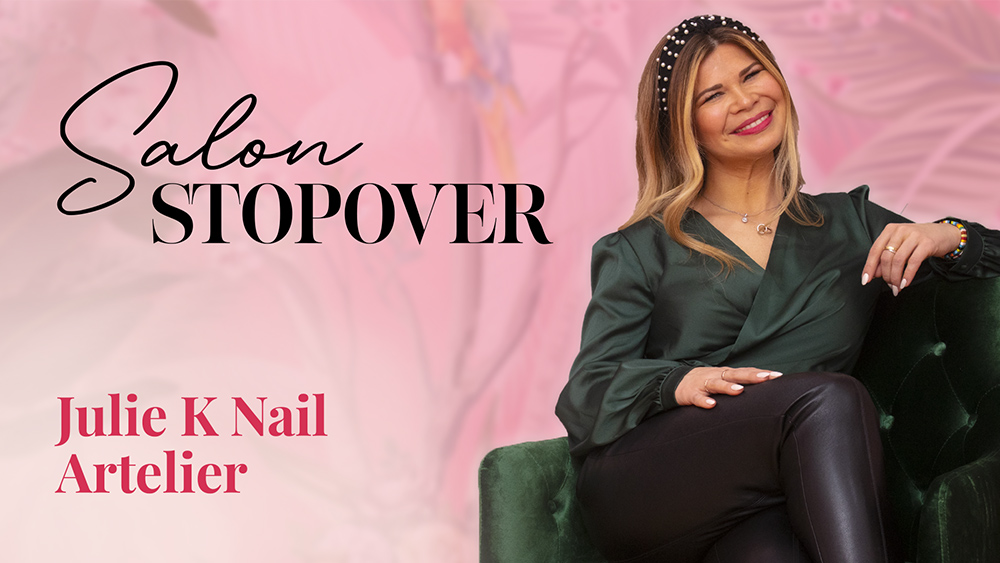
Emese Koppanyi’s life and career in the nail industry is a testament to passion, dedication, and the relentless pursuit of perfection. Born in Hungary, Emese has spent nearly 25 years refining her craft, specializing in sculptured pink and white acrylic nails—a niche where her expertise truly shines.
Emese’s journey into the world of nail artistry began in 1999. Trained by some of the industry’s legends, including Tom Holcomb, Alisha Rimando, Tom Bachik, and Trang Nguyen, she quickly established herself as a formidable competitor. Her dedication and skill have earned her over 120 trophies, a testament to her prowess and commitment to excellence.
As an elite educator, Emese has made significant contributions to the nail industry. She offers both group and one-on-one training sessions, imparting her extensive knowledge and skills to her students. Many of her students have gone on to win championship titles, a clear indication of the quality and impact of her teaching. Emese’s expertise has taken her across the globe, presenting classes in Europe, Asia, the USA, and Brazil. Her collaborations with various nail brands like Cesar’s Secret, Odyssey Nail System, Trinity Nails, Pearl Nails, and most recently, Urawa, have broadened her industry knowledge and influence.
In 2016, Emese moved to the USA, opening a nail salon on Sunset Strip in LA with fellow nail expert, Frederic Edange. Their partnership blossomed, and a year later, they founded EDKO Nail Systems, a brand known for its high-quality nail products and tools designed and tested by the duo. Emese’s work has been featured in magazines worldwide, and she has graced the covers of three editions of the USA’s Nailpro magazine.
Emese’s reputation as a judge at prestigious Nailympia competitions in London, Orlando, and Houston further cements her status as an authority in the nail industry. Her competitive achievements are impressive, including the 2010 World Champion title in Monaco, the Nailpro Cup USA 2018, four European Champion titles in Munich, and ten Hungarian Champion titles along with the Tom Holcomb Cup.
Today, Emese owns a private salon in Beverly Hills and serves as a brand ambassador for the Urawa e-file manufacturer in Japan. Her journey from a passionate nail artist in Hungary to a globally recognized industry leader in the USA is truly inspiring. Emese Koppanyi’s career is a shining example of what can be achieved through passion, skill, and unwavering dedication to one’s craft.
![]()
Want to see your salon featured in an episode of Salon Stopover? We are looking for fabulous salons & unique services to showcase from around the globe. Contact us for details.
![]()
Nail art is an ever-evolving canvas for personal expression, and three trends are currently stealing the spotlight: stiletto nails, classic French tips, and edgy metallics. With expert guidance from world champion nail artist Alisha Rimando, you can transform these trends into one stunning look for your adventurous clients. Whether you’re preparing for a photo shoot, competition, or simply want to inspire your clients, these trends provide a wealth of creative possibilities. Explore the full step-by-step directions to master these techniques and take your nail art to the next level.
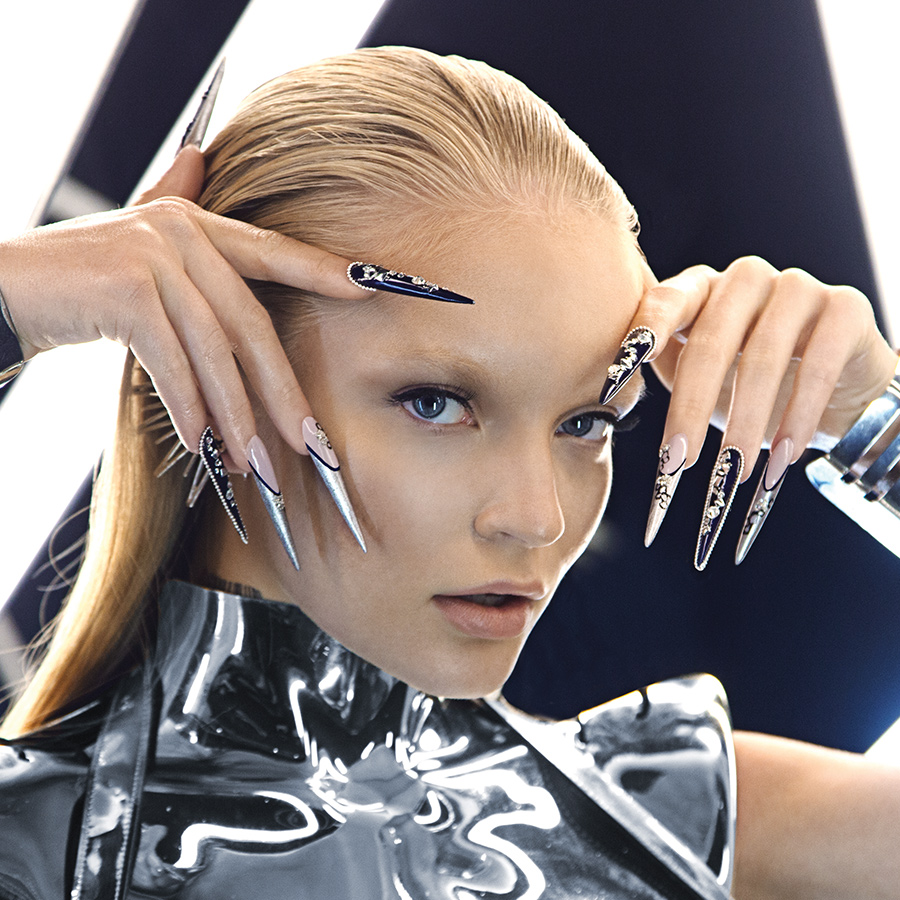
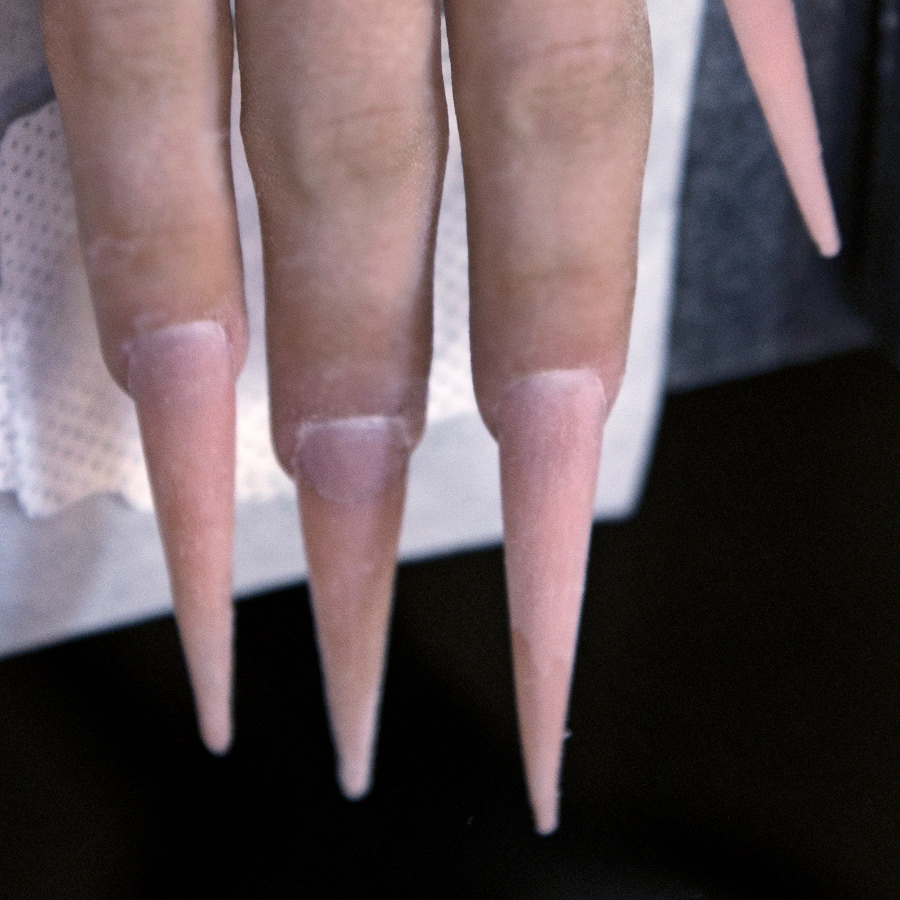
Follow application steps for Rock Hard Extension.
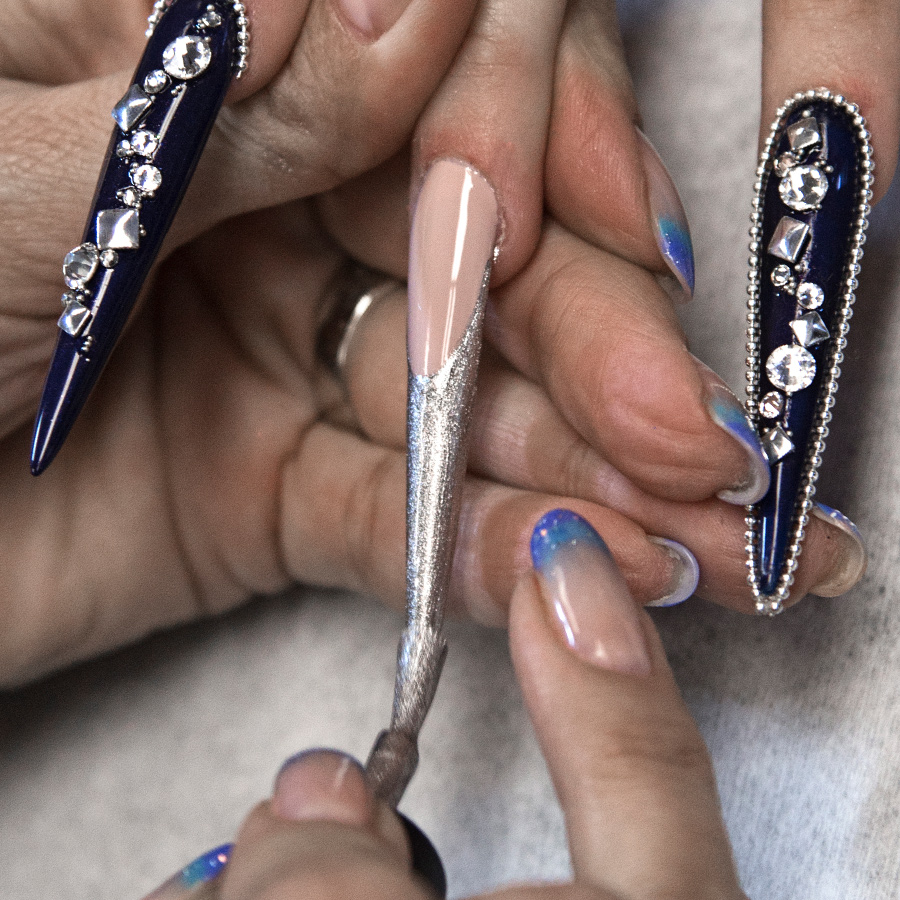
Using a thin application of Heart of Chrome create a French edge, making sure to cap the free edge. Cure for 30-seconds in LED Light, or 2 minutes in UV. Repeat.
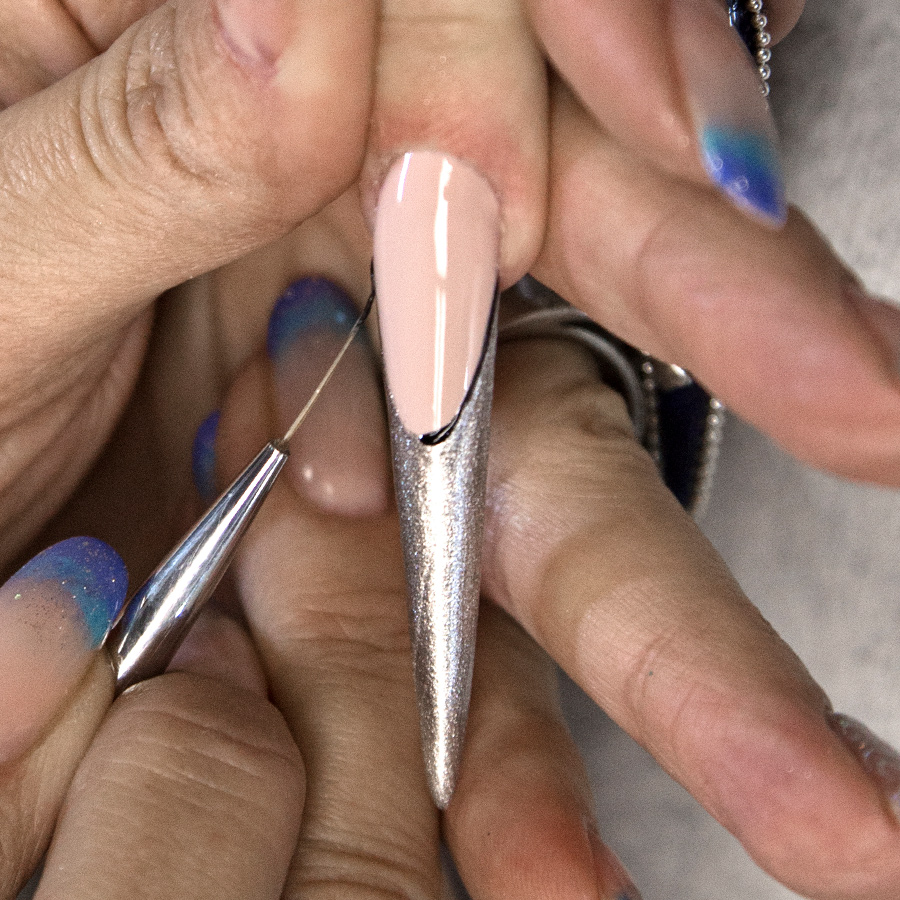
Use your Artistic Striper & I Need Space to create line at smile line, flash cure for 10 seconds in LED light.
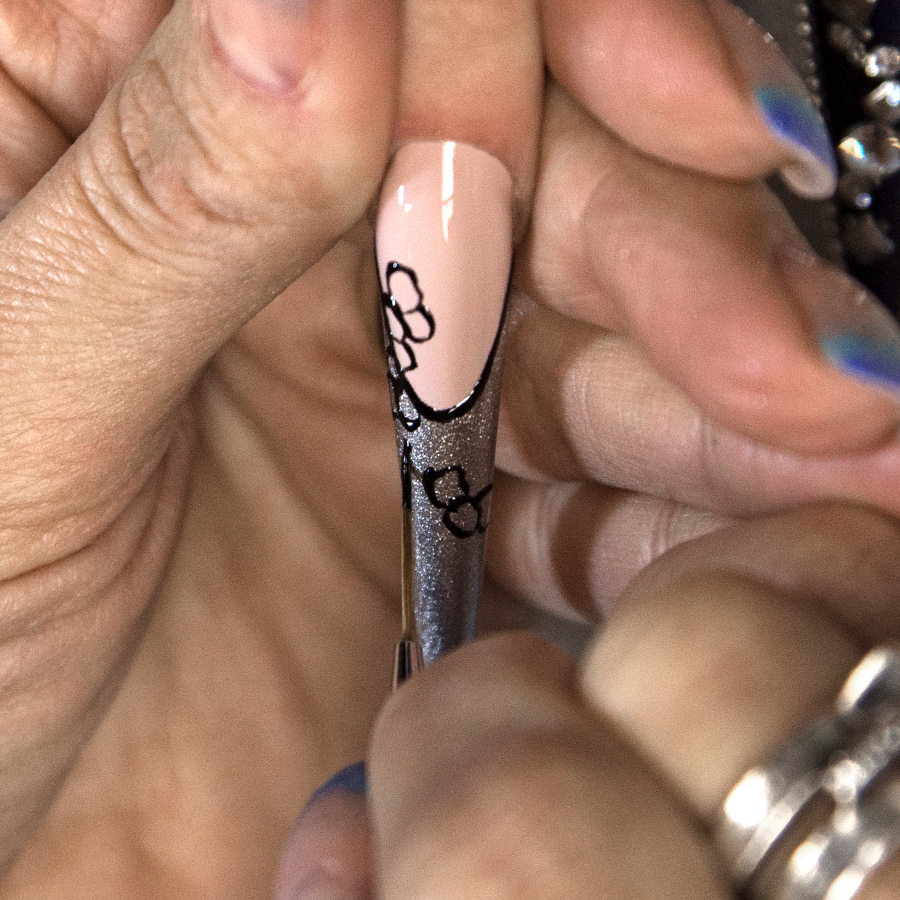
Use your Artistic Striper & I Need Space to create circle designs. Cure for 30-seconds in LED Light, or 2 minutes in UV.
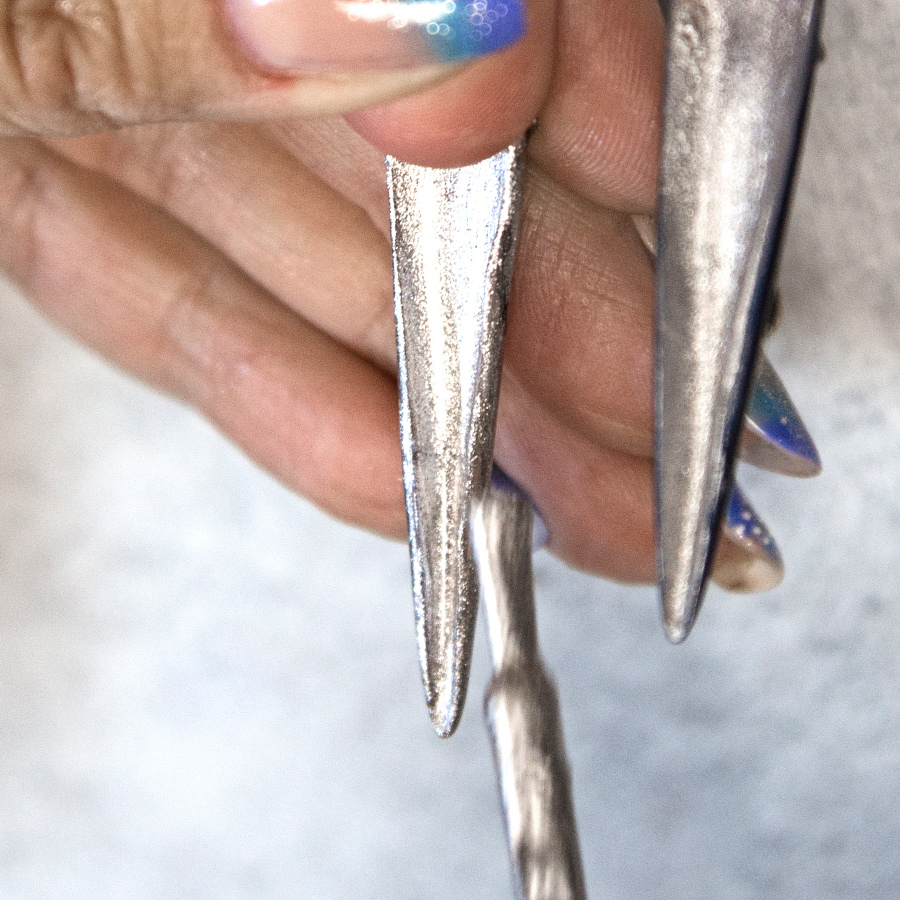
Apply a thin coat of Heart of Chrome under the free edge. Cure for 30-seconds in LED Light, or 2 minutes in UV. Repeat.
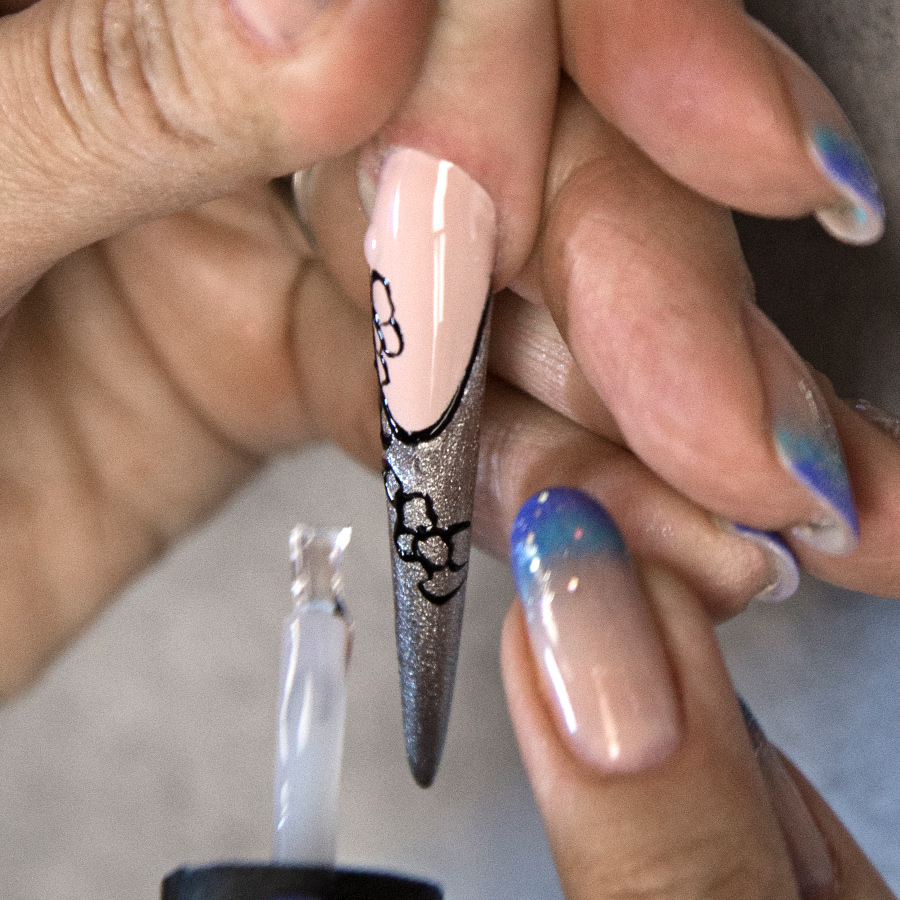
Apply a thin coat of Glossing Gel over the entire nail & underside of nail. Cure for 30-seconds in LED Light, or 2 minutes in UV.
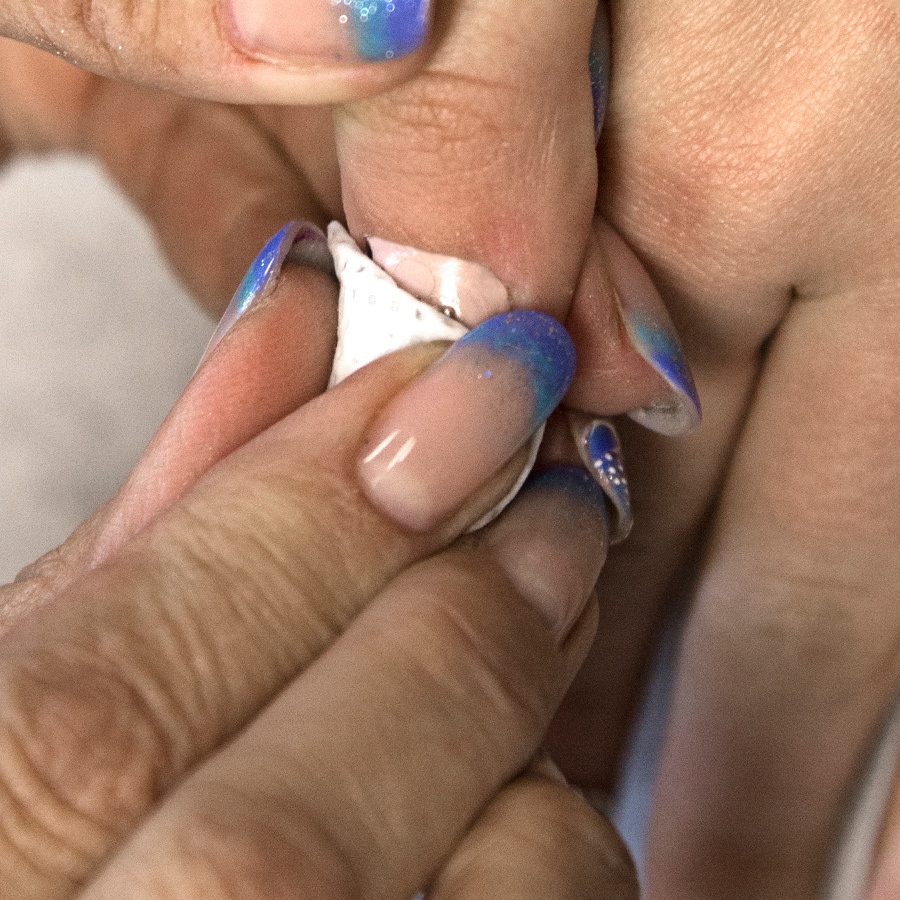
Use Nail Surface Cleanser & a Lint-Free Wipe to cleanse the inhibition layer of the nail.
Want to see your nail art featured on Tag That Trend? Our team is excited to see your work and get you published. Contact us for details.
![]()
![]()
![]()
![]()
Korean nail artist Lee Yeseul’s gold and blue marble textured gel art design perfectly aligns with the spring and summer nail trends. This mesmerizing design is a true standout, combining classic and modern elements in a seamless and sophisticated manner. The effortless fusion of colors, textures, and accents creates a chic and stylish look that is sure to turn heads. Whether you choose a matte or high-gloss finish, this design exudes sophistication and is perfect for making a statement with your nails.Follow these simple steps to recreate Lee Yeseul’s coveted gold and blue marble textured gel art design and step into the world of trendy and glamorous nail art that will leave everyone in awe.
Want to see your nail art featured on Tag That Trend? Our team is excited to see your work and get you published. Contact us for details.


