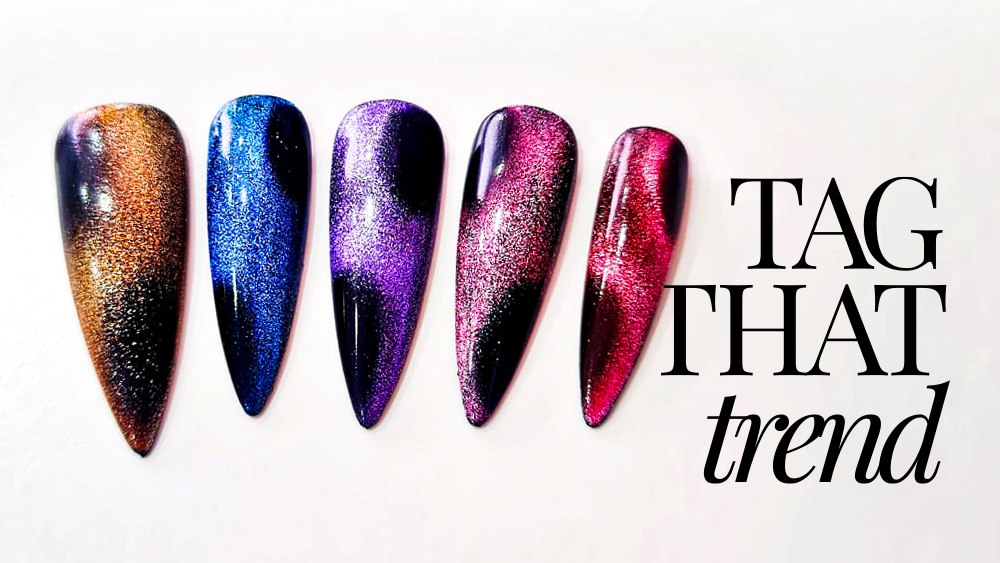
Flowers with Brush Strokes Gel Art
![]()
Kim Jeong Ae
Expert advisor & educator for nail brand I’Zemi, Kim Jeong Ae is also a popular nail blogger in South Korea. Keen to share her nail styling & expert skills, Jeong has been teaching folk art techniques since 2003.
PRODUCTS USED
- A Nail File
- UV/LED Base Gel
- UV/LED Non-wipe Matte Top Gel
- UV/LED Resin Clear Gel
- UV/LED Color Gel
- UV/LED Line Gel
- Gel Brushes
- Gel Cleanser
- Lettering Decals
- Metallic Nail Art Ring
- Sponge
- Tweezers
- UV/LED Lamp
STEPS
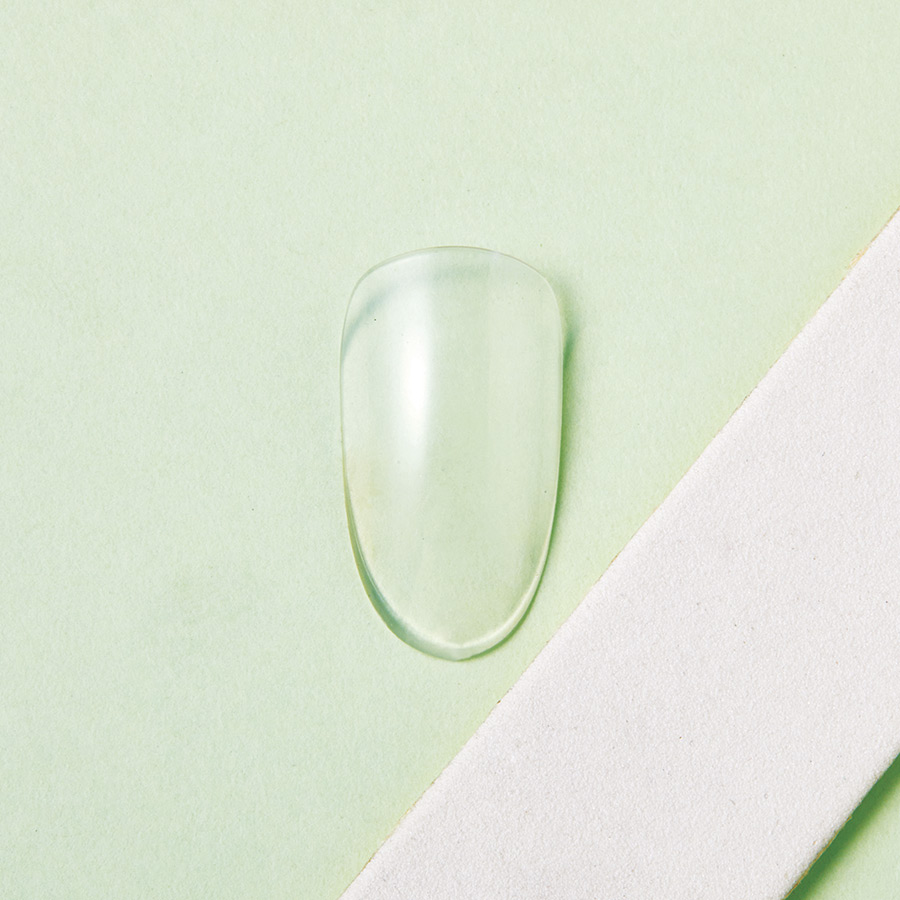
Choose the correct full cover sized nail tip & file to your desired shape & length.
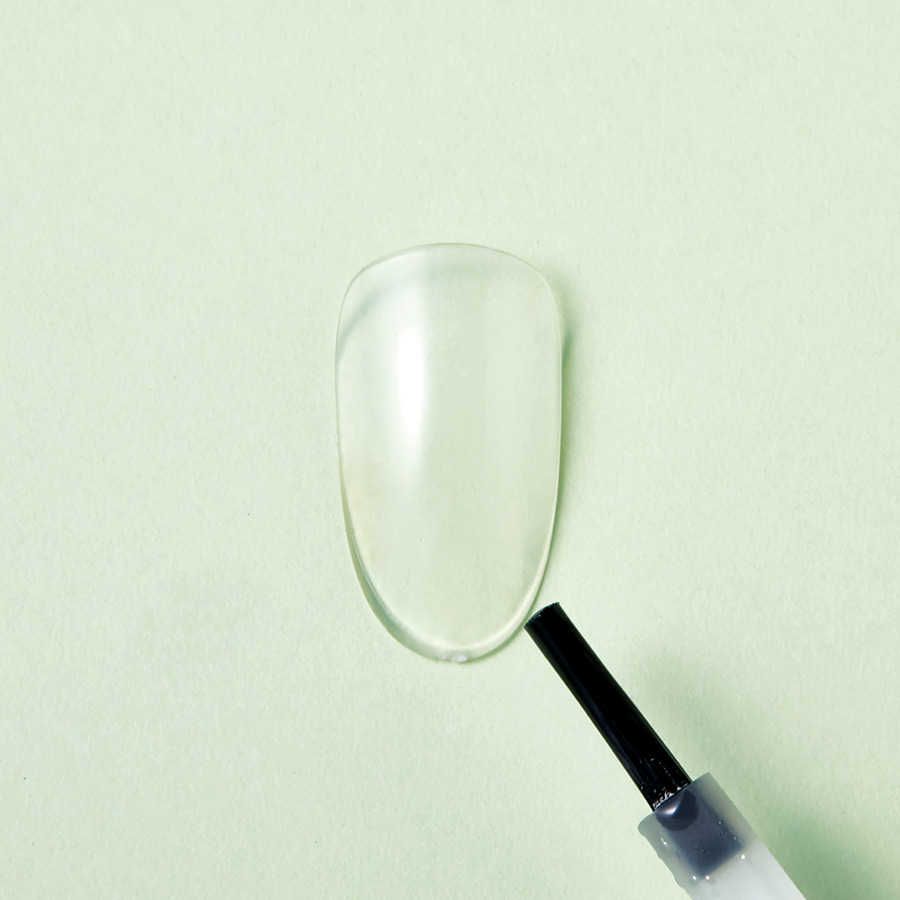
Apply UV/LED base gel & cure.
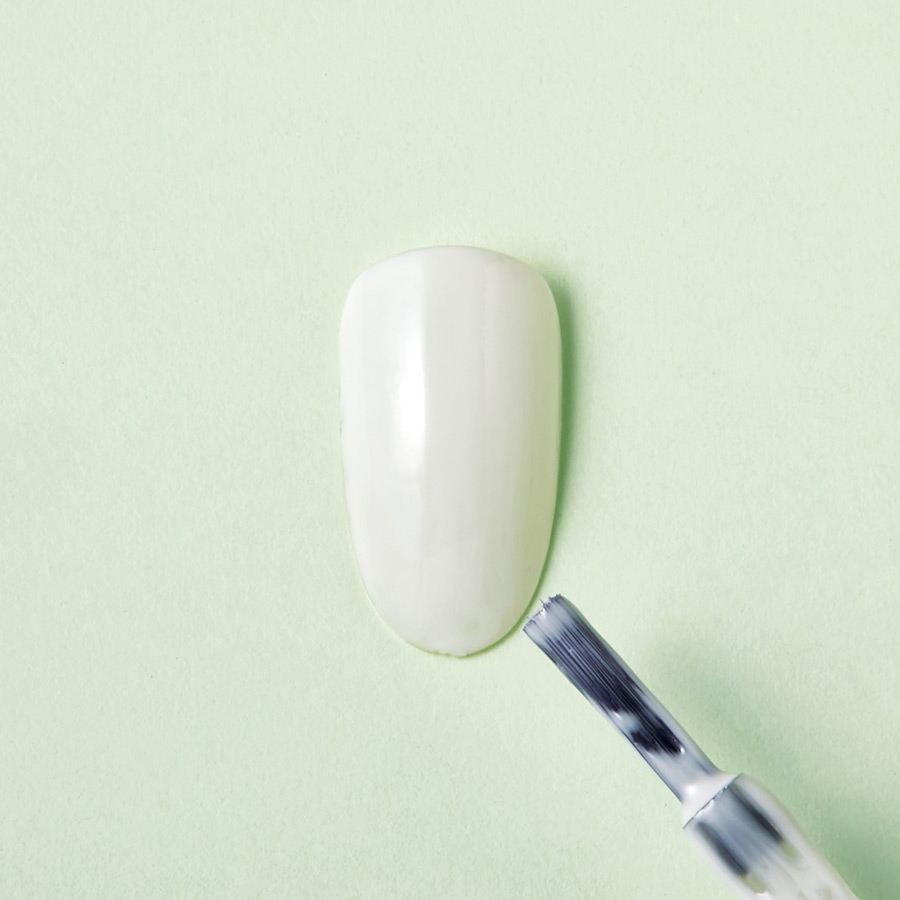
Apply a coat of white UV/LED gel base color & cure.
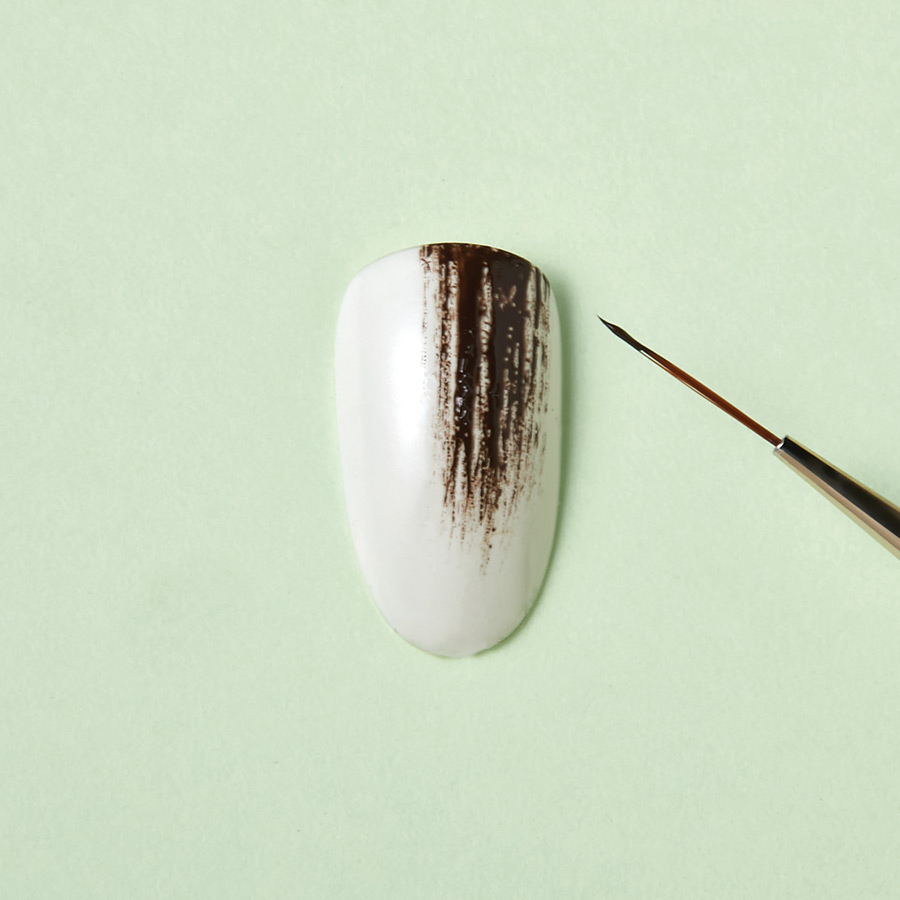
Roughly apply a brown UV/LED gel color using a long liner brush & cure.
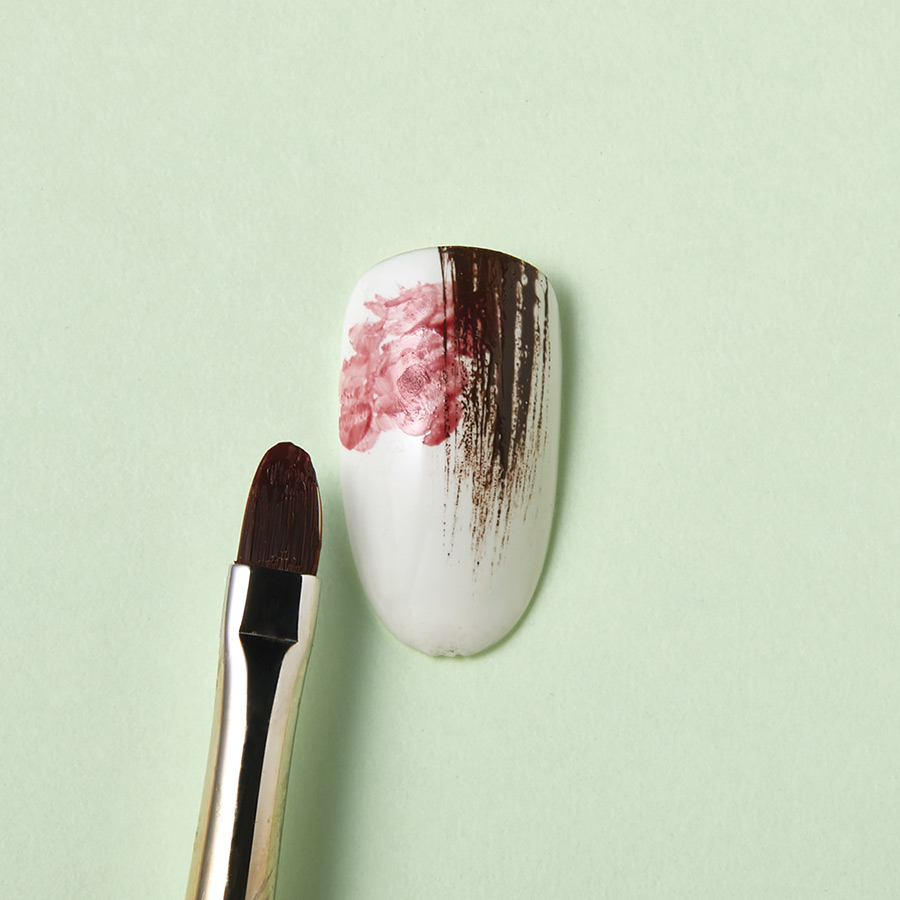
Design a flower shape, using red UV/LED gel paint on an art brush, in the top left corner of the tip.
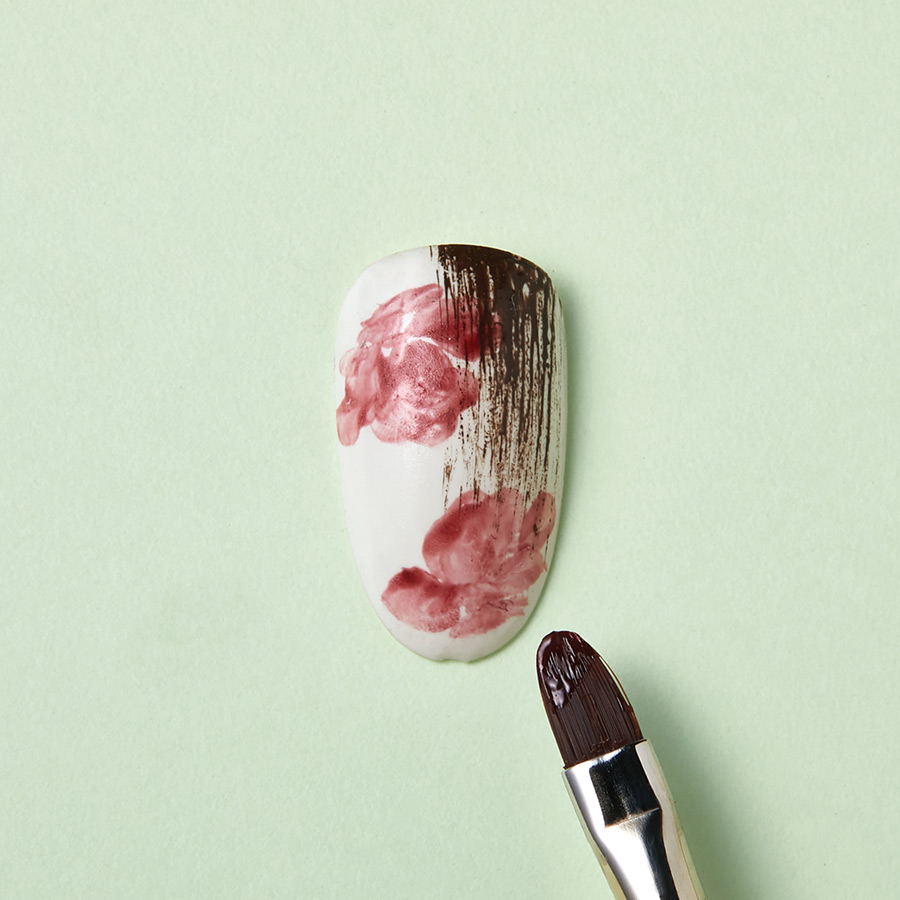
Paint a second red flower shape in the bottom right corner of the tip.

Add leaves using a green UV/LED gel paint on a short round brush & then cure the design.
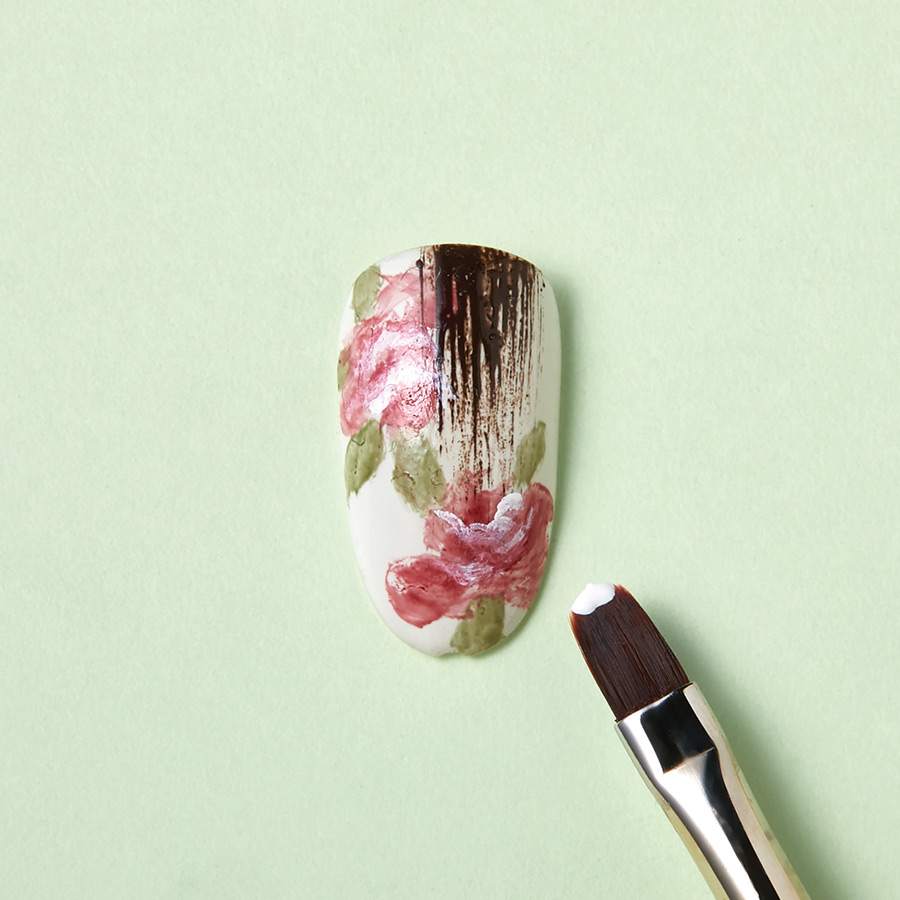
Apply small amounts of white UV/LED gel color to create highlights on the edges of the red petals & cure.
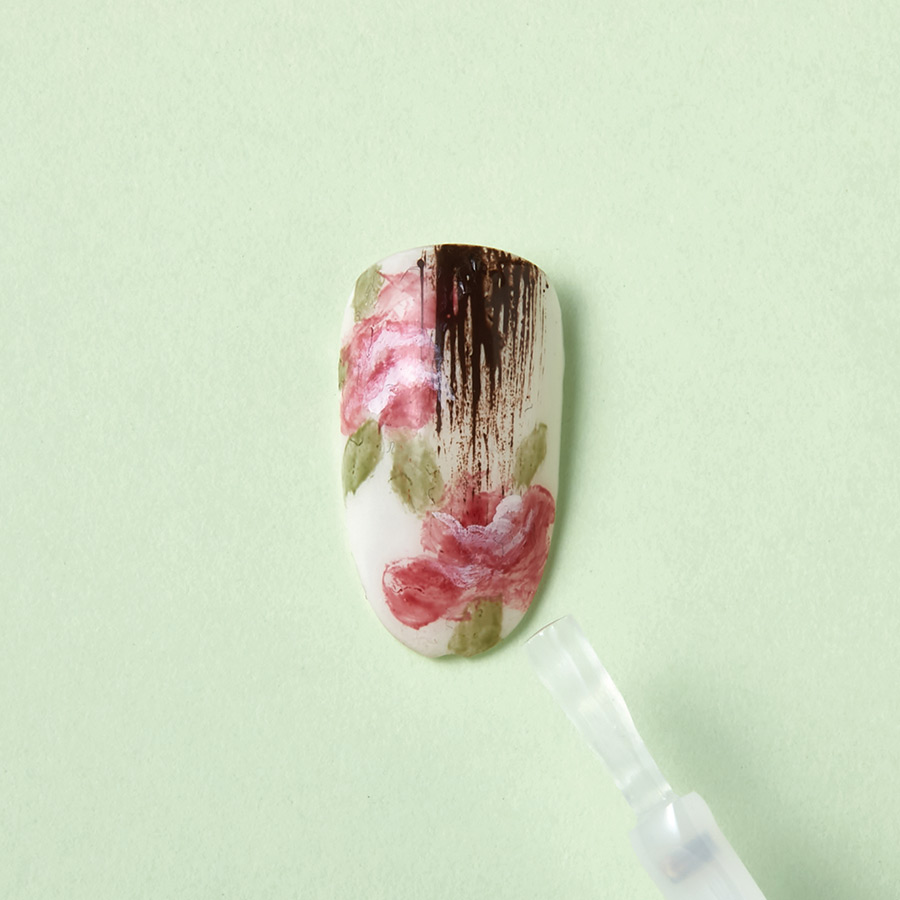
Apply a clear UV/LED gel top coat to the entire nail tip & cure.
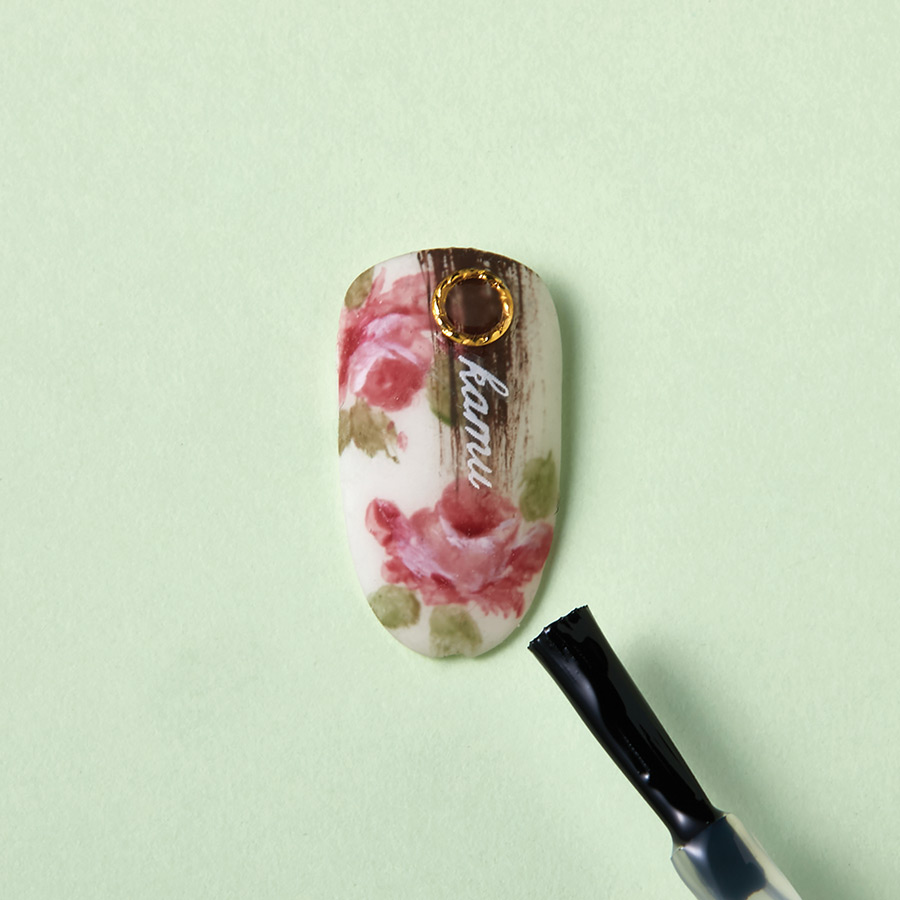
Apply UV/LED non-wipe matte top gel to the entire nail surface & decorate with a lettering decal & metallic ring then cure to complete the design.

MORE TAG THAT TREND
RELATED VIDEOS

MORE TO EXPLORE


Prep the natural nail using a 180-grit file, remove dust. Apply “Prep It!”, then two thin coats of Flex It! “Cover Peach”, curing each coat for 60-seconds.
Prep Apply a thin, even coat of HD Pro “Matt It!” Cure for 60-seconds.
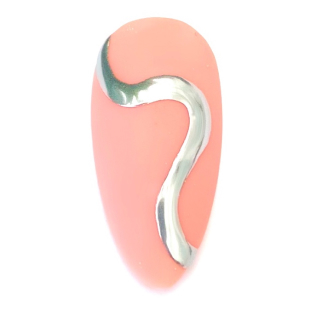
Use the HD Pro Long liner brush and HD Pro Art Gel in “Graphite” to create a wavy line. Cure for 30-seconds, then rub line with a dusting brush.