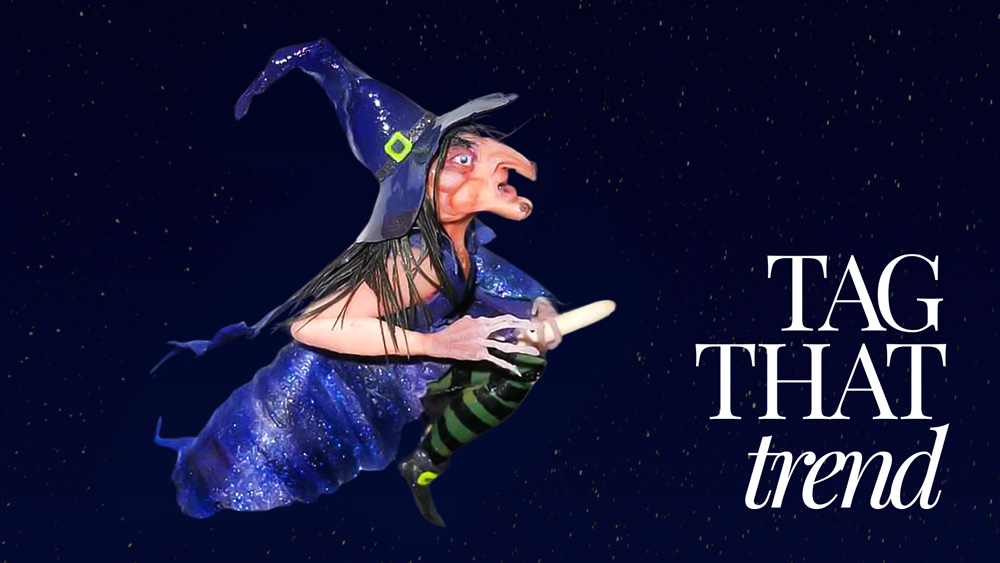
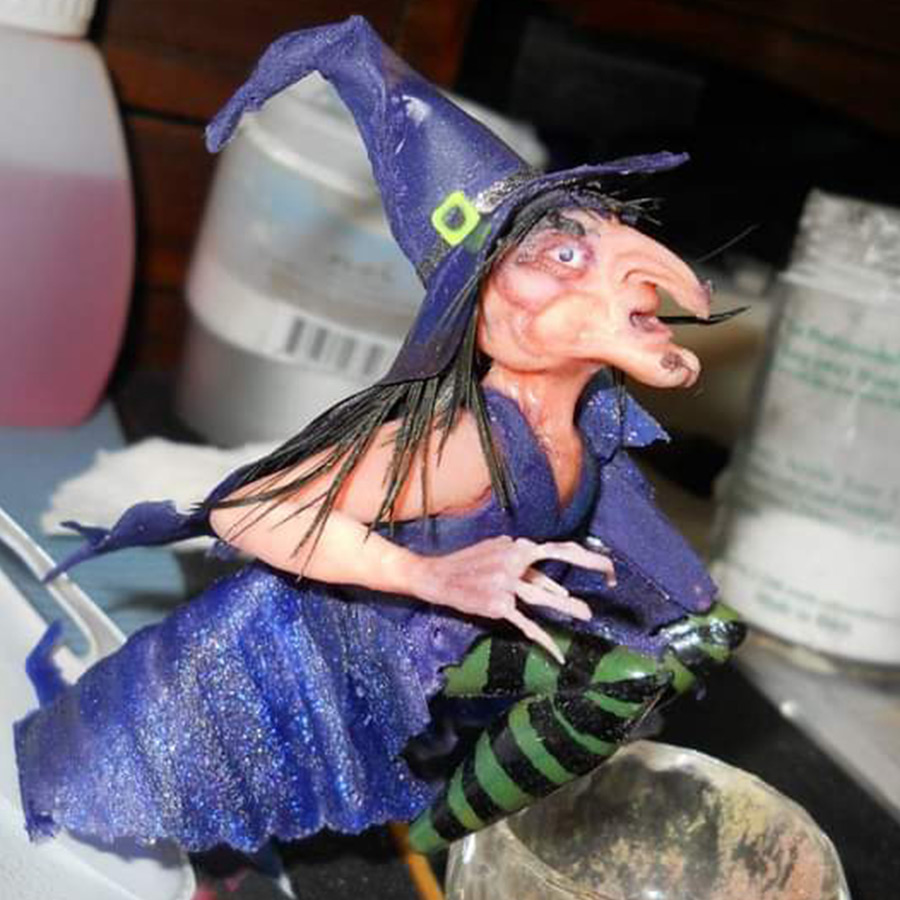
The Witch
The Witch
![]()
Milena Mingozzi
Learn how to approach a piece of 3D mixed media / fantasy artwork using the L&P acrylic liquid & powder system. Here, Milena showcases how to start imagining your piece, drawing it out, creating its architecture, form & structure and then how you move into the crafting of the character as well as the detailing of all elements that bring it to life.
PRODUCTS USED
-
- Hobbyist Clay
- Orangewood Stick
- Nail Art Tools
- Acrylic Brushes in Various Sizes
- A Series of Colored Powders
- Liquid Monomer
- Dappen Dish
- Forms/wax Paper
- Small Hand Roller
- Bird’s Feather
- Small Pin to Add Very Tiny Detailing
- Brush Fibers
STEPS
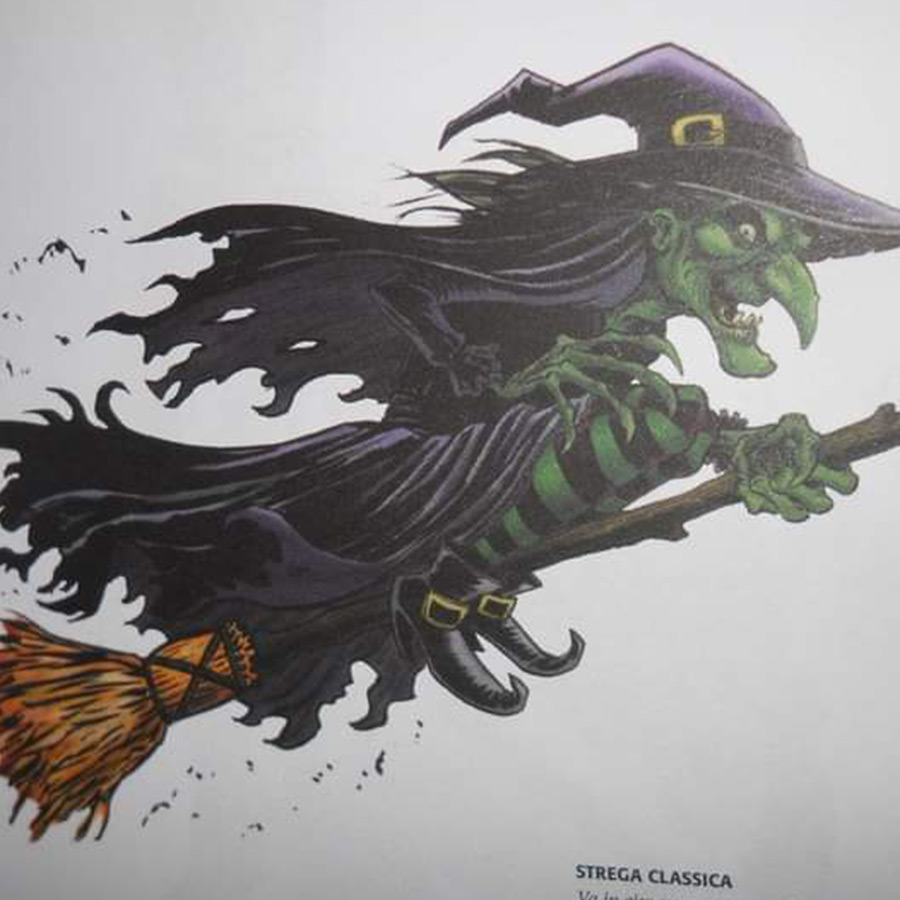
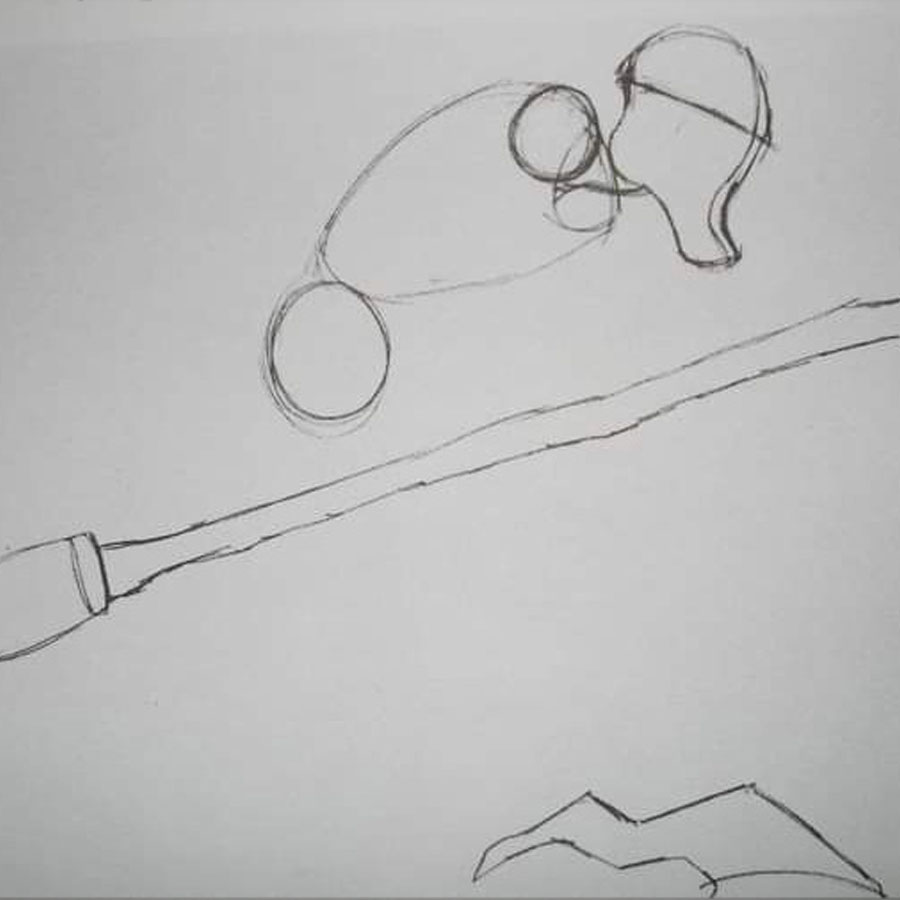
Choose a picture from which to gain inspiration & ideas for shape, structure & detailing.
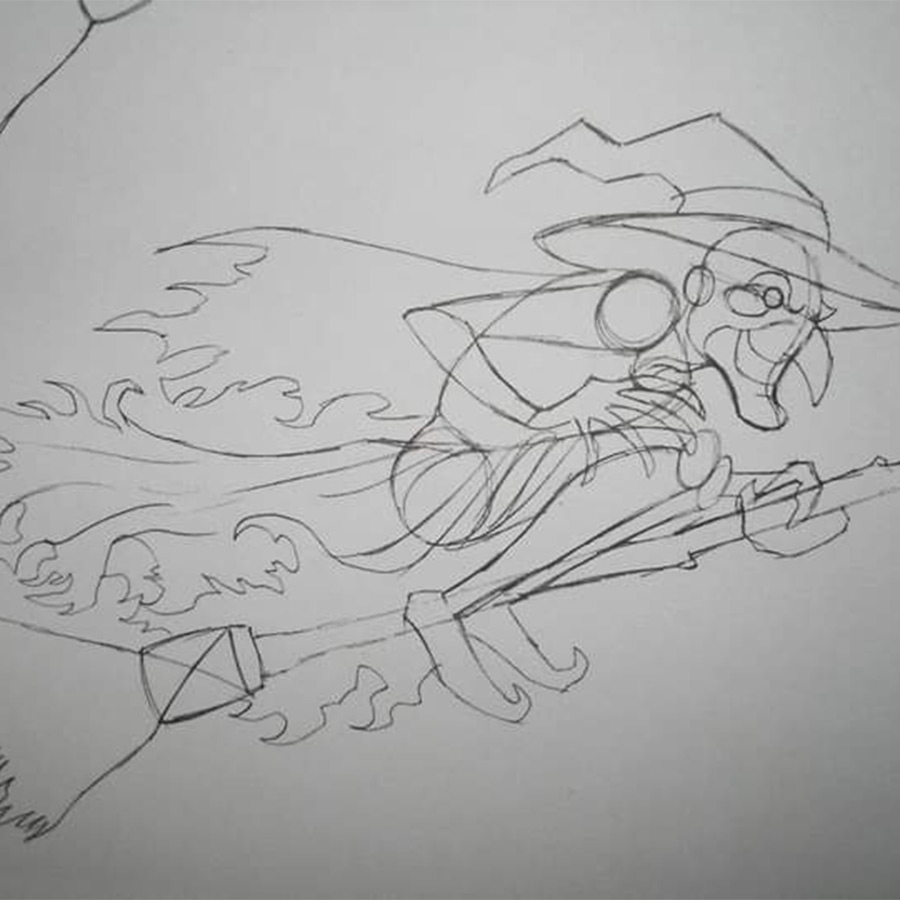
Draw an outline sketch of the witch as you want her to look.
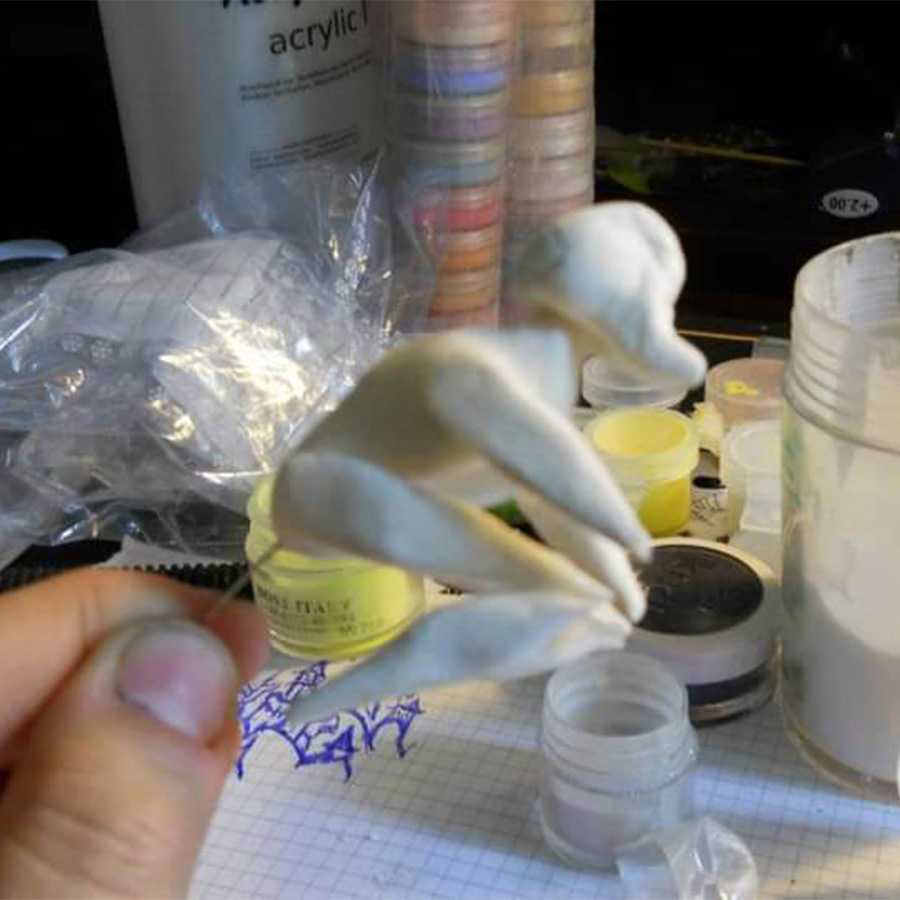
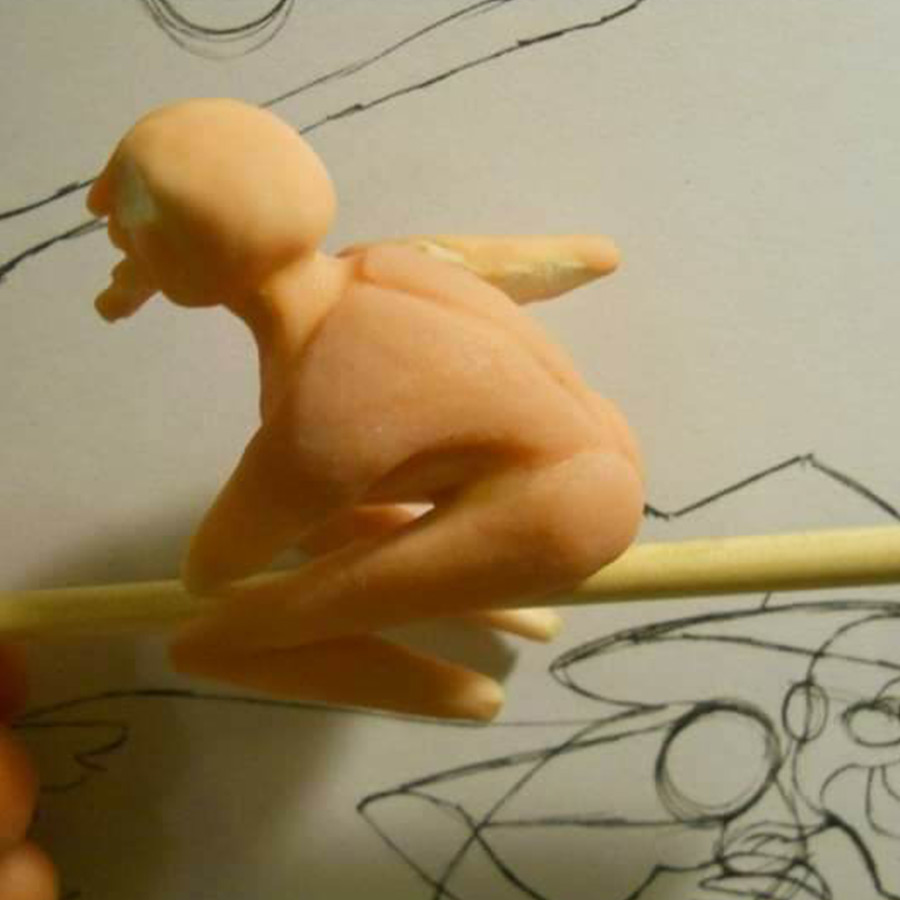
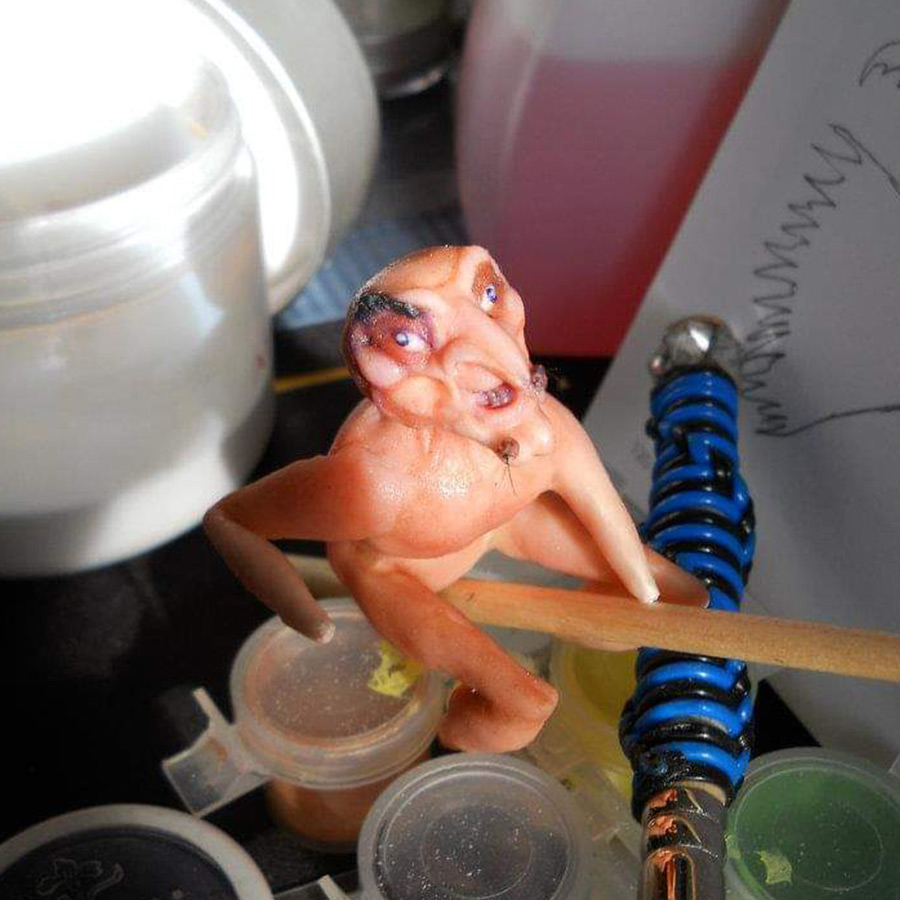
Build the shape of your witch using white hobby clay. Manipulate & sculpt it into shape, then leave it to harden. Place a pin inside the body for stability.
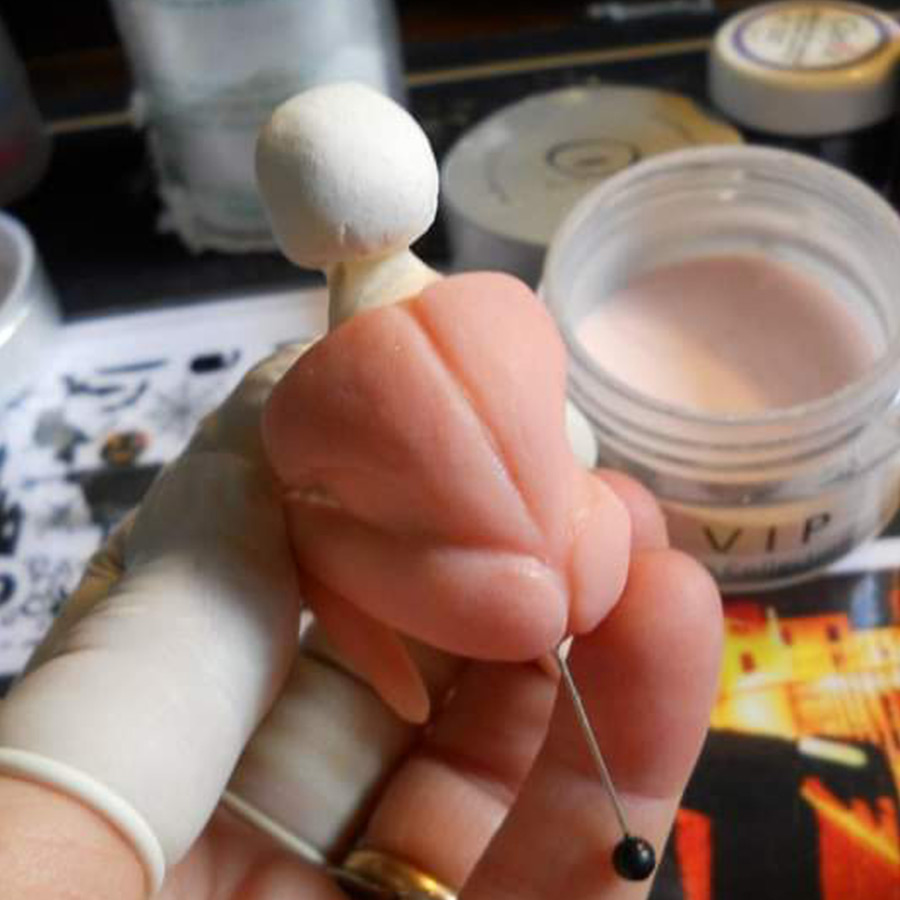
Take a series of pink beads of acrylic & cover the entire clay form. Use a thin implement to start adding features to the body to sculpt her form. Start at her buttocks & down her spine.
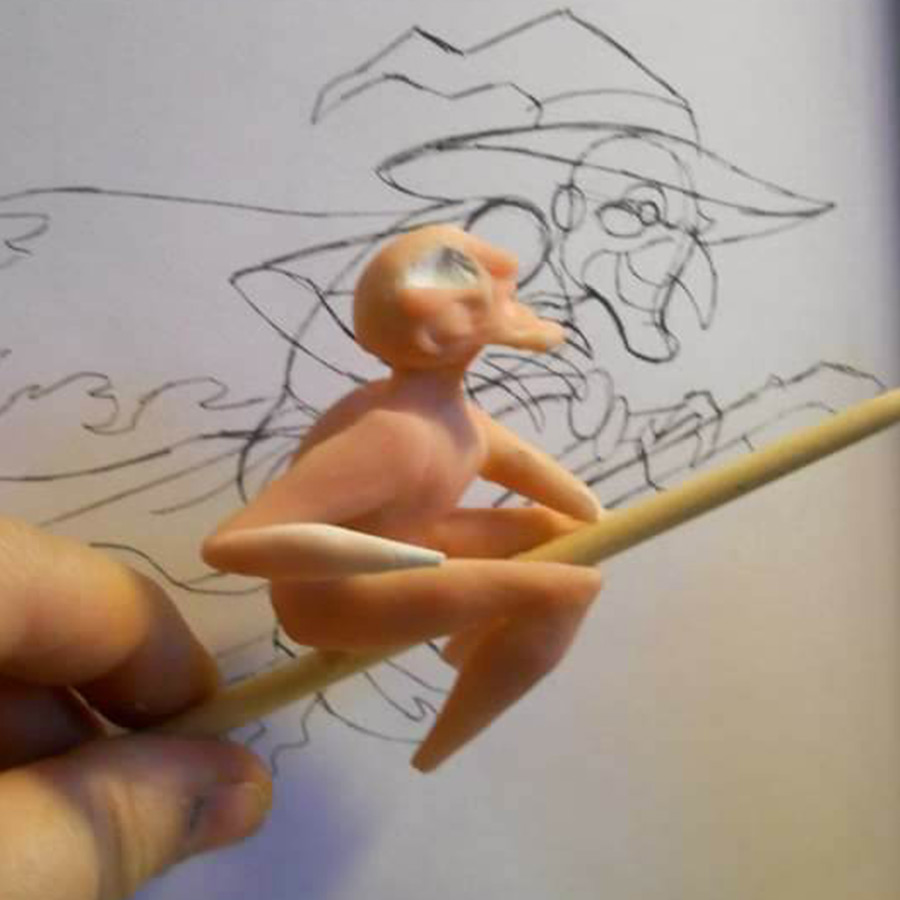
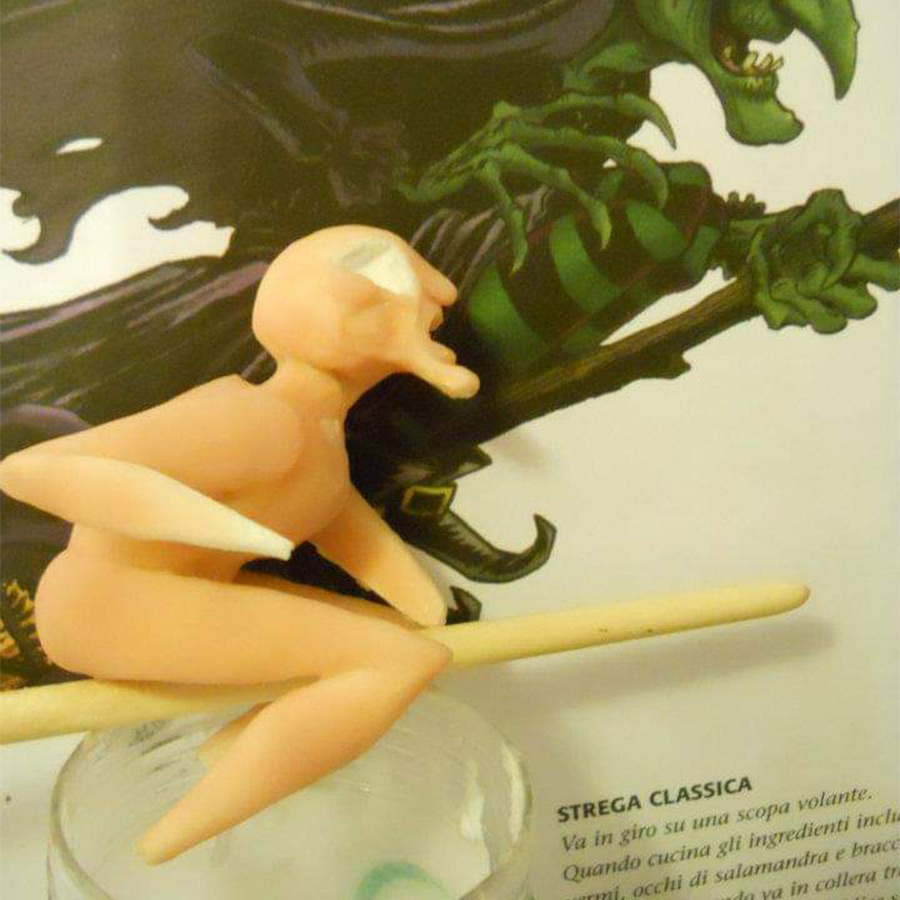
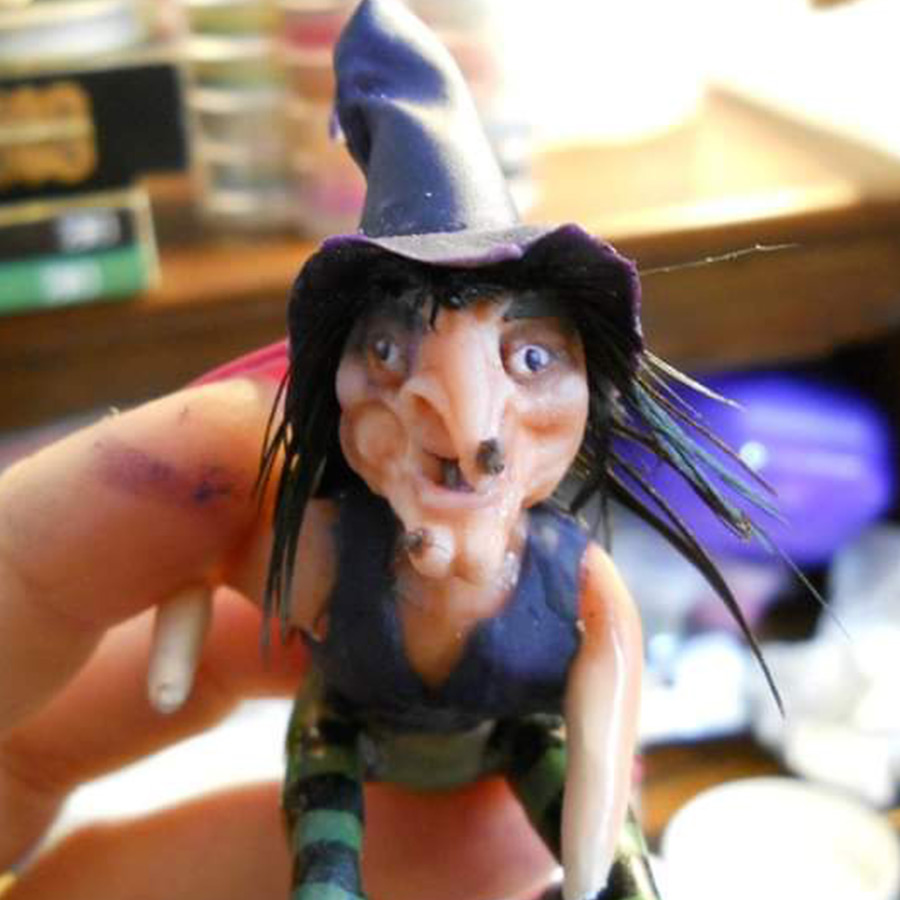
Now sculpt her nose & form her facial features, creating hollows for eyes & humps for cheekbones to give her a wizened look.
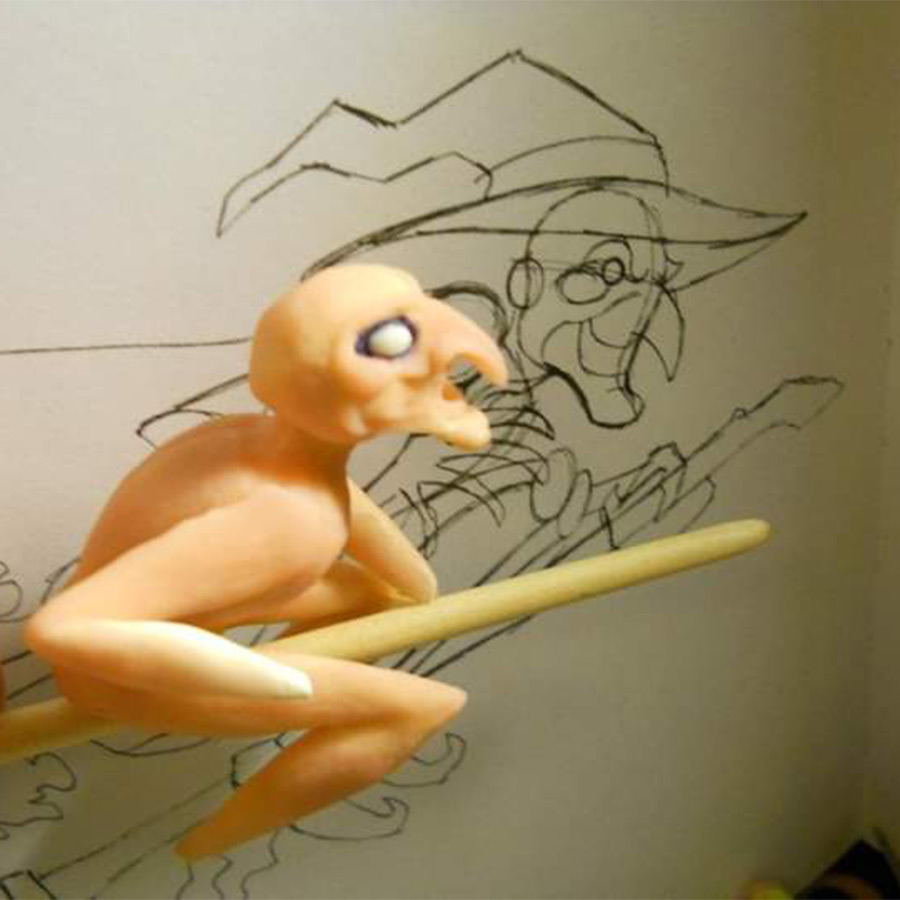
Use black ink in a pen to outline the eyes with black liner.
Use small beads of acrylic to build out her boney chin.
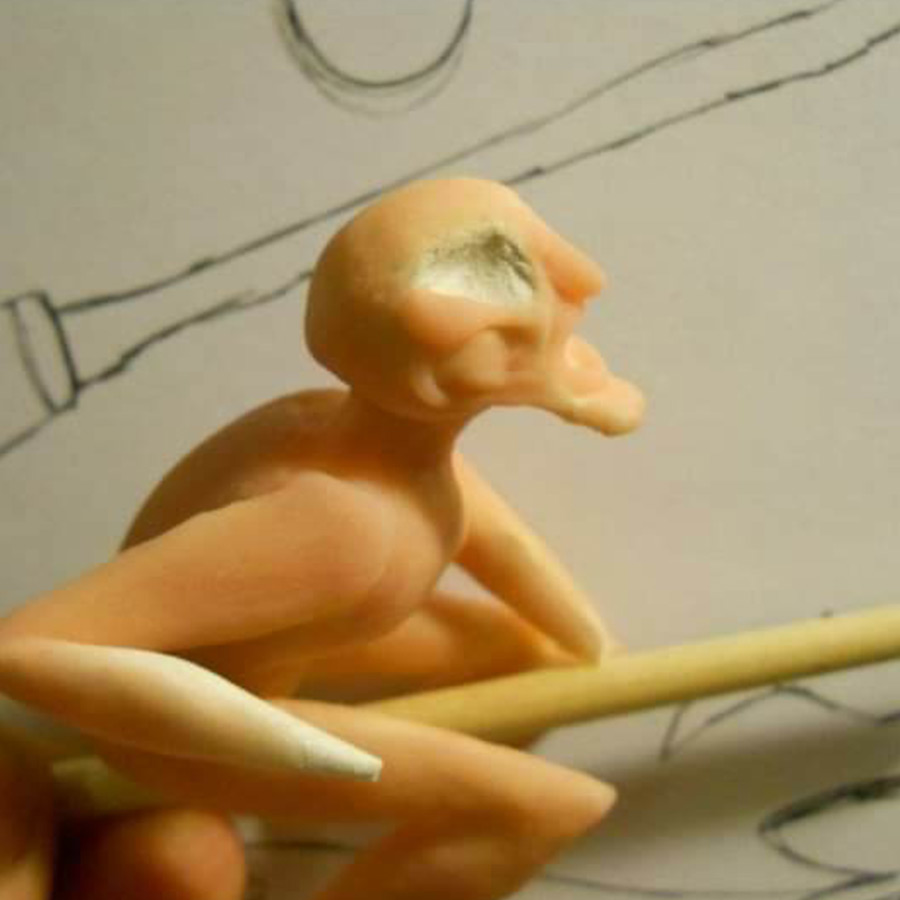
Use a small nail art tool to gently sculpt her facial expression.
Using a series of colored acrylic powders, monomer & brushes in a suitable size for each part of the body, give life & color to this witch.
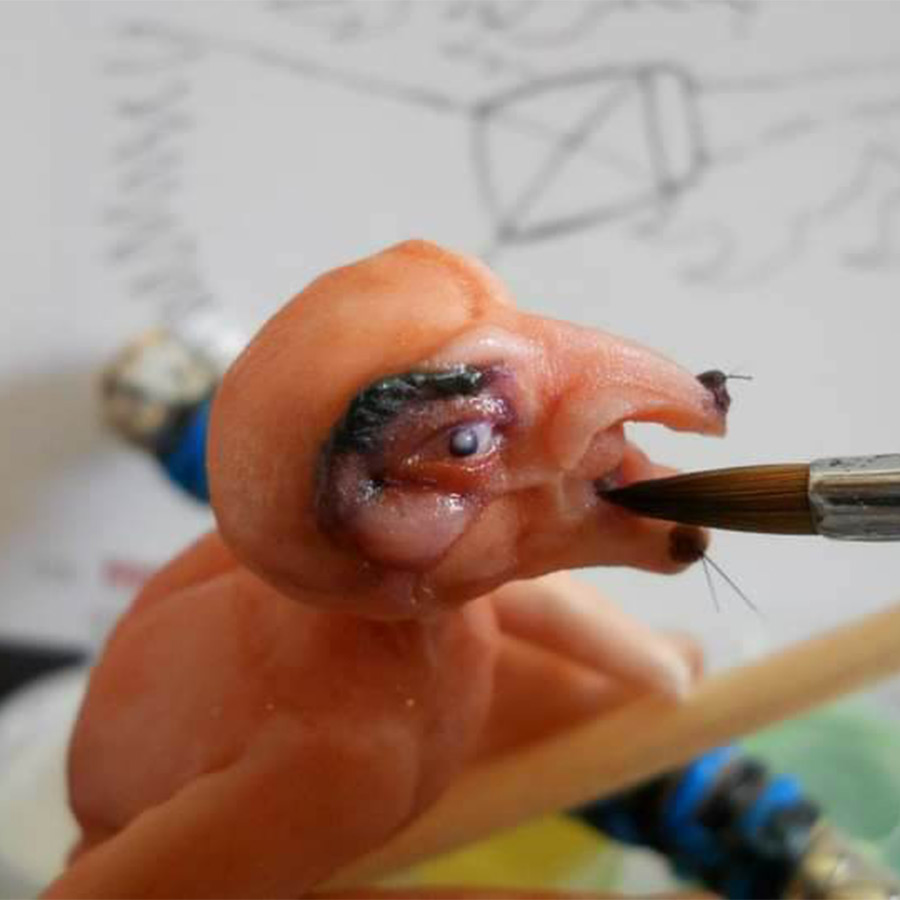
Take small dark colored acrylic beads & add warts to her face, & a big bushy eyebrow. Use a small nail art tool to give the eyebrow texture. Stick small hairs from an old art brush into the warts to make her look truly ghastly before they cure. A small white bead in the center of a darker bead to create her eyeball, will give the idea of a cataract, giving her a sense of moodiness.
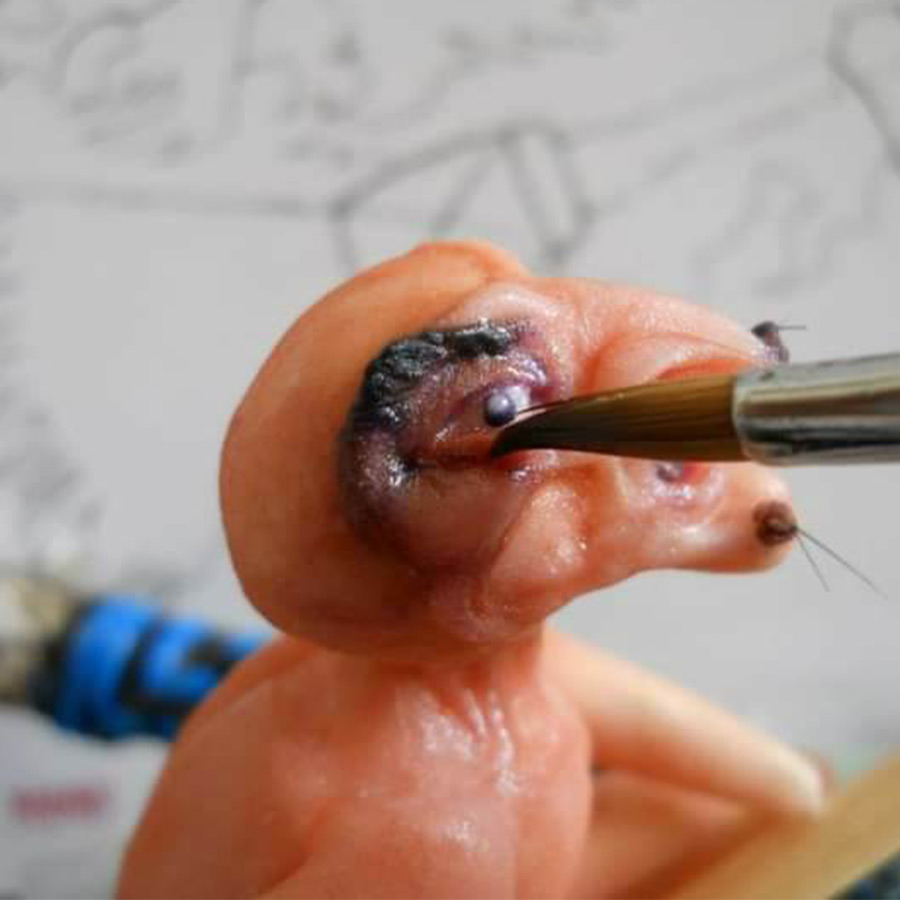
Build up the character in her face with small beads of relevant shades around the eyes. Bring her character to life with careful placing of tiny beads.
Use varying shades of pink skin tone shades to highlight & shade the details on her face.
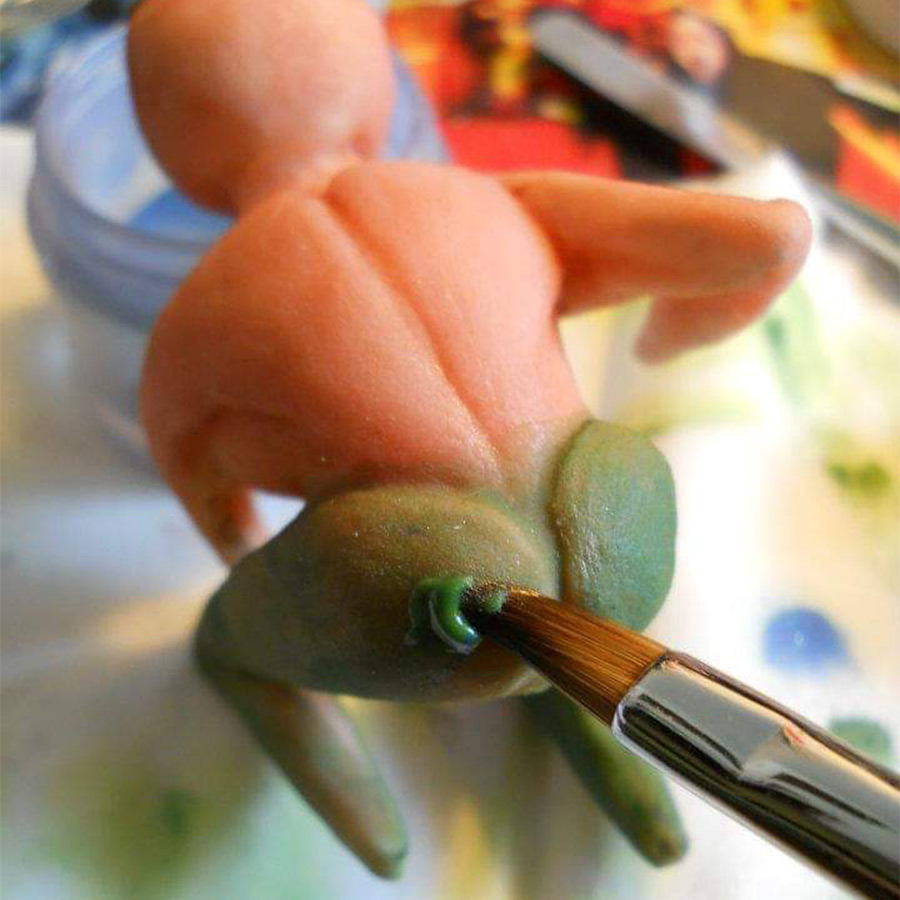
Move to her buttocks & legs, cover with a very thin, wetter bead of your chosen shade for her stockings.
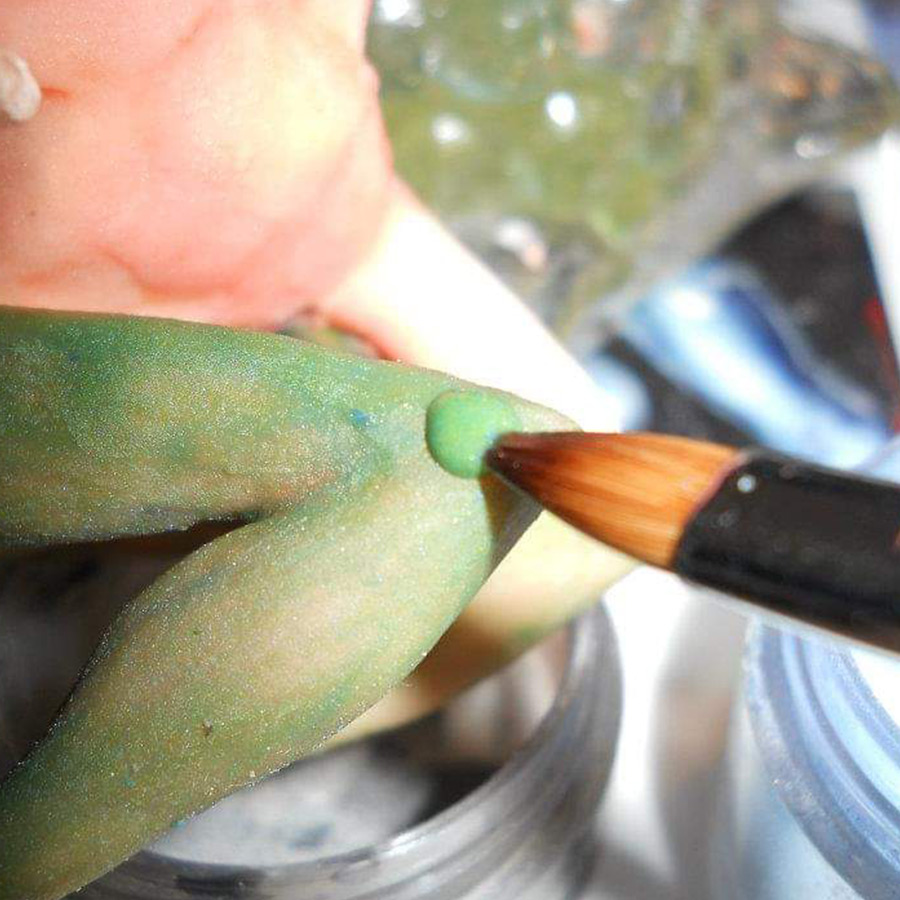
Continue with the colored beads as you completely cover her legs.
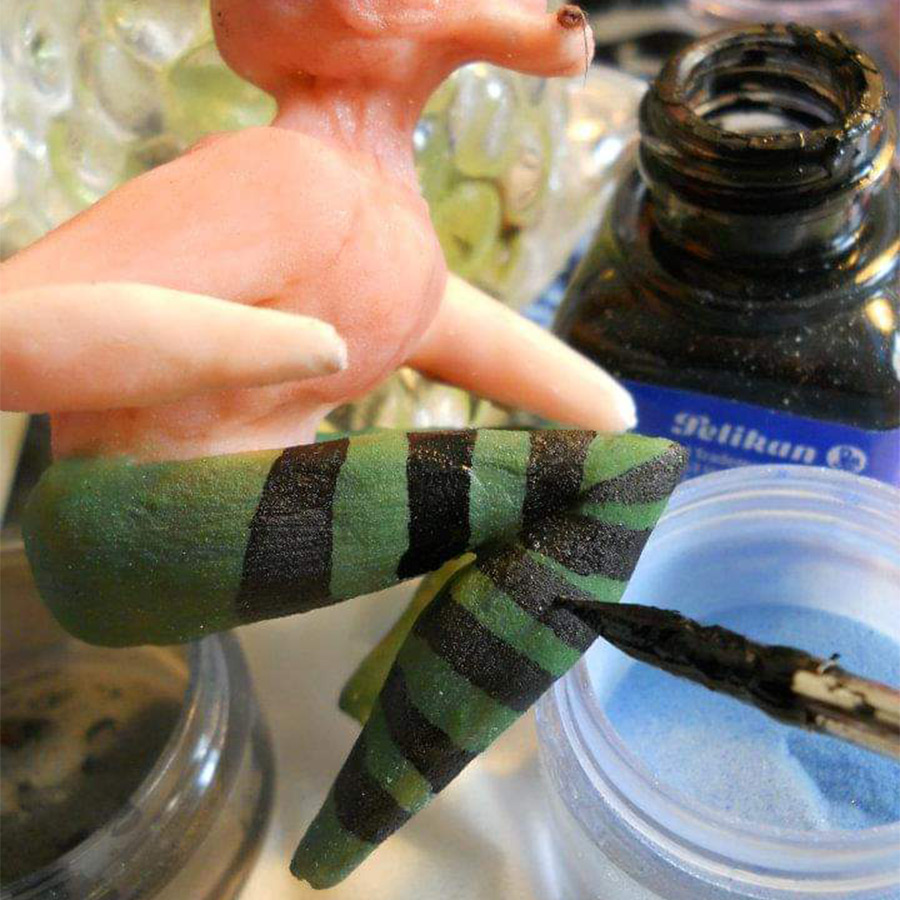
Create the black stripes of the stockings using black ink, a pen & brush.
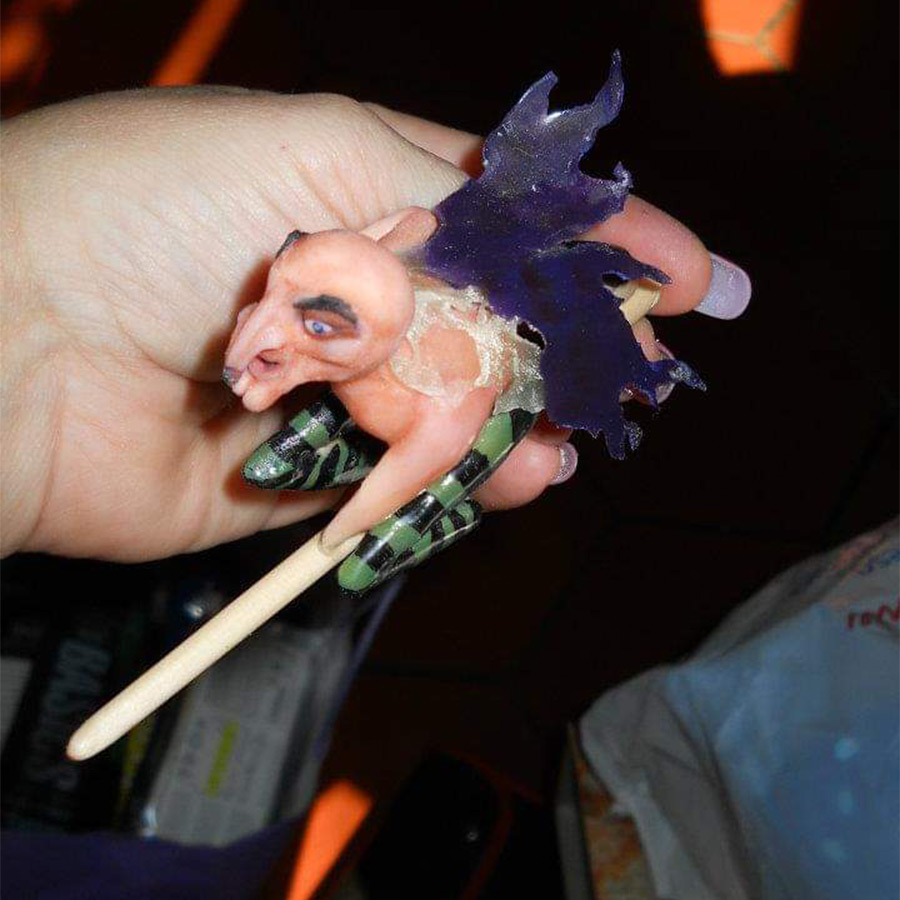
For the tailcoat to her cloak, take a wet bead of your chosen color & place it between two sheets of wax paper of the disused part of a nail form. Then use a roller to flatten & thin out the bead. Let it cure & then attach using an acrylic bead to the figurine.
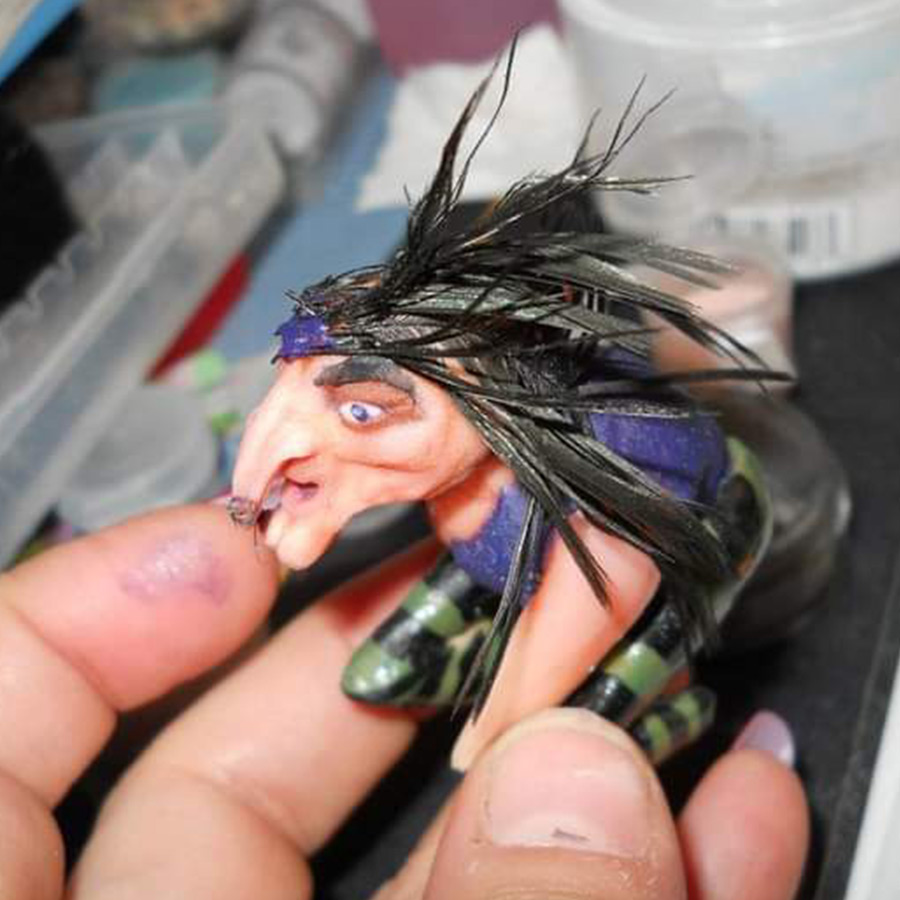
Add the hair using the filaments from a black raven bird’s feather. This was collected from Milena’s garden. “Nature gives us everything for our work & our imagination,” Milena cites.
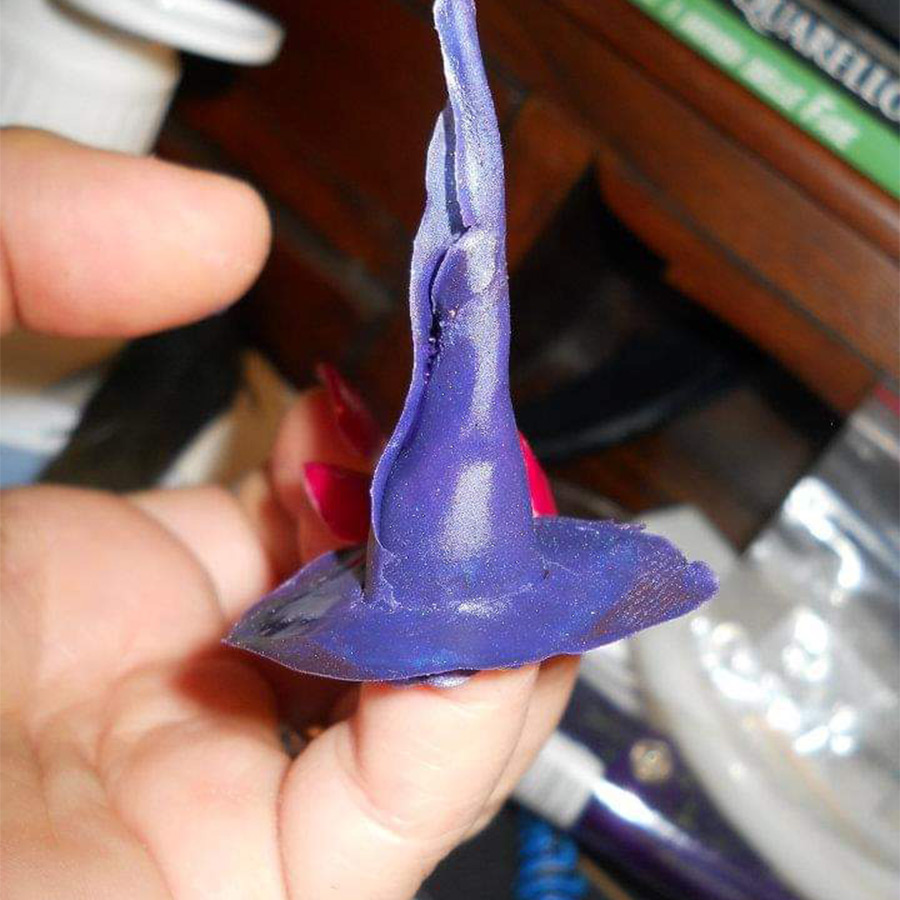
Use the same method as you used for the cloak to create a flat, thin piece of colored acrylic for her hat. Place this on your finger, use hot air if you need to make it softer, then fold it around your finger to create the shape of a hat.
Using a small bead of acrylic pop the hat on her head to stabilize it.
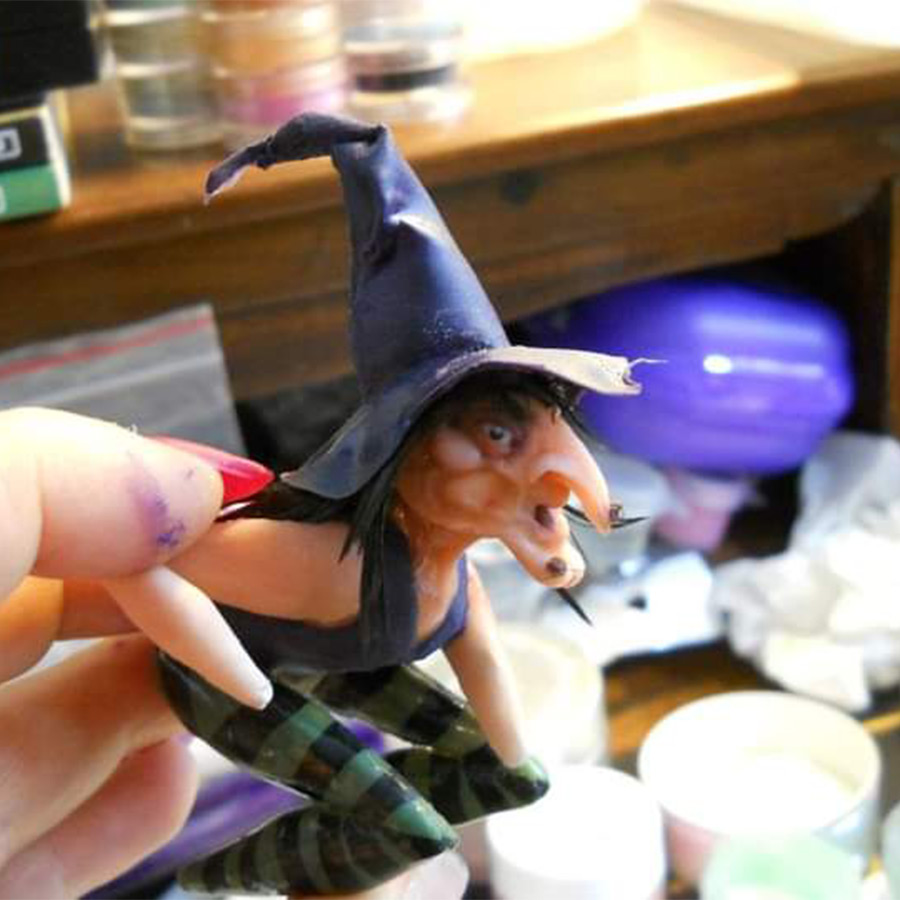
Before the hat cures, bend & shape it to make it look well worn.
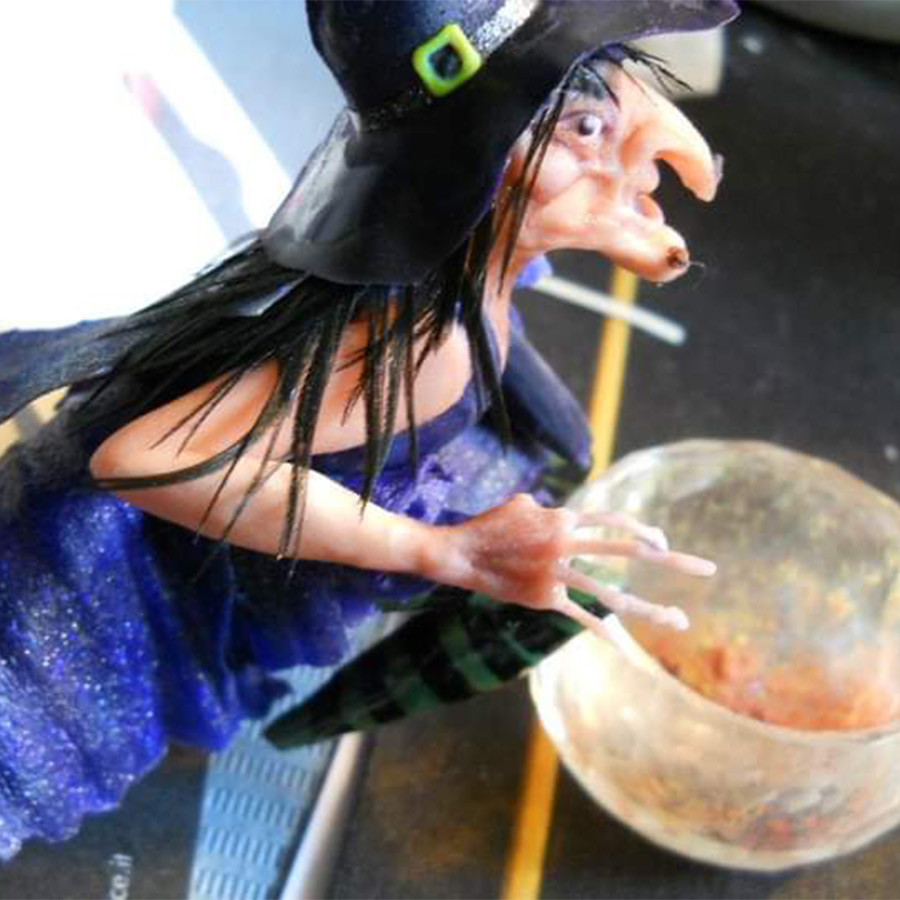
To shape the fingers create tiny beads of skin-toned acrylic & create each single finger to look lumpy & boney, remembering to create bumps where her knuckles will sit. Sculpt each one with a tiny tool & micro beads of acrylic. Next sculpt her hands onto the end of the arms & attach each individual finger using a very small 3D brush.
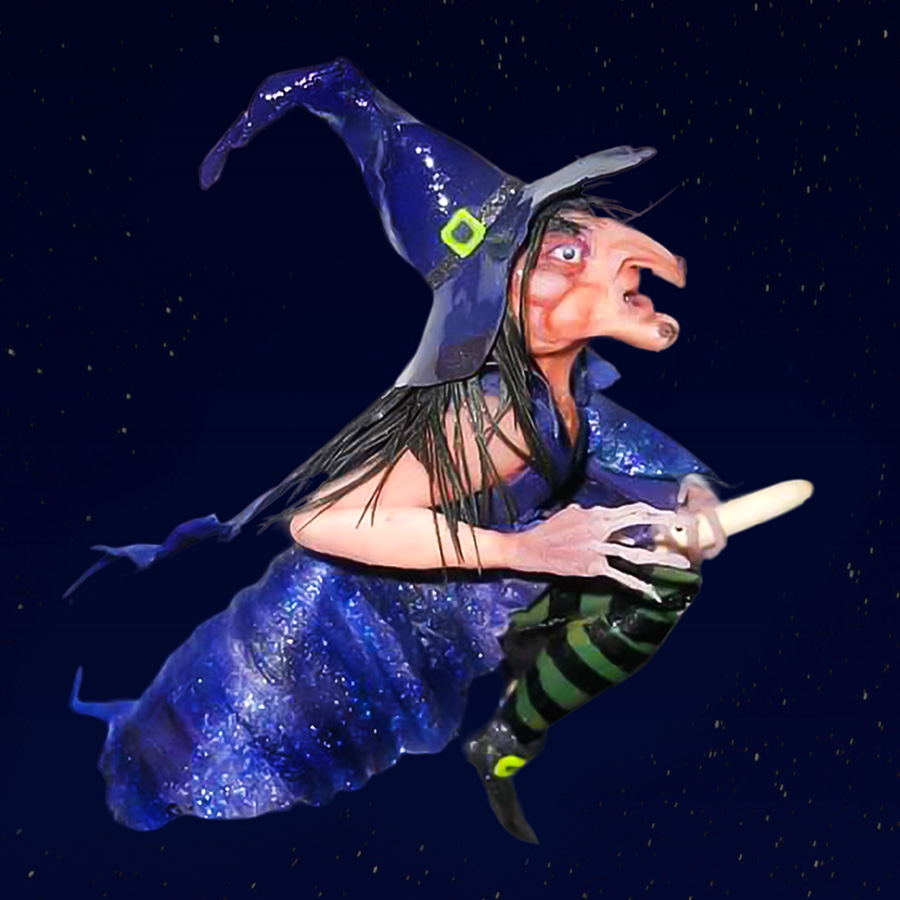
Complete your witch by adding more of her cloak, her collar & then check her all over to add in any further details, color shading, shapes, shadows & highlights. You now have a witch, you just need to sculpt her broom!

MORE TAG THAT TREND
RELATED VIDEOS
MORE TO EXPLORE
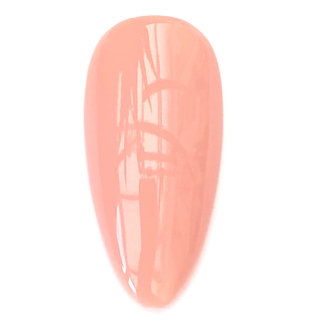
Prep the natural nail using a 180-grit file, remove dust. Apply “Prep It!”, then two thin coats of Flex It! “Cover Peach”, curing each coat for 60-seconds.
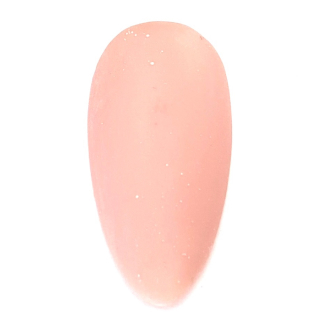
Prep Apply a thin, even coat of HD Pro “Matt It!” Cure for 60-seconds.
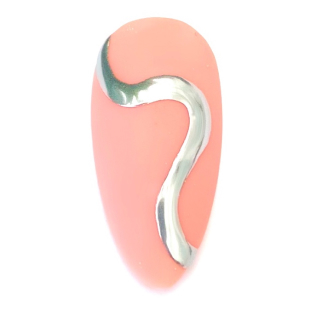
Use the HD Pro Long liner brush and HD Pro Art Gel in “Graphite” to create a wavy line. Cure for 30-seconds, then rub line with a dusting brush.
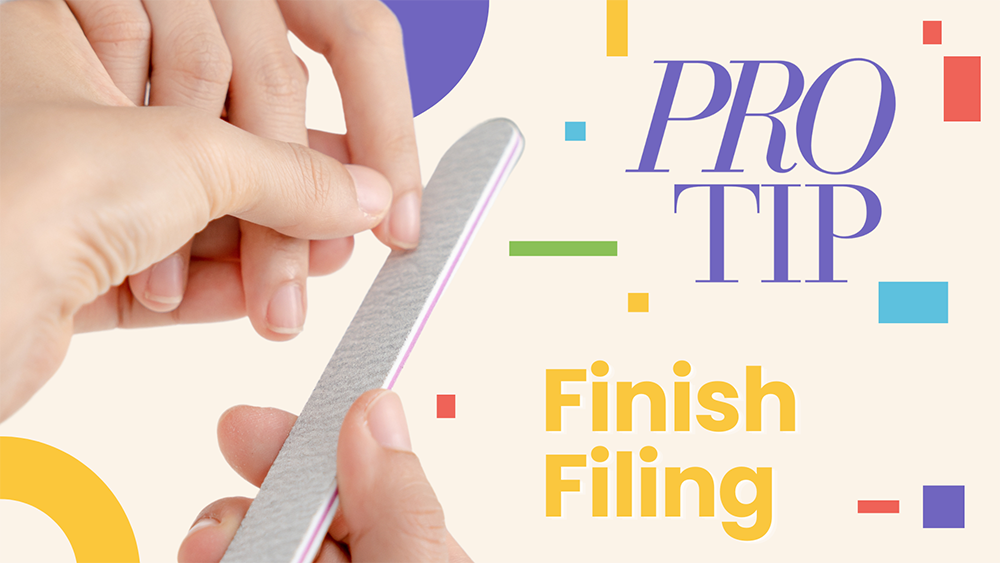
Finish Filing
![]()
Finish Filing
Creating a seal on the natural nail can help avoid polish chipping and peeling off the layers of the nail plate. Let Alisha Rimando explain how this can be easily done with each manicure service, for a perfect finish every time.
SEE MORE PRO TIPS
RELATED VIDEOS
MORE TO EXPLORE

Easy Butterflies
UP NEXT
![]()
![]()
Easy Butterflies
Uniquely inspired nail art can be hard to create, but with these fun and easy nail art techniquies from Michelle Soto you may find yourself creating a rainbow of nail art looks in the weeks to come. Watch as Michelle takes you step by step through simplistic techniques that create a perfect ombre of color effects perfect for any nail art look. From two to ten colors, these techniques can be used in a variety of ways to give your nail art designs just the versitily you’ve been craving.

SEE MORE MASTER CLASS
RELATED VIDEOS
MORE TO EXPLORE

Kupa Debuts In Japan
![]()
Kupa Debuts In Japan
Kupa is no stranger to the global nail market, however, the brand is really feeling the love as it moves into the Japanese market for the first time. After introducing its efile brand, and more specifcally, its new Passport Hana e-file at Beauty World Japan, it’s been all the rage across the country. A brand committed to education, Kupa enters this highly skilled market with Hirofumi Matsugi at the helm. Alex Fox talks shop with HIro, a 20-year veteran in the Japan nail and beauty market, about what Kupa is doing in Japan to win the approval of award-winning schools and salons across the nation and what sets the Kupa brand aside from others.
SEE MORE LIFE ON THE FREE EDGE
RELATED VIDEOS
MORE TO EXPLORE
![]()
![]()
BALLETCORE
Katy Pottle is a seasoned nail artist with over 21 years of experience in the beauty industry. Throughout her career, Katy has navigated through various roles, from working in prestigious salons to owning her own. However, Katy’s true passion lies in nail art. In 2015, she discovered the mesmerizing glitter range offered by Magpie Beauty, sparking a newfound obsession with sparkle and color. Since then, Katy has become known for her vibrant and glamorous nail designs.
For Katy P, nail art is not just a job; it’s her therapy, her passion, and her creative outlet. She spends hours dreaming up intricate designs and experimenting with different techniques, always pushing the boundaries of her creativity. In a remarkable achievement, Katy participated in her first-ever competition, the World Star Nail Artist 2023, and emerged victorious, solidifying her reputation as a nail art virtuoso.
UP NEXT ON XXTREME NAIL ART
RELATED VIDEOS
MORE TO EXPLORE
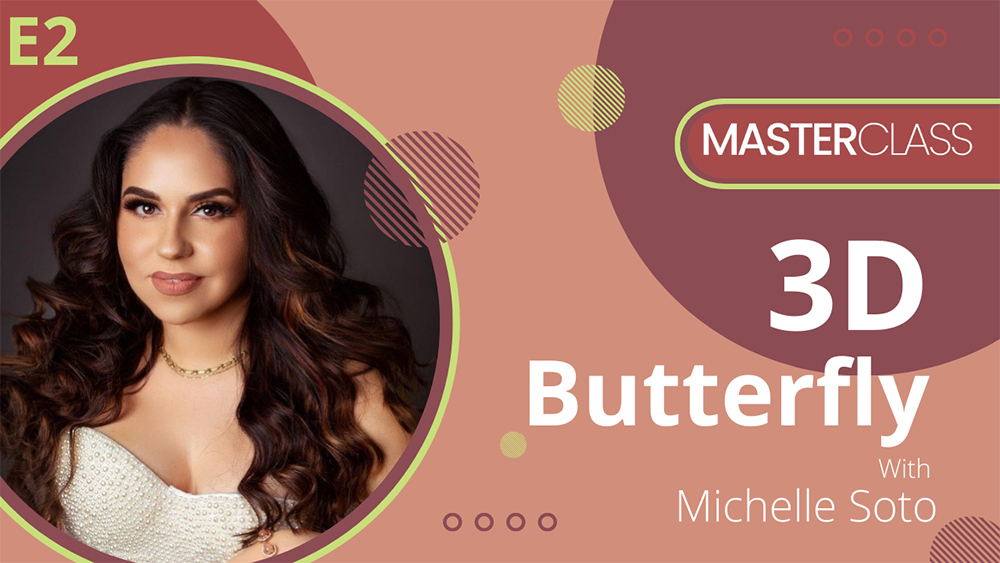
3D Butterfly
UP NEXT
![]()
![]()
3D Butterflies
Nail art is fun, but 3D nail art can bring a whole new level of fun and originality to your nail art looks. Practice along with Michelle Soto as she explains how to create tiny acrylic beads and place them perfectly to create this butterfly inspired 3D nail art.
SEE MORE MASTER CLASS
RELATED VIDEOS
MORE TO EXPLORE
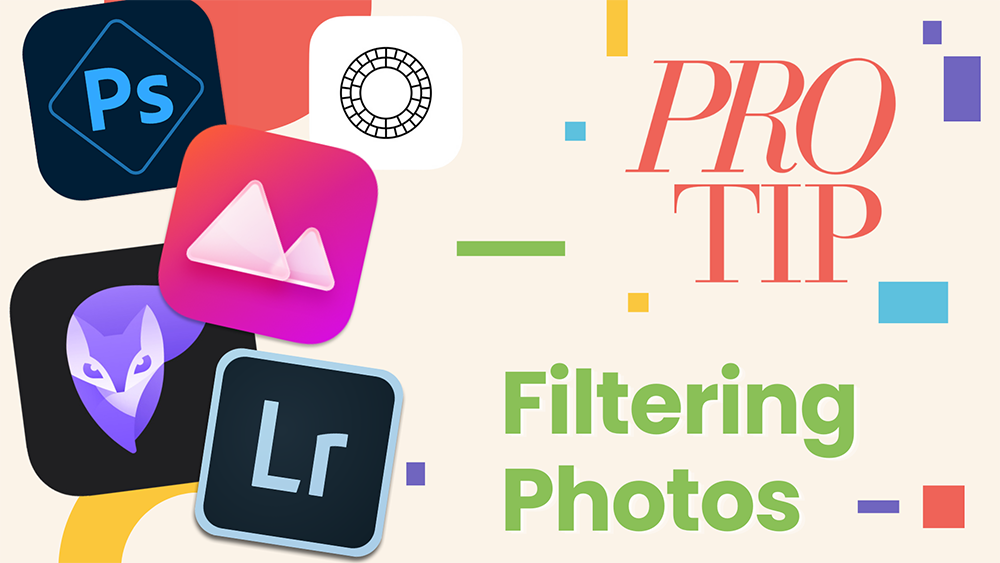
Filtering Photos
![]()
Filtering Photos
Pro photographer, Lindsay Karnopp, shares her tricks to turn your smart phone pics into professional imagery for your portfolio or social post.
SEE MORE PRO TIPS
RELATED VIDEOS
MORE TO EXPLORE
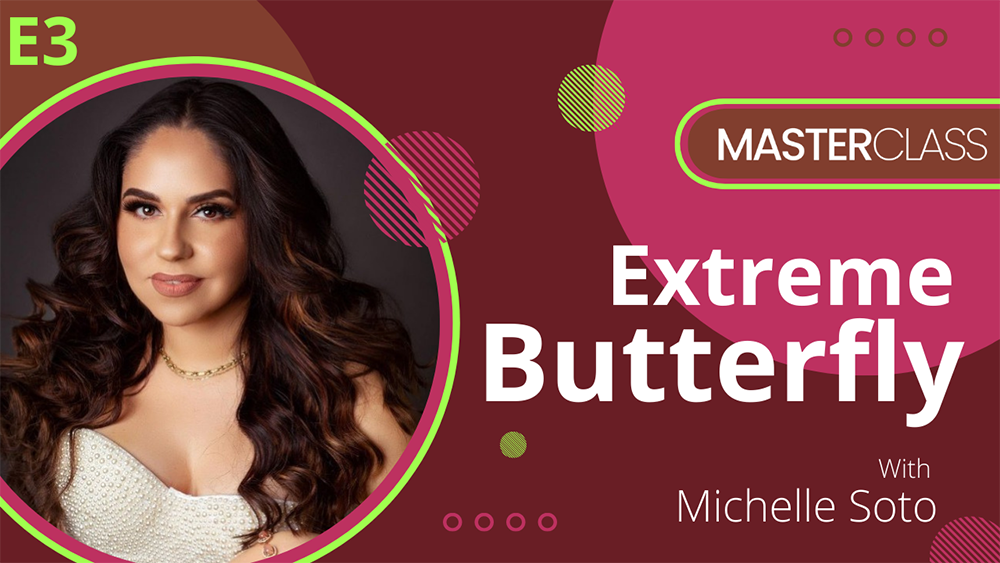
Extreme Butterfly
UP NEXT
![]()
![]()
Extreme Butterflies
Extreme nail looks are becoming more popular in the competiiton arena as well as the salon. This beautiful butterfly inspired extreme shape created by Michelle Soto is unique and can be re-created by following this masterclass step by step. The techniques explained in this tutorial will give you the knowledge needed to invent your next extreme nail shape.
SEE MORE MASTER CLASS
RELATED VIDEOS
MORE TO EXPLORE
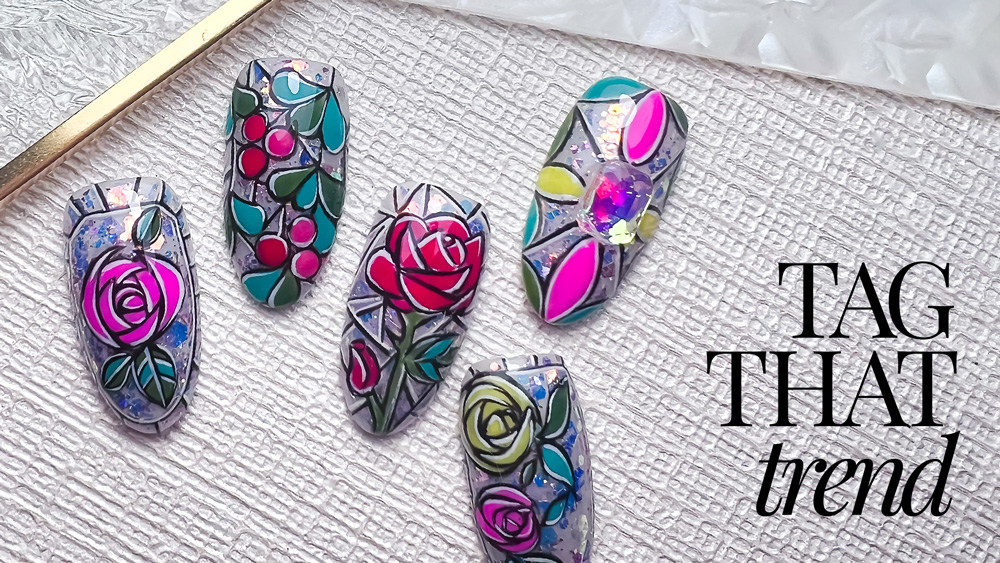
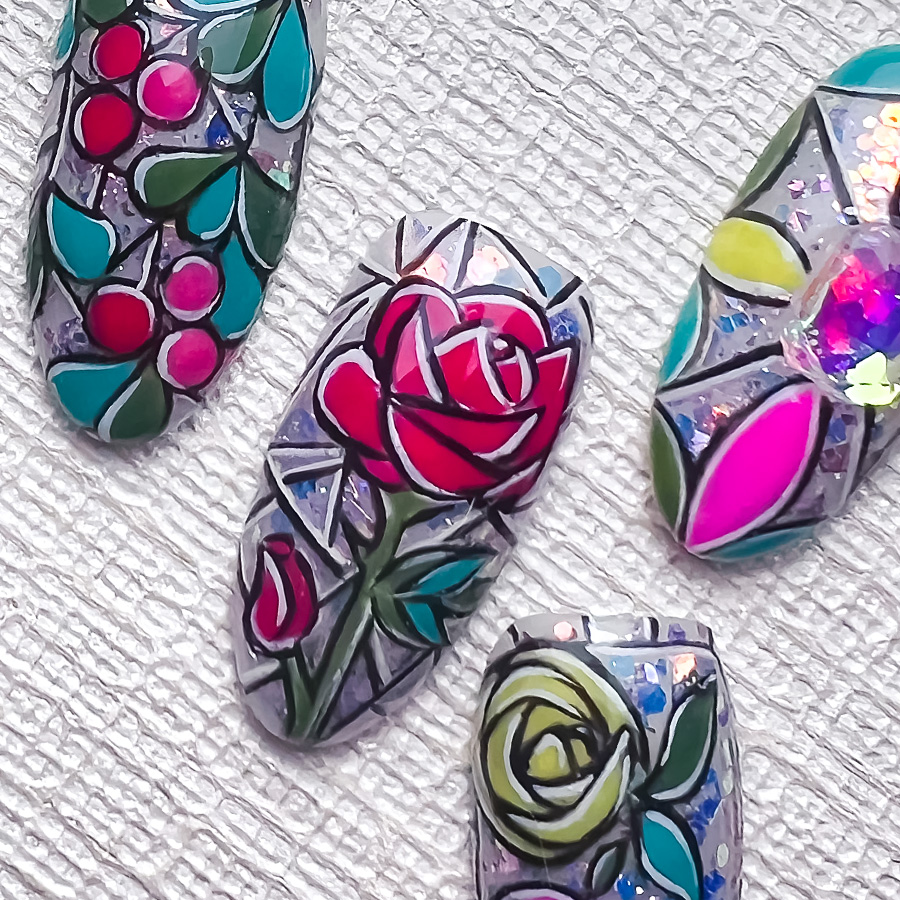
Art Deco Rose
Art Deco Rose
![]()
Angee Loo
Design a nail in an art deco style using this simplified step by step. Creating an almost stained glass effect, following these 11 simple steps, makes a complicated end design really easy to achieve.
PRODUCTS USED
-
- Cuccio Metal Nail File
- Cuccio Nail buffer
- Cuccio Pro5 LED lamp
- Cuccio Universal Base
- Cuccio Brush-on Builder Gel
- Cuccio SOH Gel (CPSK2451, CPSK2311, CPSK2151, CPSK2161)
- Cuccio No Clean Top Coat
- Cuccio Master Artist Brush & Tools Kits
- Cuccio Antibacterial Cleansing Spray
- Glitter Flakes
- Painting Gel in Black and White
STEPS
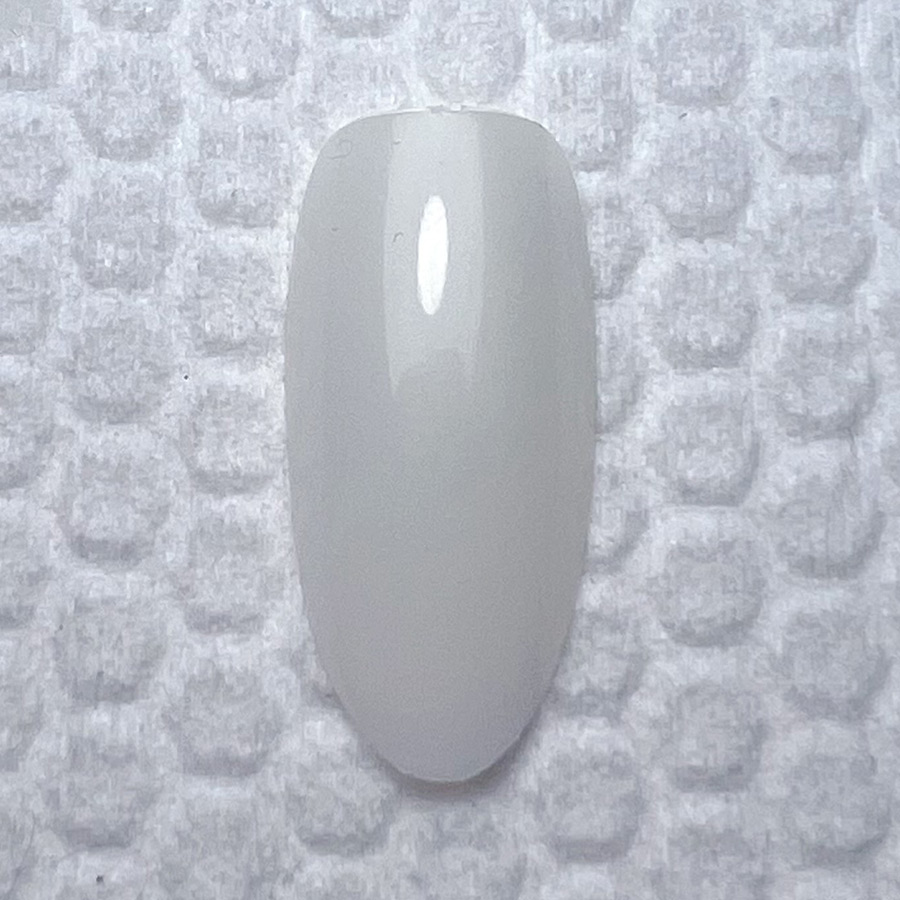
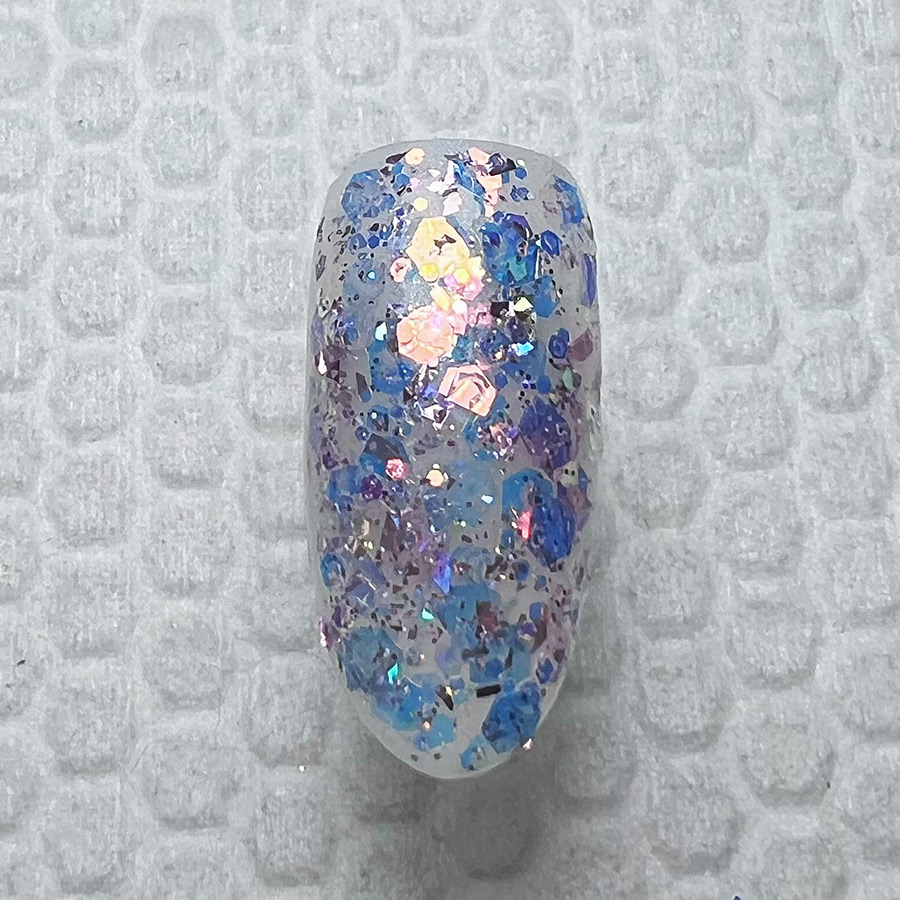
Prepare the nail tip in the shape of your choice, then apply base coat.
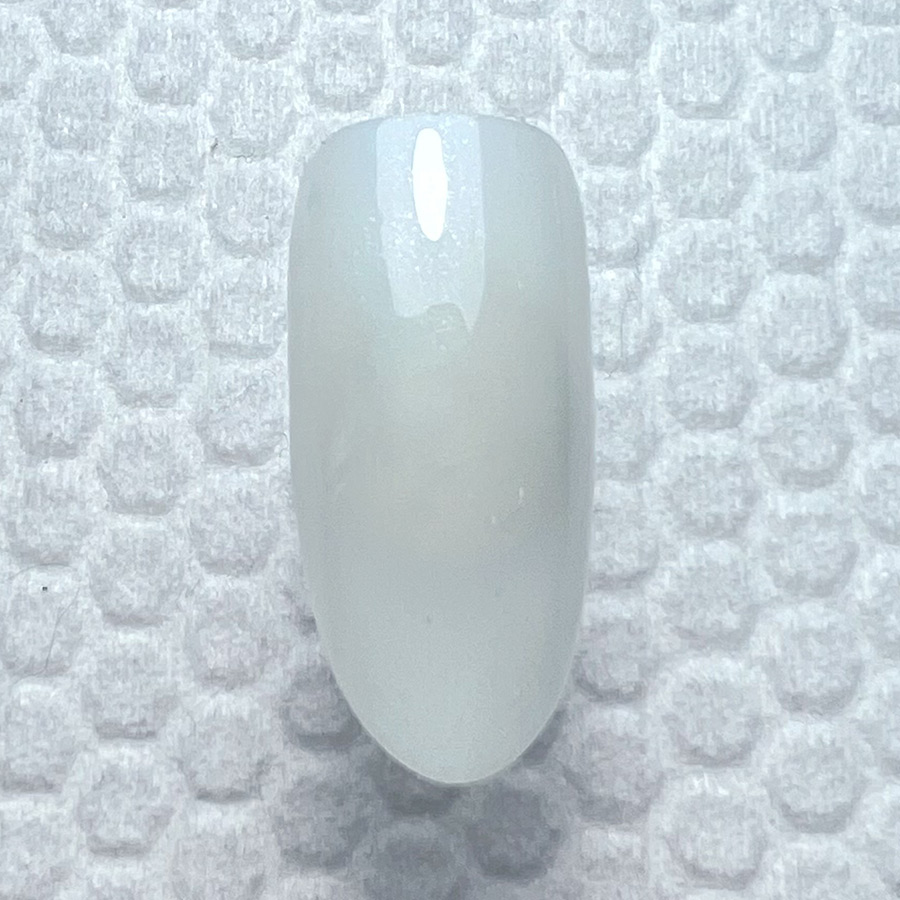
Apply SOH Gel-CPSK2451 & cure.
Draw short lines outside of the frame & cure.
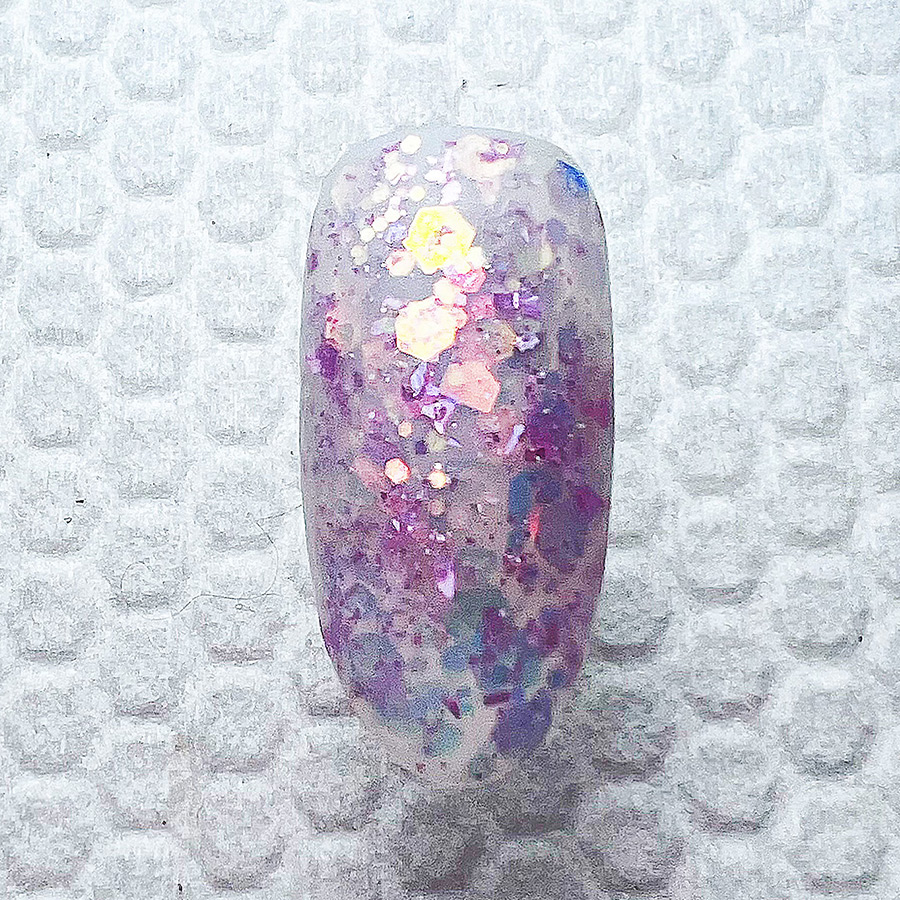
Clean away the sticky inhibition surface layer with a lint-free wipe & cleanser, then buff the whole surface until it goes matte.
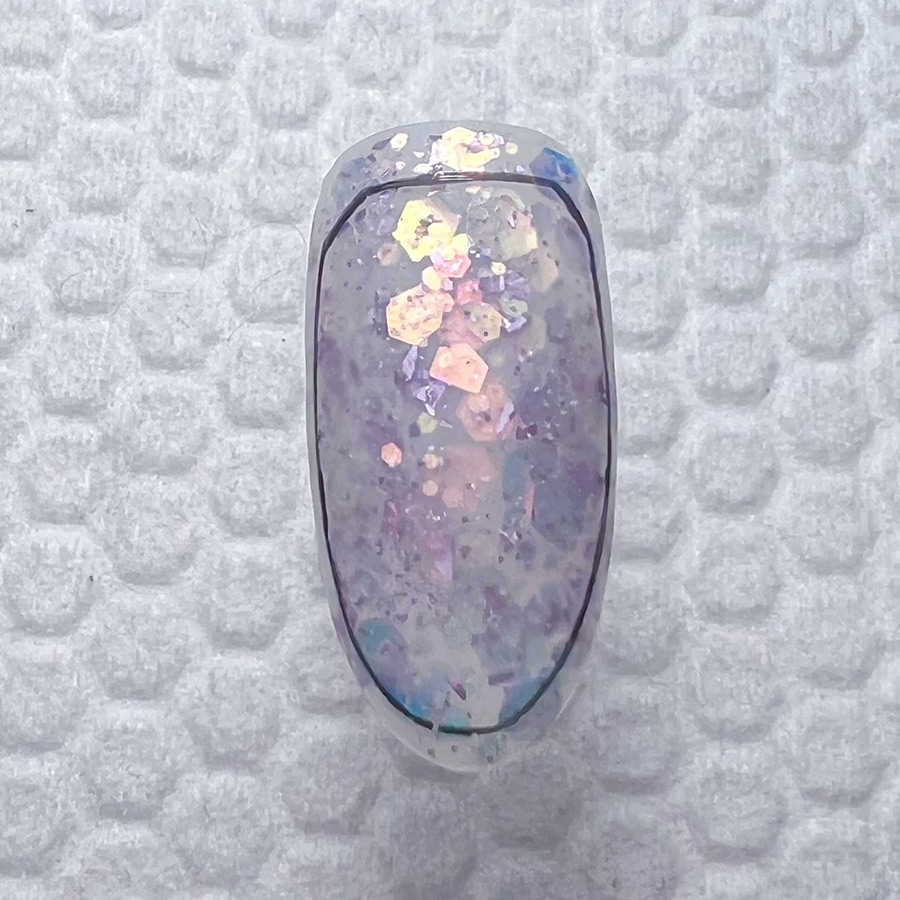
Clean up the nail surface with Cuccio Cleansing Spray, then draw a frame with black painting gel & cure.

Draw short lines outside of the frame & cure.
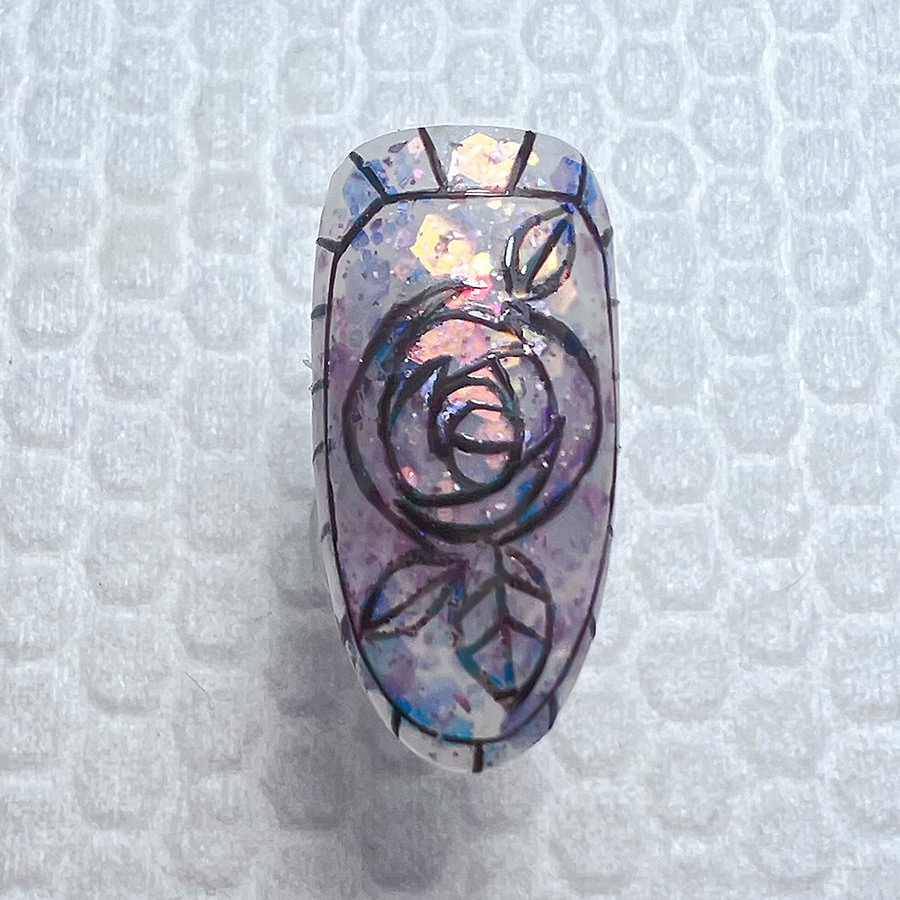
Draw the outline of a rose & its leaves, then cure.
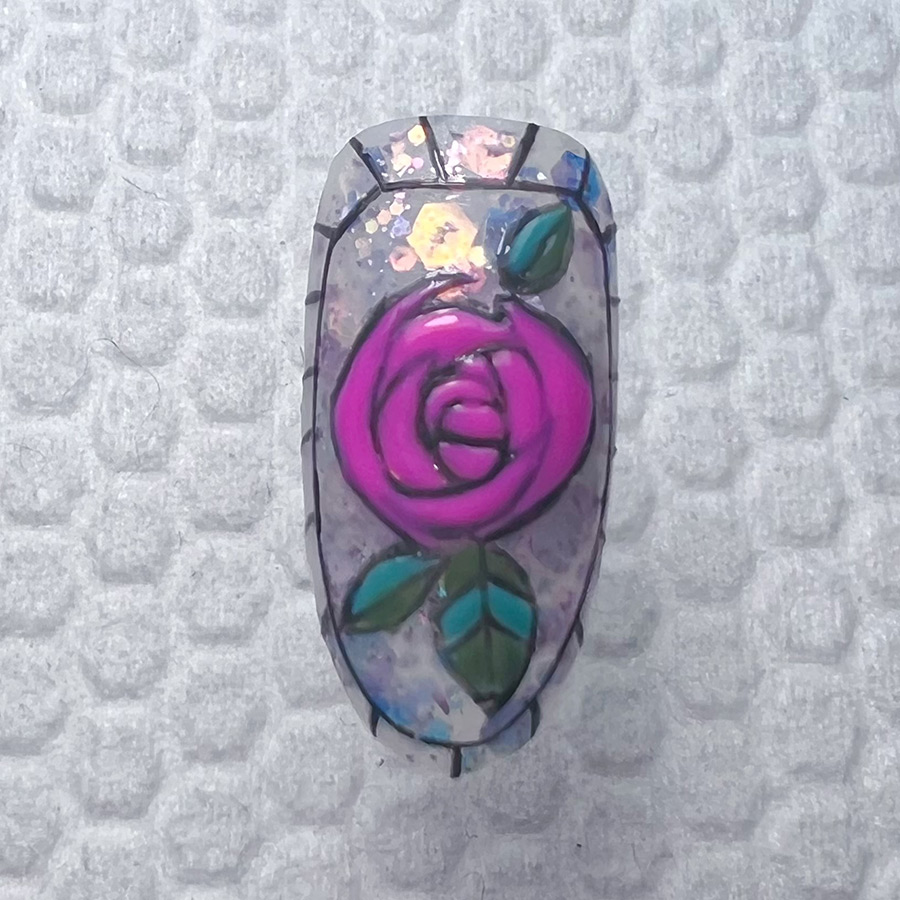
Fill in the rose & leaves with SOH Gels in CPSK2311, CPSK2151 & CPSK2161, then cure.
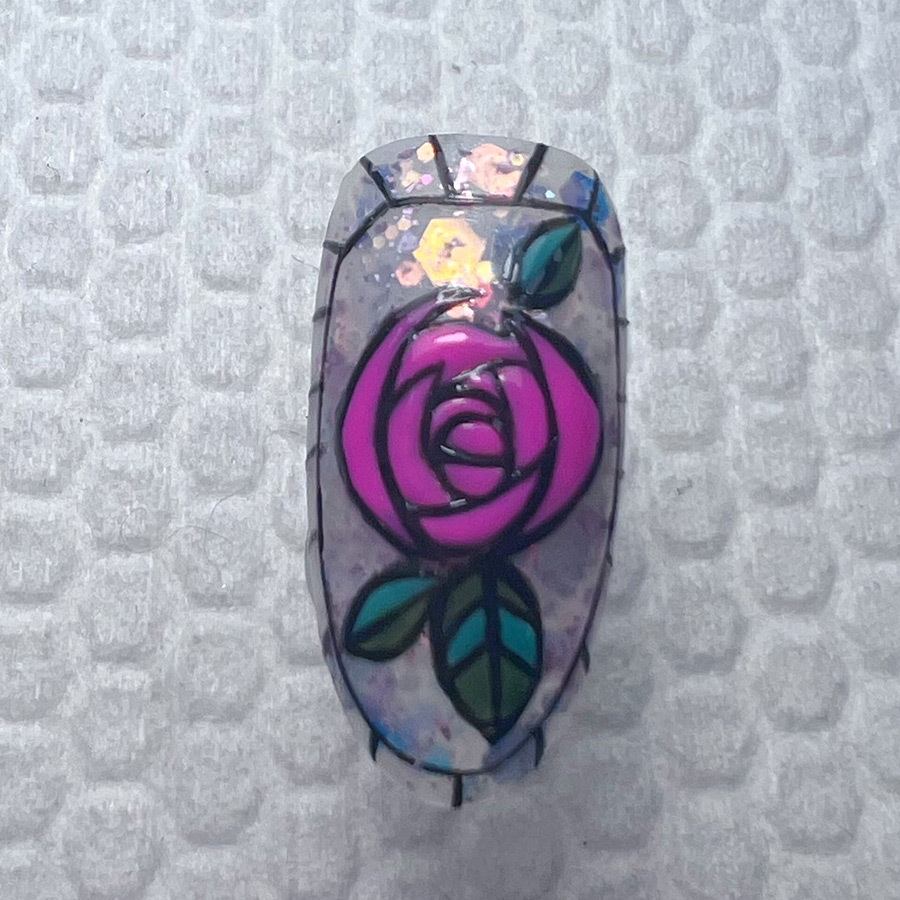
Repeat the outline drawing of the rose & leaves, then cure.
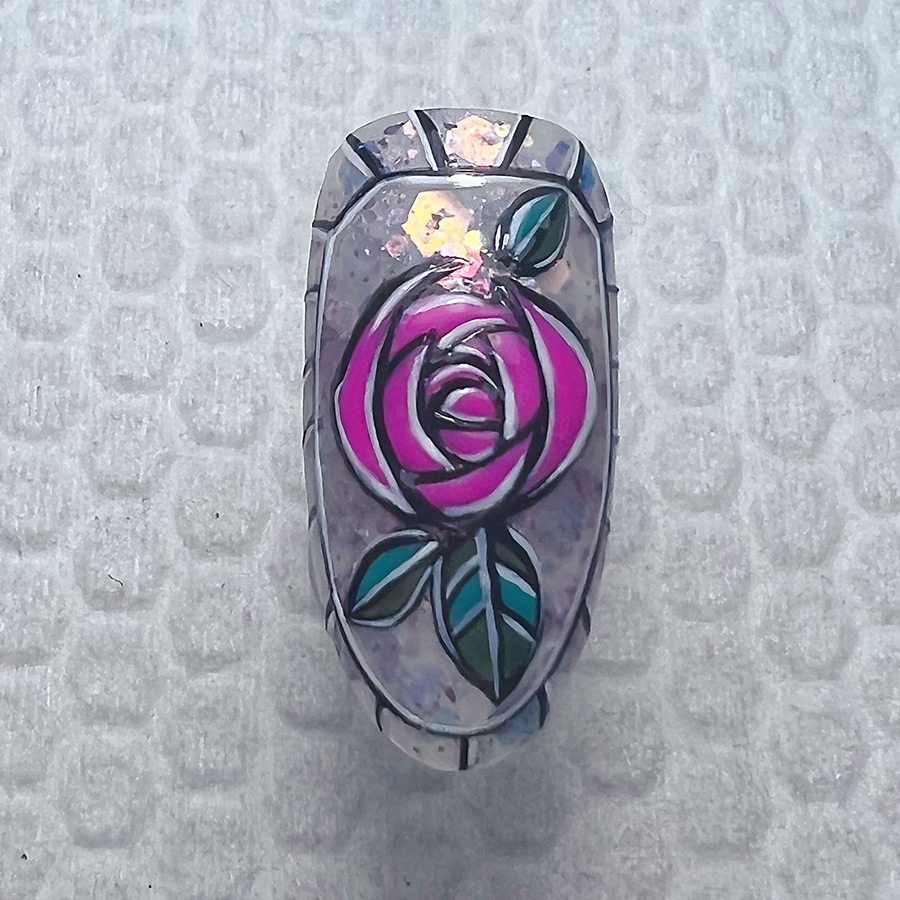
Add some lines using white painting gel to give the design highlights, then cure.
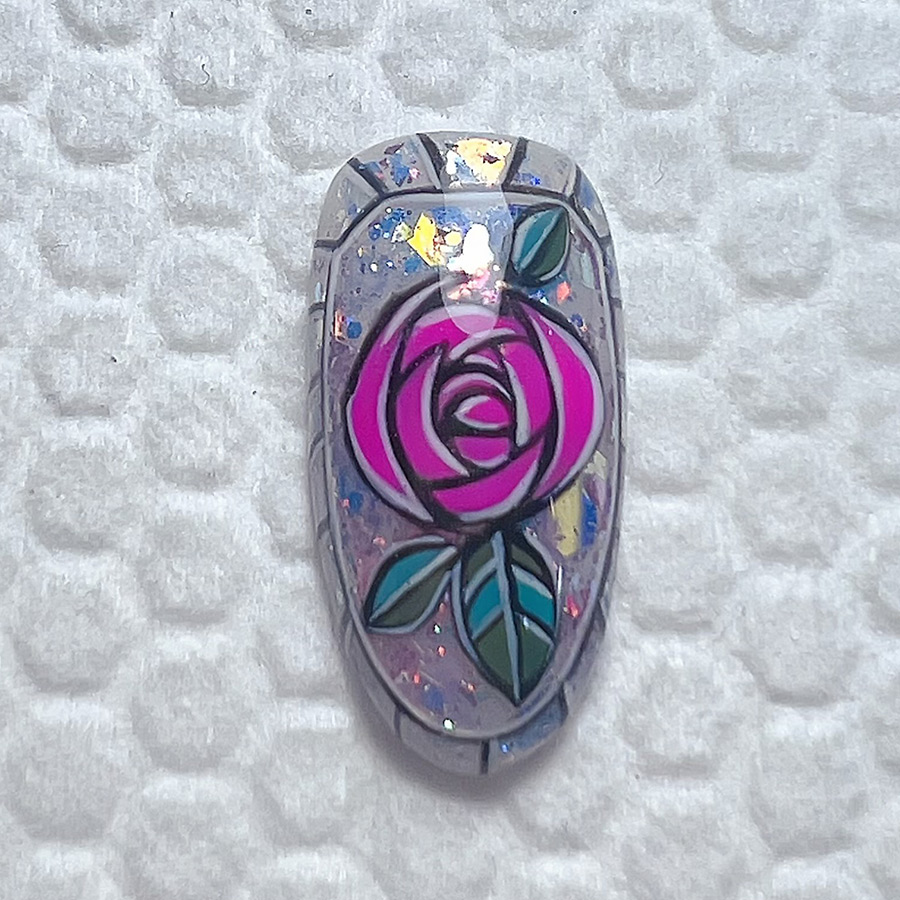
Apply a layer of Builder Gel to cover up the uneven surface & to give the nail a glass effect. Cure it & apply No Cleanse Top Coat, then cure.
MORE TAG THAT TREND
RELATED VIDEOS
MORE TO EXPLORE
Prep the natural nail using a 180-grit file, remove dust. Apply “Prep It!”, then two thin coats of Flex It! “Cover Peach”, curing each coat for 60-seconds.
Prep Apply a thin, even coat of HD Pro “Matt It!” Cure for 60-seconds.
Use the HD Pro Long liner brush and HD Pro Art Gel in “Graphite” to create a wavy line. Cure for 30-seconds, then rub line with a dusting brush.
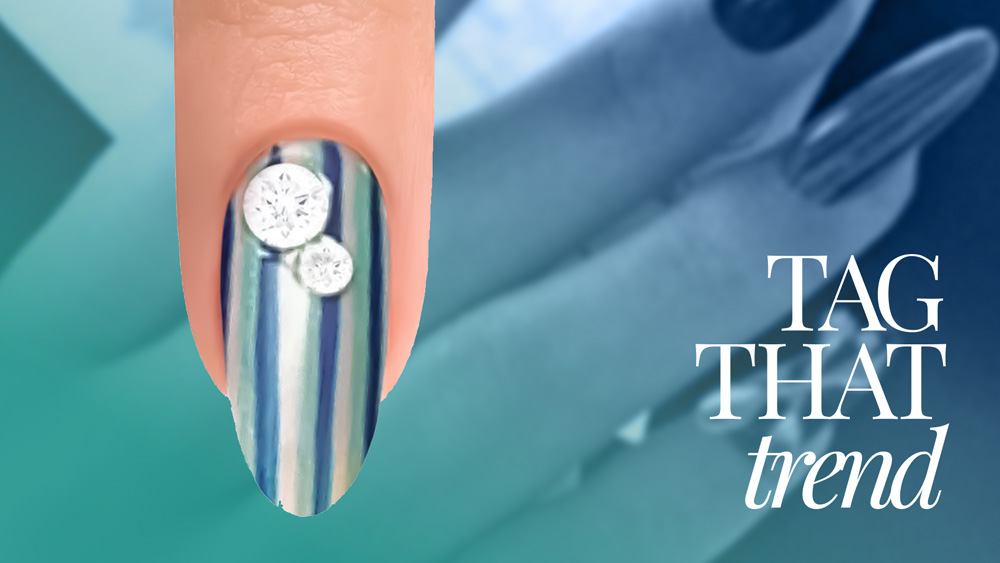
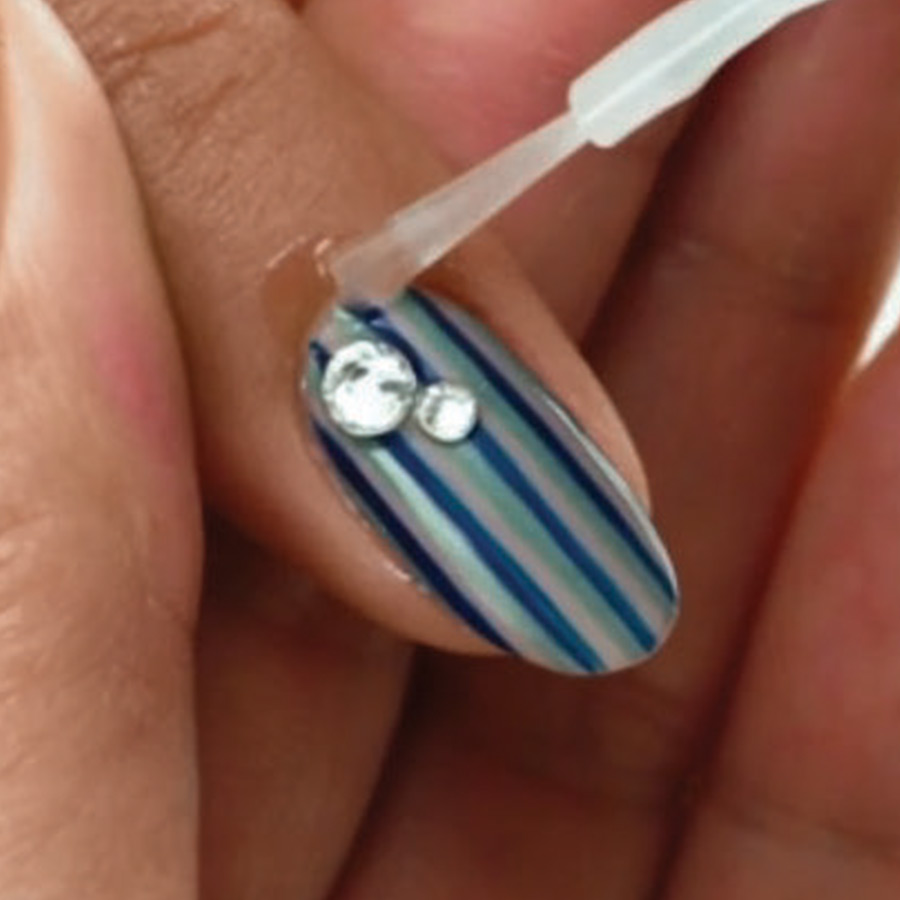
Pinstriped
Pinstriped
![]()
Alisha Rimando
The light handling of a striper brush can create a very stylish nail design. Choose your palette of colors, using a very light pink as the base, then a few quick slicks of the striper brush brings this design to life quickly. Add an accent with the addition of some carefully placed crystals to complete the design.
PRODUCTS USED
- Bonding Gel
- UV/LED Lamp
- Pink Gel Polish
- Blue Gel Polish
- Green Gel Polish
- Striper brush
- Nail surface cleanser
- Lint-free Wipes
- Art Palette
- Sani-tongs
- Large Rhinestones/Rrystals
- Revive Cuticle Oil
STEPS
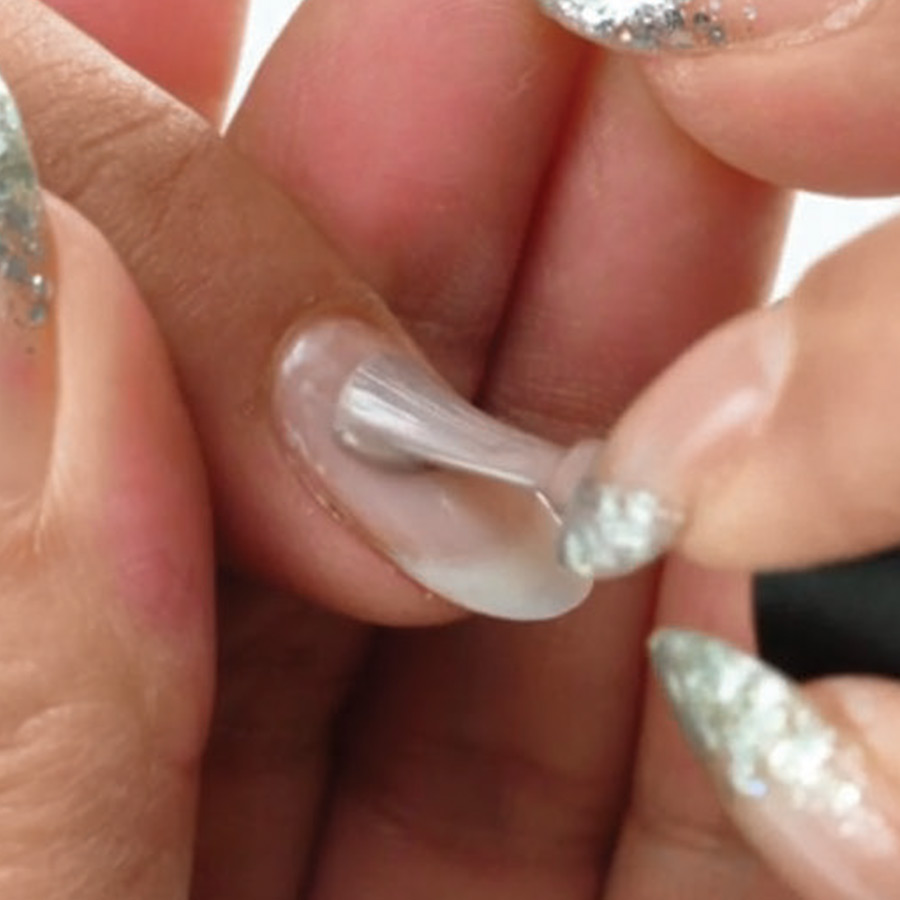
After proper nail prep, apply a thin coat of Bonding Gel, cure for 5-seconds in LED light, Cure for 30-seconds in LED Light or 2-minutes in UV. Apply a thin coat of Oh Crepe, making sure to cap the free edge. Cure for 30-seconds, then repeat.
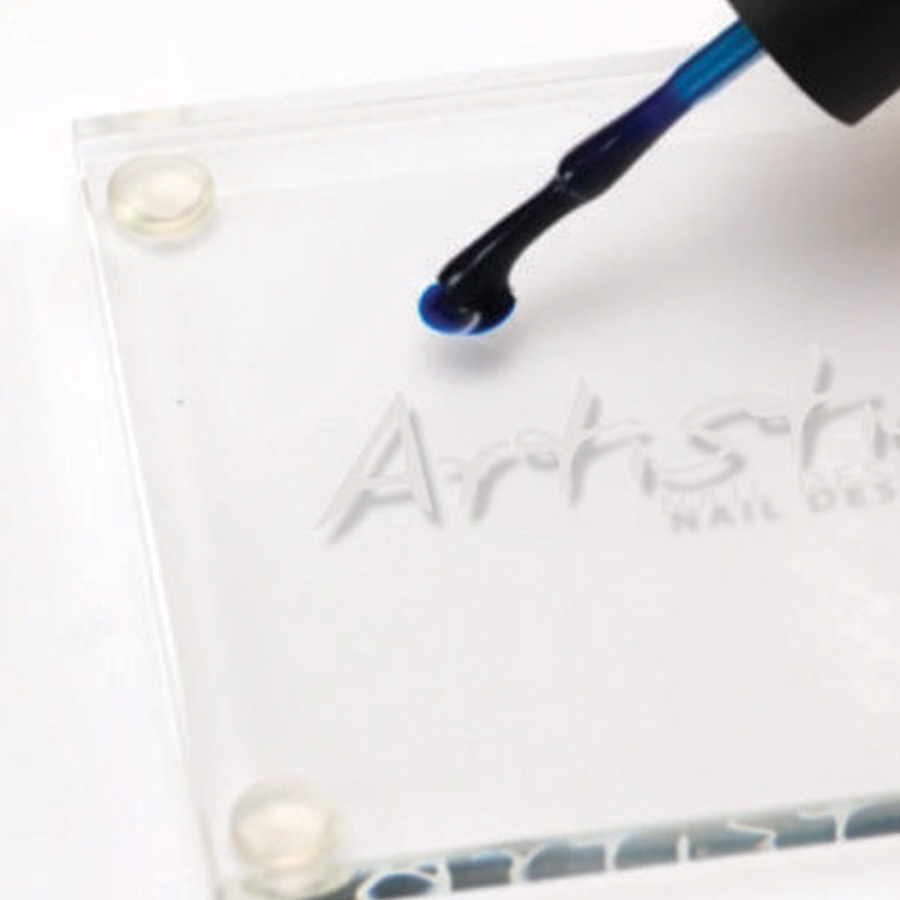
Apply two drops of Serving Up Sass & Wok & Roll On Baby on the Artistic glass palette.
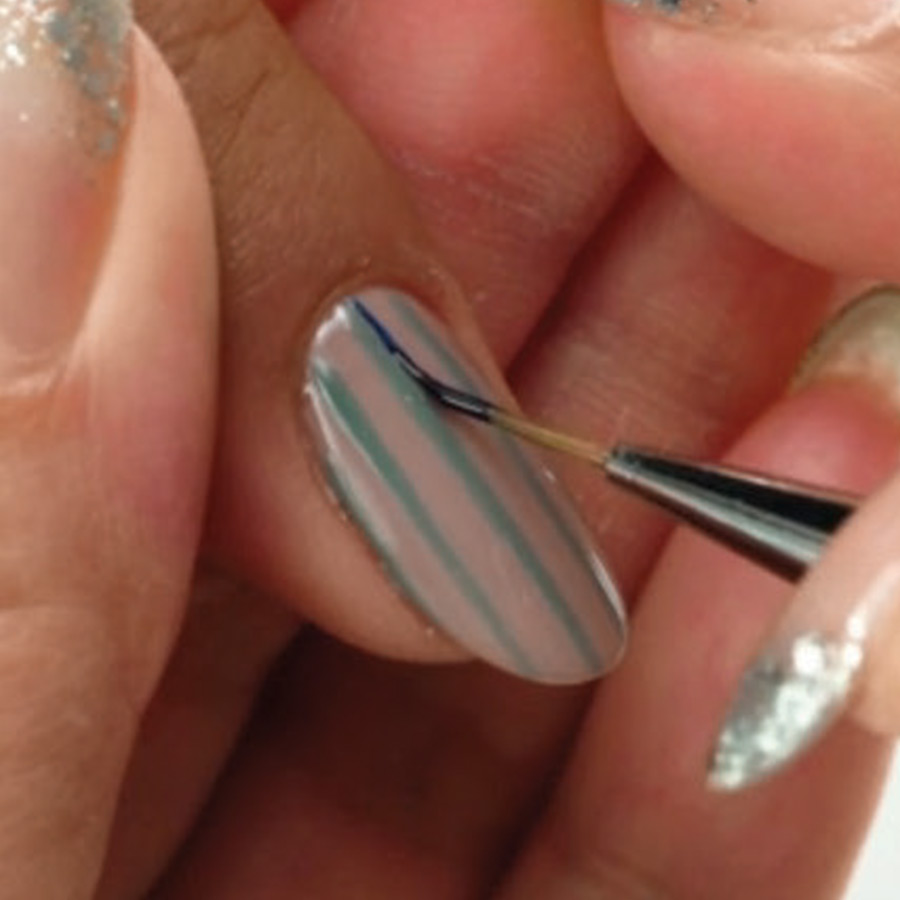
Using Artistic Striper Brush, apply Serving Up Sass & create four straight lines to the right of the Wok & Roll Baby lines.
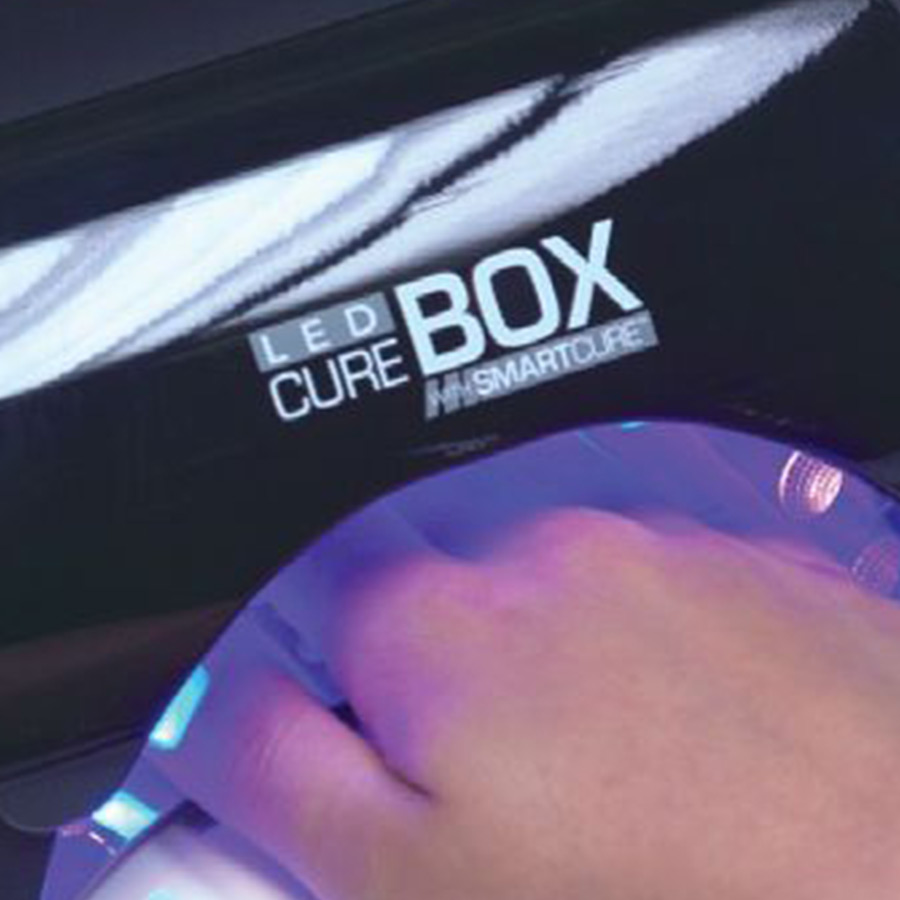
Cure for 30-seconds in LED Light or 2-minutes in UV.
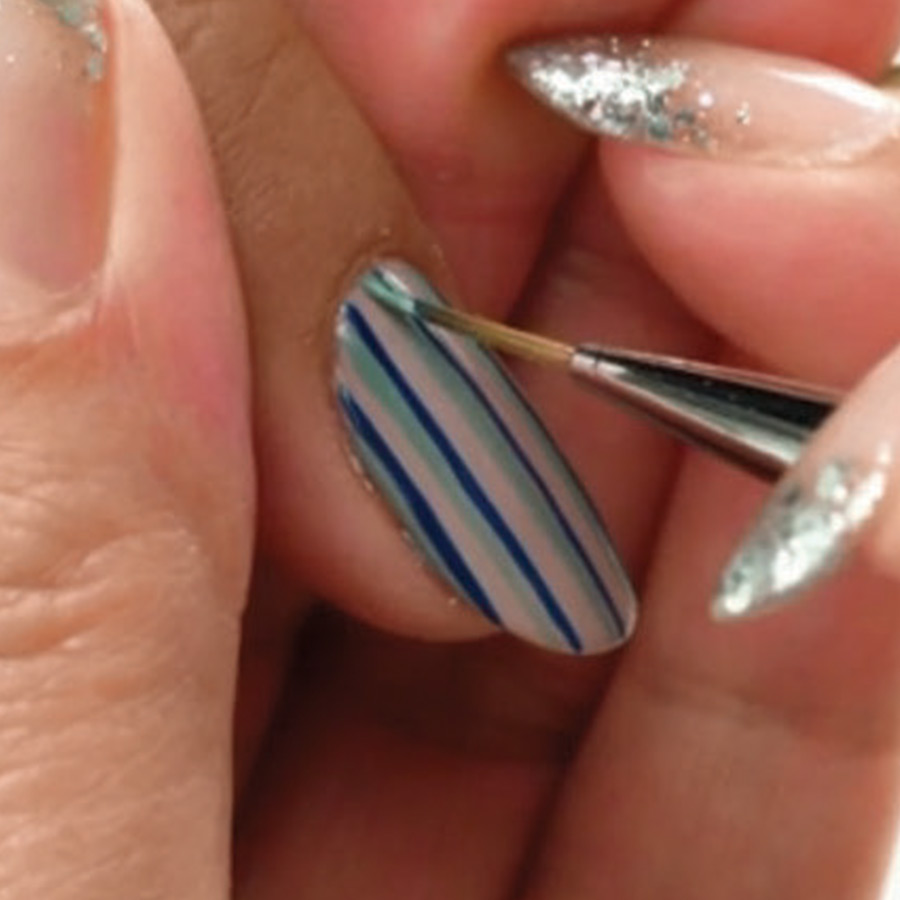
Repeat steps to perfect your lines & repeat twice on top of the lines. Cure for 30-seconds.
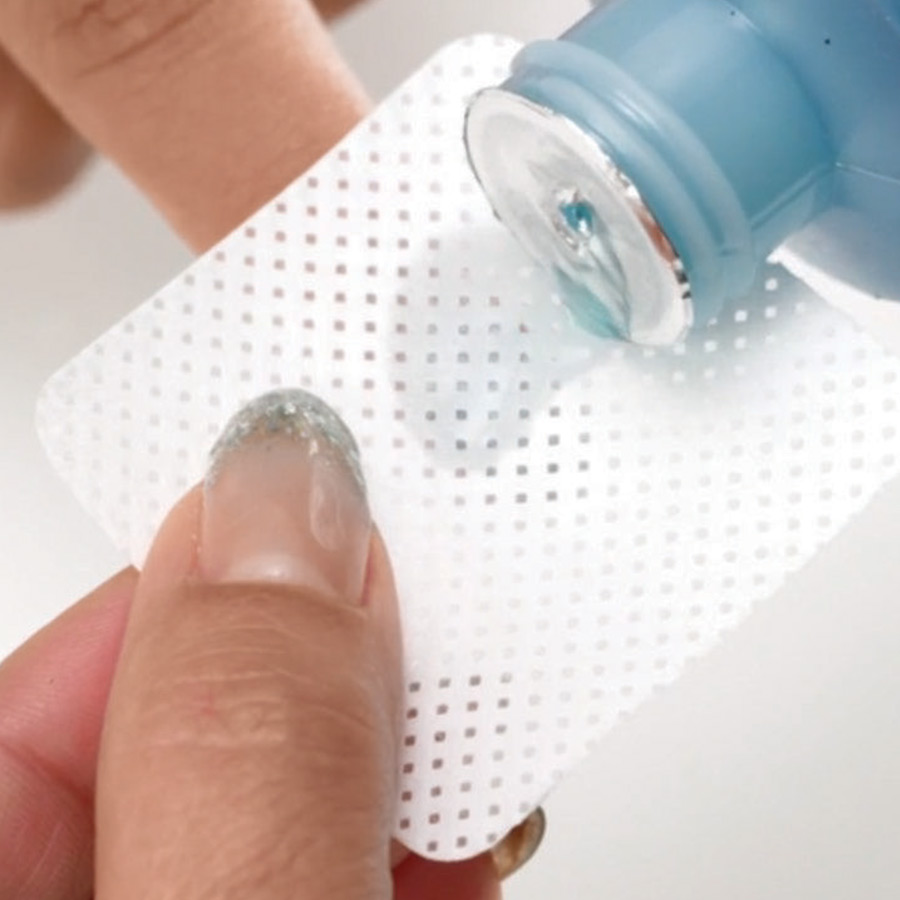
Use Nail Surface Cleanser & a lint-free wipe to cleanse the inhibition layer of the nail.

Apply a drop of Bonding Gel to the Artistic glass palette.
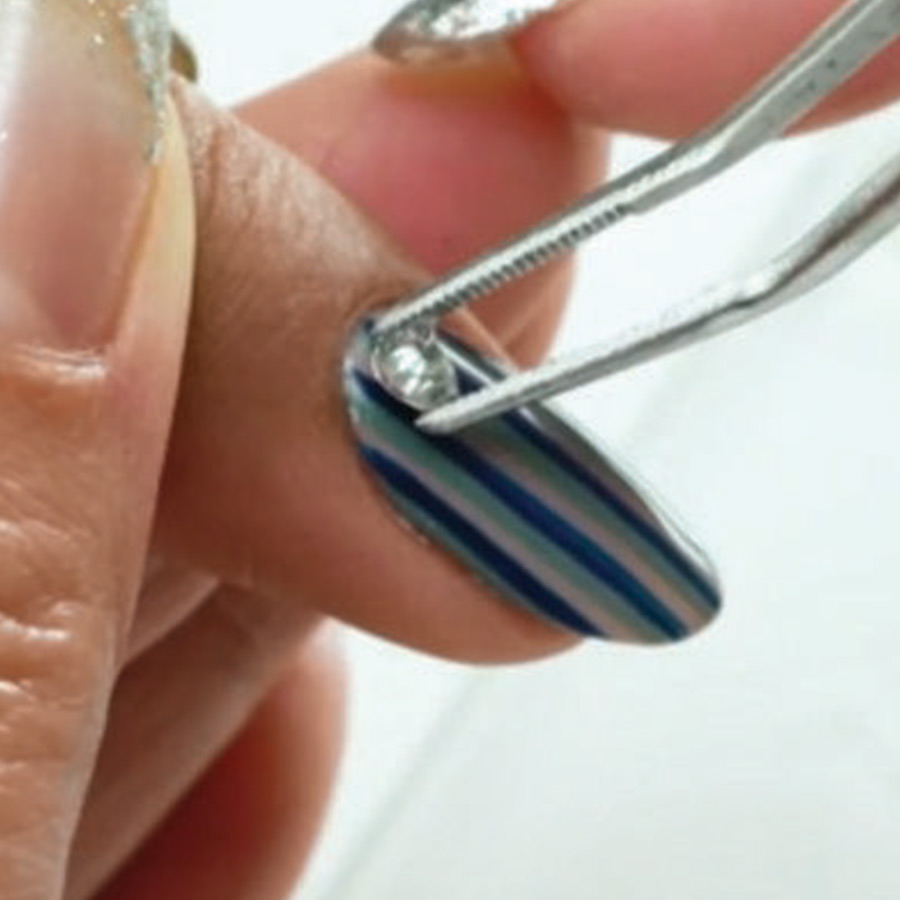
Using Sani Tongs, apply large stones/diamonds to the base of the nail while using Bonding Gel as the adhesive. Cure for 30-seconds.
Apply Revive Cuticle Oil & massage into the nail & surrounding skin to finish.
MORE TAG THAT TREND
RELATED VIDEOS
MORE TO EXPLORE
Prep the natural nail using a 180-grit file, remove dust. Apply “Prep It!”, then two thin coats of Flex It! “Cover Peach”, curing each coat for 60-seconds.
Prep Apply a thin, even coat of HD Pro “Matt It!” Cure for 60-seconds.
Use the HD Pro Long liner brush and HD Pro Art Gel in “Graphite” to create a wavy line. Cure for 30-seconds, then rub line with a dusting brush.
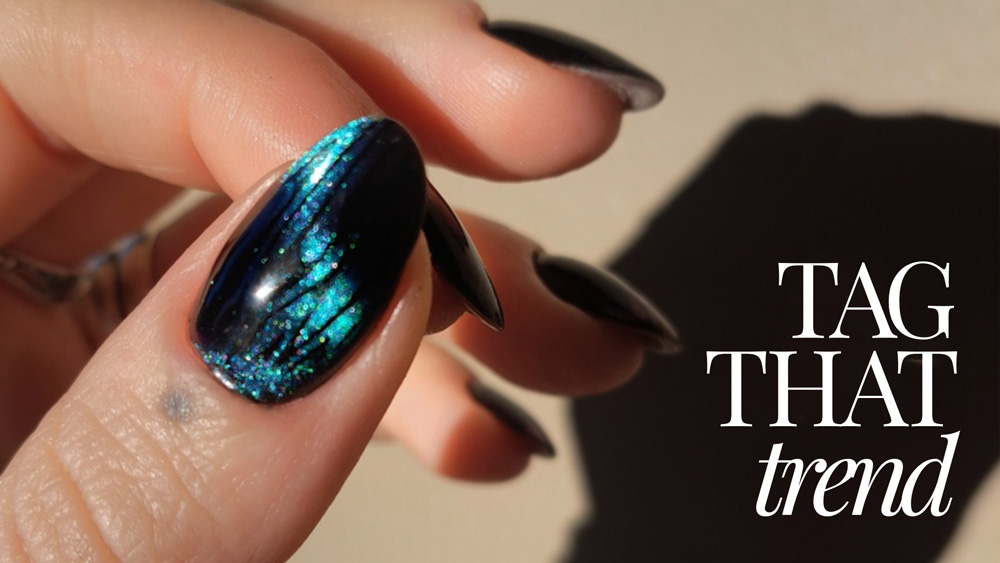
Hidden Zebra
Hidden Zebra
![]()
![]()
Zrinka Vuksan
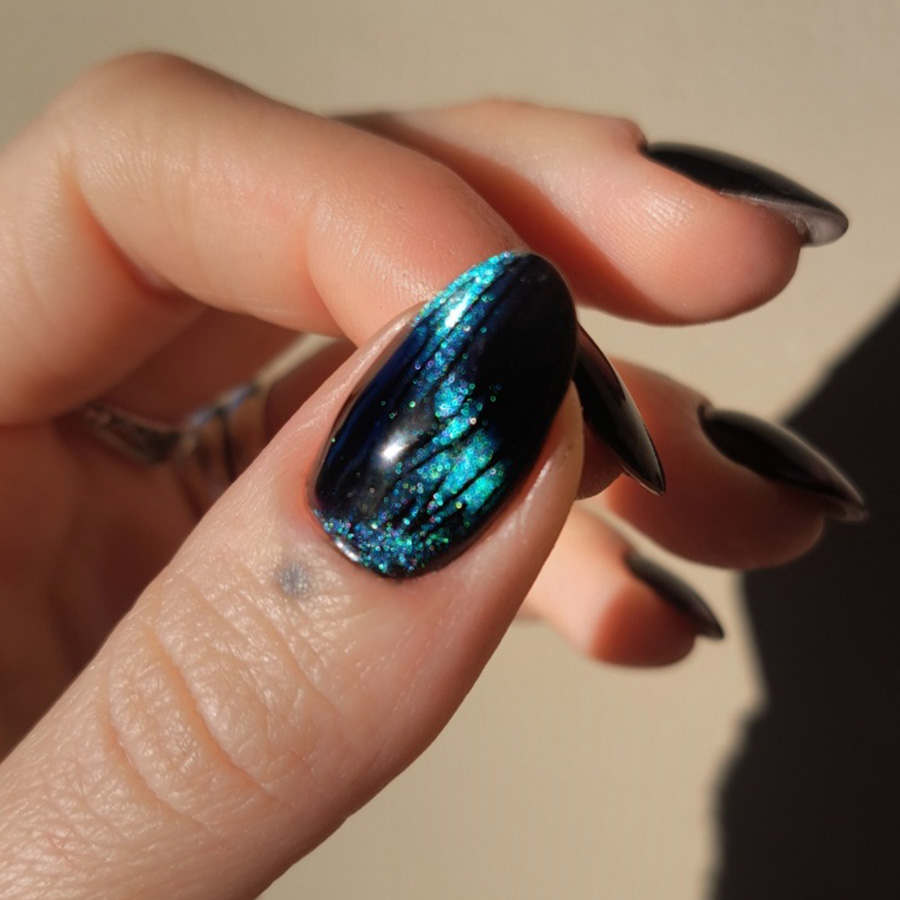
Create mystery and a little drama on the nails using this easy, yet effective technique. Start by layering gel polish with a magnetic gel polish, then manipulate the polish with a magnet. Next use a tool stamping to add a design feature across it in dark polish. This design is in fact hidden and only appears as the nails move and the light catches them. It’s a great look for parties and other sophisticated celebrations.
PRODUCTS USED
- 180-grit File and Buffer
- Magnetic Gel Polish Color
- Black Gel Polish
- Black Nail Polish
- Stamping Plate
- Silicone Stamping Tool
- Top Coat
STEPS
After prepping the nail & applying product, shape the nail with 180-grit file & buffer, then prepare the surface for color.
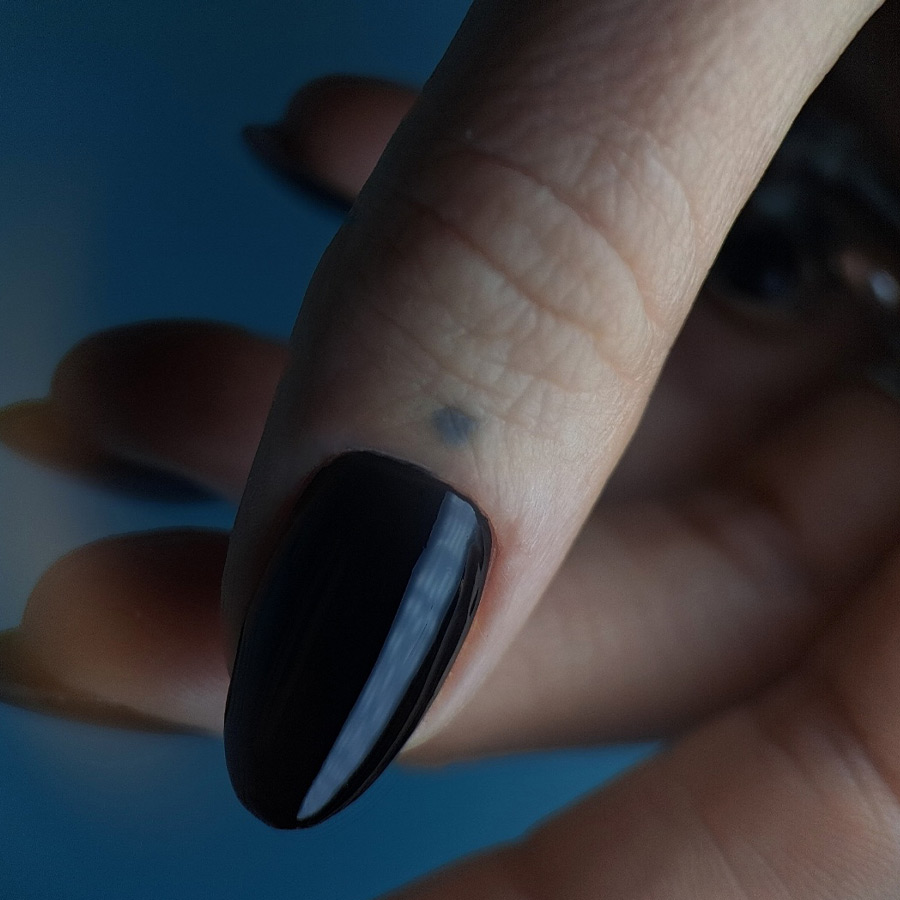
Apply black gel polish, carefully paying attention to the cuticle area. Cure gel polish for 60-seconds in an LED lamp.

Choose a magnetic gel polish color & apply it over the black gel polish.
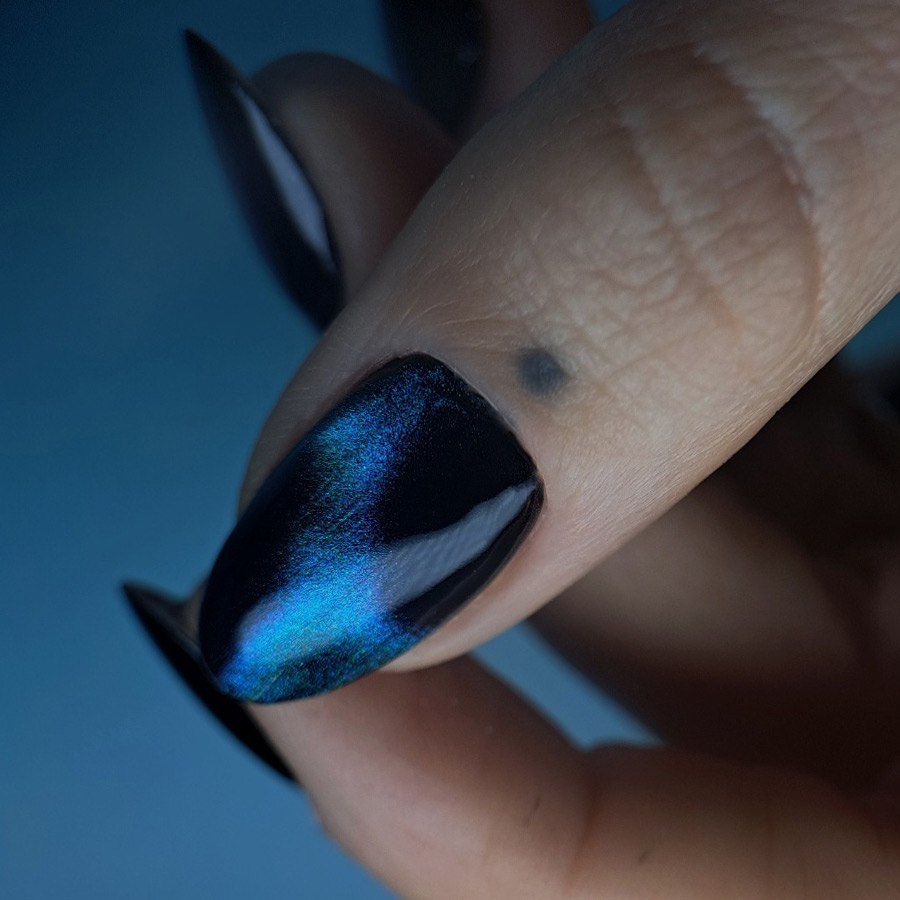
Using a magnetic stick, move the gel polish to create different lines, leaving parts of the nails empty, so the black polish is visible looking across the surface of the nail. Cure for 60-seconds in an LED lamp.

Using a stamping plate of your choice, apply black stamping gel or nail polish & stamp the design across the nail: cure for 60-seconds or let nail polish air-dry.
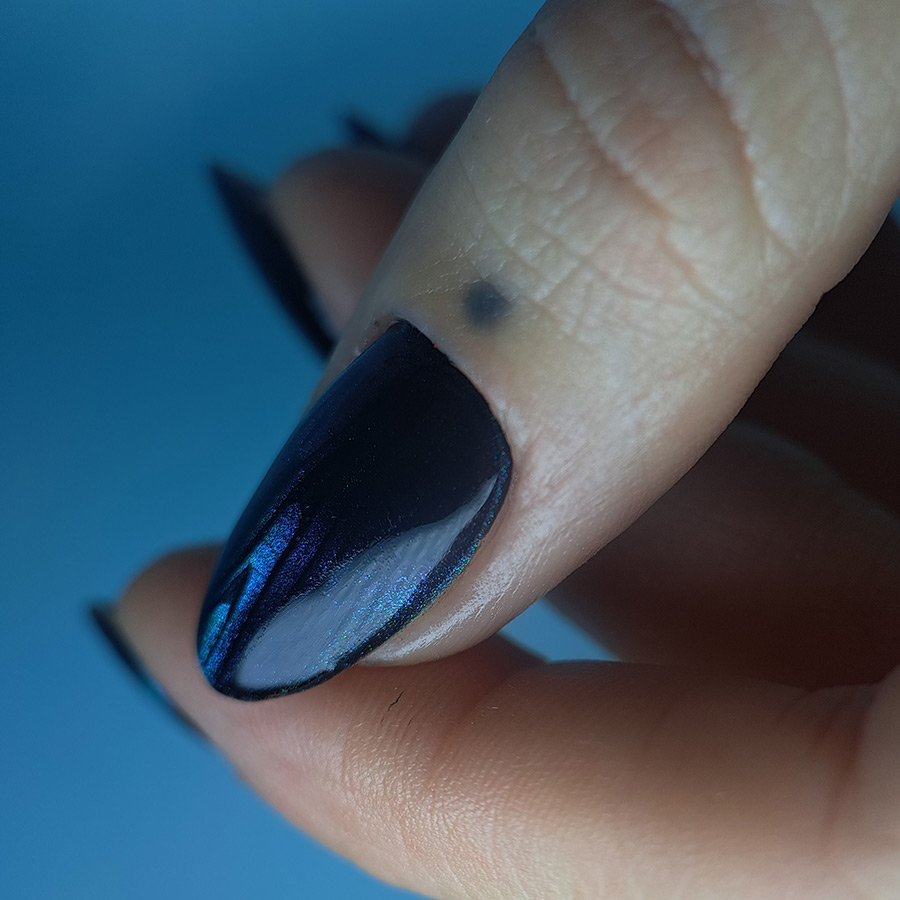
When the nail is dry, apply top coat. Use a shiny or matte finish and enjoy the hidden lines as they reveal themselves as they catch the light. Depending on the angle you view the nail, the lines will appear and disappear as the nails move.
MORE TAG THAT TREND
RELATED VIDEOS
MORE TO EXPLORE
Prep the natural nail using a 180-grit file, remove dust. Apply “Prep It!”, then two thin coats of Flex It! “Cover Peach”, curing each coat for 60-seconds.
Prep Apply a thin, even coat of HD Pro “Matt It!” Cure for 60-seconds.
Use the HD Pro Long liner brush and HD Pro Art Gel in “Graphite” to create a wavy line. Cure for 30-seconds, then rub line with a dusting brush.