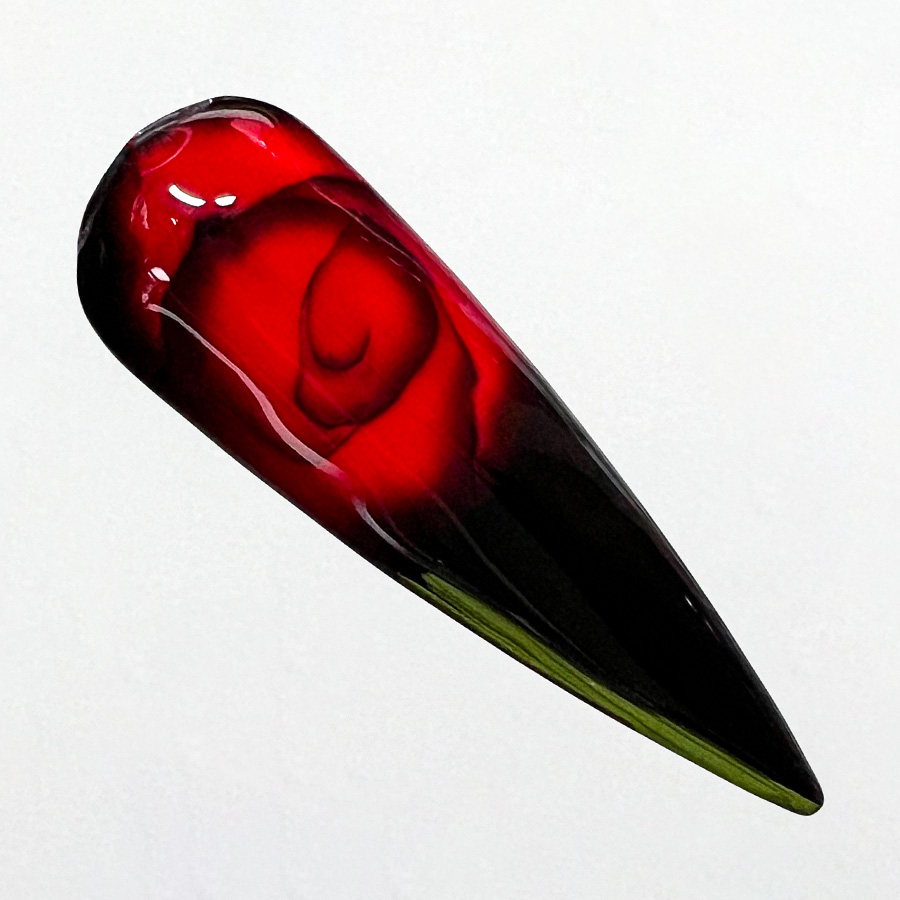
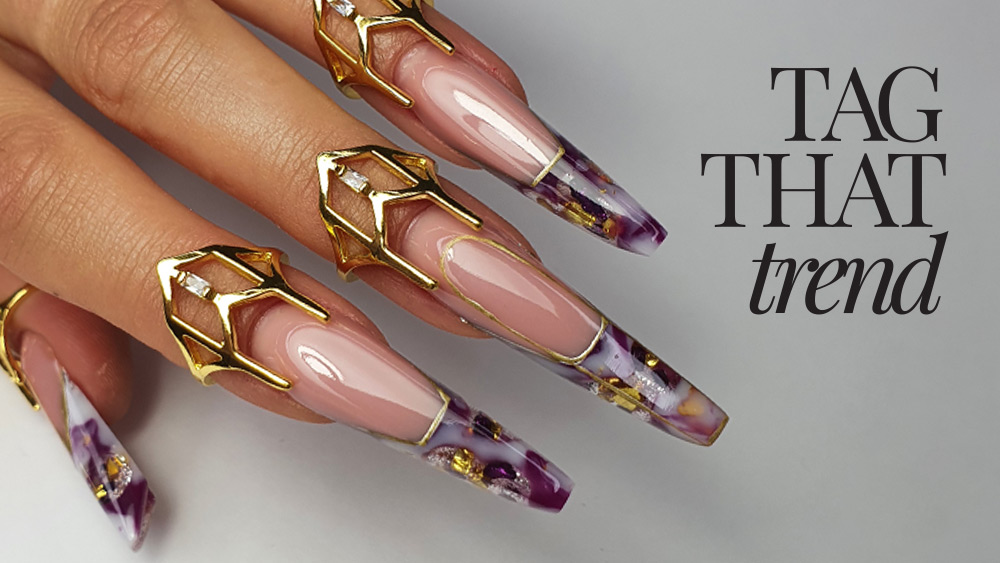
Blooming Blood Rose
![]()
Lauren Wireman
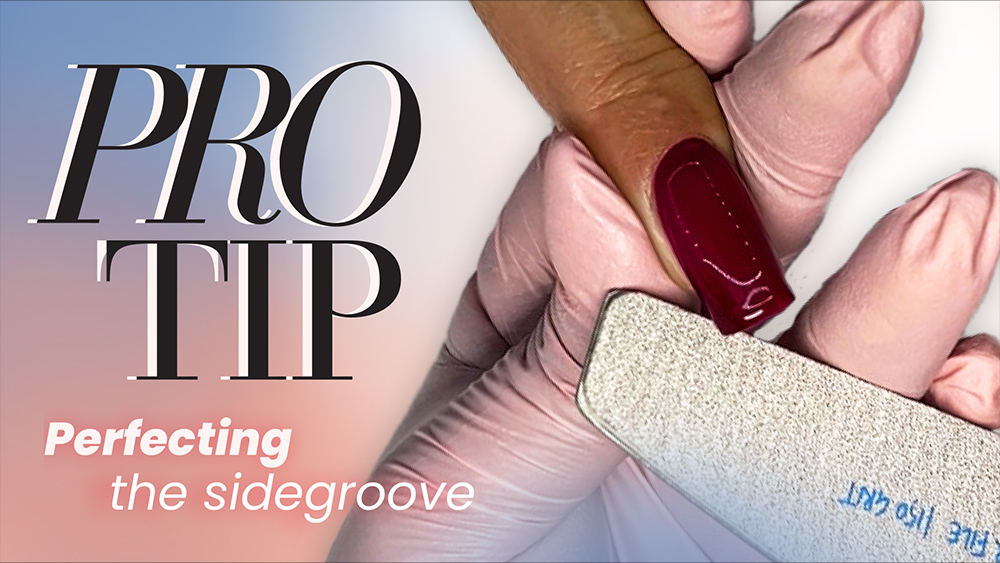
Educator and award-winning nail artist, Lauren Wireman, demonstrates how to simply & quickly style what appears as a complicated free style rose design, using the ‘cinnamon swirl’ as her tool of inspiration.
PRODUCTS USED
- Wildflowers Bloom Gel
- Gold Brush
- Wildflowers Void black Gel Polish
- Wildflowers Tissue Paper Gel Polish
- Wildlflowers Top Coat Gel
STEPS
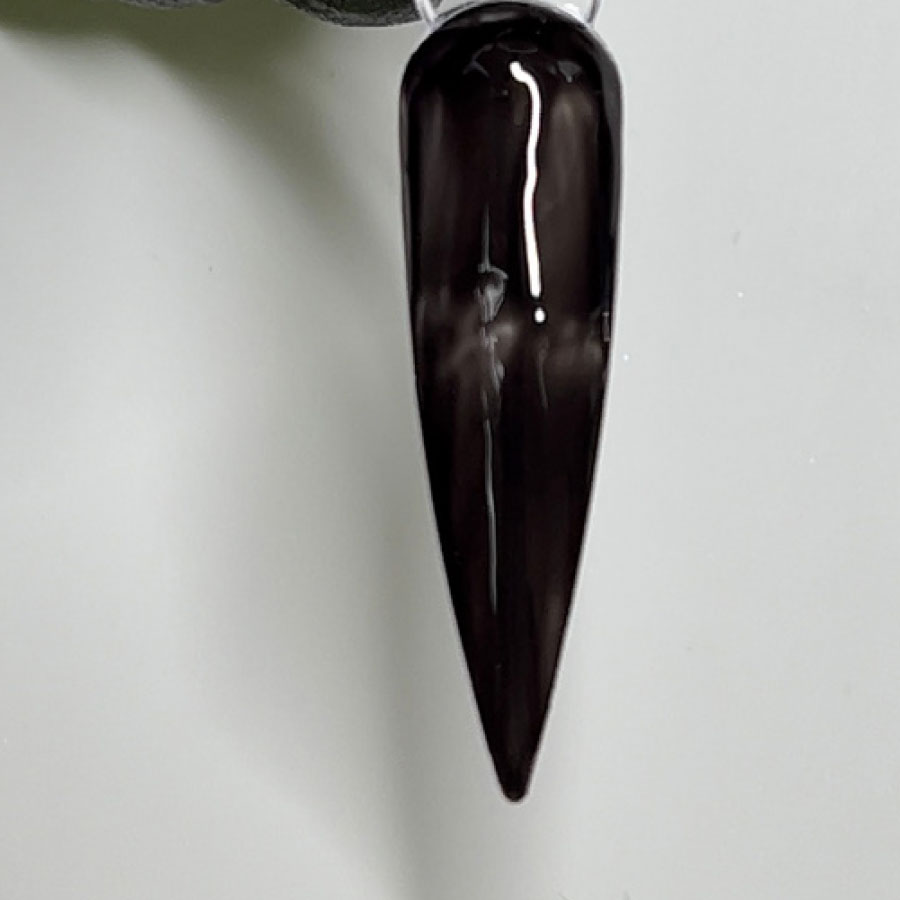
Prepare & shape the nail tip, then apply two coats of Void black gel polish & cure each layer.
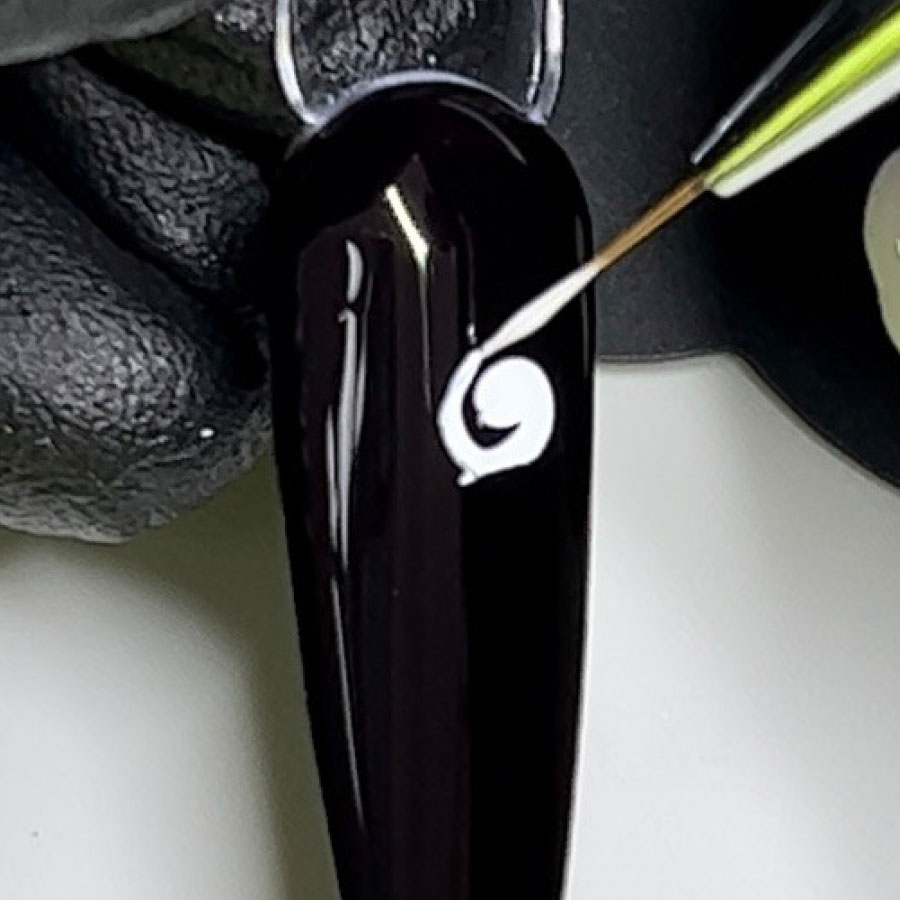
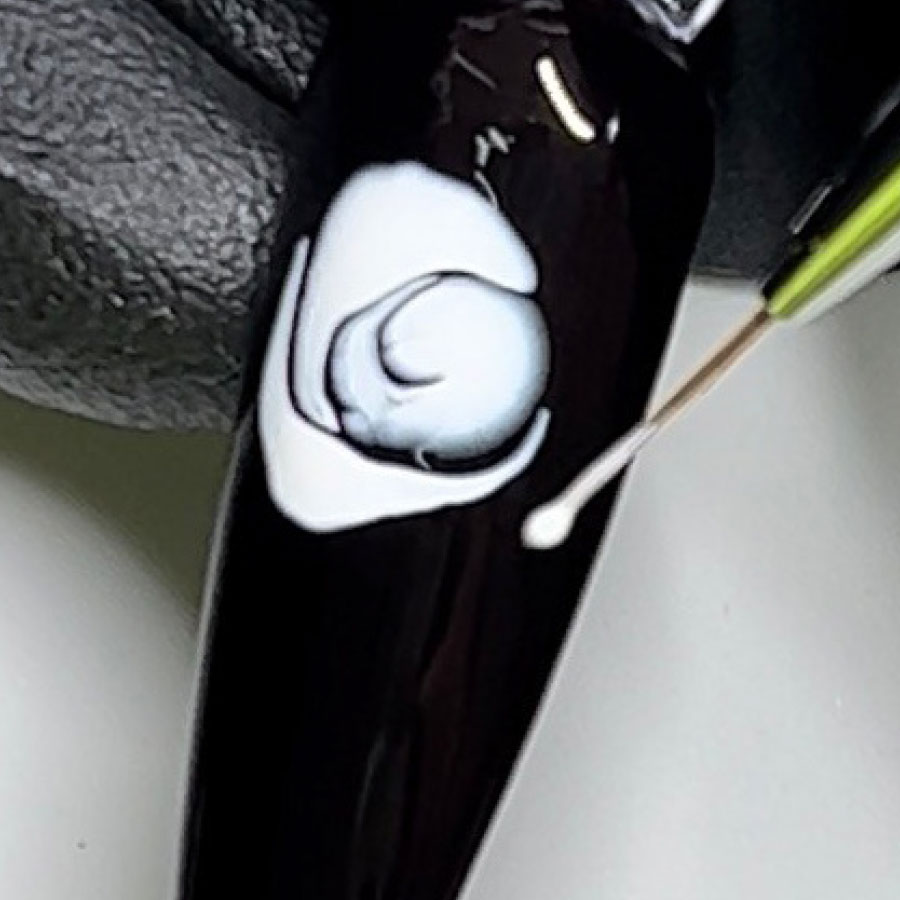
Apply a coat of Wildflowers Bloom Gel to the nail. Use Wildflowers Tissue Paper gel polish and its Gold brush to apply a swirl or ‘cinnamon bun’ into the un-cured bloom gel.
Apply a dot of Tissue Paper white gel polish above the swirl & pull a line out to the left & to the right of the swirl. Make sure these lines ‘hug the cinnamon bun swirl.
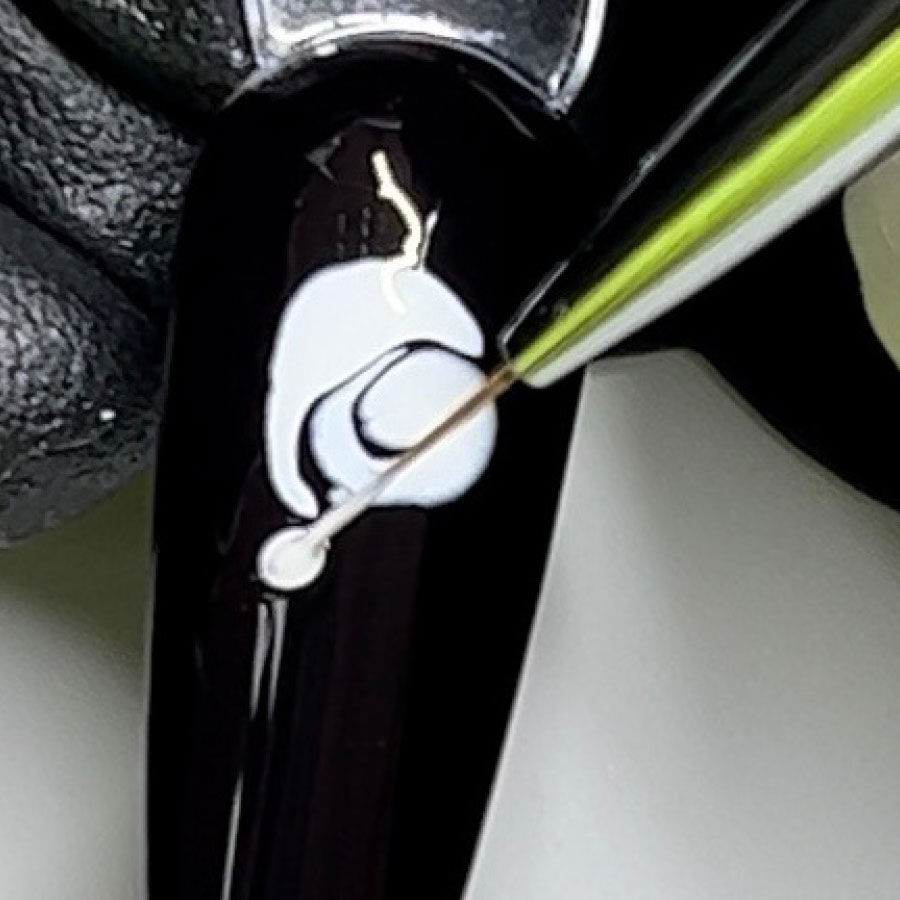
Repeat the process as you start shaping a rose.
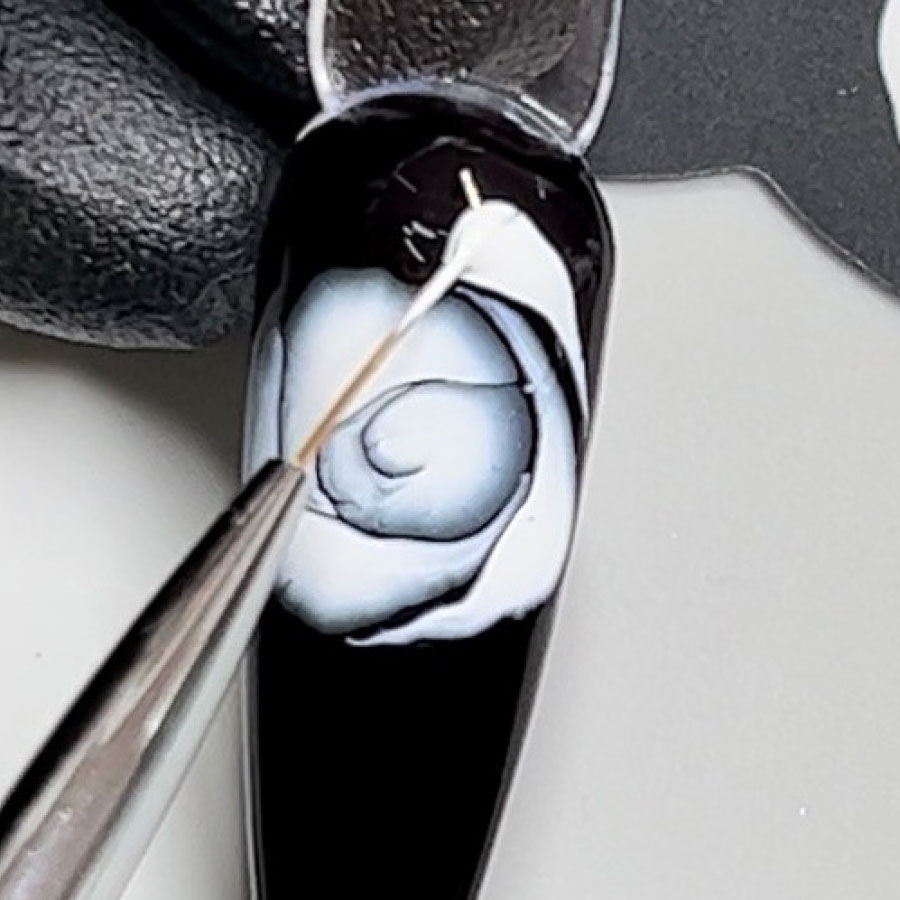
Keep repeating the process as the rose takes its form right across the nail tip, then cure.
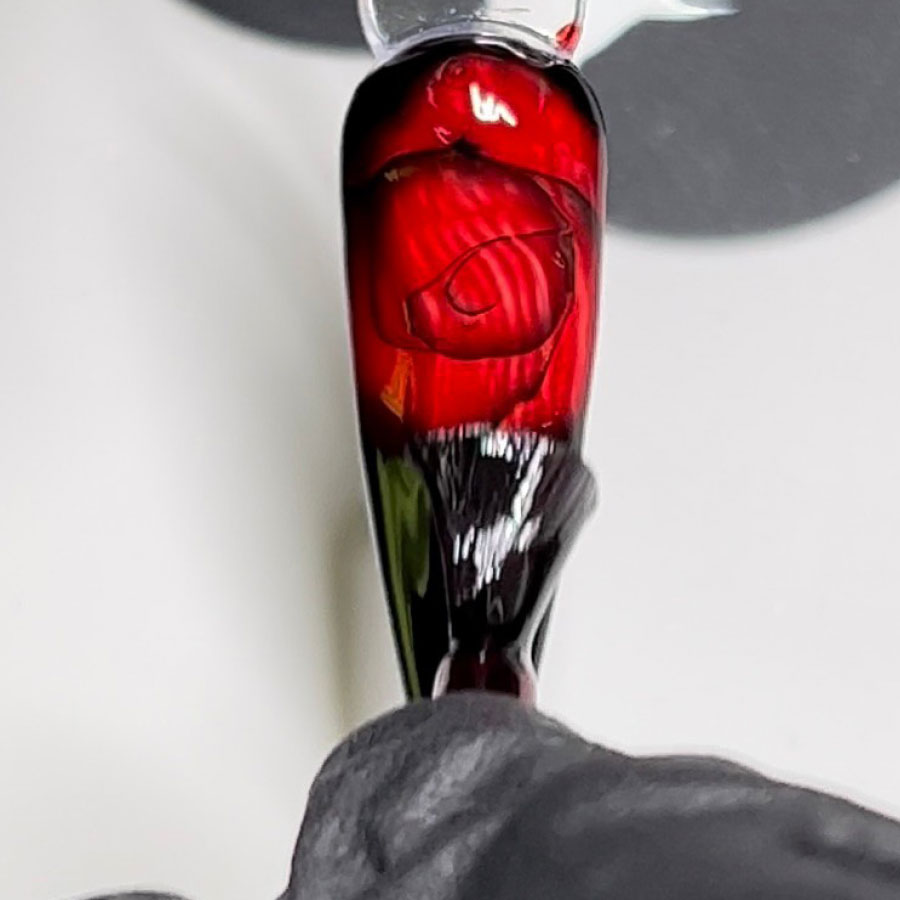
Apply Wildflowers Red Glass Gel then fully cure. Finish with Wildflowers Top Coat Gel & cure.

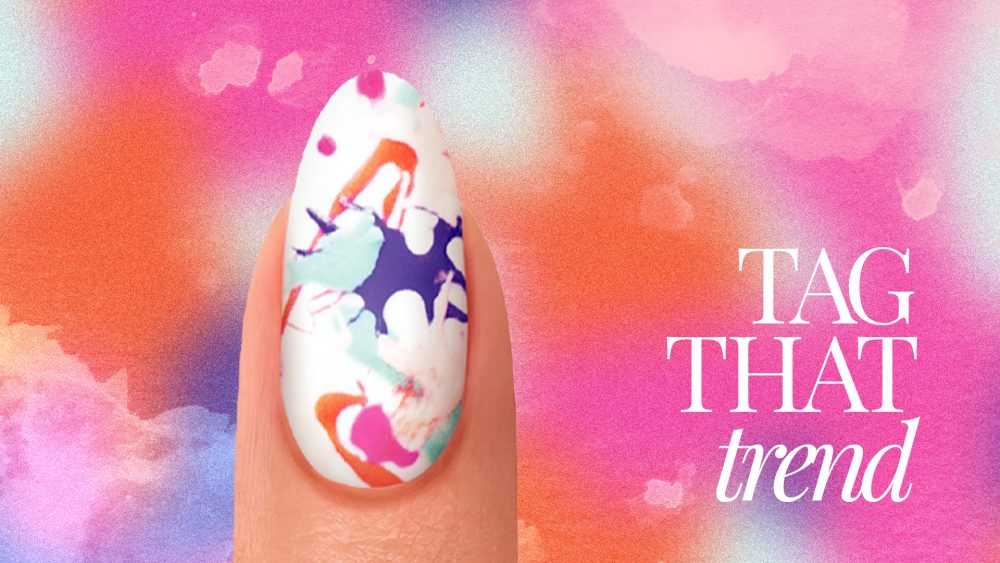
MORE TAG THAT TREND
RELATED VIDEOS
MORE TO EXPLORE


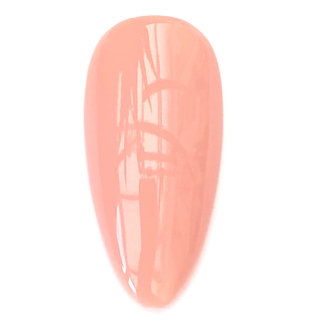
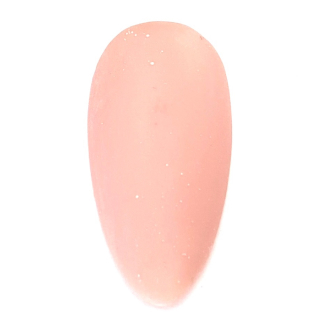
Prep the natural nail using a 180-grit file, remove dust. Apply “Prep It!”, then two thin coats of Flex It! “Cover Peach”, curing each coat for 60-seconds.
Prep Apply a thin, even coat of HD Pro “Matt It!” Cure for 60-seconds.
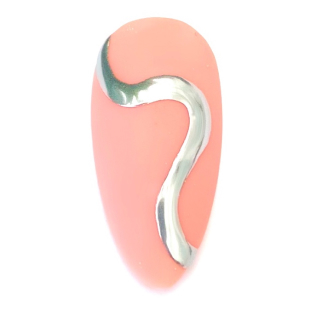
Use the HD Pro Long liner brush and HD Pro Art Gel in “Graphite” to create a wavy line. Cure for 30-seconds, then rub line with a dusting brush.