Metal Grunge
![]()
Alisha Rimando
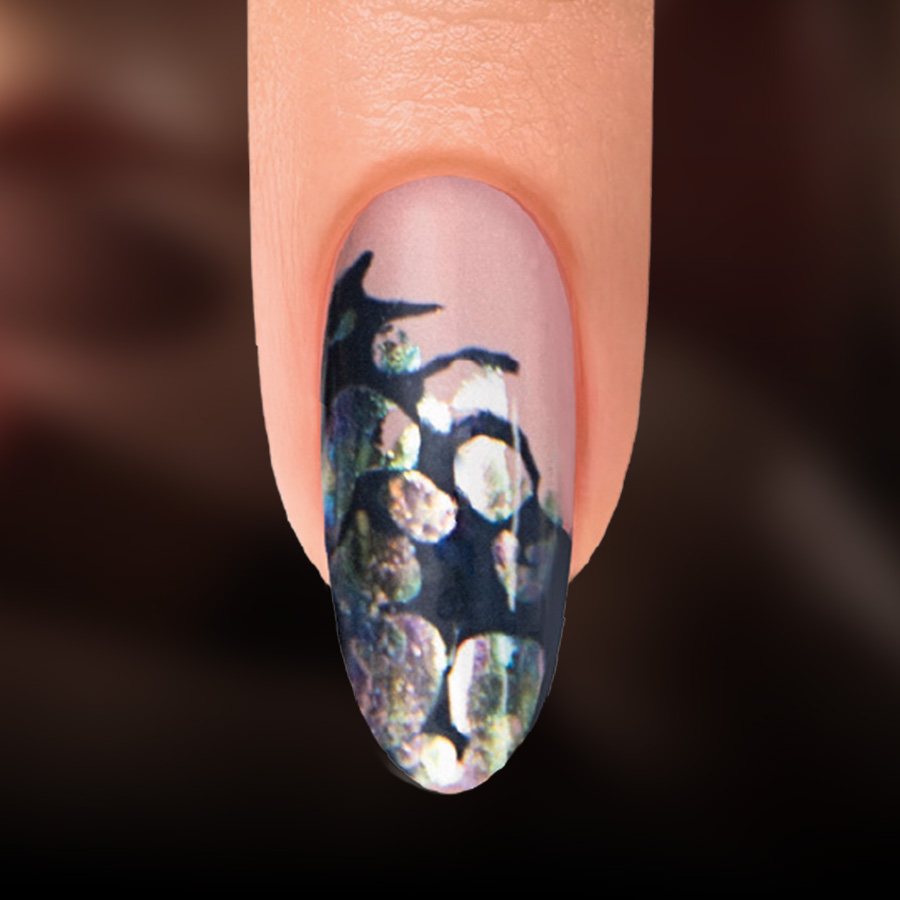
It appears to be an advanced form of nail art, however not only can you have some fun creating this nail style, but it’s quick too. With just a few nail tools, nail foil, your choice of gel polish and some wax paper, you can recreate this rock ‘n roll style for your clients in no time at all.
PRODUCTS USED
- UV/LED Artistic Gel Polish
- Rock Hard Extension
- Artistic Nail Surface Cleanser
- Acrylic Brush
- HRevive Cuticle oil
- Wax Paper
- Oil Slick Foil
STEPS
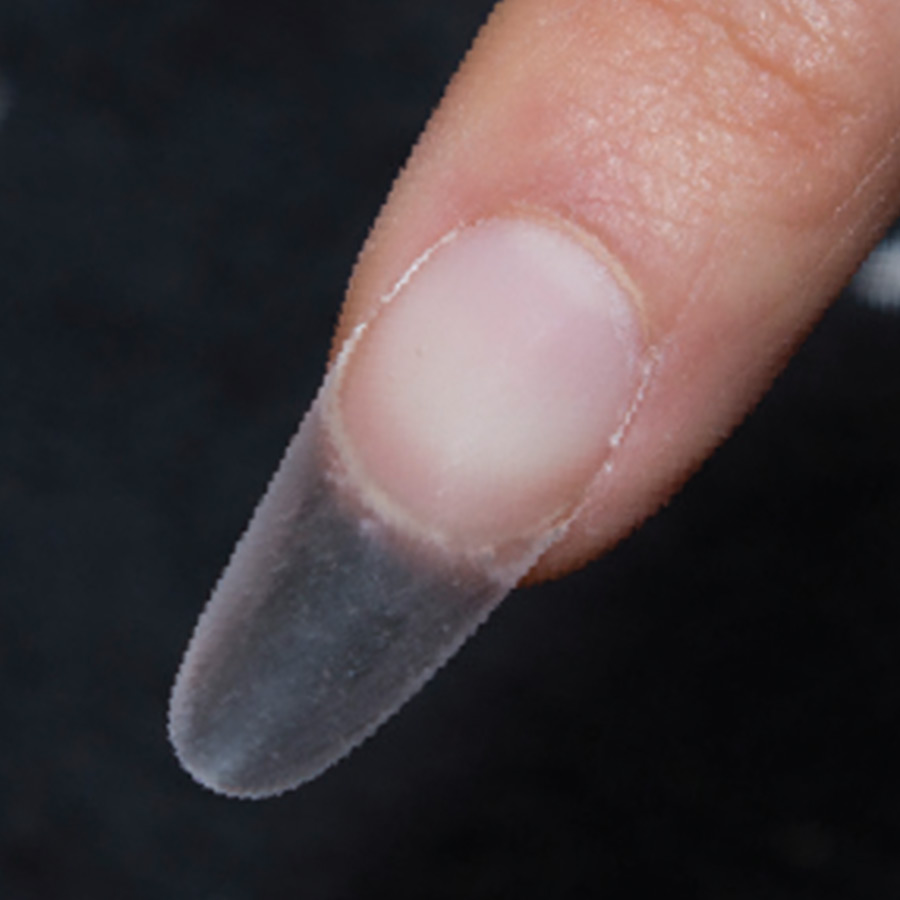
Follow application steps for Rock Hard Extension.
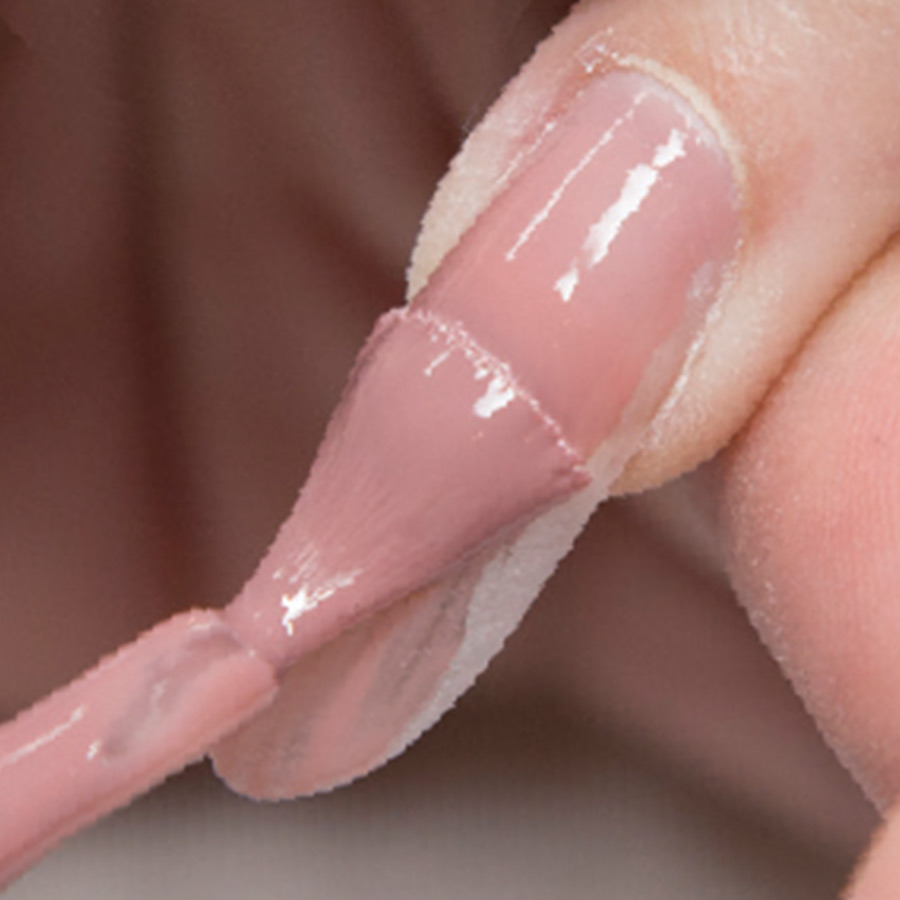
Apply a thin coat of Radiate My Love, making sure to cap the free edge. Cure for 30 seconds in LED light or 2-minutes in UV. Repeat.
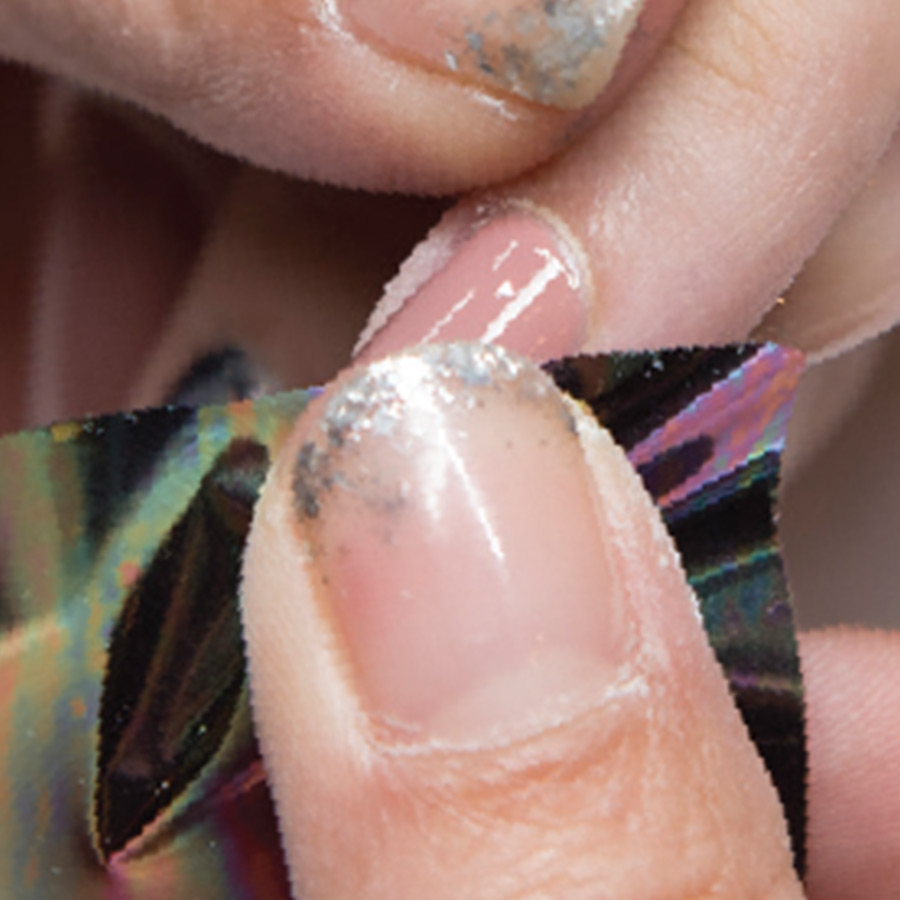
Transfer ‘Oil Slick’ foil diagonally across the tip of the nail. Be sure to firmly press foil onto the nail to ensure adhesion.
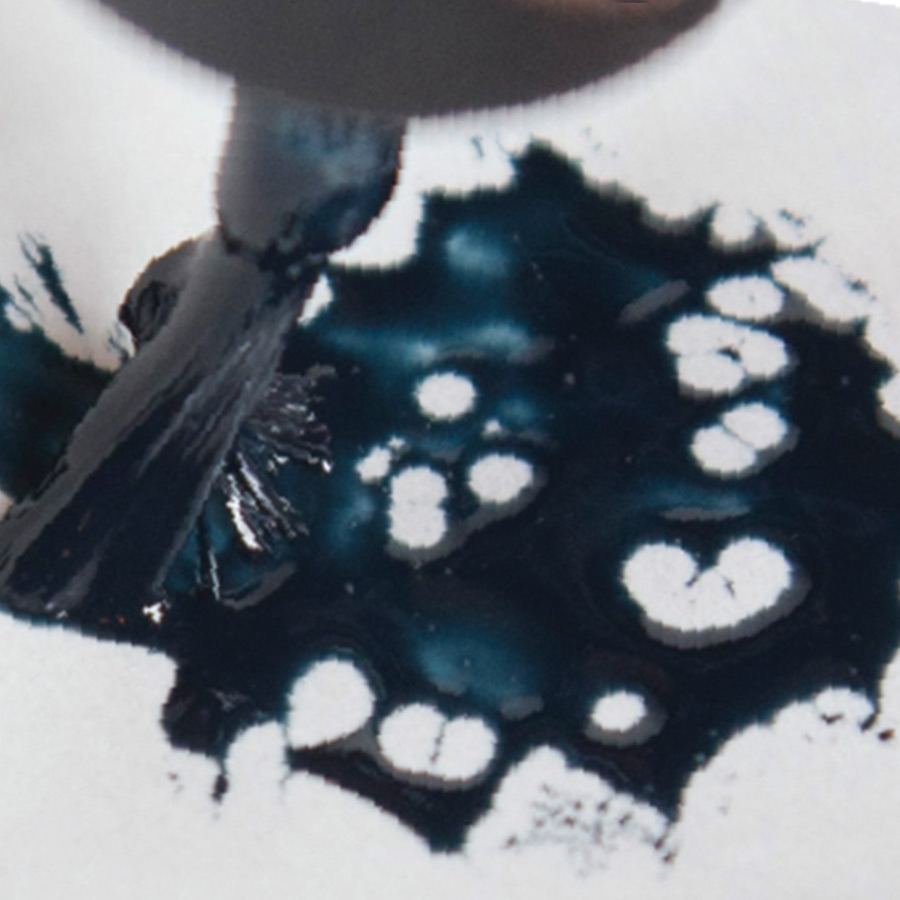
Create a dark oil spill effect decal by applying Colour Gloss in Torque It! on wax paper & creating voids or holes. Allow the product to sit for a moment while the holes become bigger as the gel settles. Assist the design by using a marbling tool to direct the gel to where you want it to go. Once desired design is achieved, cure for 30-seconds in an LED light or 2-minutes under UV.
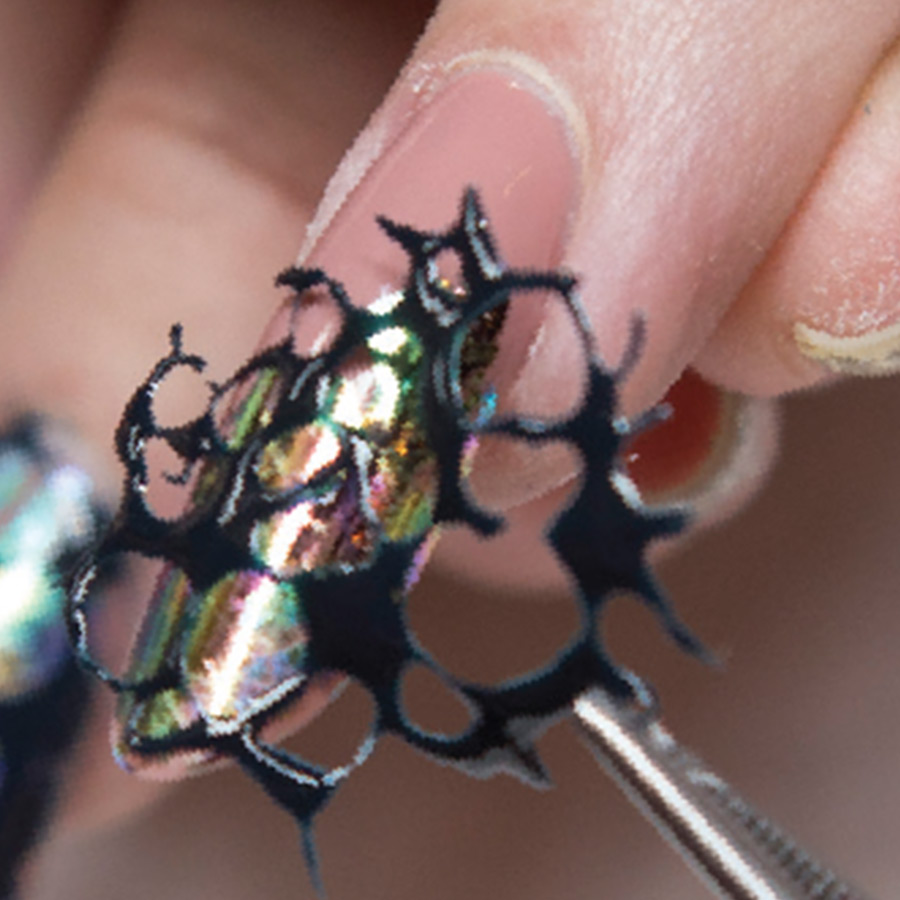
Use Sani Tongs to peel decal from wax paper & apply to the foiled area, trimming the edges to fit the nail.
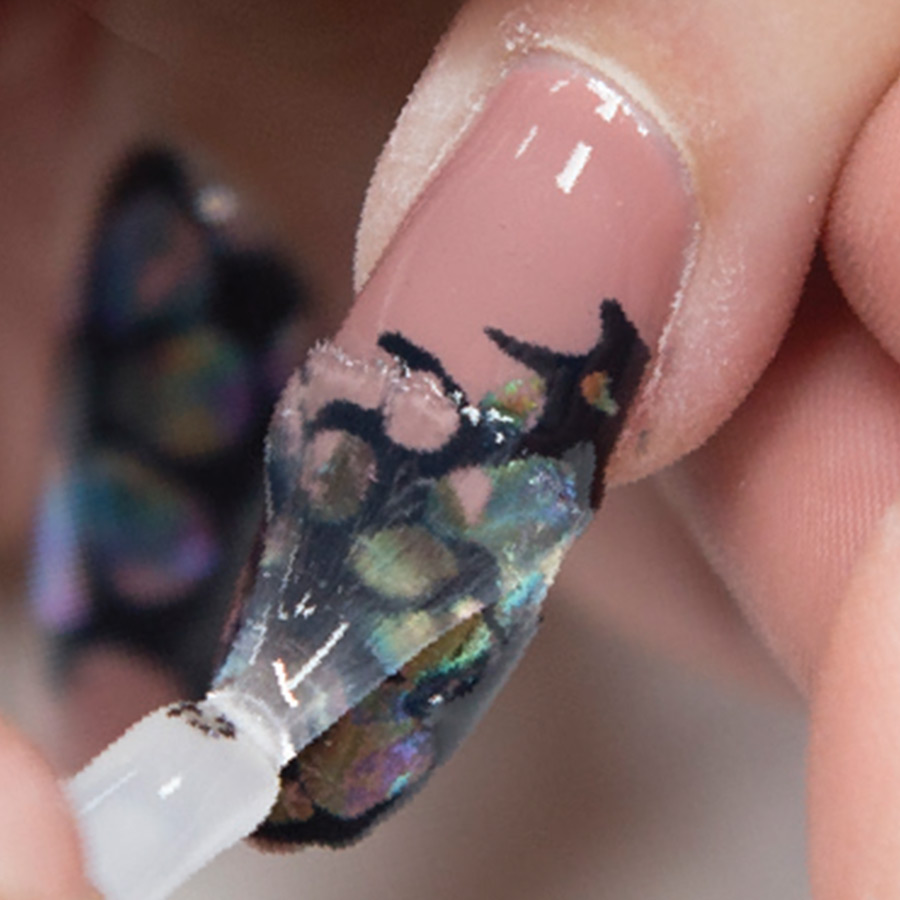
Apply Glossing Gel over the entire nail & cure for 30-seconds in an LED lamp or 2-minutes under UV. Apply a second coat of Glossing Gel & cure for 30-seconds in LED or 2-minutes under UV.
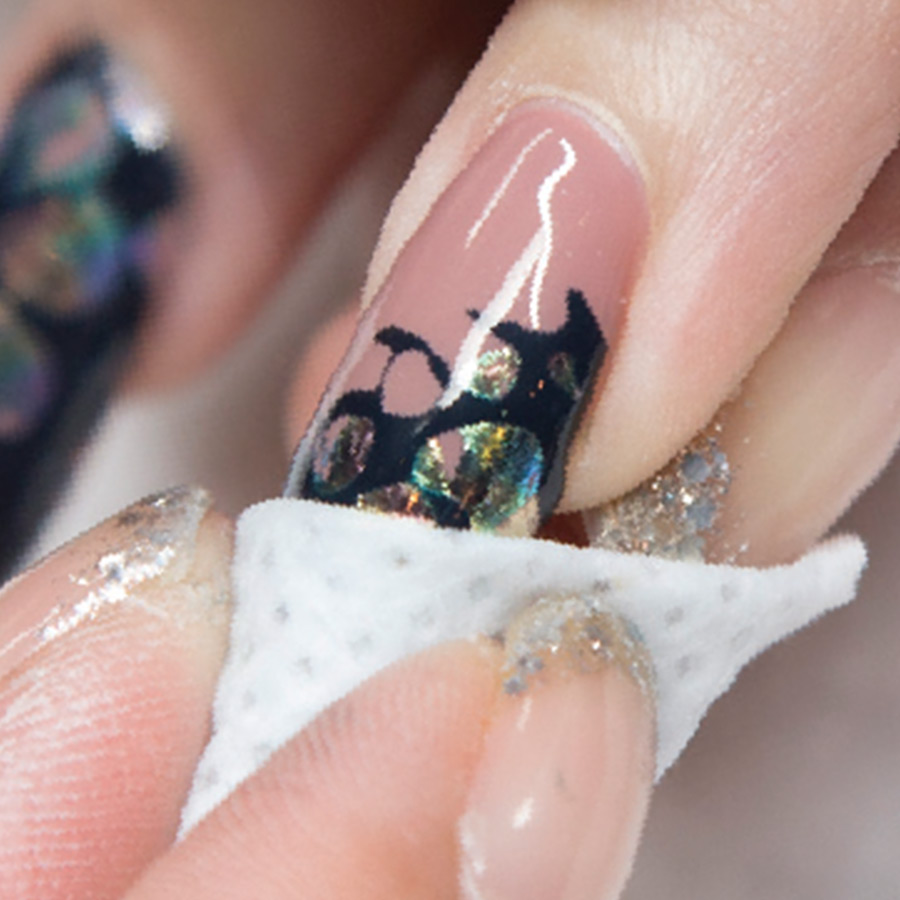
Use Nail Surface Cleanser & a lint-free wipe to cleanse the inhibition layer of the nail.
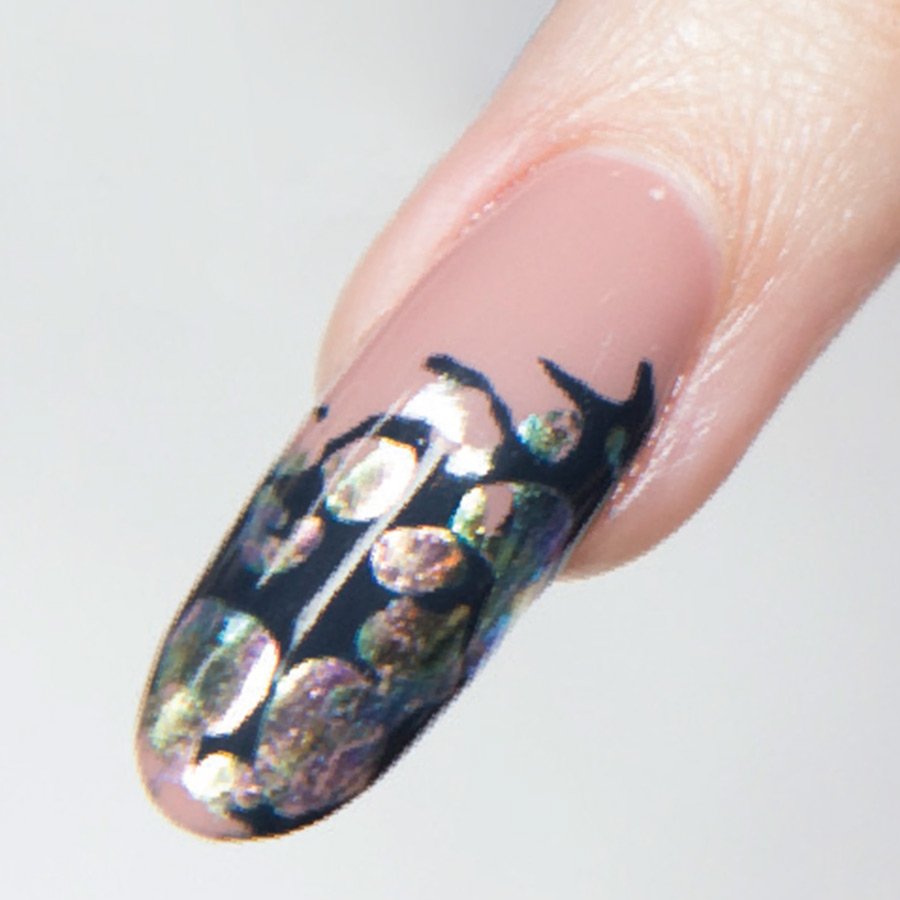
Massage one drop of Revive Cuticle Oil into the skin surrounding the nail plate, and enjoy the finished look.
MORE TAG THAT TREND
RELATED VIDEOS
MORE TO EXPLORE
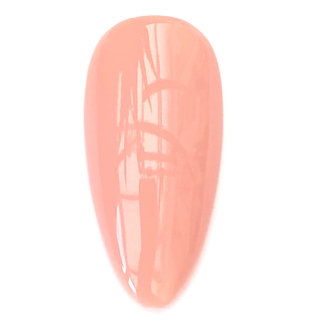
Prep the natural nail using a 180-grit file, remove dust. Apply “Prep It!”, then two thin coats of Flex It! “Cover Peach”, curing each coat for 60-seconds.
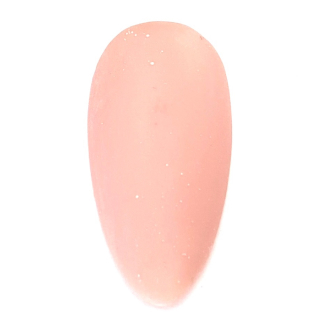
Prep Apply a thin, even coat of HD Pro “Matt It!” Cure for 60-seconds.
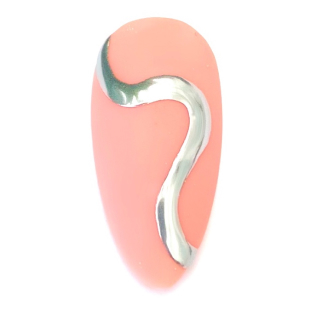
Use the HD Pro Long liner brush and HD Pro Art Gel in “Graphite” to create a wavy line. Cure for 30-seconds, then rub line with a dusting brush.


