Sculpting Perfect Structure
![]()
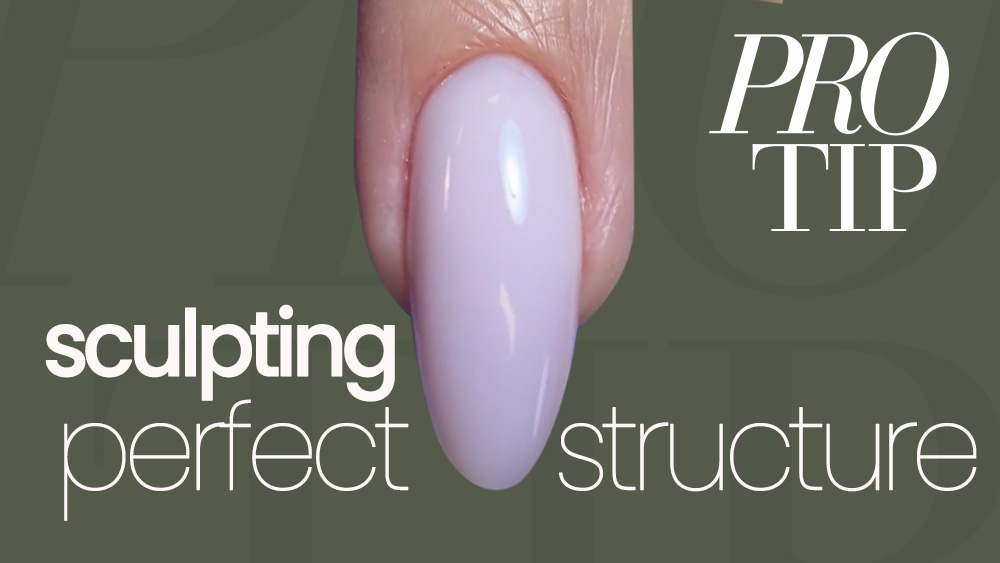
Sculpting Perfect Structure
Working towards a no-filing technique of sculpting, Ioana Cristescu shares her method of creating structure to the nail uses less nail product. Less hard gel and less liquid and powder results in less files being used and less time in the salon.
SEE MORE PRO TIPS
RELATED VIDEOS
MORE TO EXPLORE

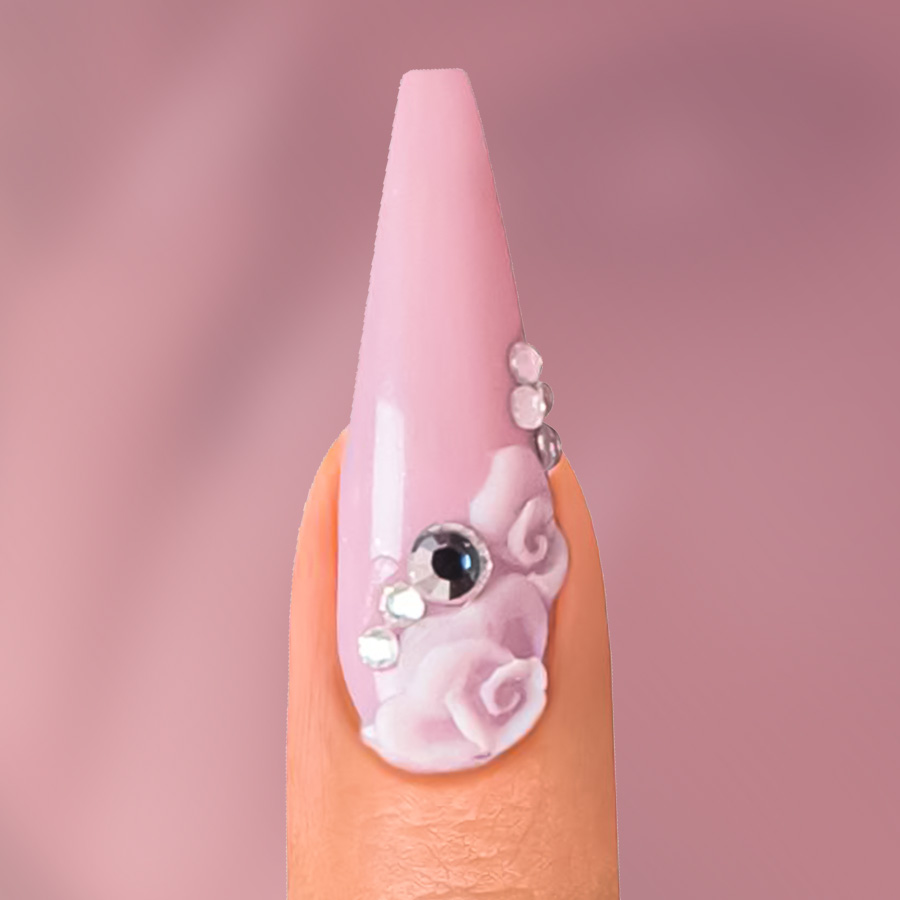
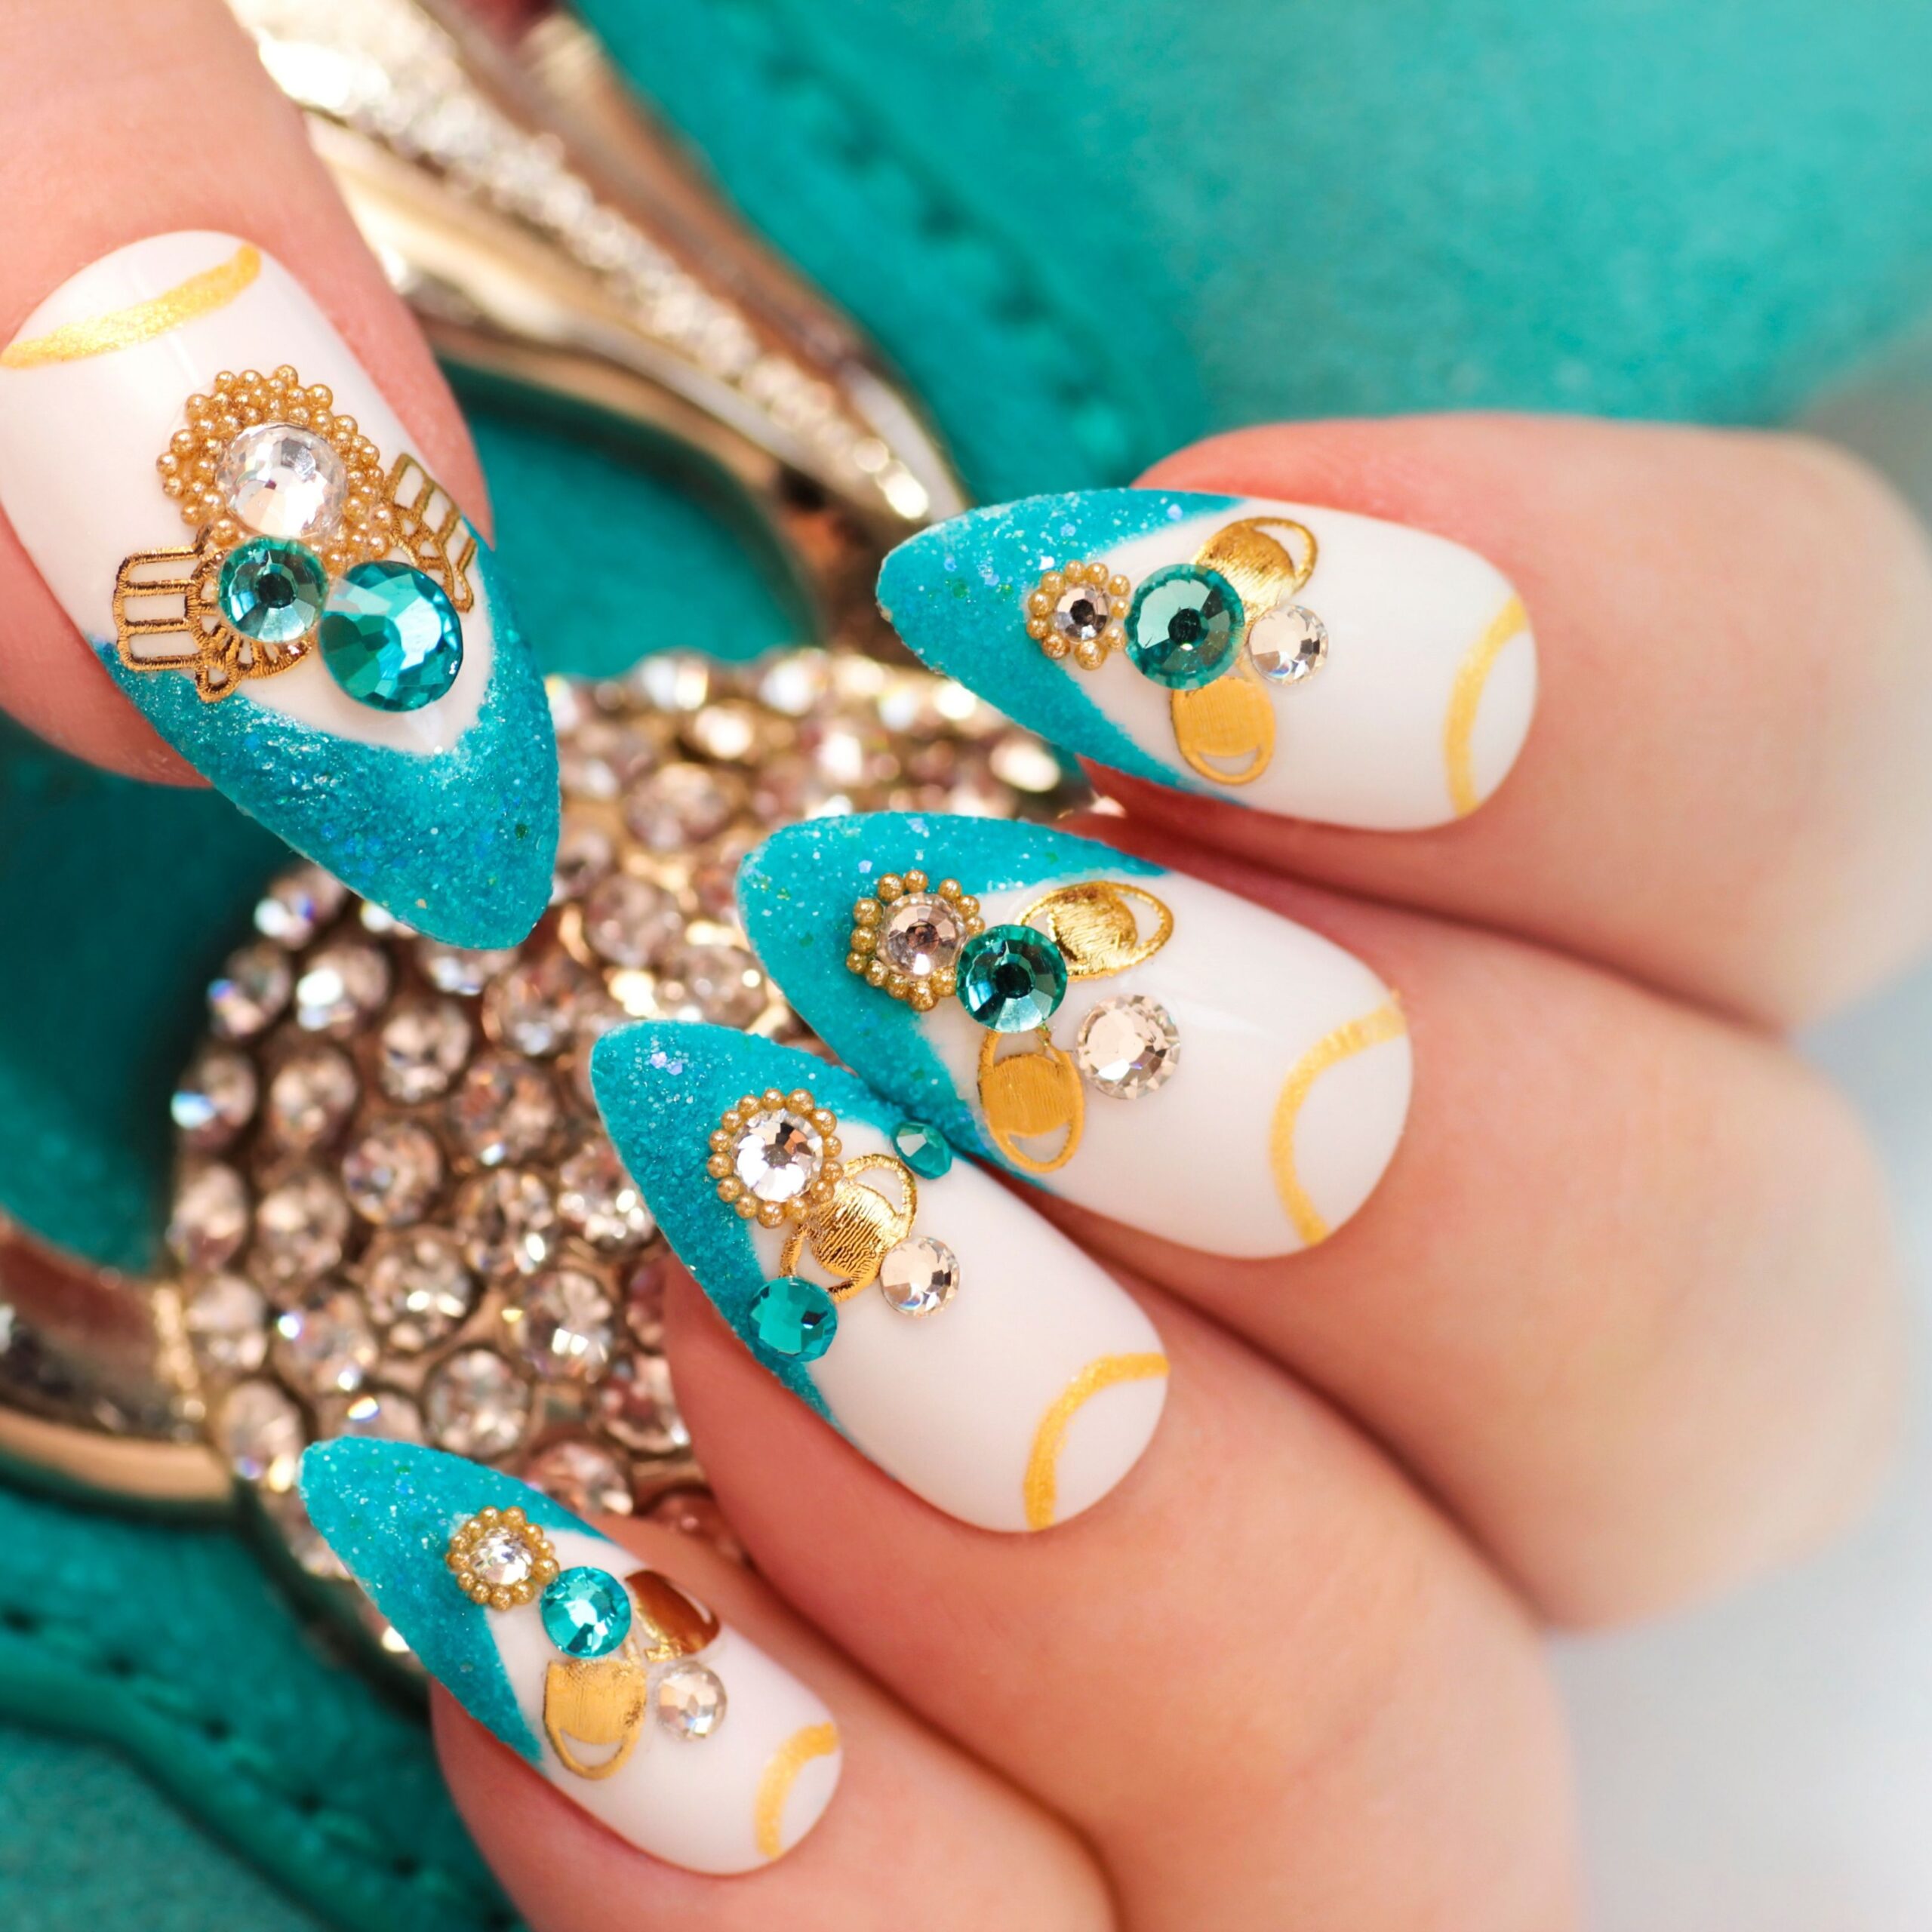
Sweet Embellishment
Sweet Embellishment
![]()
Alisha Rimando
Alisha Rimando is recognized as one of the nail industry’s leading experts in training and education.
PRODUCTS USED
- UV/LED Artistic Bonding Base Coat and Glossing Top Coat Gels
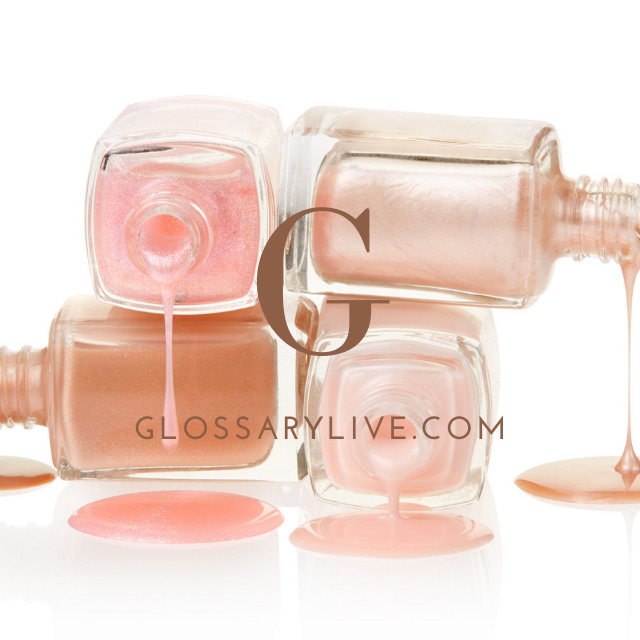
- Soft Pink Gel Polish Color
- Artistic L&P System
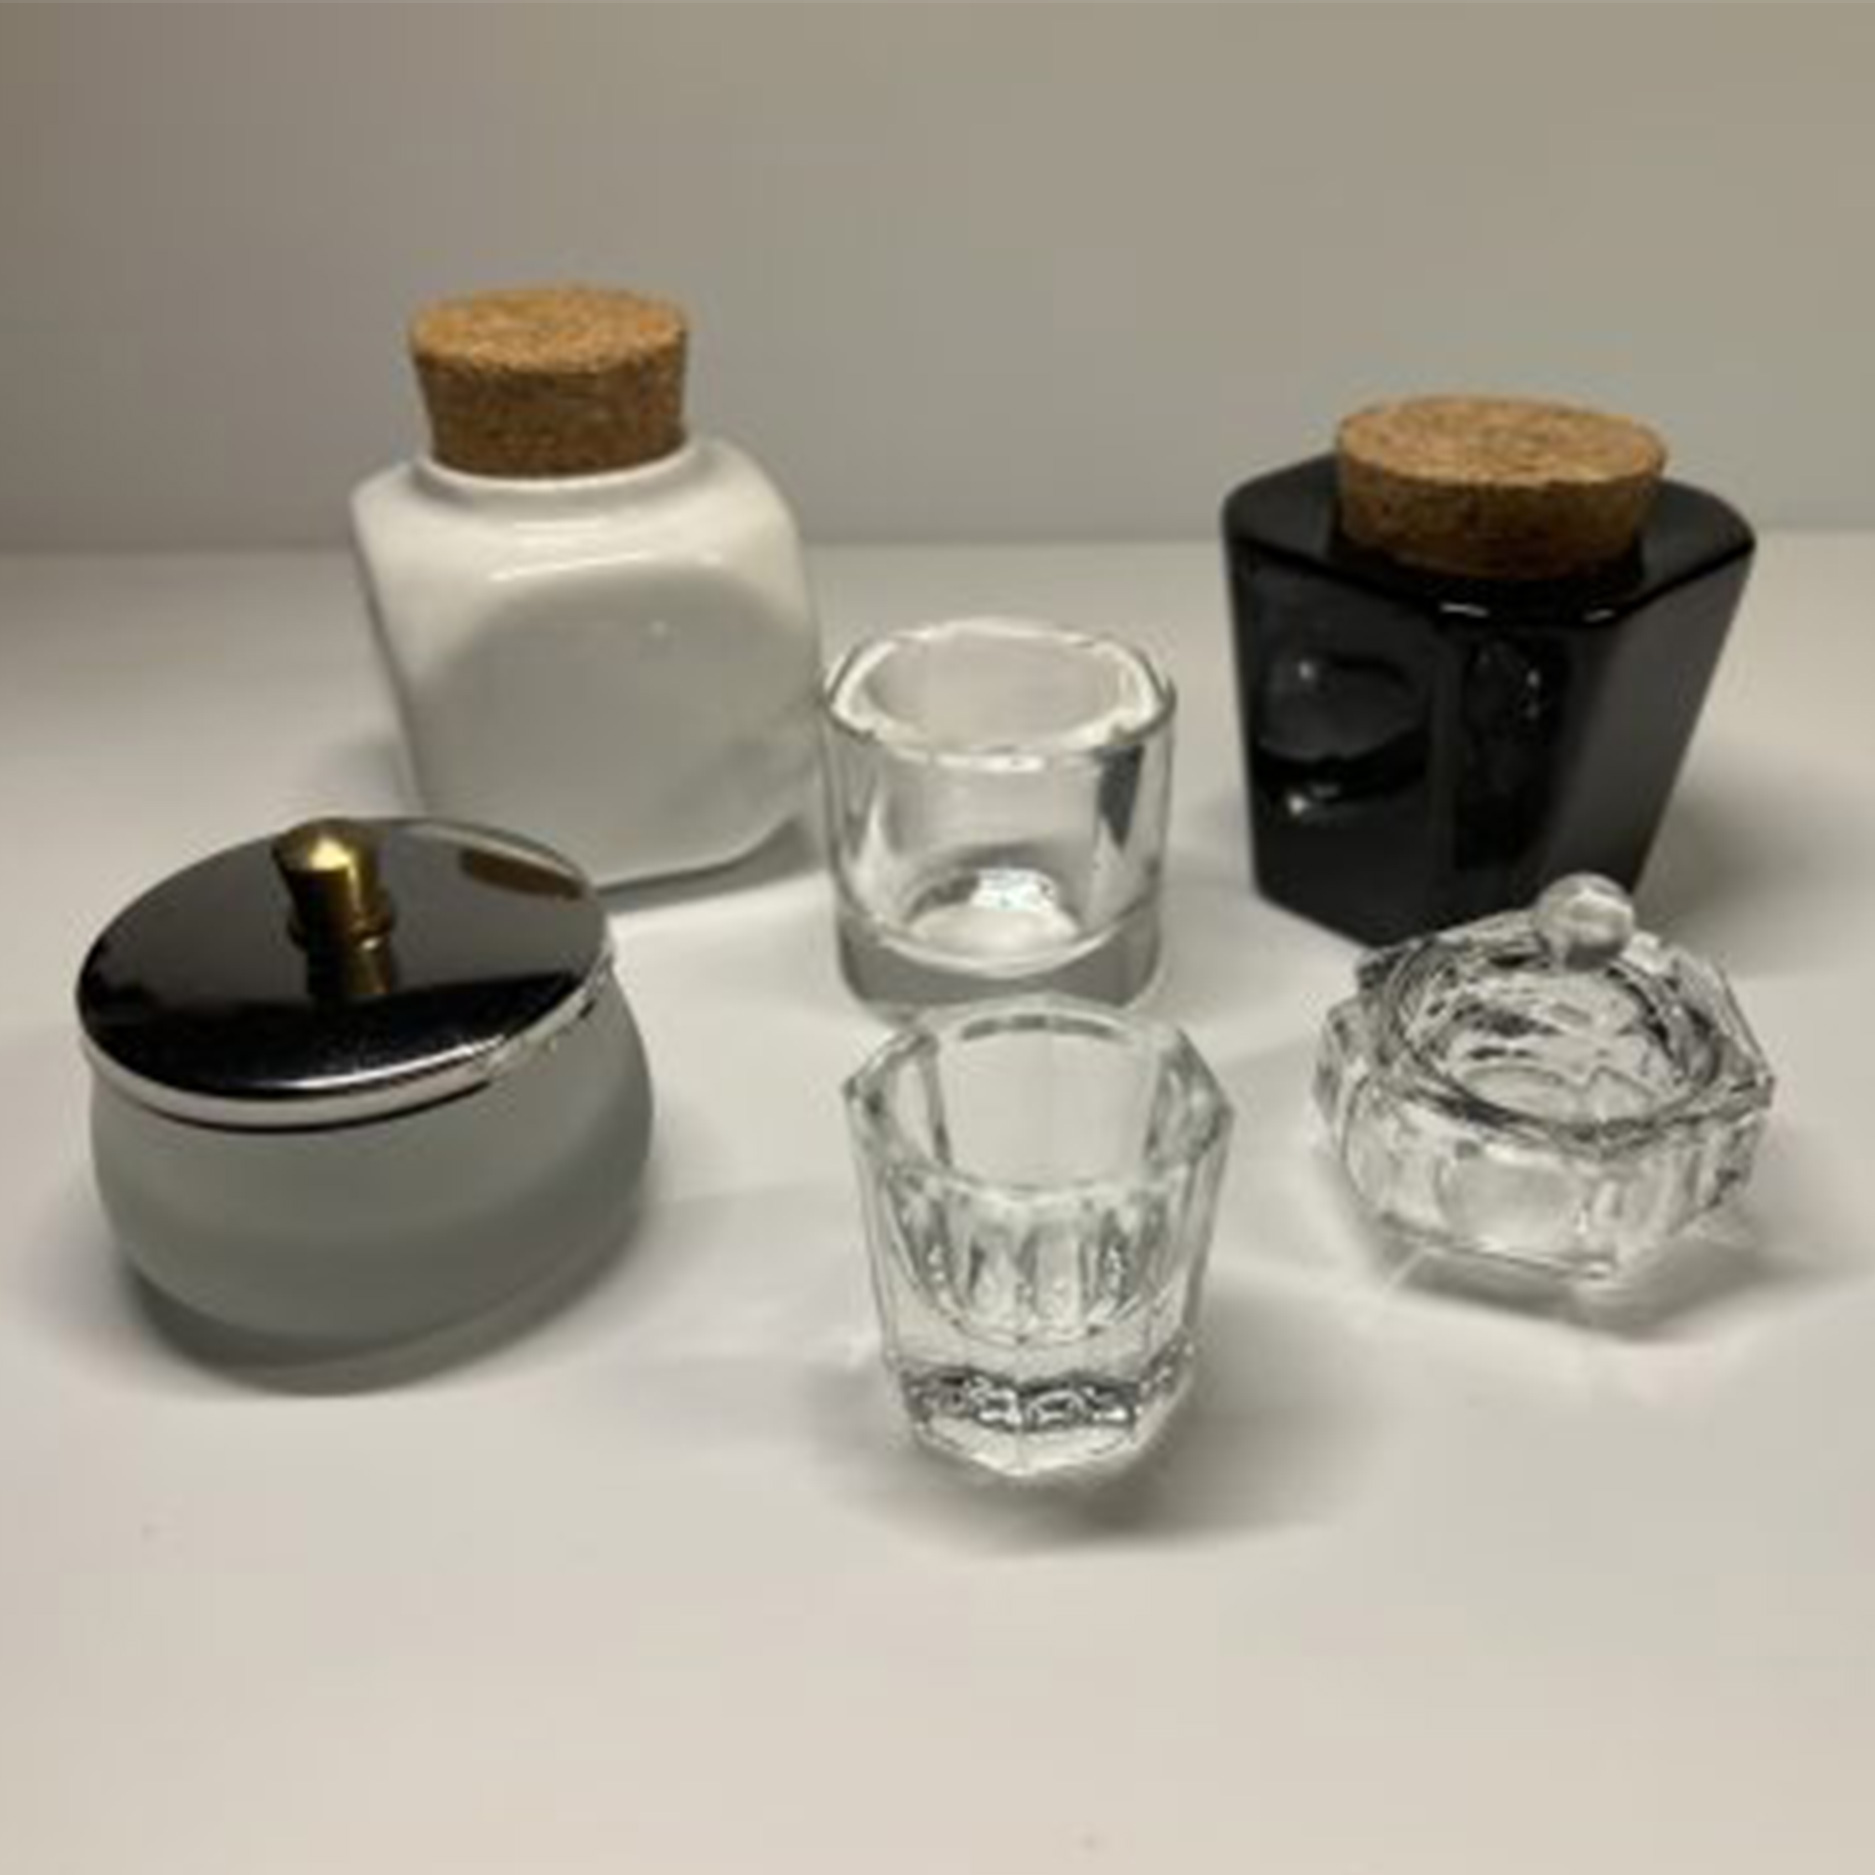
- Dappen Dish
- Lint-free Wipes
- Artistic Nail Surface Cleanser
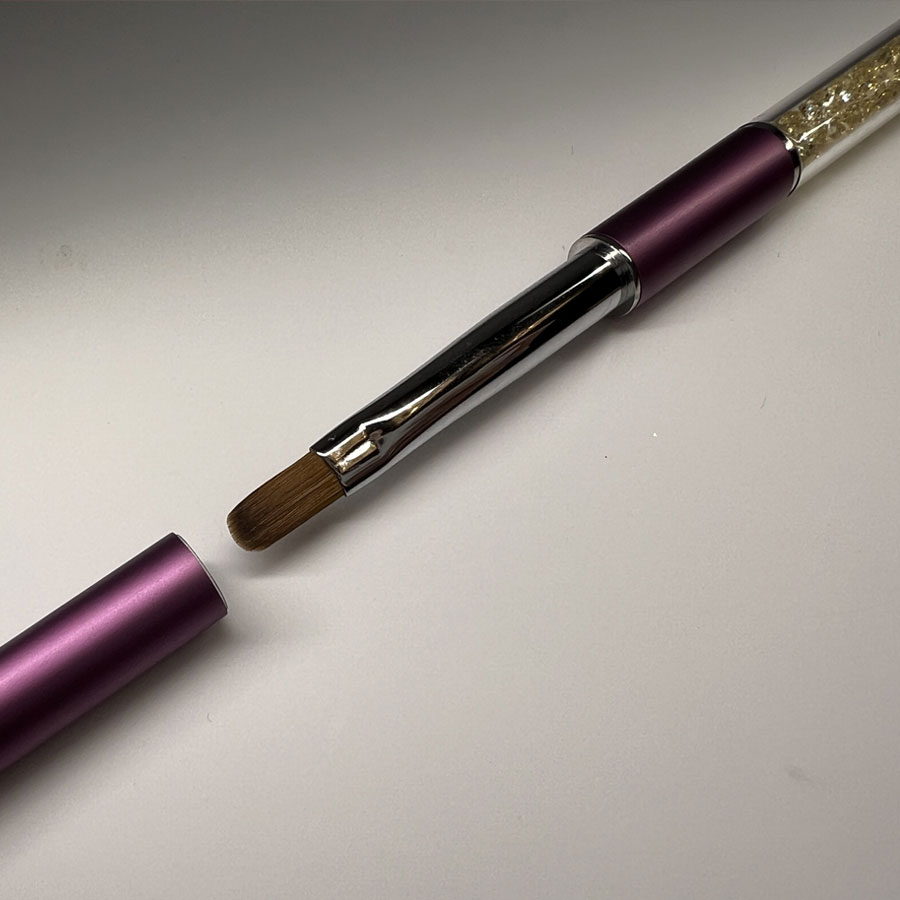
- Acrylic Brush
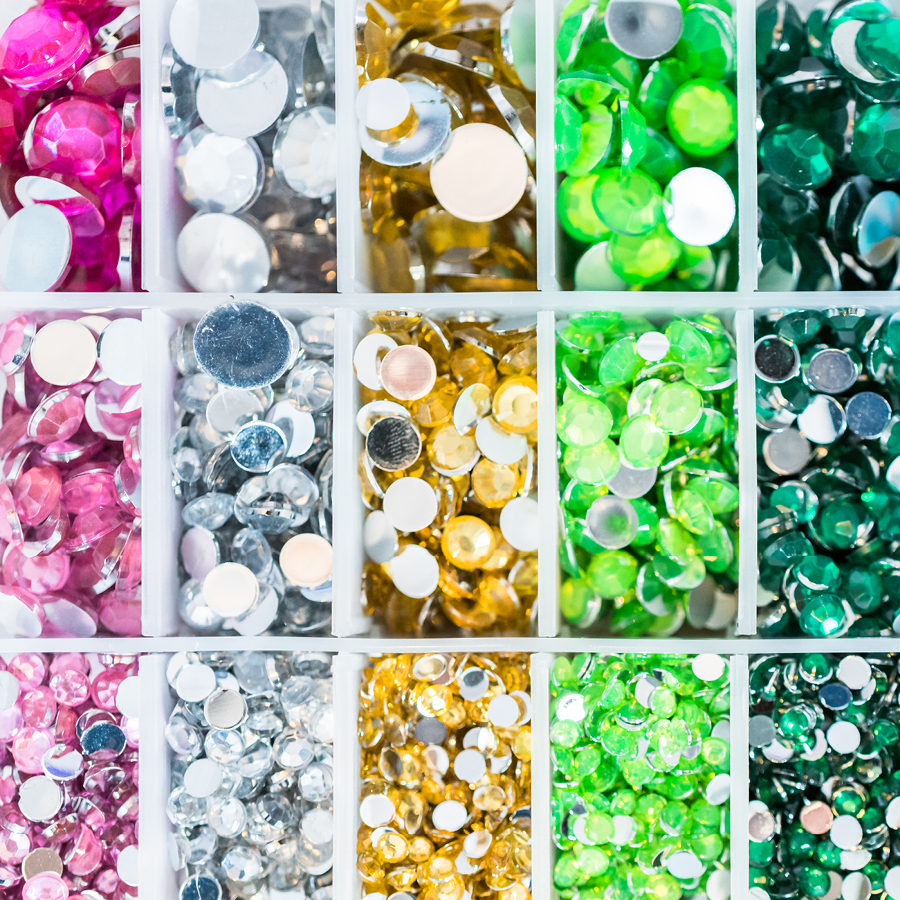
- Crystals
- Revive Cuticle oil
 DOWNLOAD WORKBOOK
STEPS
After proper nail prep, apply a thin coat of Bonding Gel, cure in UV/LED lamp for 5-seconds.
Apply It’s Going Gown. Cure for 30-seconds in UV/LED lamp. Repeat for second coat.
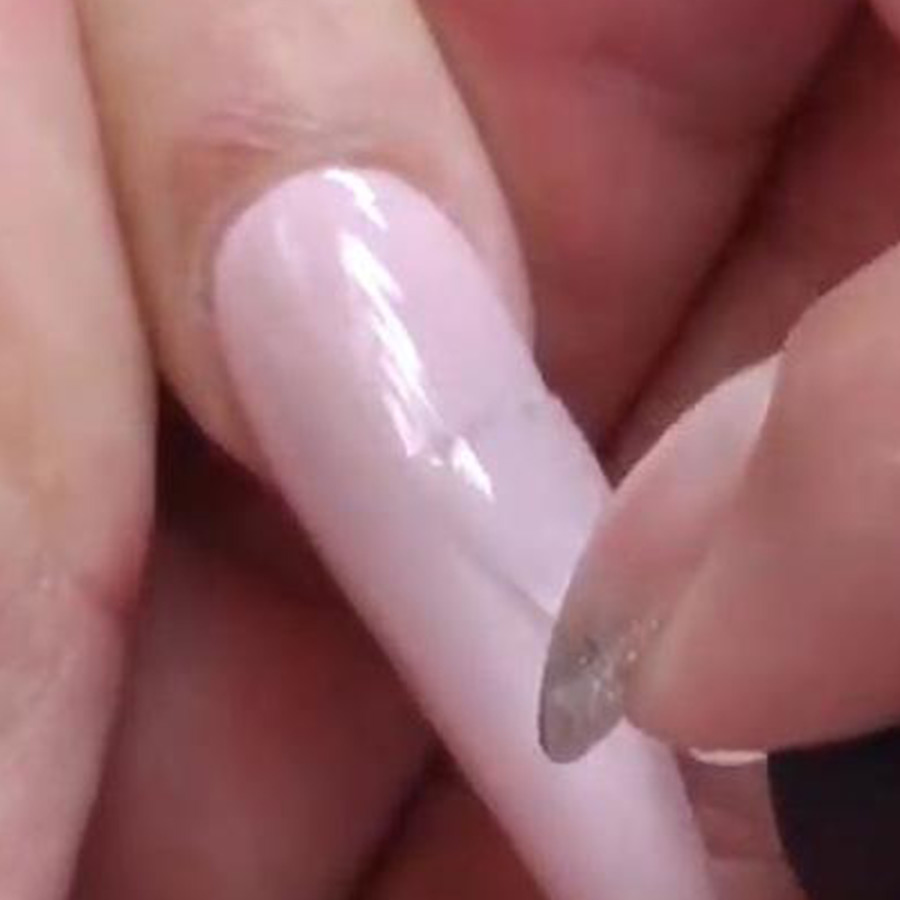
Apply Glossing Gel. Cure for 30-seconds in UV/LED lamp. Cleanse the nail using a lint-free wipe & nail surface cleanser.
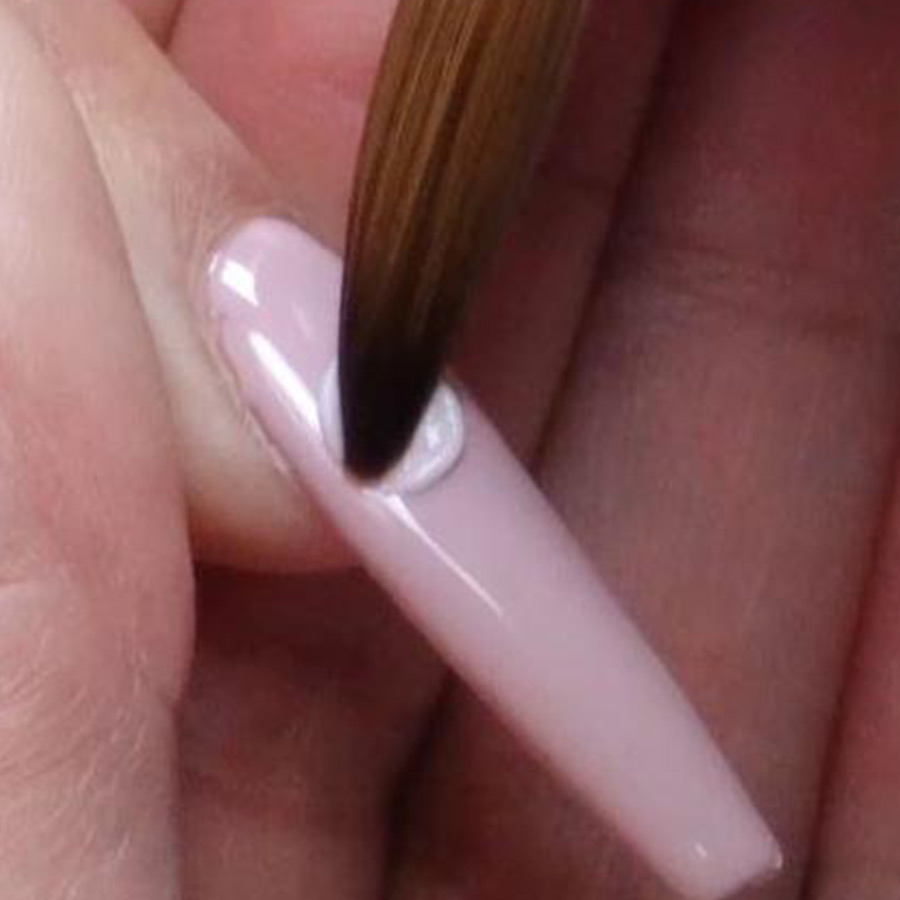
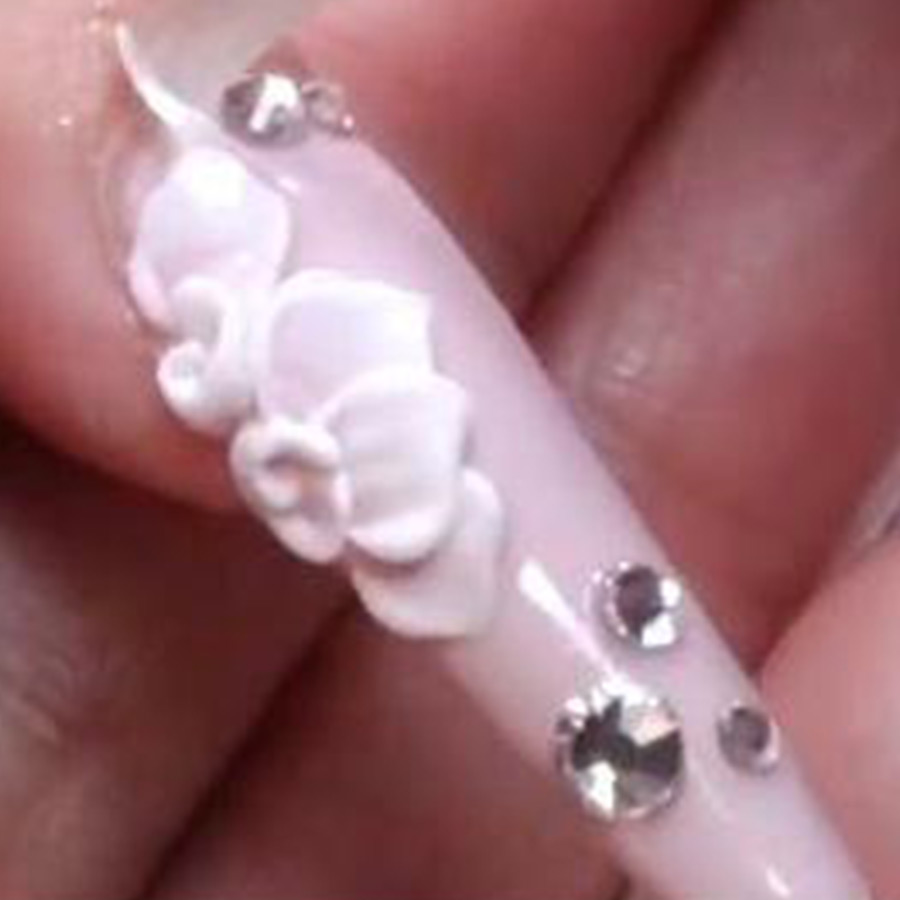
Place a bead of VIP Artistic White on nail. Point the tip of the brush towards the center of the flower & lean brush back to open up the petal. Repeat to create an additional outer & inner petal.
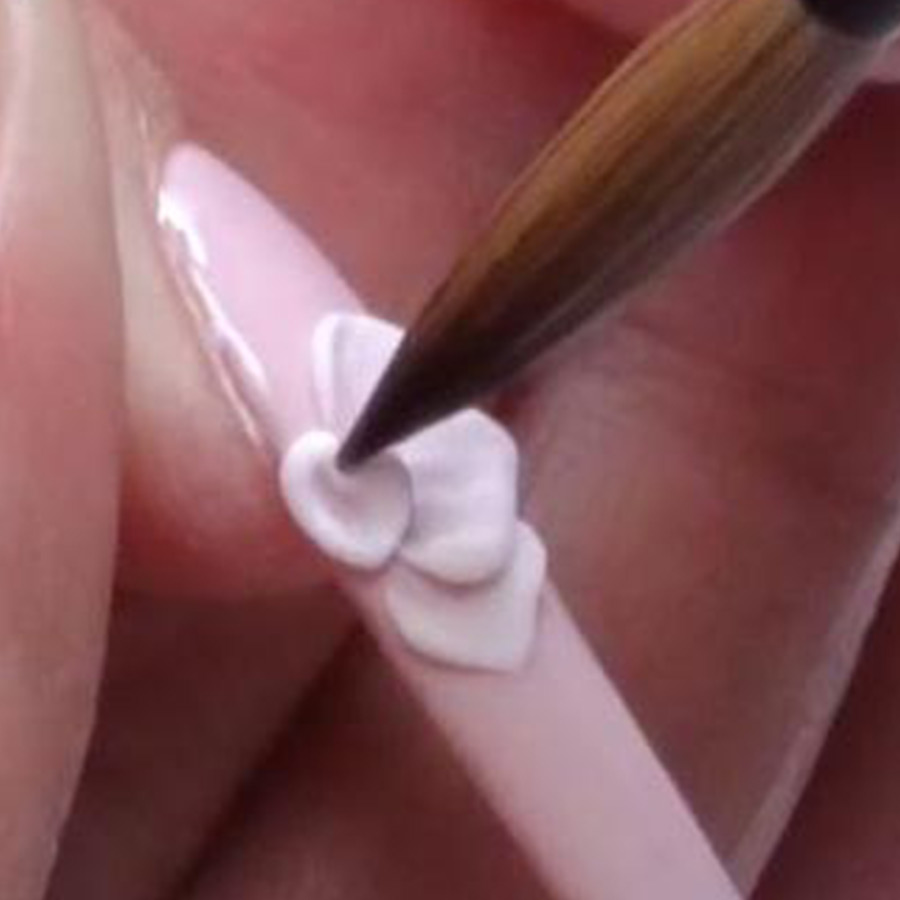
Place a bead at the center of the petals & use the tip of the brush to poke a hole into the middle. Move in a circular motion to create a swirled center. Repeat to create another petal & swirled center.
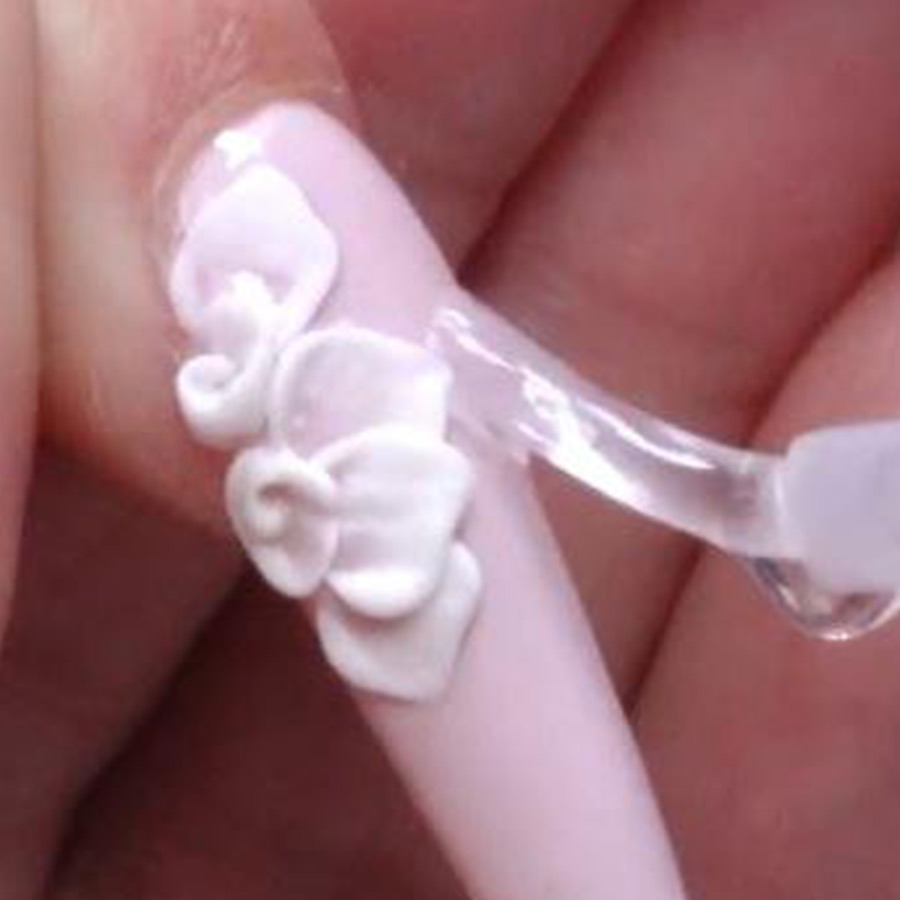
Apply Glossing Gel around flowers. Cure for 30-seconds.
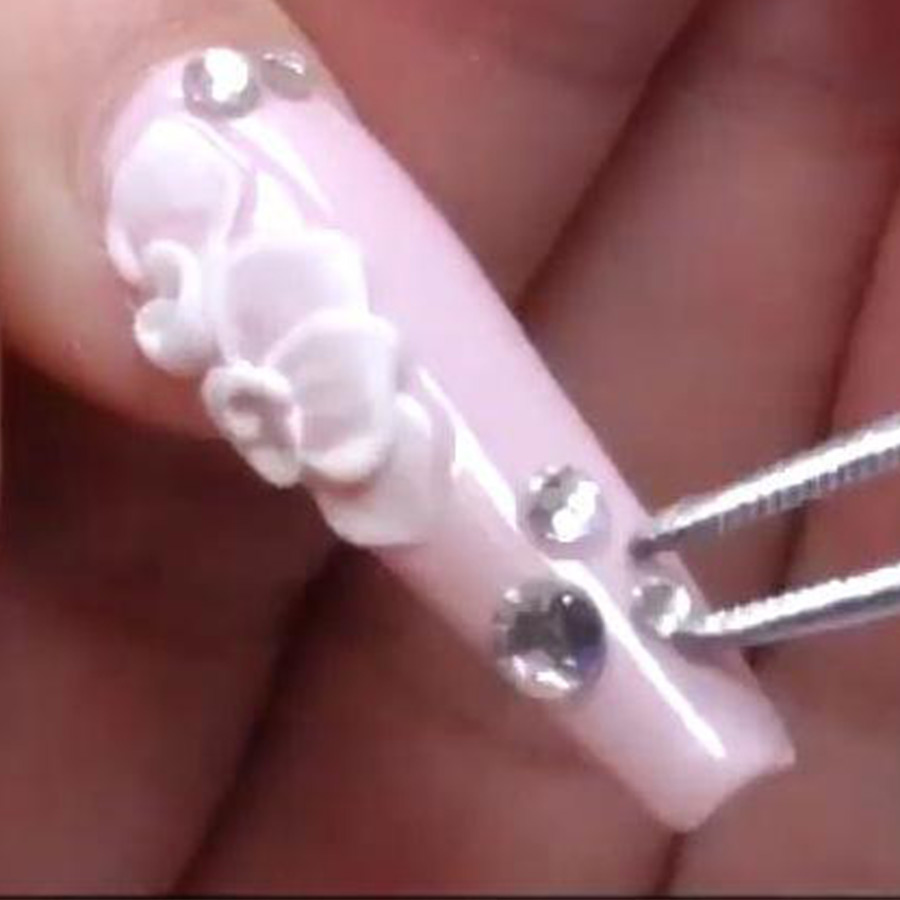
Apply Bonding Gel where you will set crystals. Place crystals in wet Bonding Gel, then cure for 30-seconds.

Cleanse the nail using a lint-free wipe & nail surface cleanser.
Finish with Revive Cuticle Oil.

MORE TAG THAT TREND
RELATED VIDEOS
MORE TO EXPLORE
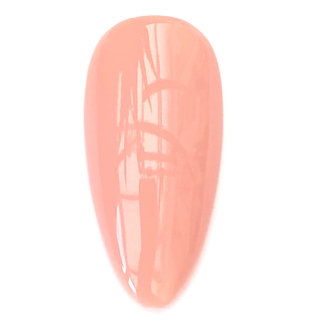
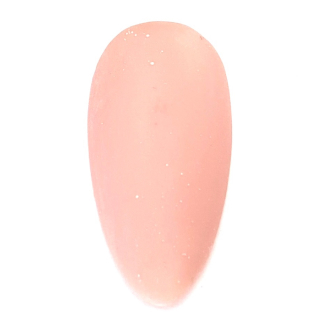
Prep the natural nail using a 180-grit file, remove dust. Apply “Prep It!”, then two thin coats of Flex It! “Cover Peach”, curing each coat for 60-seconds.
Prep Apply a thin, even coat of HD Pro “Matt It!” Cure for 60-seconds.
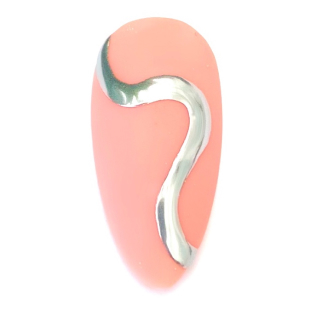
Use the HD Pro Long liner brush and HD Pro Art Gel in “Graphite” to create a wavy line. Cure for 30-seconds, then rub line with a dusting brush.
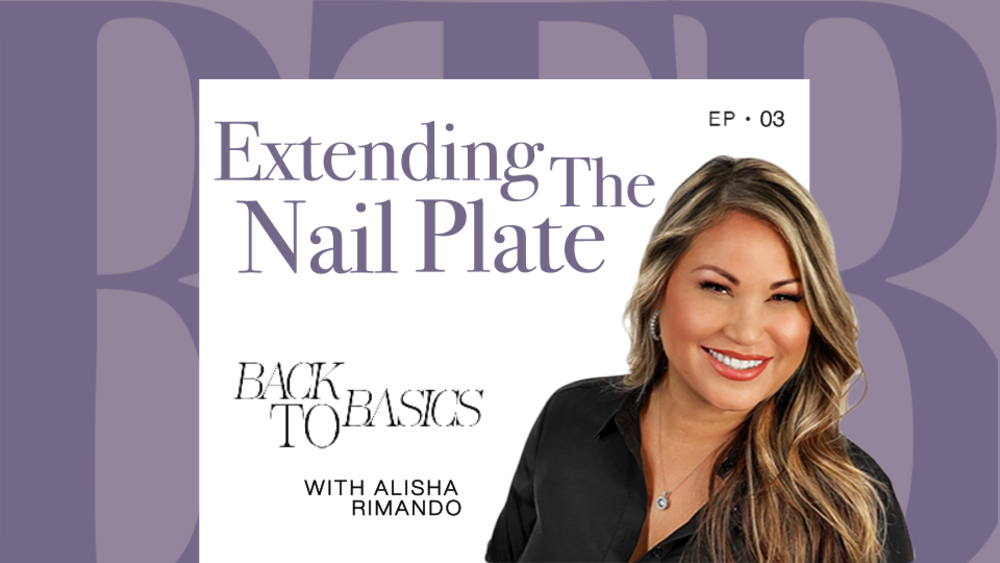
Extending The Nail Plate
![]()
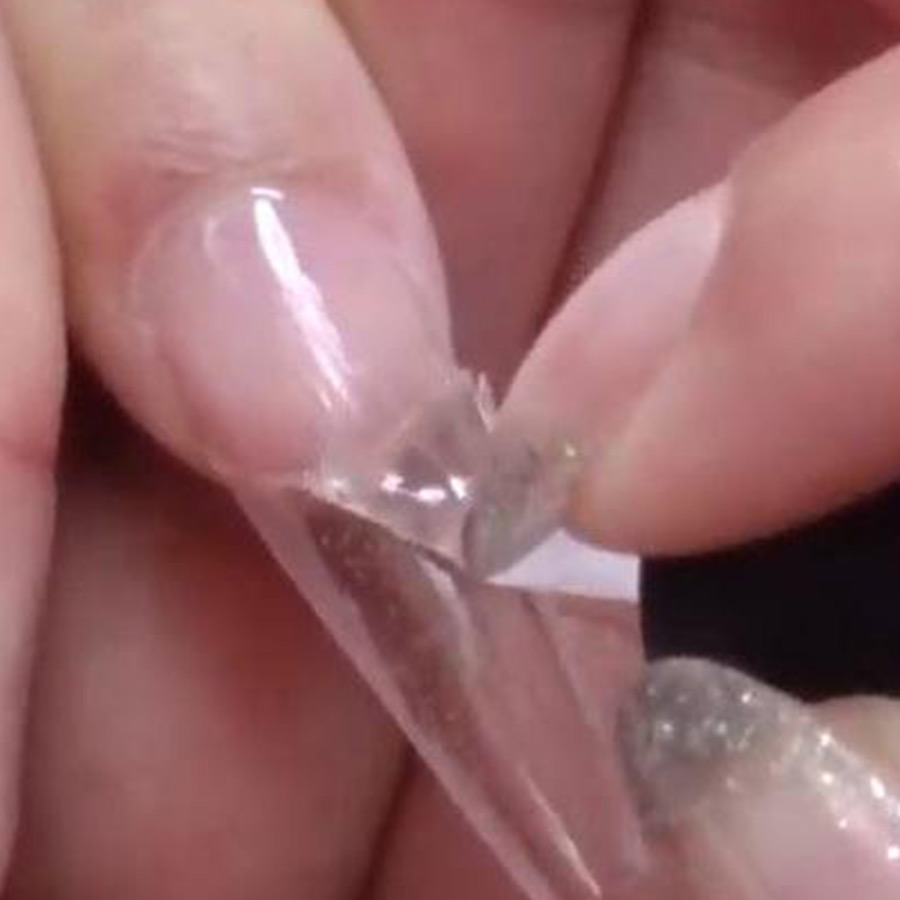
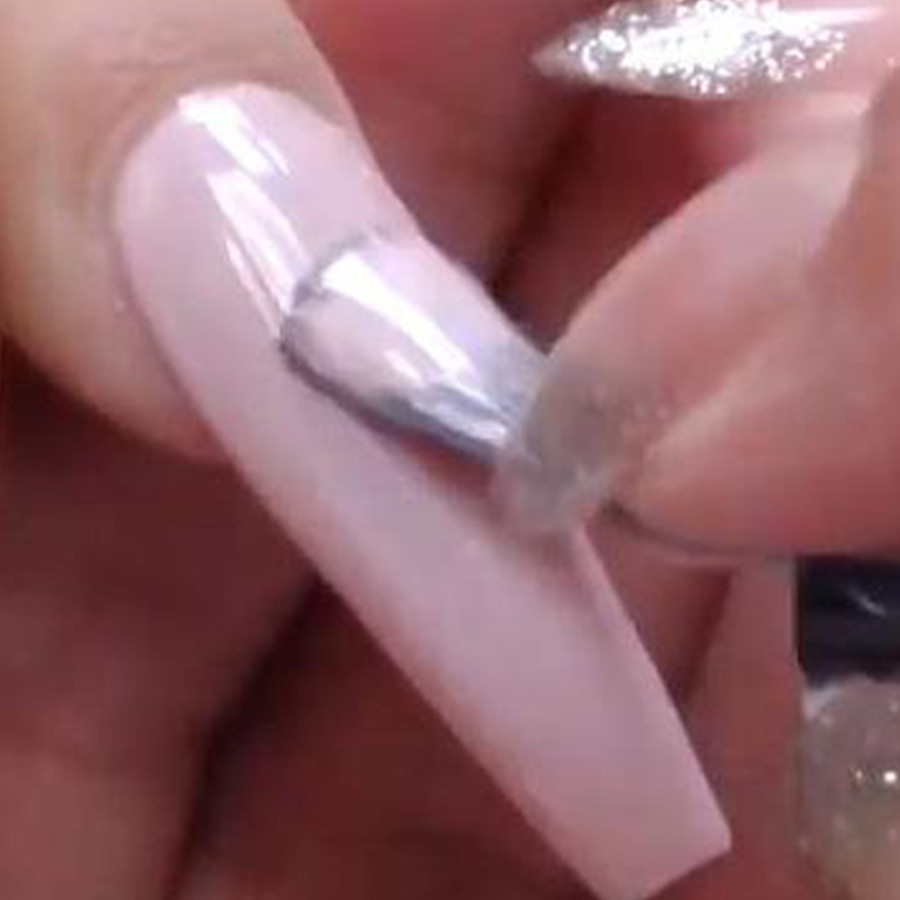
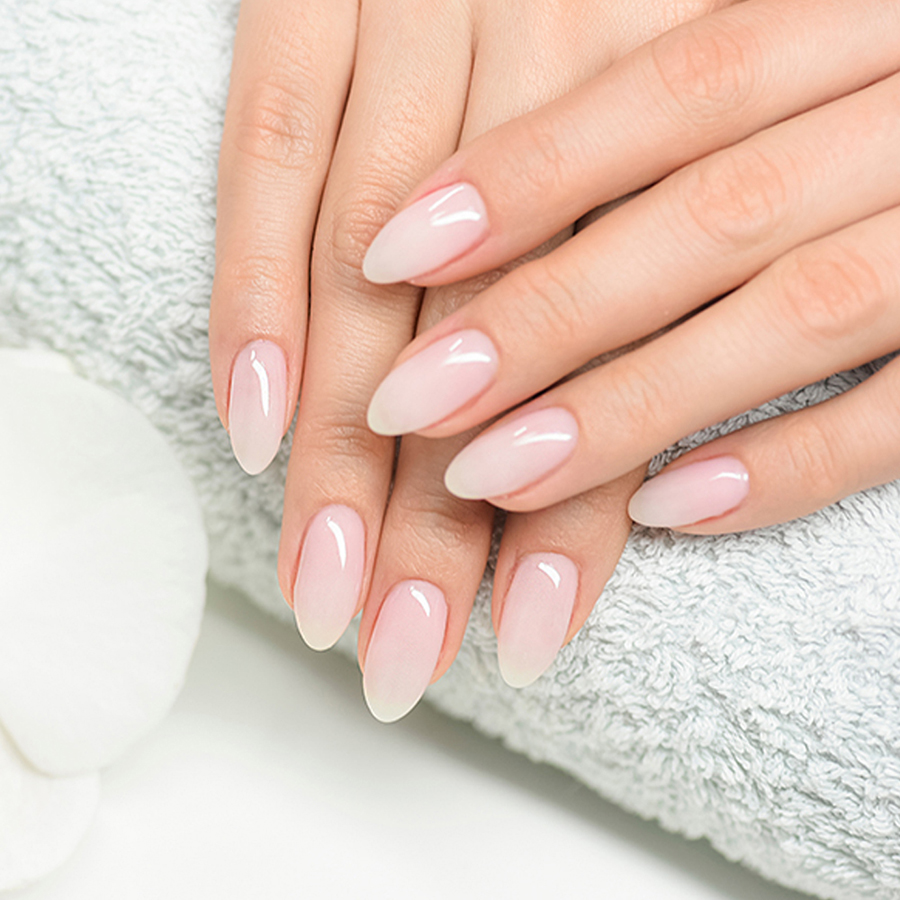
Extending The Nail Plate
Do you have clients showing you long IG nail looks with short bitten nail beds? It’s always been a challenge to match a nail look when your client’s nails are not the same size length or shape as the model in the picture. With the help of the techniques you learn from this master class, you will be able to extend any nail plate to provide the perfect base for any nail look. The best part is with techniques from Alisha Rimando, the nail bed will look sheer and natural.

SEE MORE BACK TO BASICS
RELATED VIDEOS
MORE TO EXPLORE

FABRIC WRAP
FABRIC WRAP [FAB-rik RAP]
What it is: Made of silk, linen, fiberglass, or other types of mesh or paper used with a resin to strengthen or repair a natural nail.
How to use: Use as an overlay over natural nails or nail tips.
How to store: In a cool, dry place away from heat and light.
VIDEOS RELATED TO THIS TERM
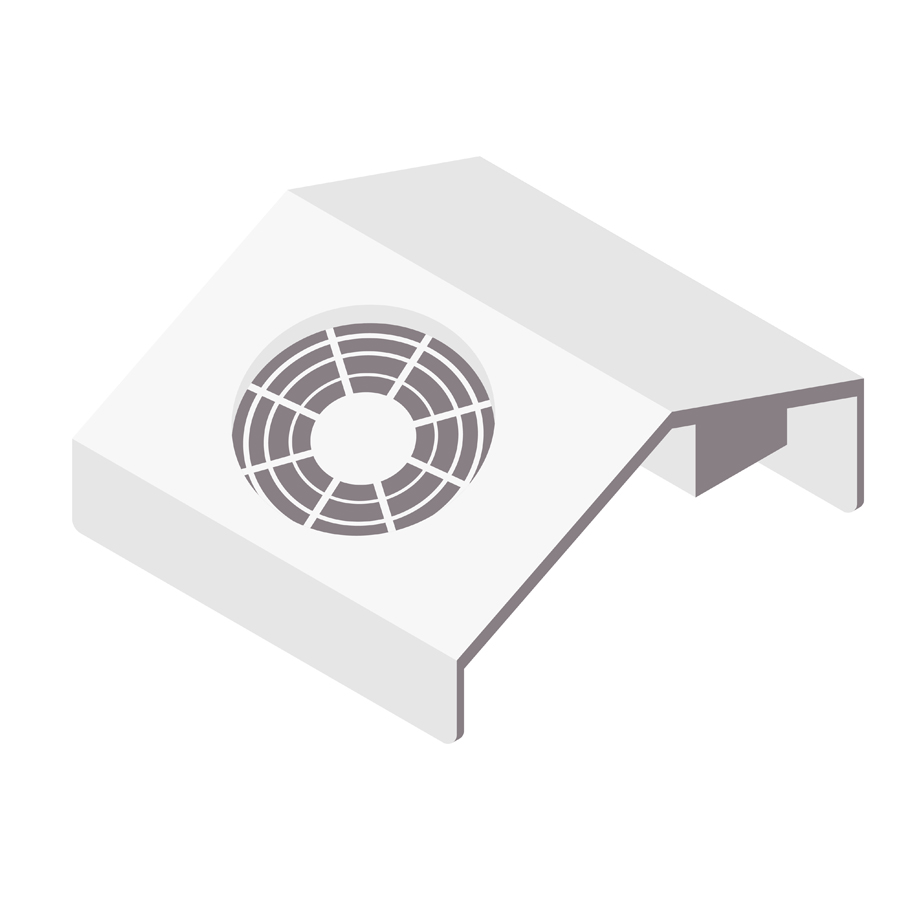
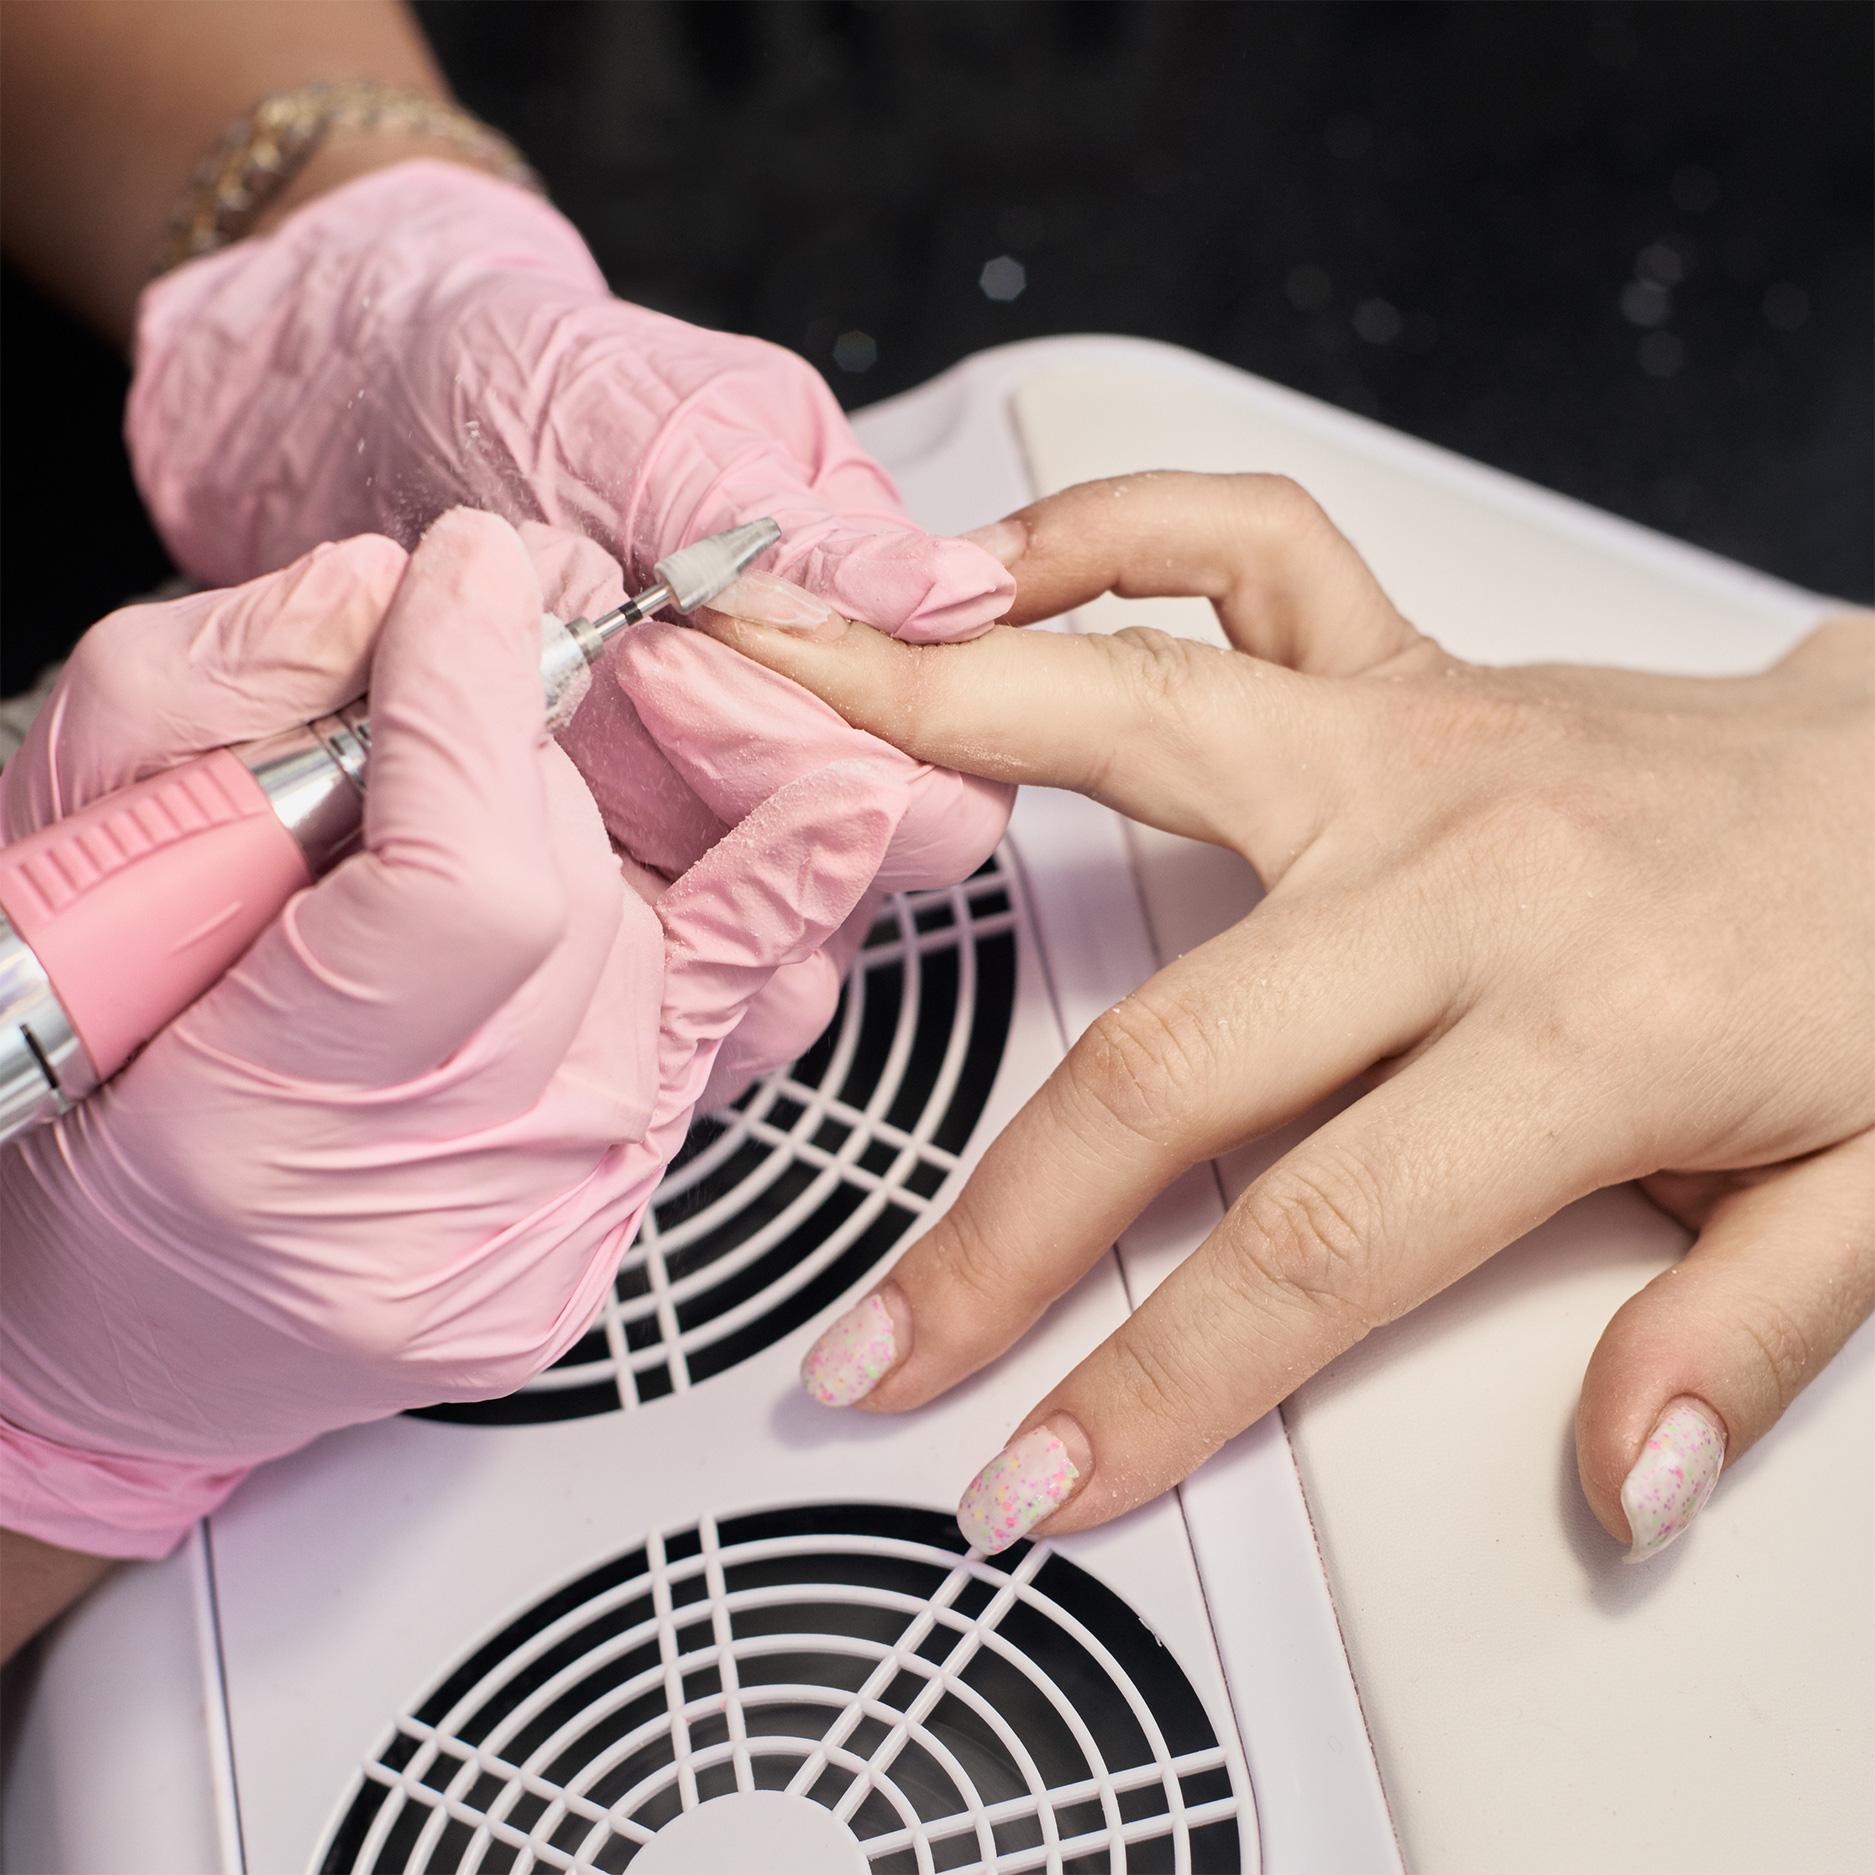
DUST VACUUM
DUST VACUUM [duhst vak-yuhm]
What it is: A specialized machine with a fan, filter and motor that uses suction to capture nail dust during a service to reduce airborne particles.
How to use it: Used during the filing of artificial nails to remove airborne particles.
How to clean it: Clean filter regularly according to manufacturer’s instructions.
How to store it: Power off and store in a safe place.
VIDEOS RELATED TO THIS TERM
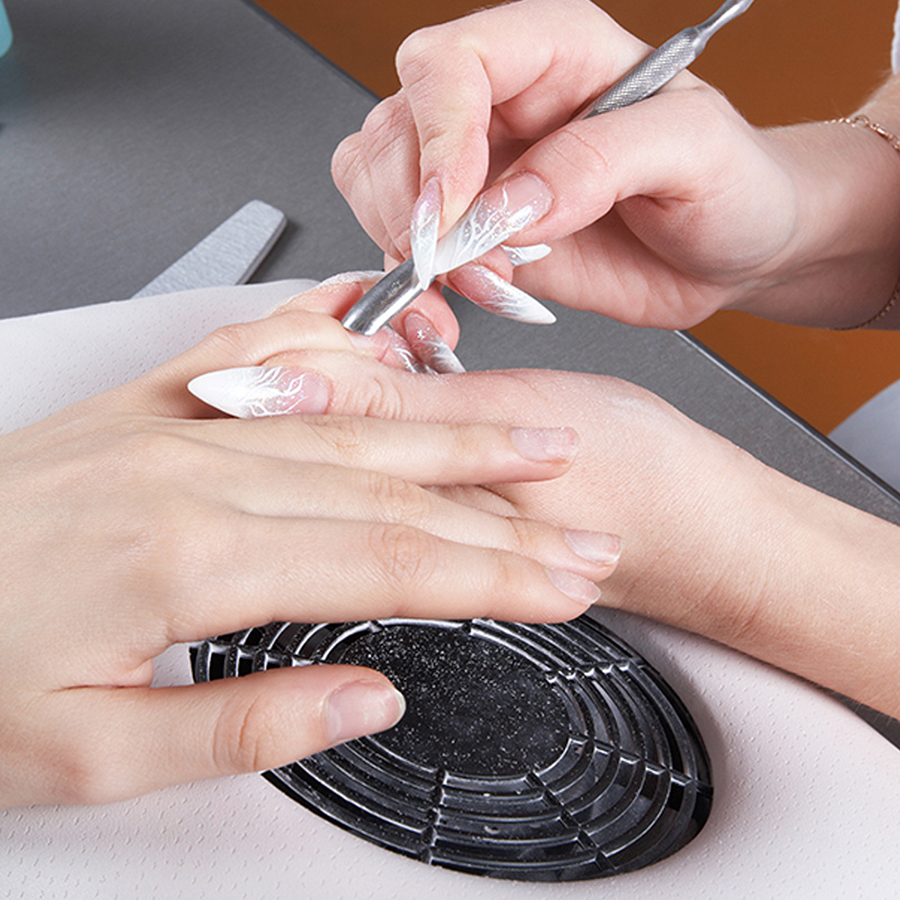
DUST EXTRACTION
DUST EXTRACTION [duhst-ik-strak-shuhn]
What it is: A specialized machine with a fan, filter and motor that uses suction to capture nail dust during a service to reduce airborne particles.
How to use it: Used during the filing of artificial nails to remove airborne particles.
How to clean it: Clean filter regularly according to manufacturer’s instructions.
How to store it: Power off and store in a safe place.
VIDEOS RELATED TO THIS TERM
DUST COLLECTOR
DUST COLLECTOR [duhst kuh-lek-ter]
What it is: A specialized machine with a fan, filter and motor that uses suction to capture nail dust during a service to reduce airborne particles.
How to use it: Used during the filing of artificial nails to remove airborne particles.
How to clean it: Clean filter regularly according to manufacturer’s instructions.
How to store it: Power off and store in a safe place.
VIDEOS RELATED TO THIS TERM
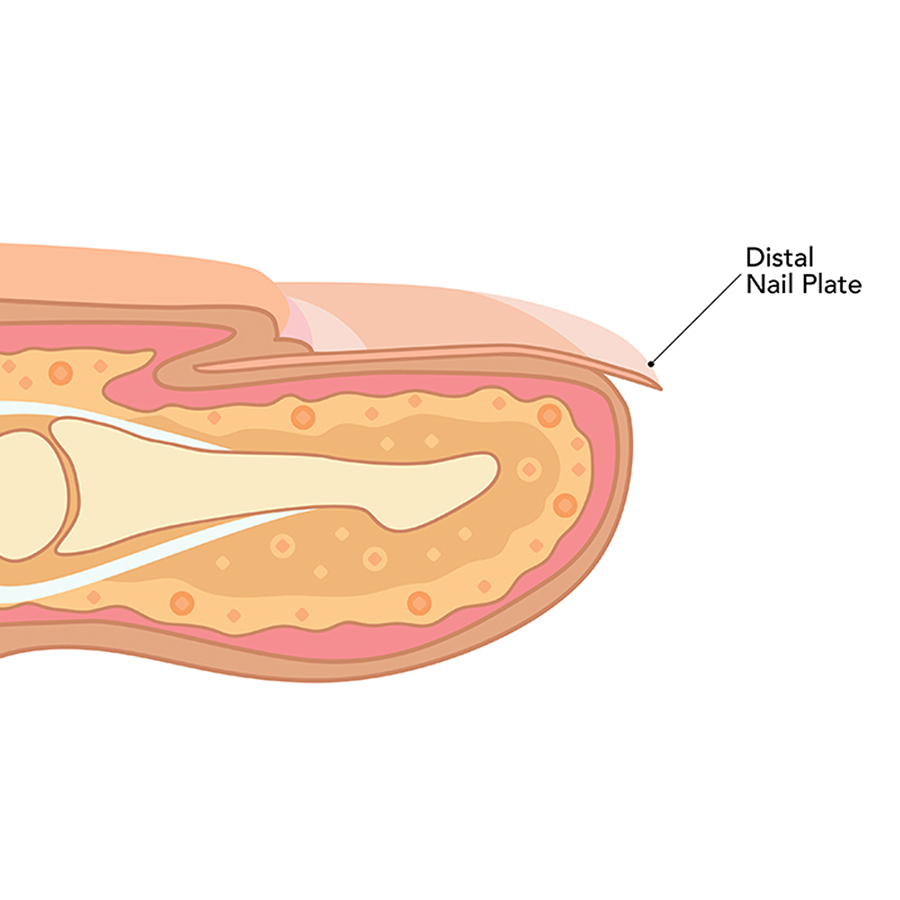
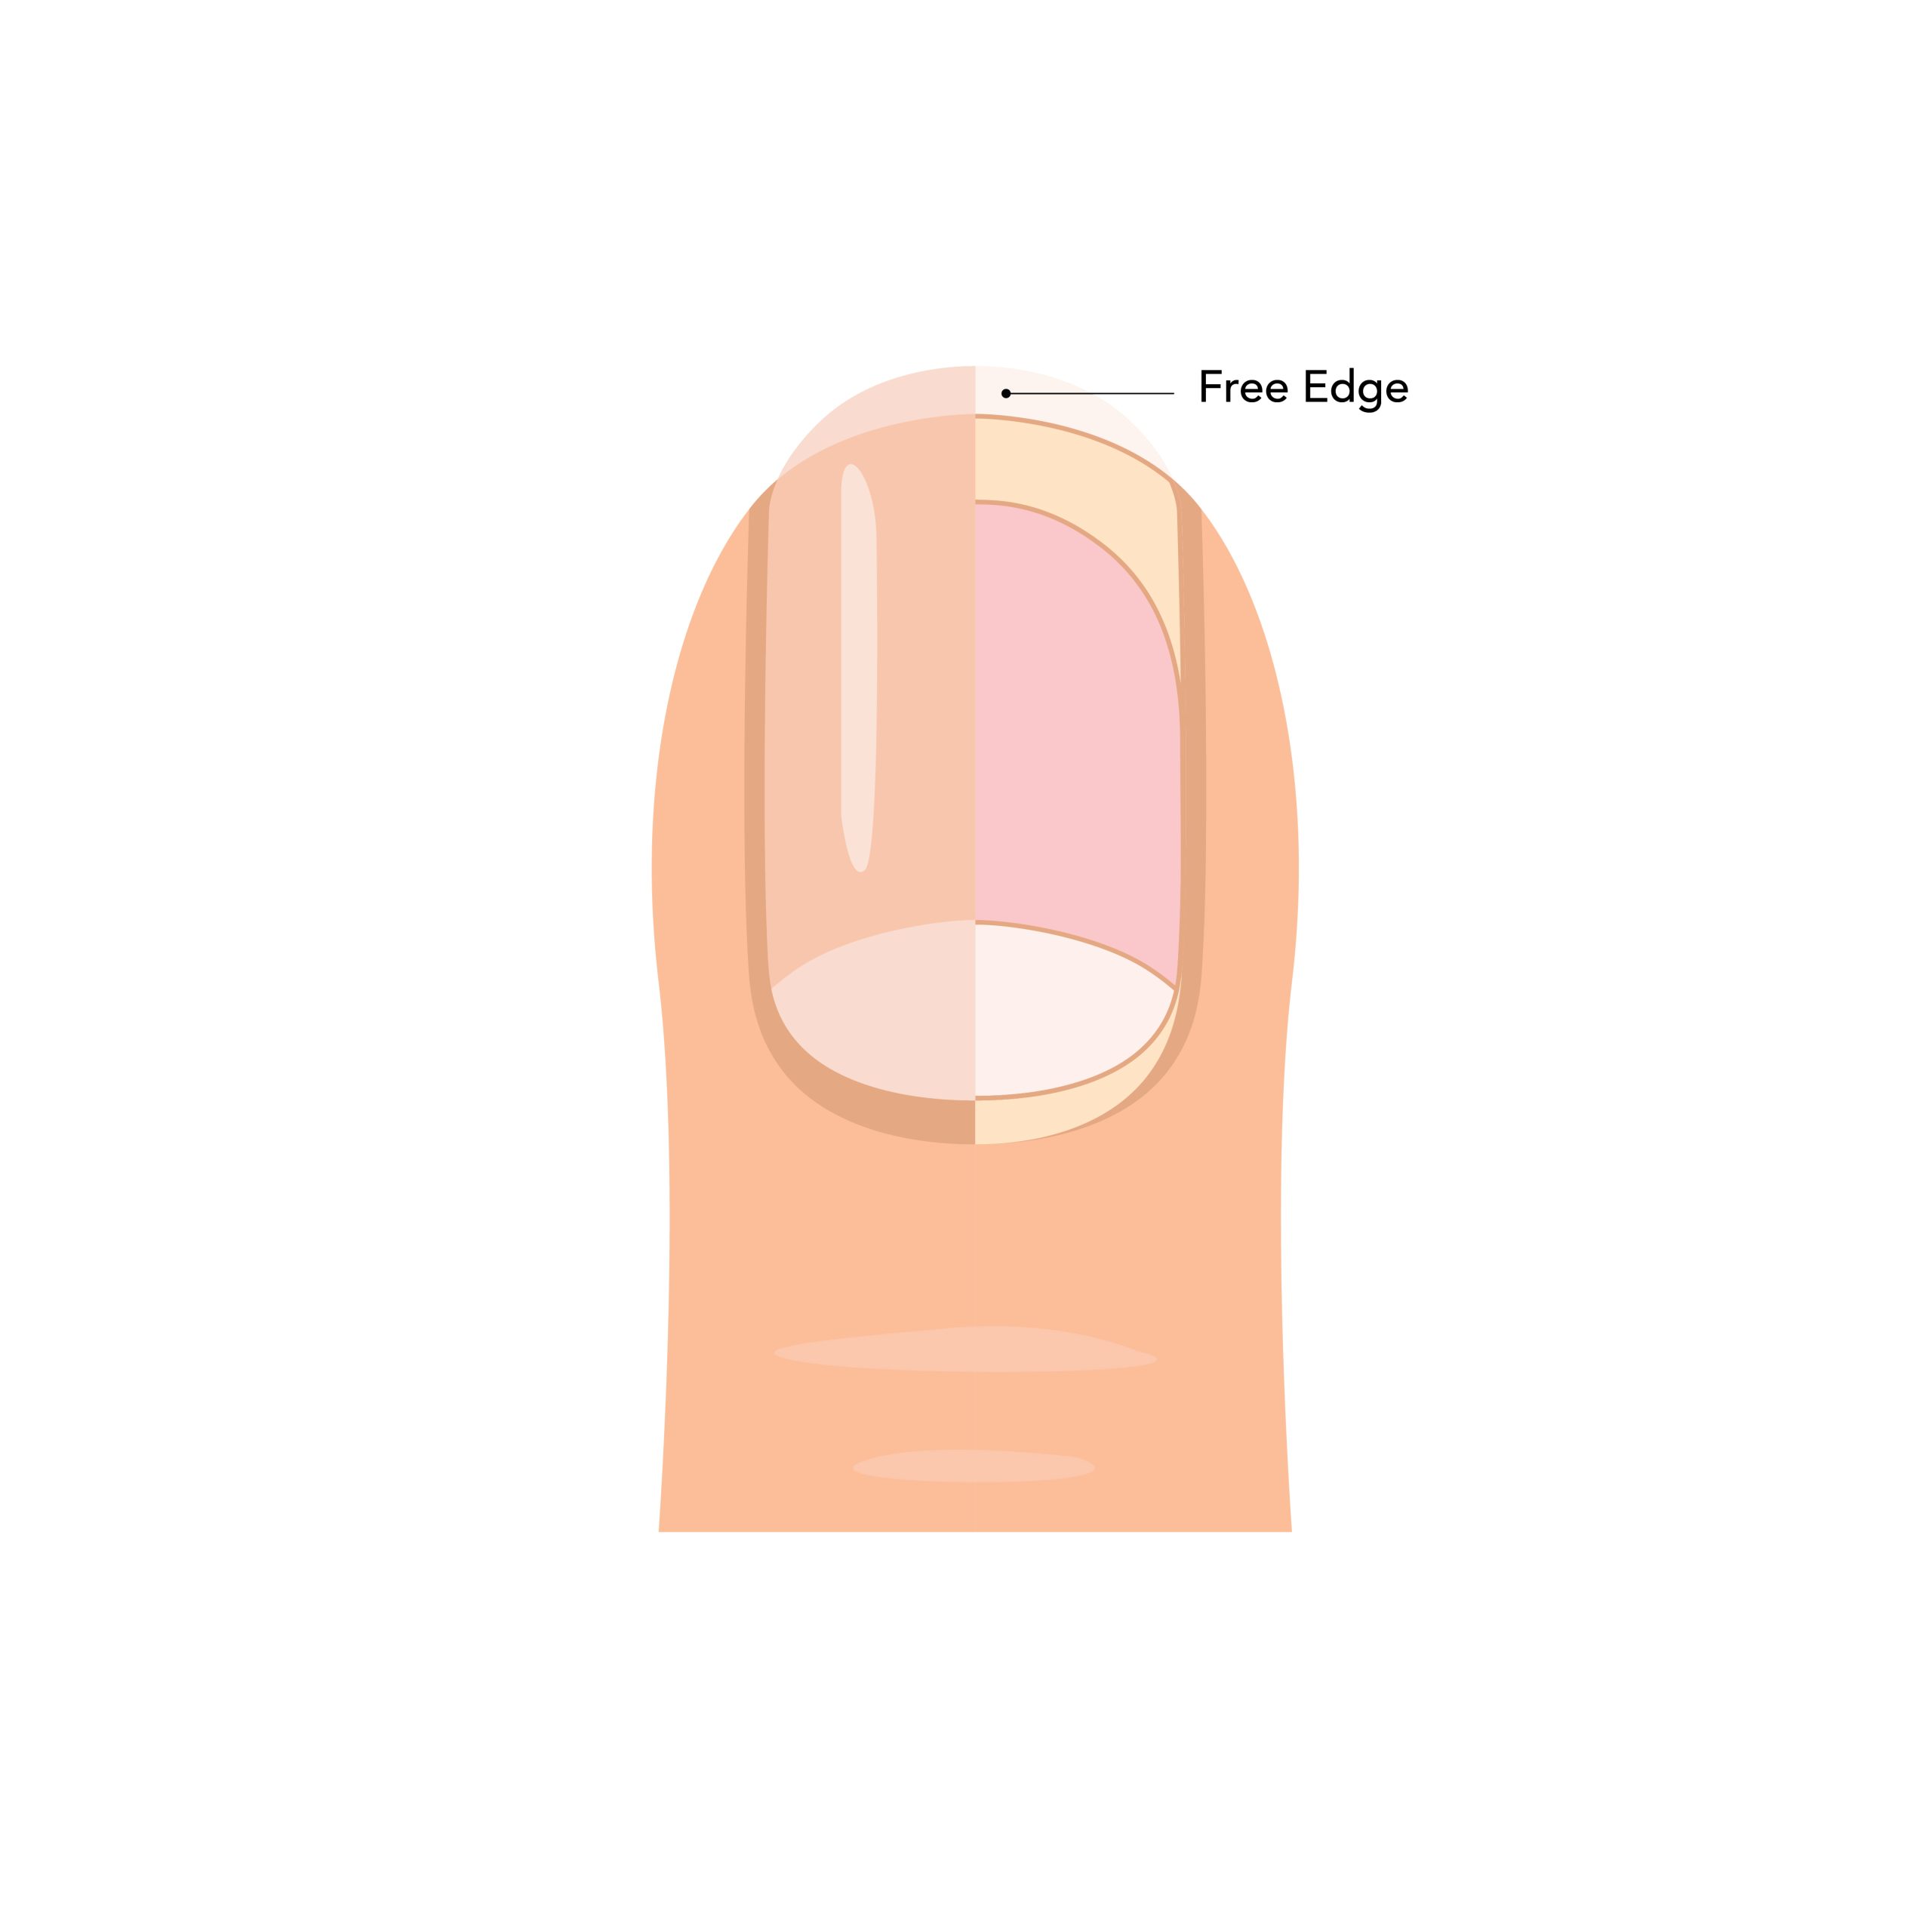
DISTAL NAIL PLATE
DISTAL NAIL PLATE [dis-tl-neyl-pleyt]
What it is: The part of the nail plate that grows beyond the end of the fingertip.
VIDEOS RELATED TO THIS TERM
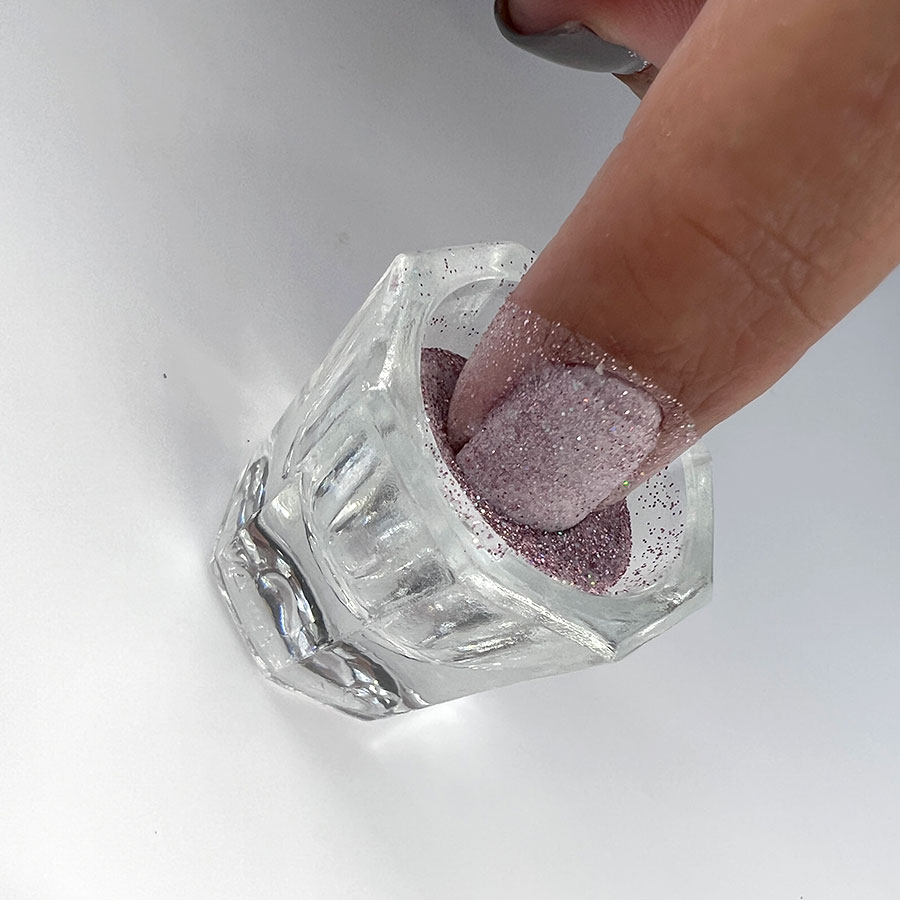
DIP NAILS
DIP NAILS [DIP-neyls]
What it is: A nail enhancement overlay made from a dip powder system.
How to use it: A time-saving service often chosen to strengthen and/or color the natural nail or nail tip extension instead of creating a traditional overlay and polish or gel polish application.
How to remove it: Soak in acetone according to manufacturer’s directions.
VIDEOS RELATED TO THIS TERM
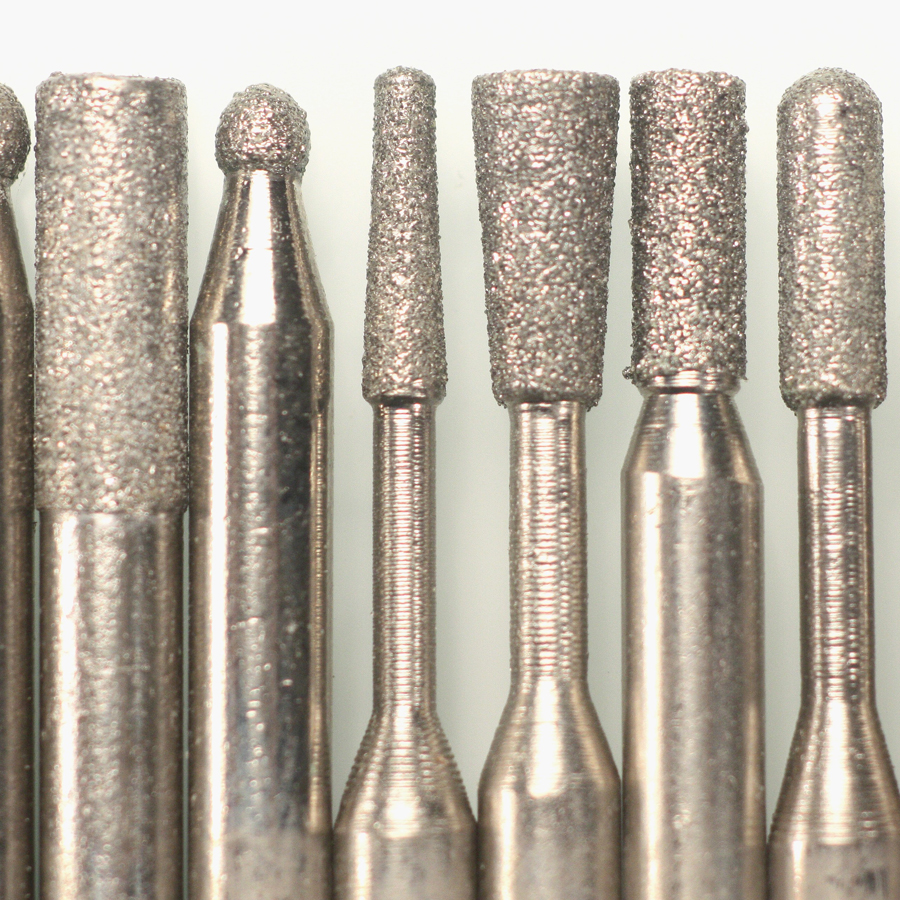
DIAMOND E-FILE BITS
DIAMOND E-FILE BITS [dahy-muhnd, e-fahyl, bits]
What it is: An e-file bit made from natural or synthetic diamond particles/powder of various sizes depending on the grade of abrasion.
How to use it: A popular choice for shaping and smoothing nail enhancement products. Electric file education is recommended before used on clients.
How to apply it: Inserted into the chuck on a handpiece of an e-file.
How to clean it: If nail product is attached, soak in acetone. Then wash with soap and water while scrubbing with a nail brush and dry. Then immerse in disinfectant following manufacturer’s instructions.
How to store it: Store in a covered container.