NAIL FILE
Recommended Products
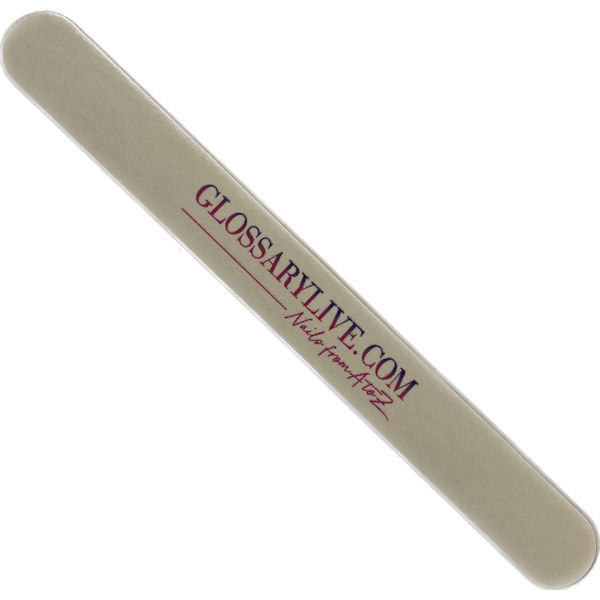
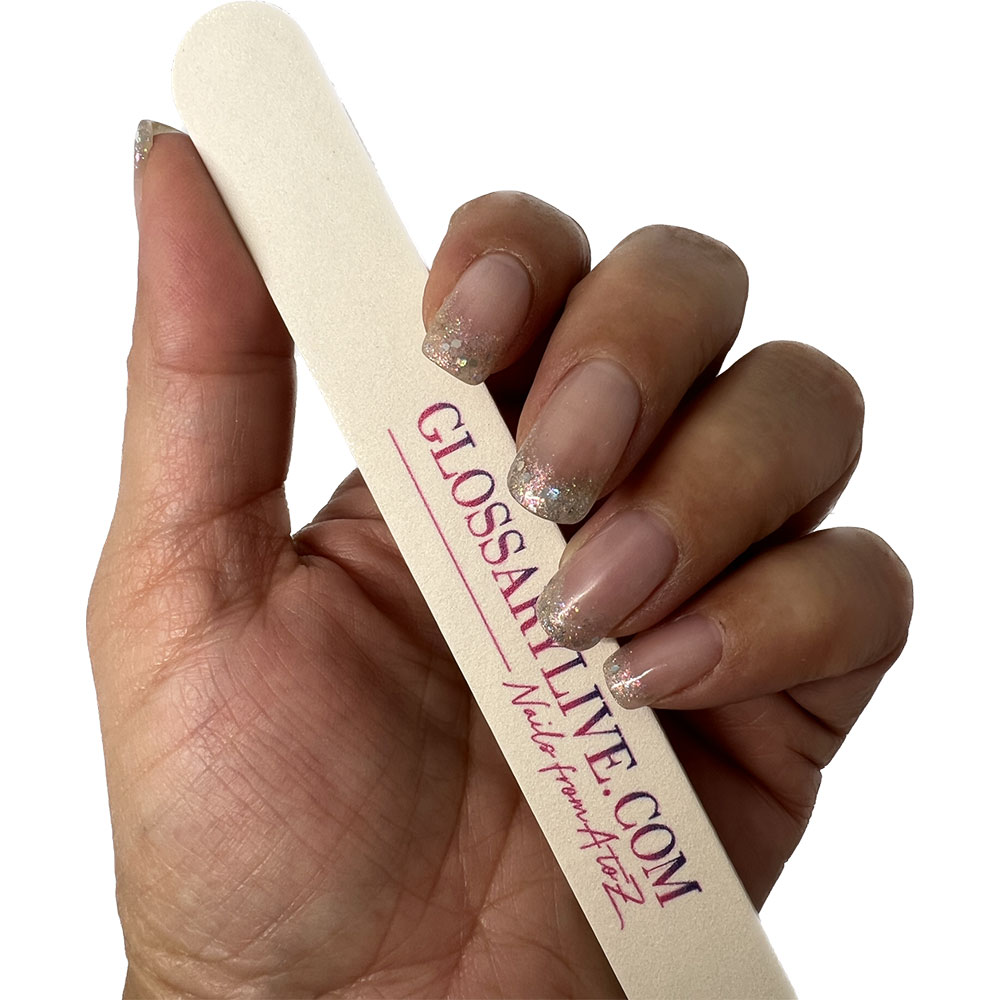
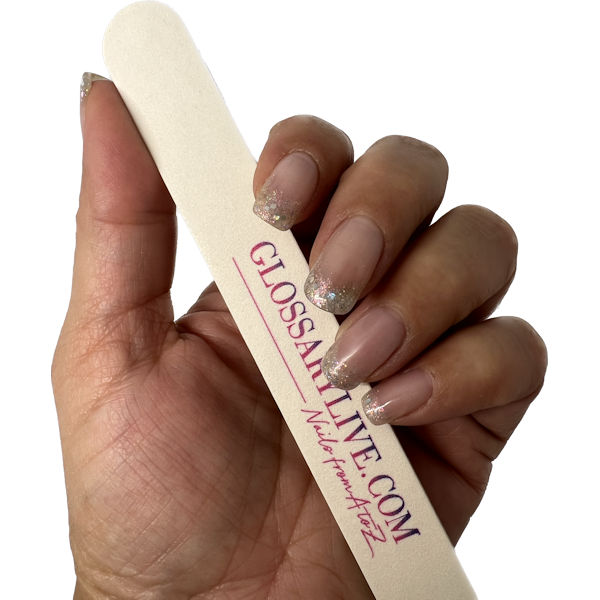
GlossaryLive.com Natural Nail File
220/180 Single or 10 pack
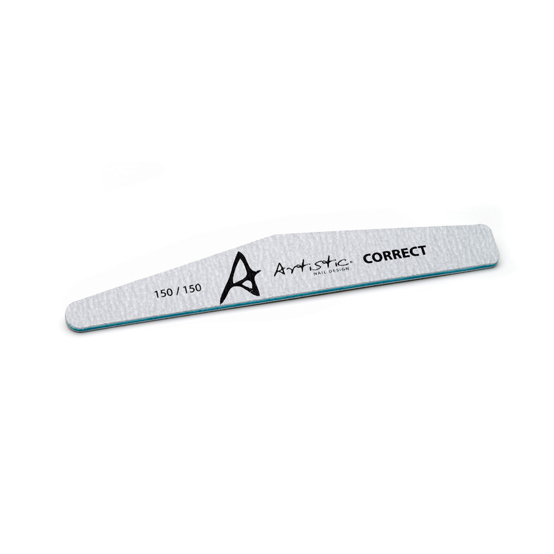
Artistic Correct File 200
150/150
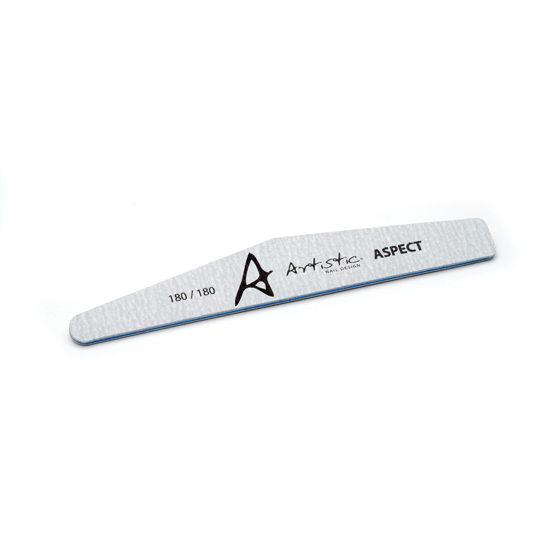
Artistic Aspect File
180/180
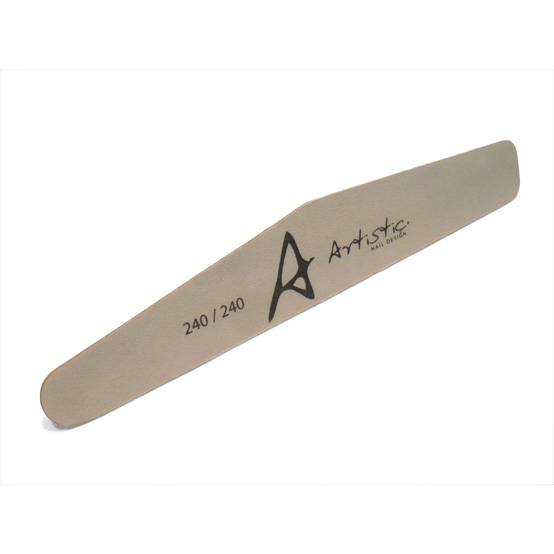
Artistic Exact Thin Wooden File
240/240
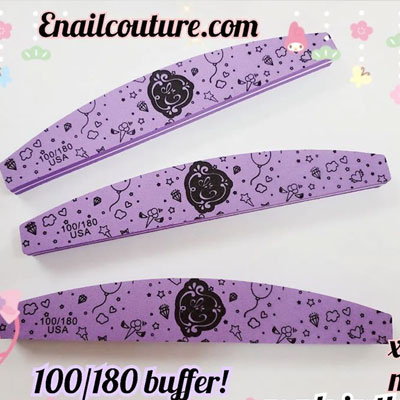
E-Nail Couture Files
Assorted Files
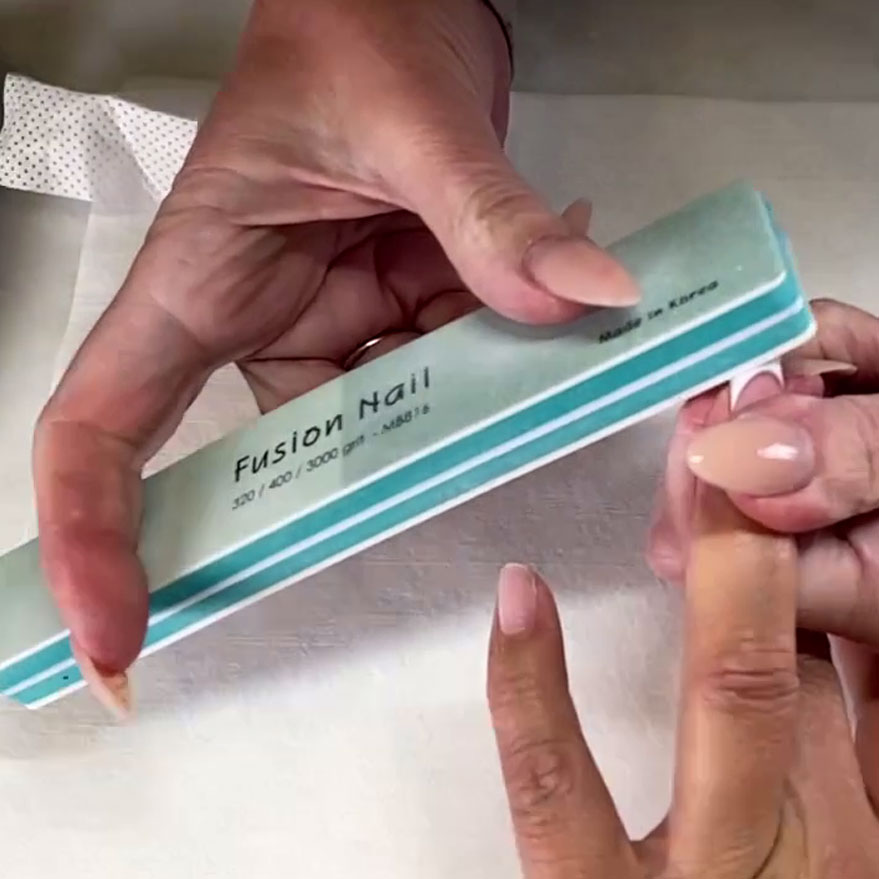
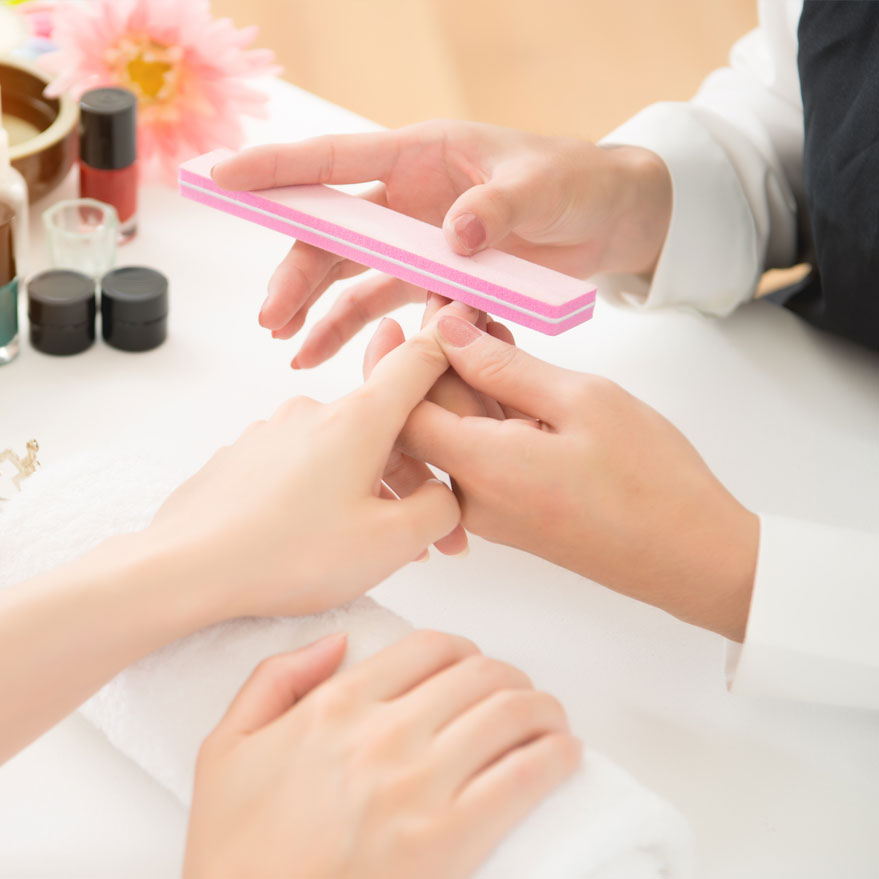
NAIL FILE [NAYL Fayl]
What it is: A term used to a identify any abrasive used on natural or artificial nails. Its abrasiveness is determined by its grit.
How to use it: Use to shorten, shape or smooth natural nails and nail enhancements.
How to store it: In a covered or sealed container.
How to disinfect: Nail files made from paper or sand cannot be disinfected and therefore can only be used on one client. Nail files made of glass, crystal, plastic or metal can be disinfected by a spray sanitizer or immersed in antiseptic. Check the manufacturer’s directions for proper sanitation techniques
VIDEOS RELATED TO THIS TERM


Put Some Bling on It
UP NEXT
![]()
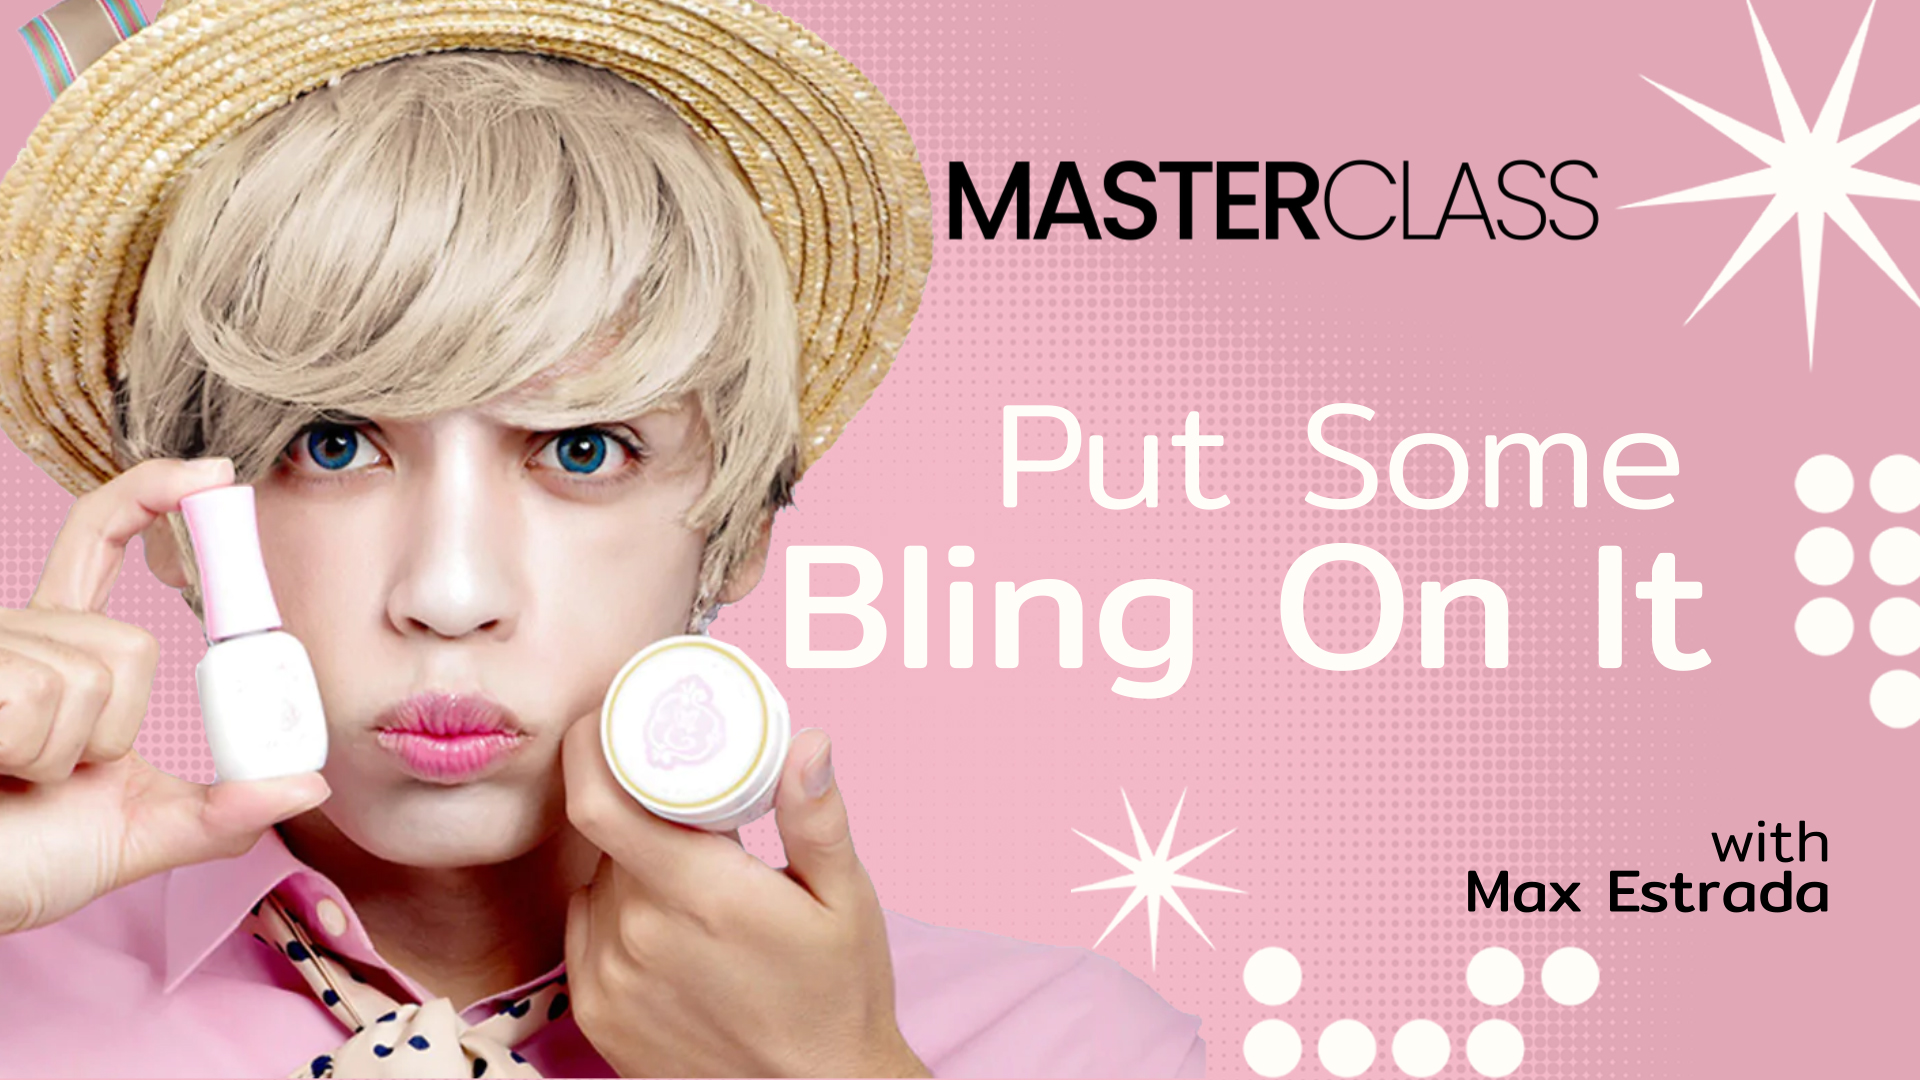
Put Some Bling on It
There’s nothing but absolute fun in this episode of Crystal Obsession! Learn how to create a haute couture nail art look for any red carpet event or for your next poster look. Max Estrada shares his secrets on how to get the crystals to stay put and discloses a fun trick on how to easily get those crazy long acrylic nails off. If you love creating over the top looks for social media or your clients, this MasterClass is a must watch.

SEE MORE MASTER CLASS
RELATED VIDEOS
MORE TO EXPLORE
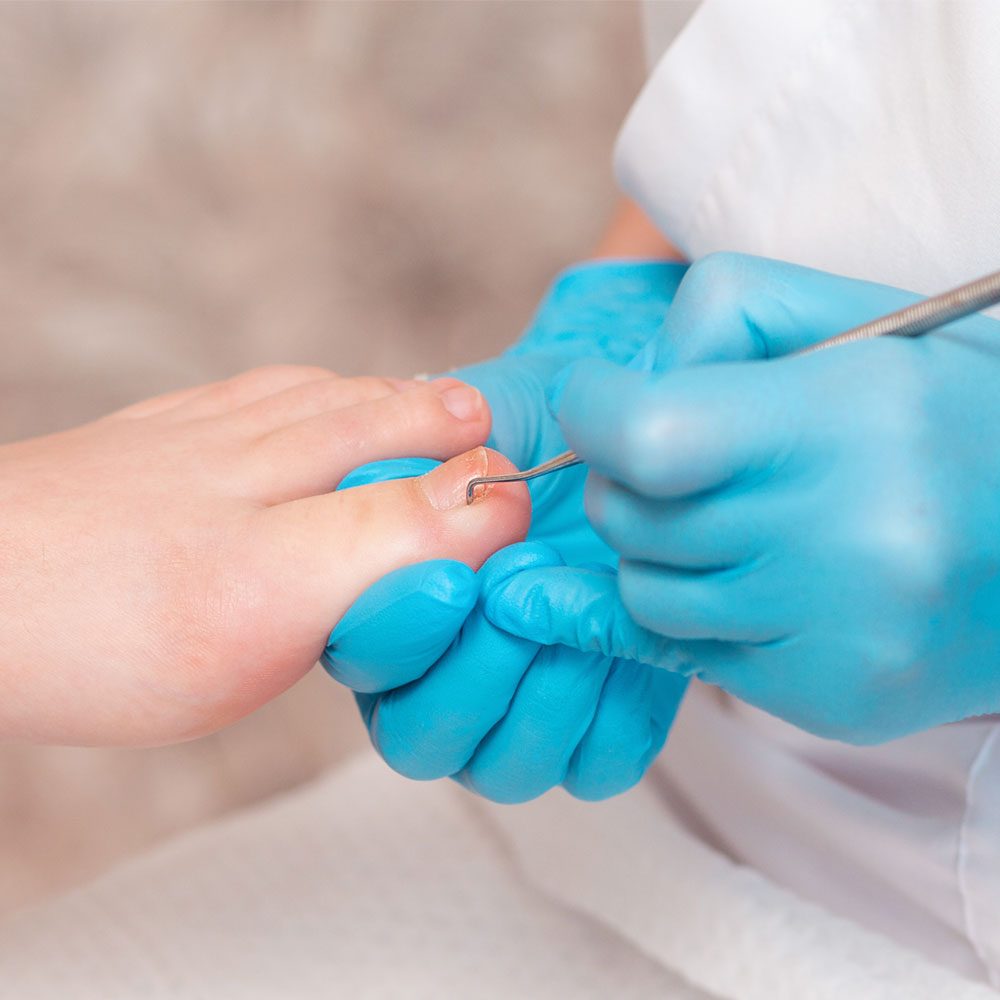
Basic Pedicure
![]()
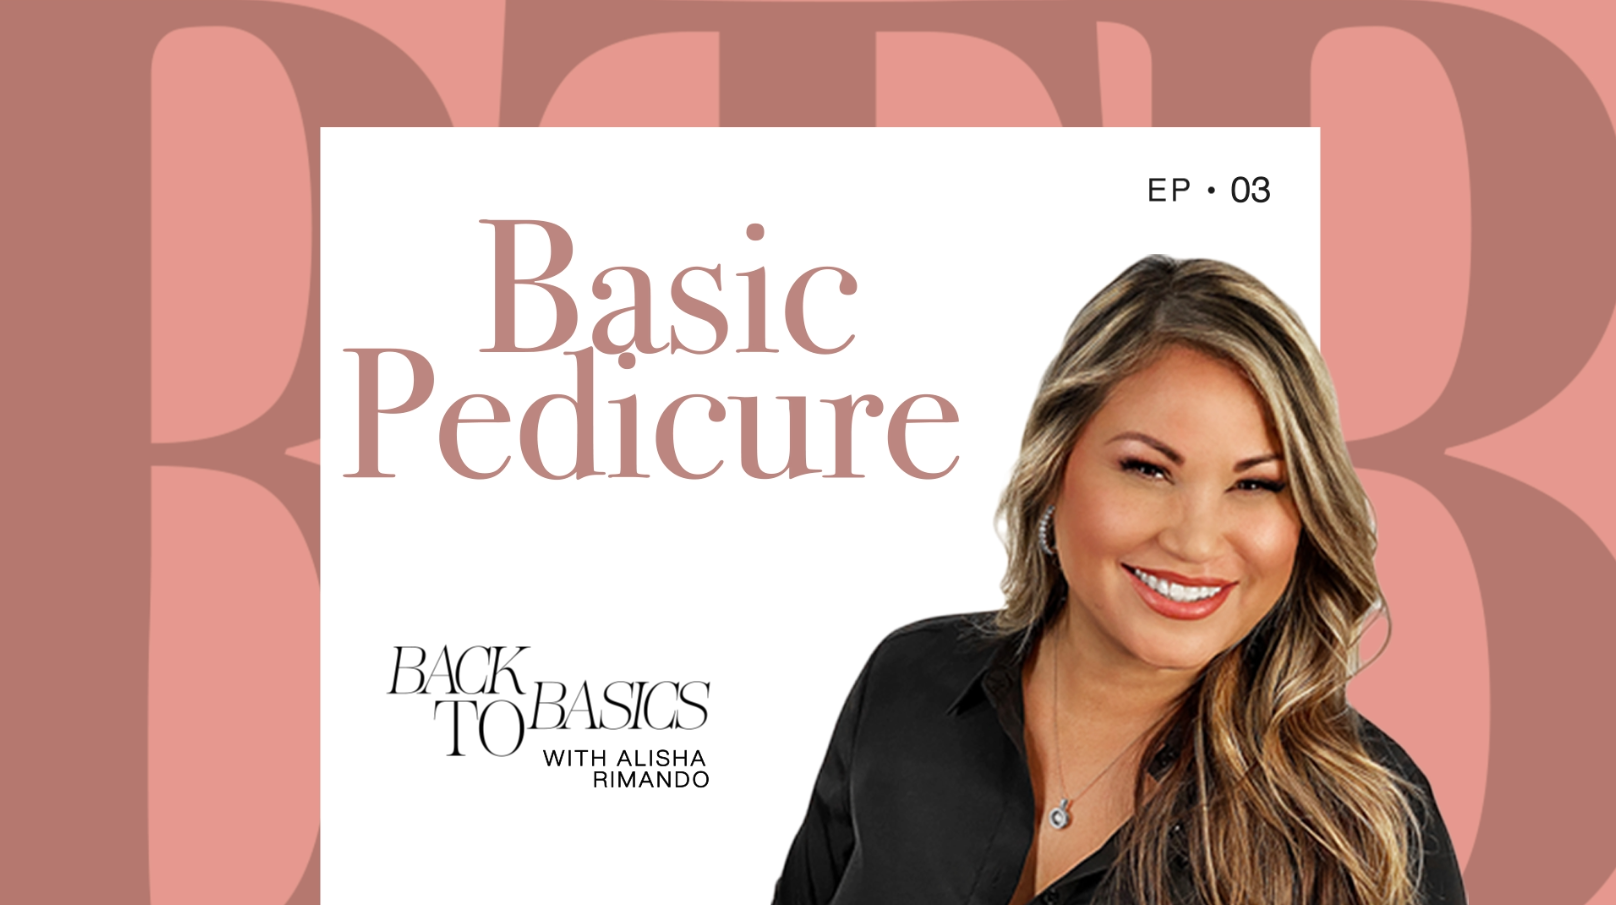
Basic Pedicure
There’s nothing basic about pedicuring. There are many meticulous ways to care for the feet, but the environment, comfort and relaxation are all key to a perfect pedicure. Join Alisha Rimando as she walks through a basic pedicure procedcure step by step and shares her tips on foot and cuticle care, as well as creating the most relaxing and comfortable massage for your guest in this first episode of a 2-part series on basic pedicuring.
SEE MORE BACK TO BASICS
RELATED VIDEOS
MORE TO EXPLORE
Competition Score Sheets
![]()
![]()
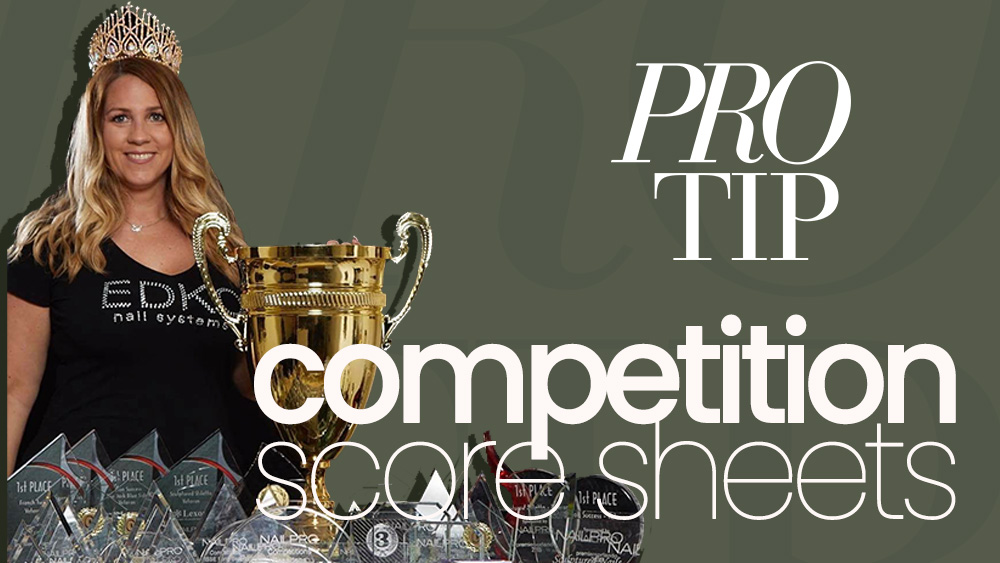
Competition Score Sheets
When entering a nail competition there are steps you can take to ensure you have the best possible chance of winning and it isn’t just practicing! Learn a little secret from award-winning nail artist, Emese Koppányi on the first thing you should do when deciding to enter a nail competition.
SEE MORE PRO TIPS
RELATED VIDEOS
MORE TO EXPLORE
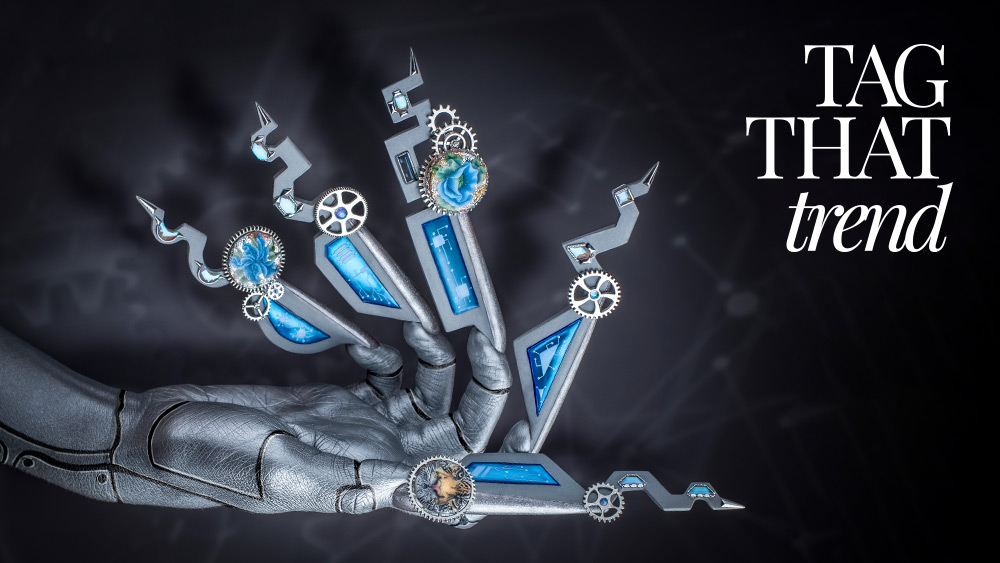
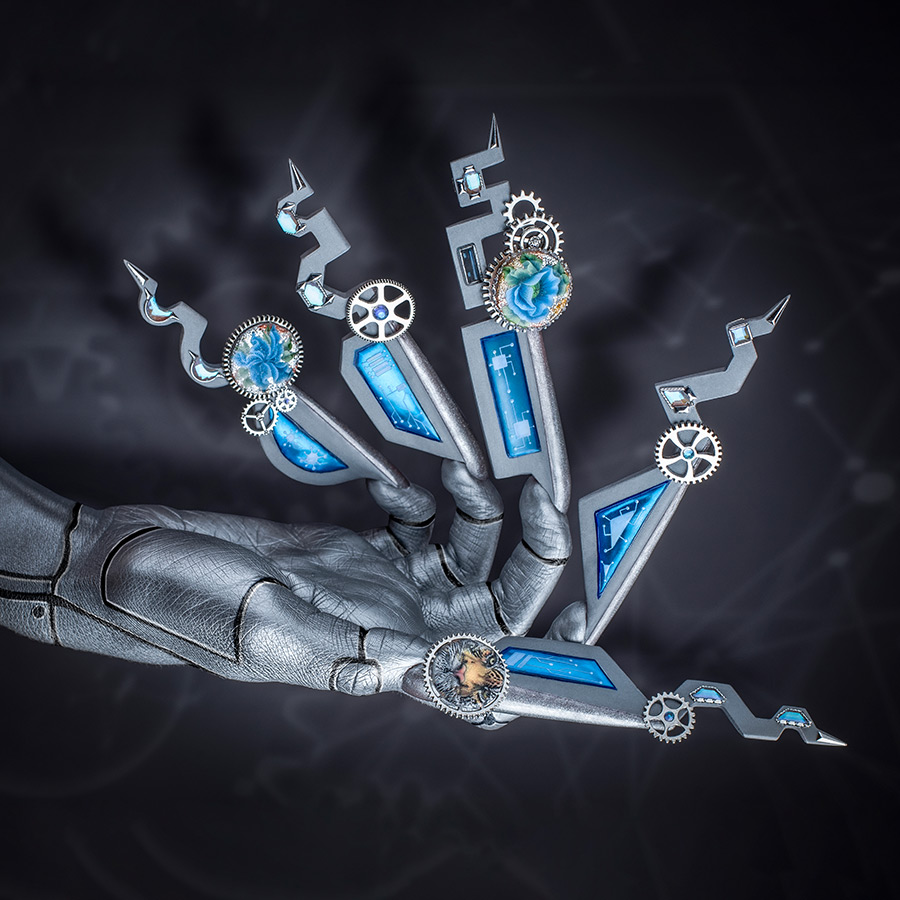
Cyborg Hand
Cyborg Hand
![]()
Angela Wilden
Angela began her career in 2015 working with the brand, Magnetic Luxembourg. Almost simultaneously, she founded her company ‘Angel’s Divine’ and within a few months trained as a Magnetic educator, teaching courses in the salon where she also worked part-time as a nail designer. In 2017, Angela became entirely independent, and after a short period of intense studies in Budapest, she passed the official Crystal Nails trainer exam to become an Absolute International Master Educator.
PRODUCTS USED
- Extreme nail forms
- long needle
- 600-4000-grit buffer
- 150-grit file
- 240-grit file
- 180/100-grit buffer
- 220/240-grit file
- hygienic file
- small metal file
- shiner
- water-resistant pen
- ruler
- protractor
- pencil
- e-file
- orangewood stick
- plasticine
- scissors
- UV/LED hard gel system
- UV/LED lamp
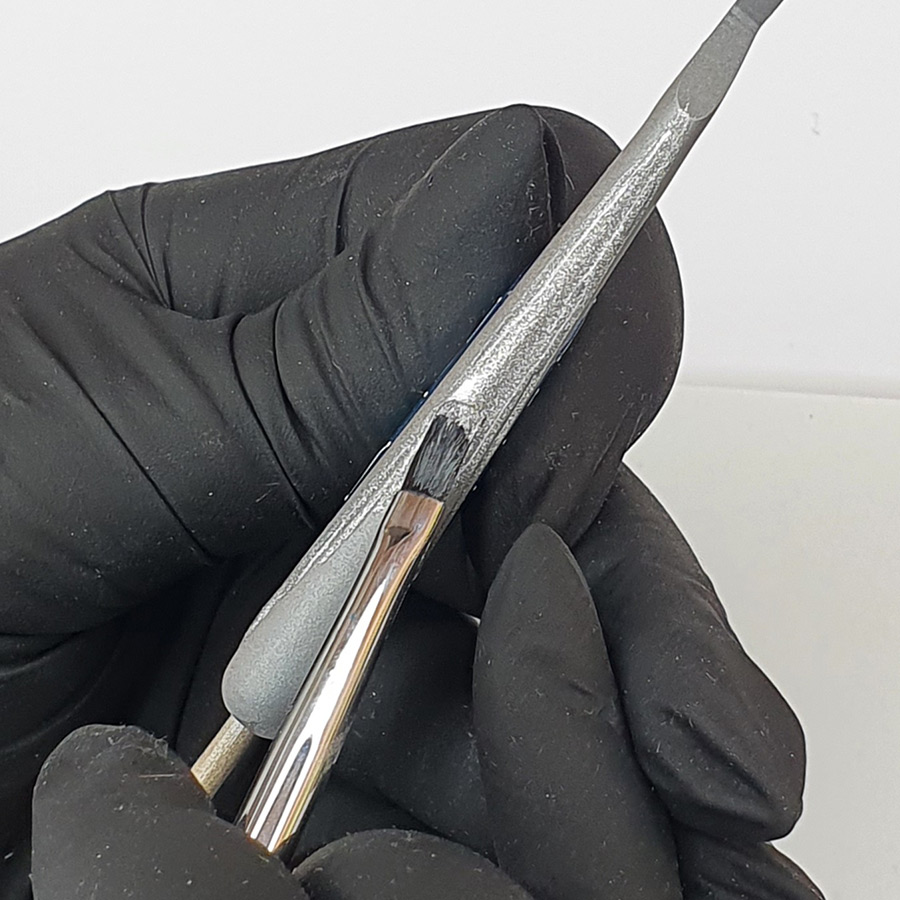
- soft oval brush
- spatula
- crystals
- bullion
- gears/cogs
- rhinestone dish
- airbrush gun & paints
- UV/LED matte top coat
- UV/LED glossy top coat
- UV/LED gel polishes
- liner brush
- chrome powder
- dotting tool
- gem glue
- waxing tool
- nail polish
- UV/LED rubber base gel
STEPS

Prepare the natural nail & undertake a manicure. Polish the nail to a high shine with a 600/4000-grit file in order to take it off after sculpting. With a ruler & a water-resistant pen, draw the outline of the nail shape on a nail form for extreme shapes (10cm or longer).
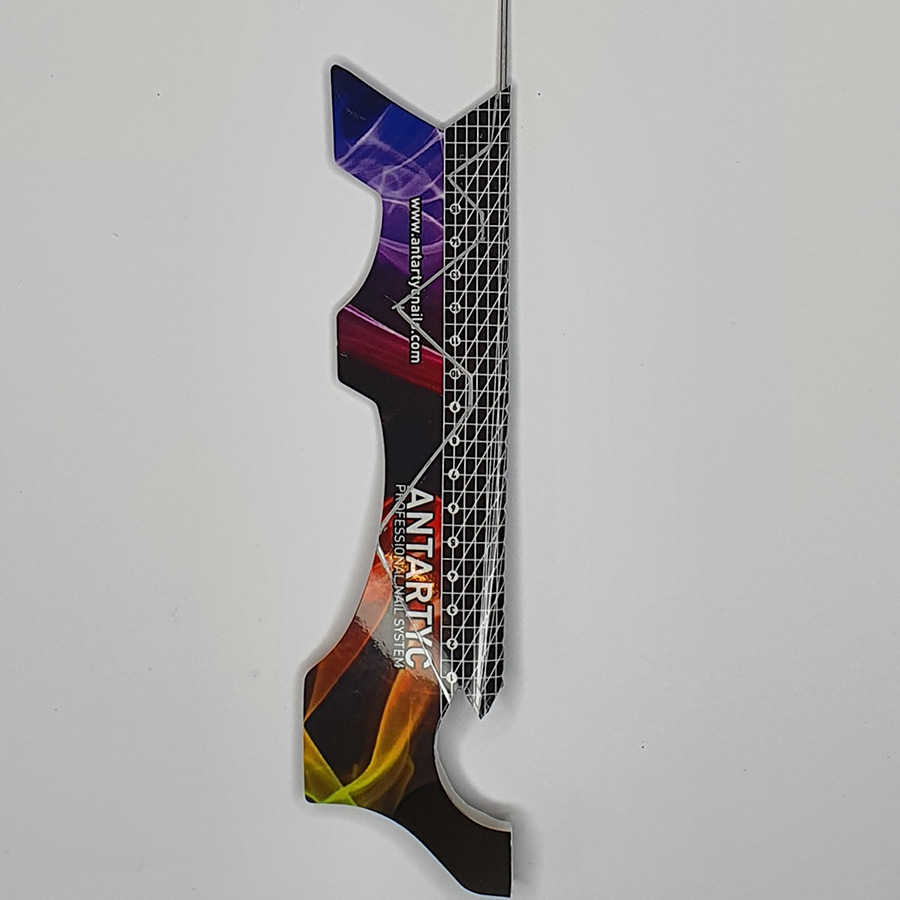
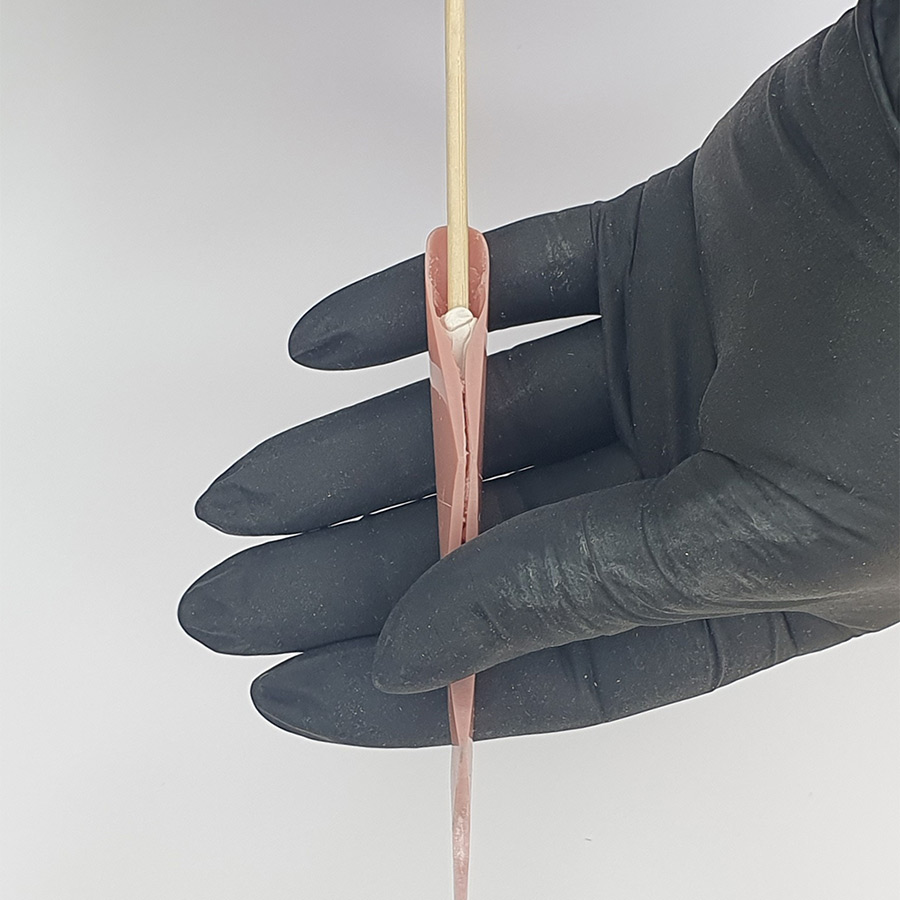
Cut out the measurements for perfect fitting of the form onto the nail & finger. Next, stick a long needle underneath the nail form in order to prevent the gel pulling the nail crooked.

Close the tabs of the form perfectly, measure & close the nail form. Leave the area for the finger open enough in order to fit the form to the nail. Place the form perfectly straight & slightly up, to maintain a straight upper side line. Now close the form entirely. Cut the sides if necessary & pinch the form carefully.

Apply a thin layer of cover gel. Choose one that’s suitable for extreme sculpting (e.g. UN Jelly Gel). Use a soft oval brush for application & sculpt the outlines of the shape you’ve drawn on one side only; do not cover the nail bed at this stage, sculpt from the free edge. Then sculpt the first big triangle on the second side following your drawn design.
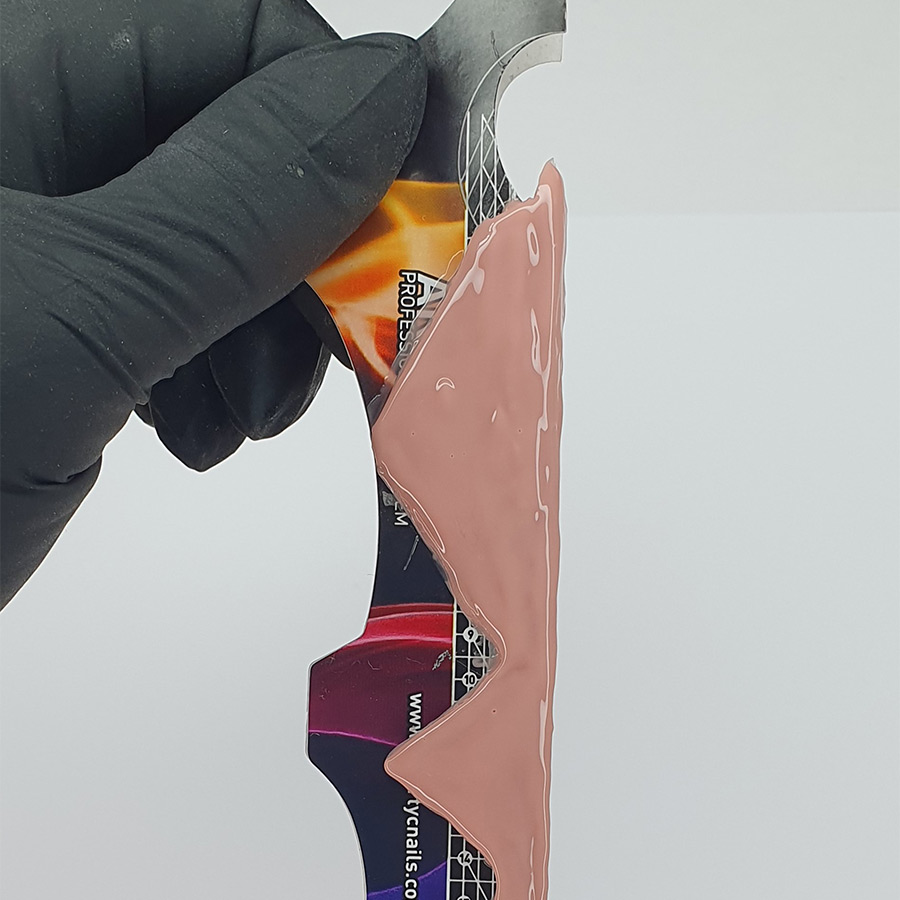
Repeat in several layers. Cure each layer very well. With the last layer, also cover the nail bed. Now, carefully remove the artificial nail & the nail form from the natural nail, making sure not to hurt or damage it.
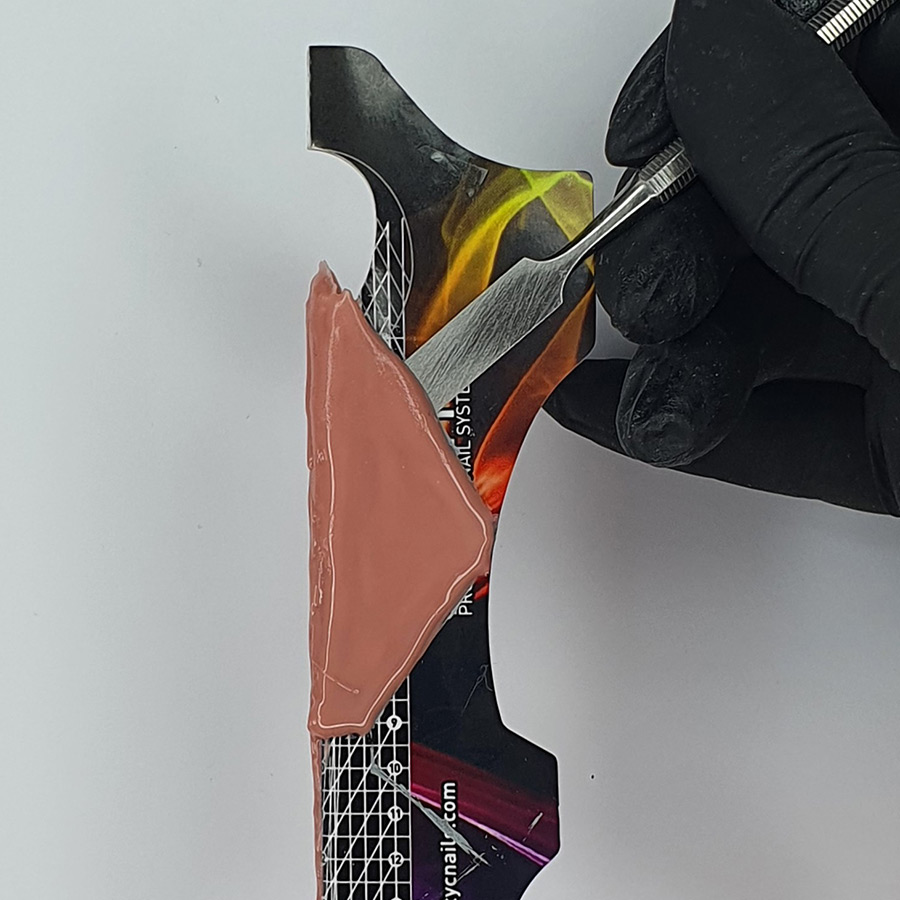
Use a spatula to remove the nail from the form.
Fill up the open area with UV/LED gel to create a tidy, complete nail. Do this in several thin layers & add any product to the surface if necessary, then cure.
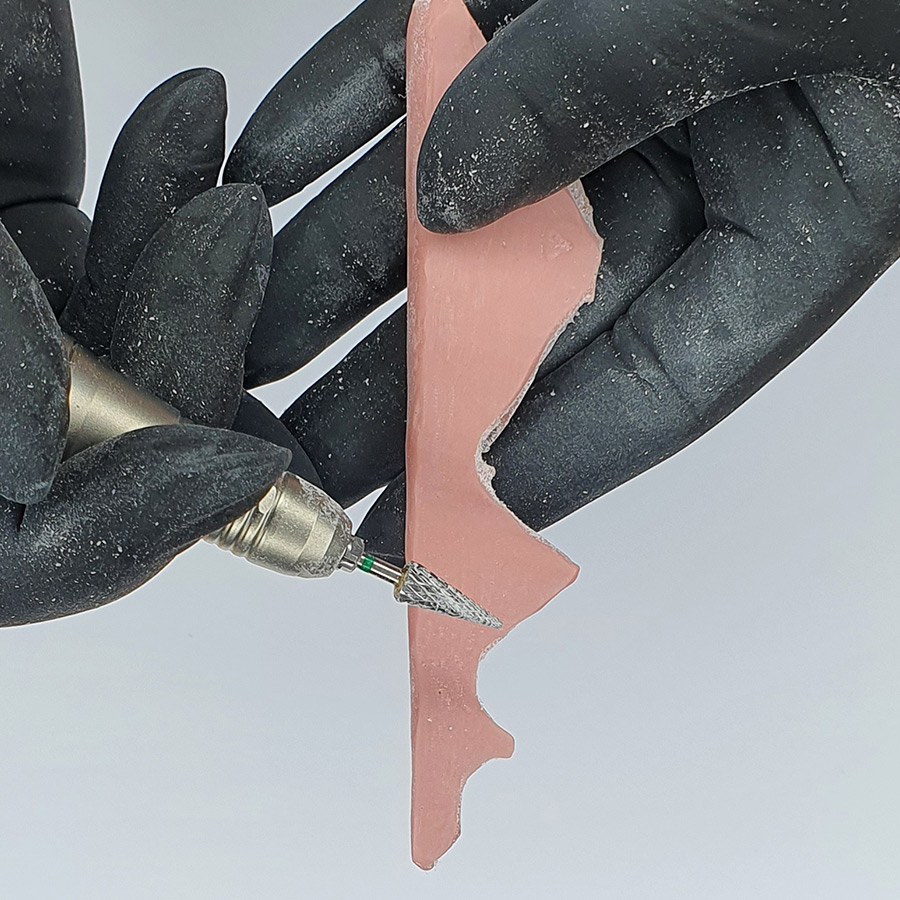
Remove excess product with an e-file.
Start filing the nail with a 150-grit half-moon file on all sides. Use a buffer as a cushion to stabilize it while filing.

File the sidewalls straight.
File the entire side of the nail absolutely flat. Then file the upper arch line perfectly flat from the apex to the tip. File the upper side lines at an angle of 45-degrees.

Remove the edges by filing in an upward motion from left to right & from right to left, from the apex to the tip. Adjust the side lines & file the nail perfectly thin. Control the straightness of the upper arch with a file. Repeat all filing steps with a 240-grit file, then buff the nail with a 180/100-grit buffer, moving to a 220/240-grit & buff to a high shine.

Draw the outline of the shape of the nail using a document-proof pen & a ruler. Draw onto the nail itself to get clean straight lines.
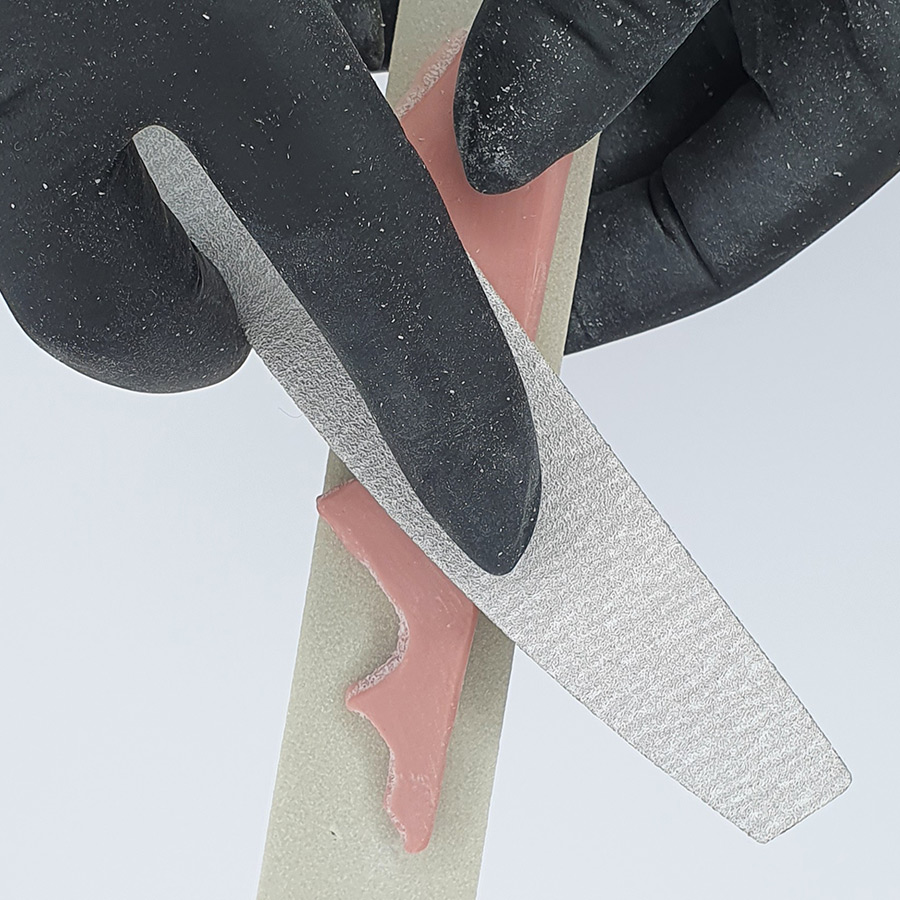
Use a square 180-grit file to remove the edges until the pen marks are no longer visible.
File perfect corners with a small extreme file. File the middle parts straight.
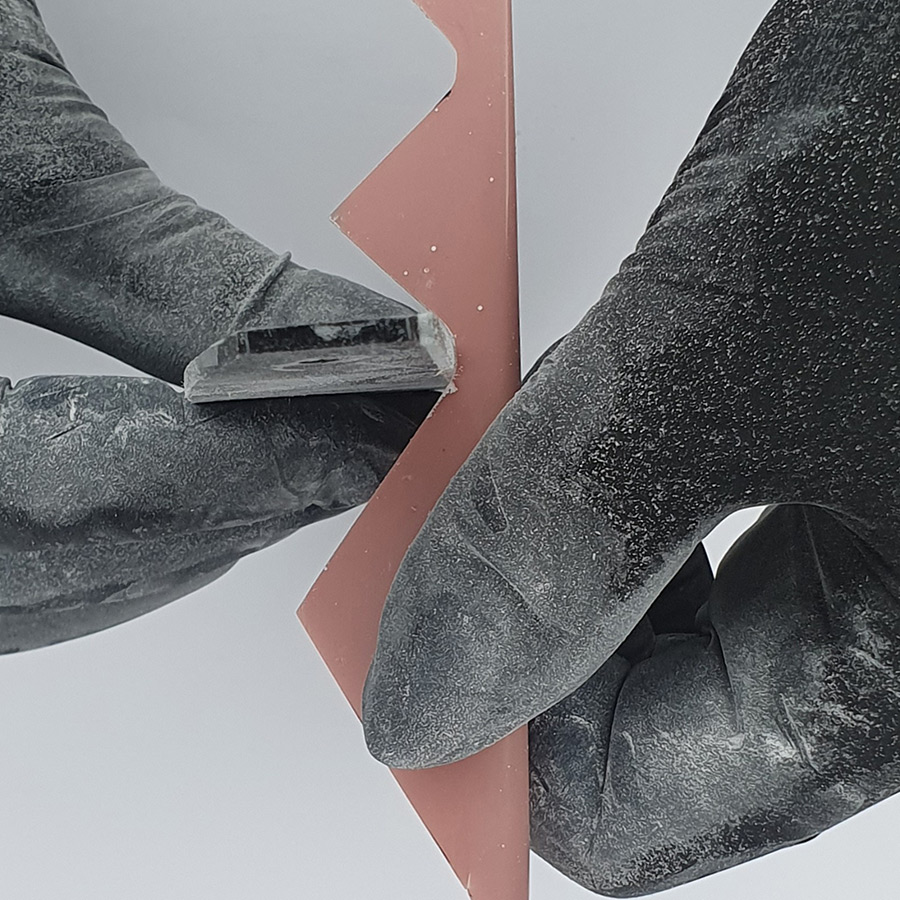
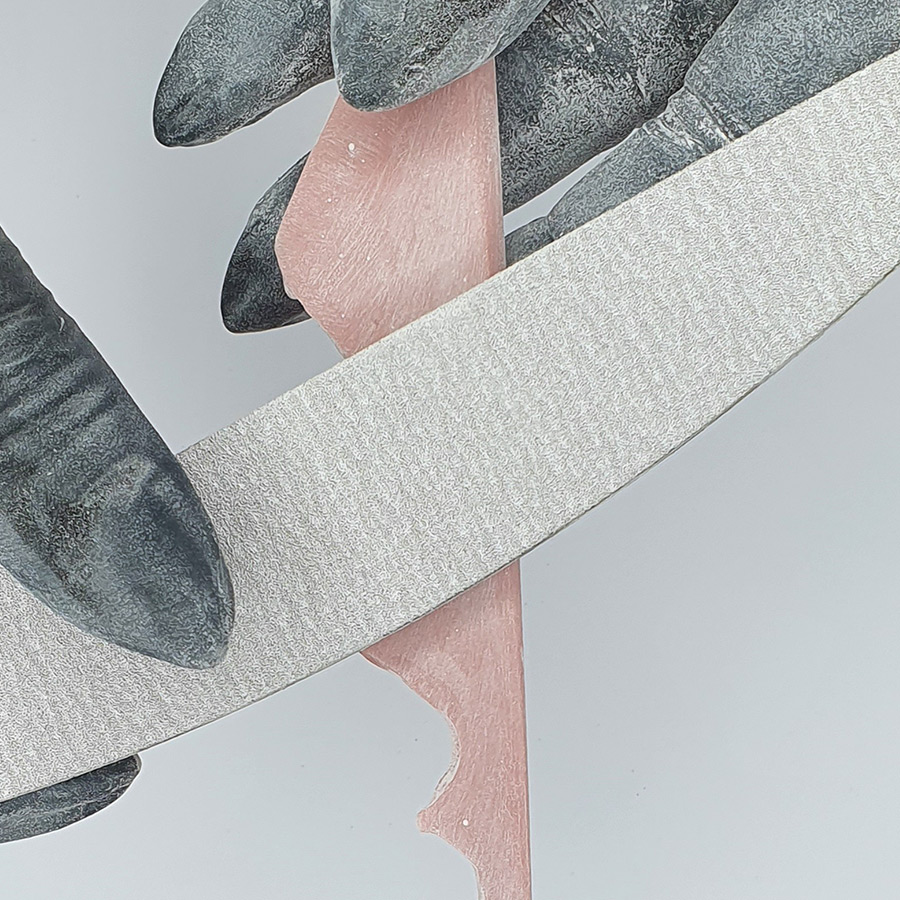
Cut a strip of an hygienic file to make it fit onto the edge of a plastic hand piece of a file, adhere it well & file delicately yet firmly.
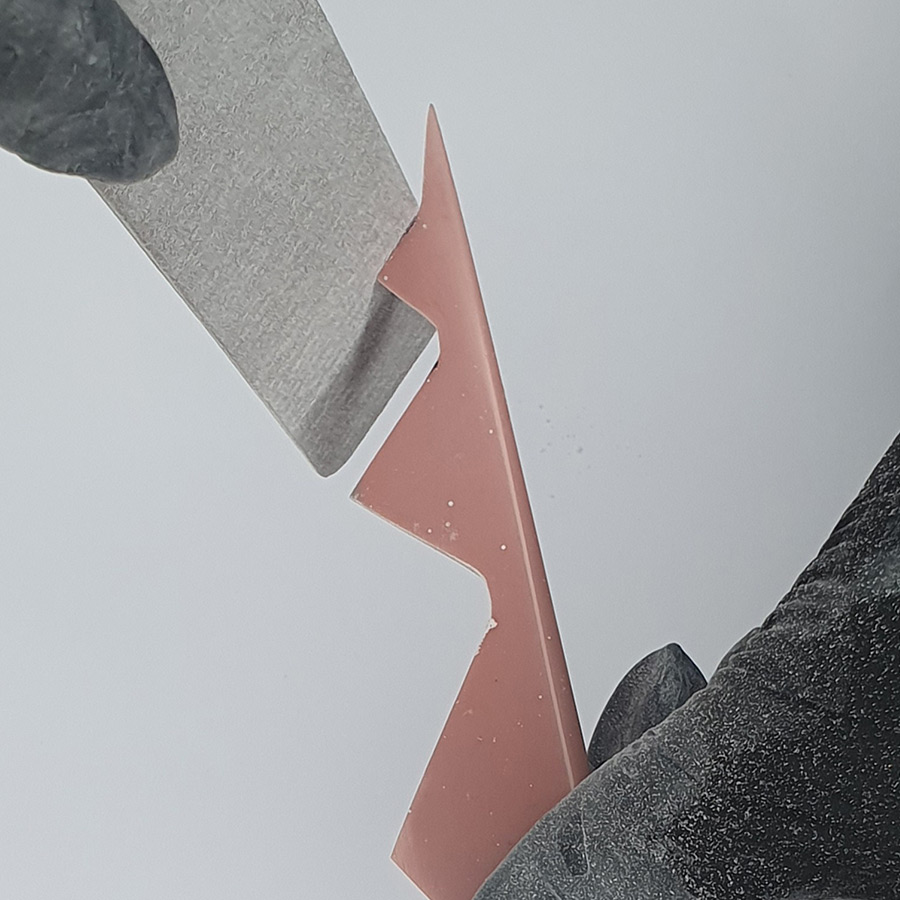
Repeat the previous file steps until the edges & corners of the nail shape are perfectly sharp.
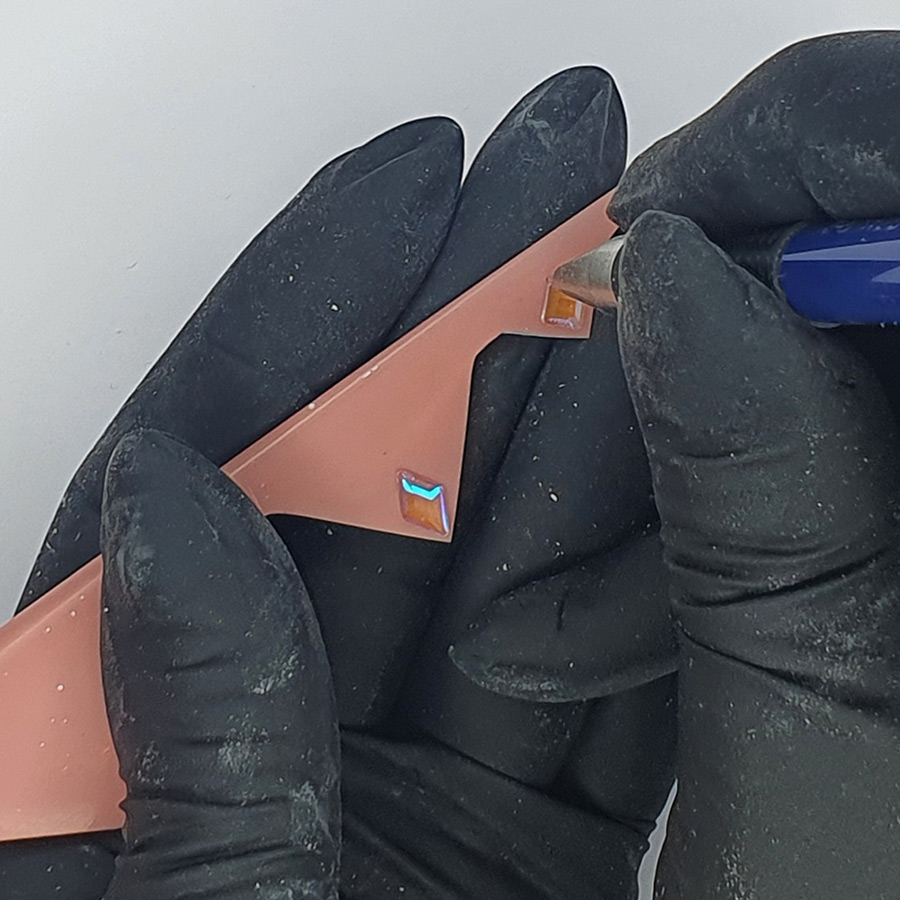
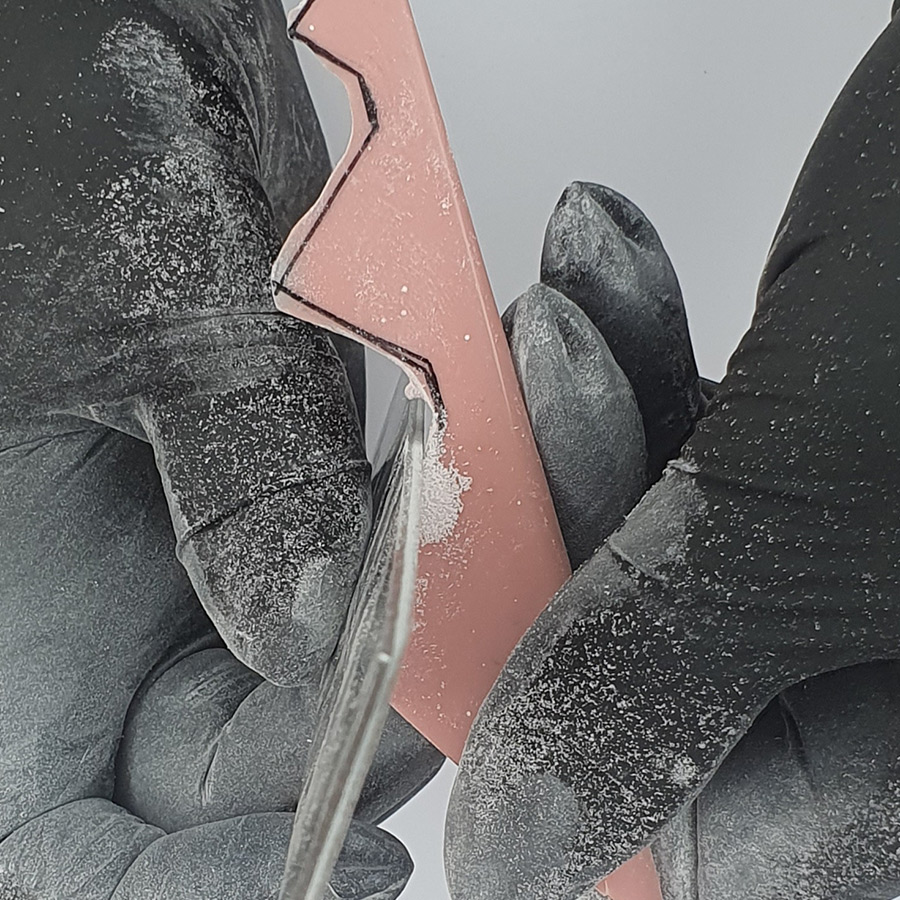
Pre-determine the decoration. Mark the placement of the crystals in order to cut the triangles of the upper side line out just deep enough for correct fitting & crystal placement.
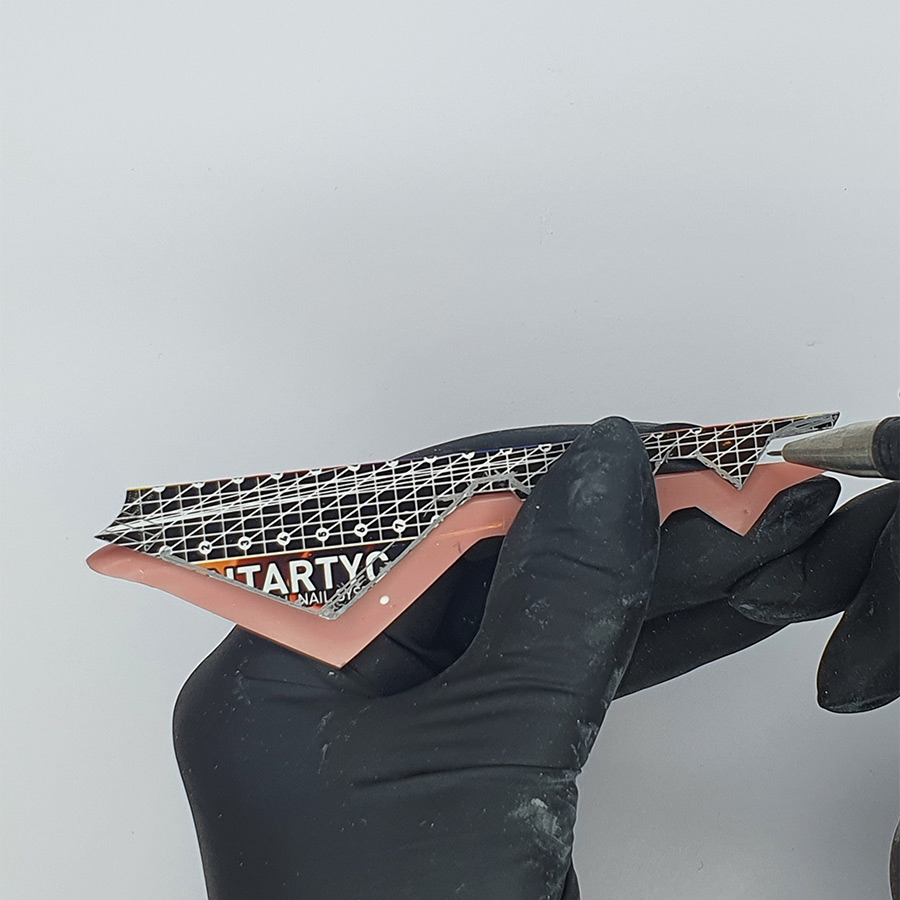
Cut out the nail shape (side view) by using a nail form as a stencil to mark the triangles that have to be cut out of the upper arch line.

With an e-file carve out the triangles of the upper arch.
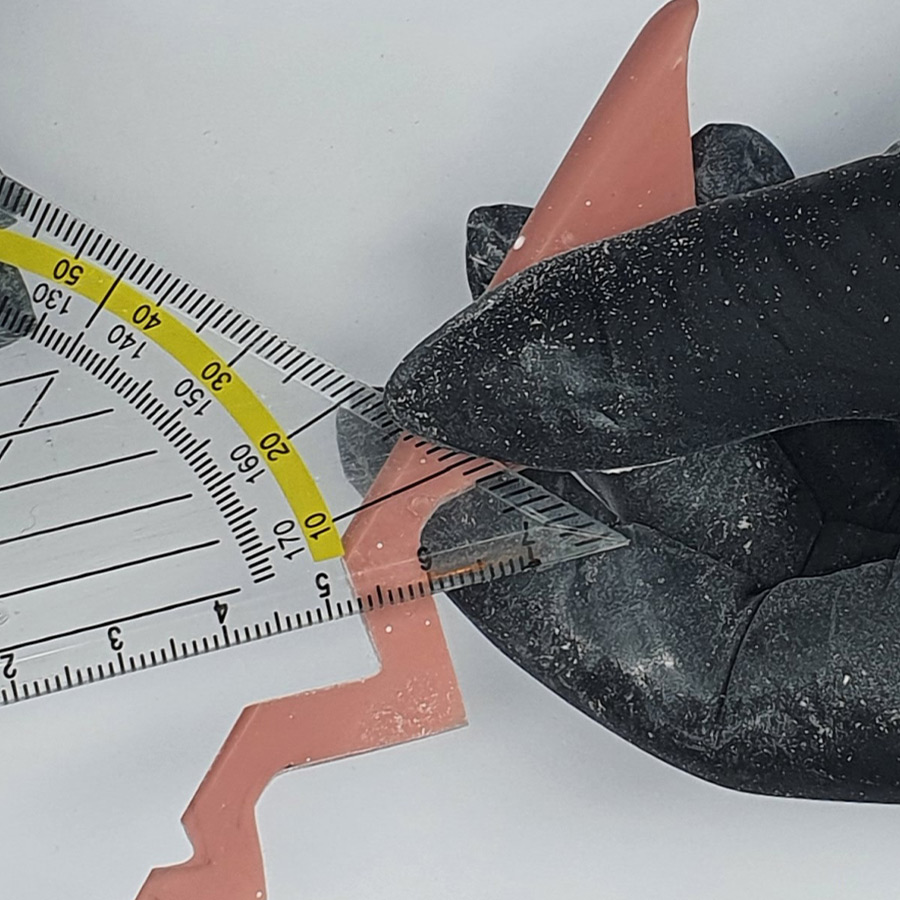
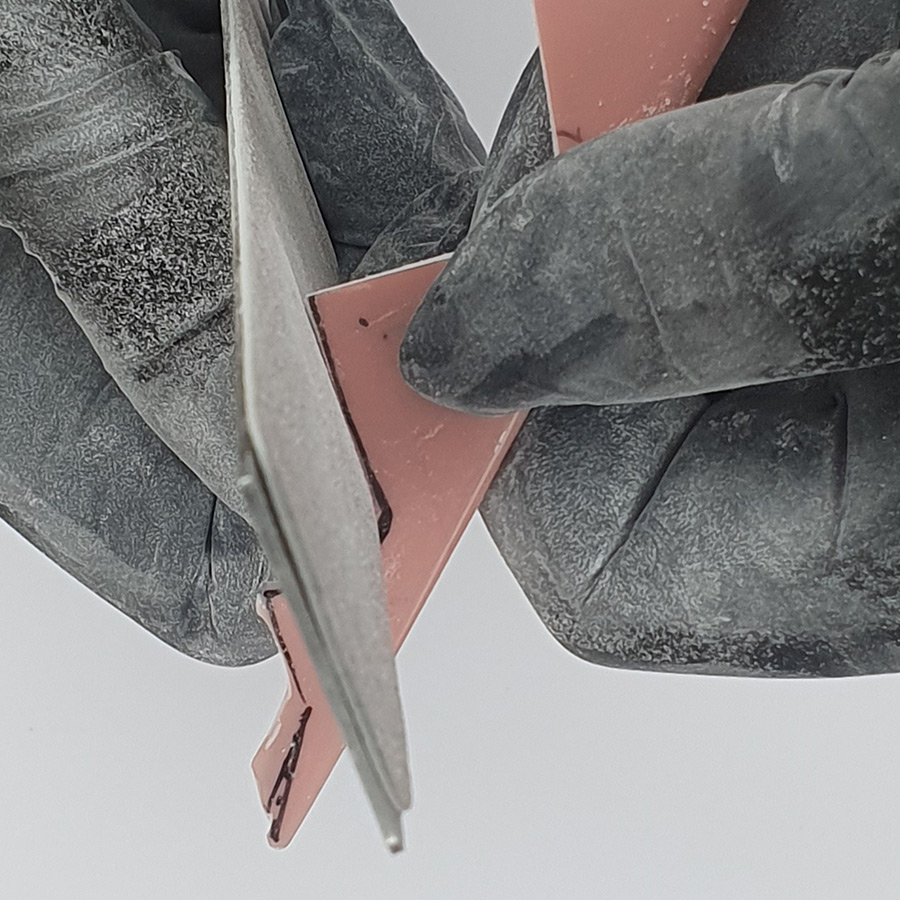
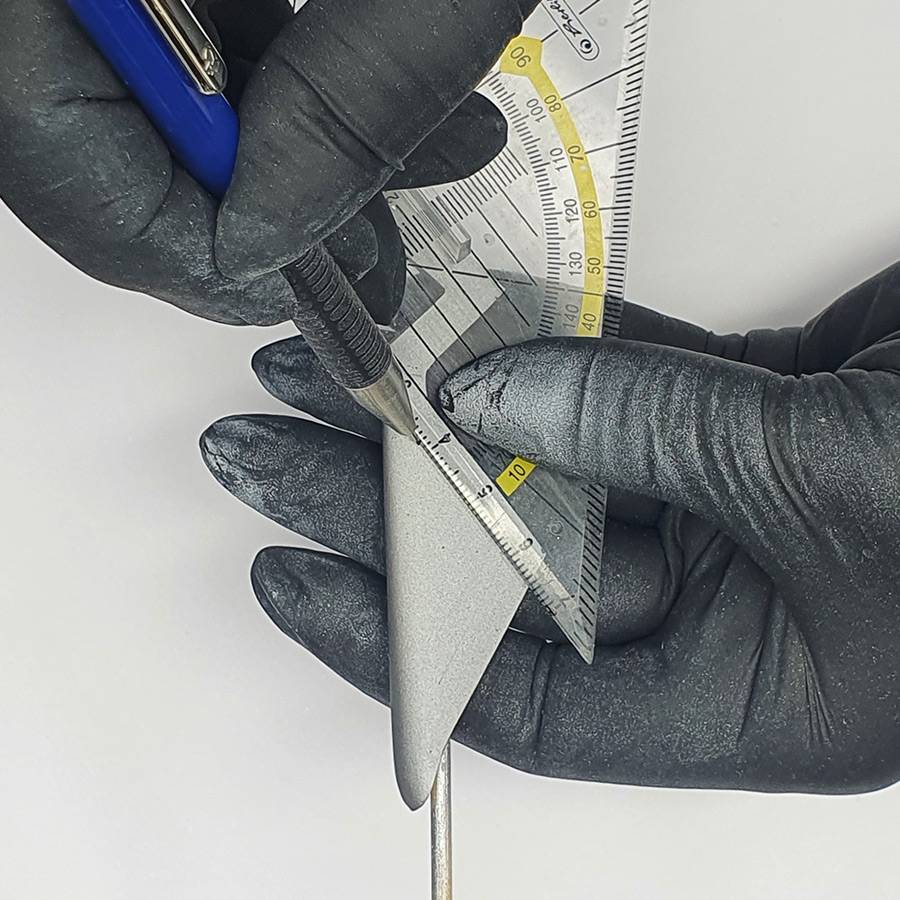
File with a square 180-grit file & check the angles using a protractor as you file to shape. Measure to check that all lines are equally wide.

File each triangle using a small extreme file & cut in sharp edges using a small metal file.
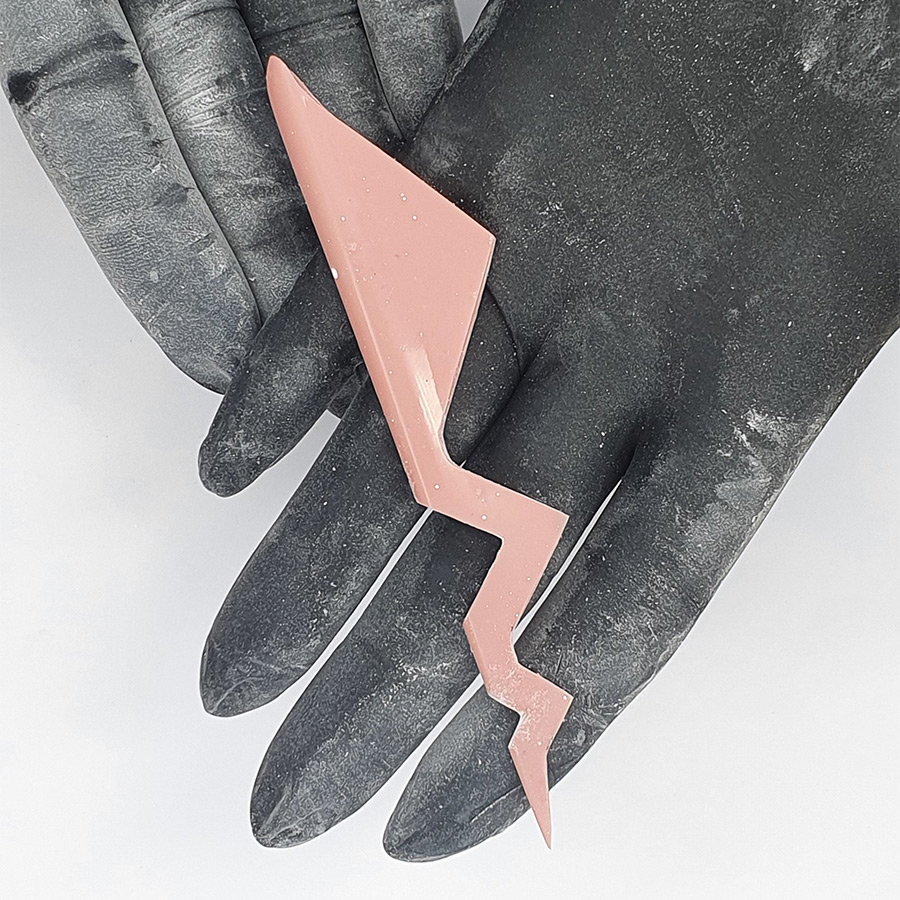
The result after all filing is complete. Now it’s time to repeat all the previous file steps with a soft file & then a shiner.
Glue some plasticine onto a thin wooden stick & adhere it to the underside of the nail.

Take an airbrush gun & get your airbrush paints in the colors silver & white.

Spray the nail in a thin layer of white & then cover in silver.
Cover the nail with UV/LED matte top coat & cure.
Mark the triangles of the design onto the side of the nail using a pencil & a ruler.
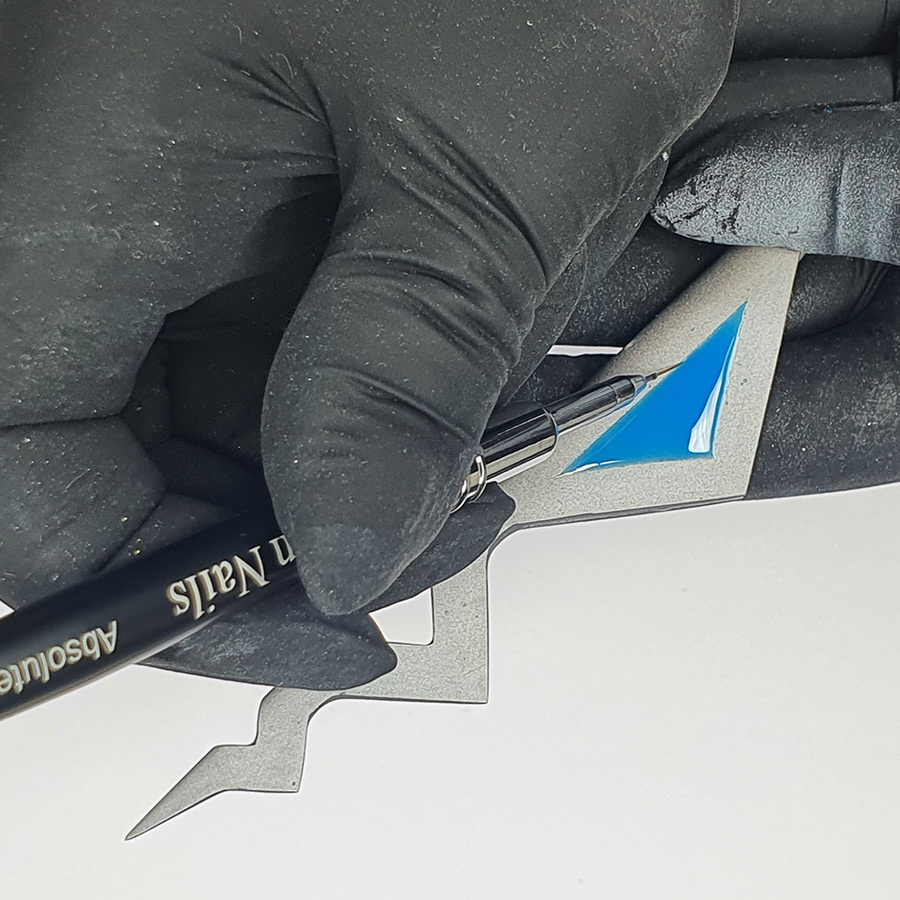
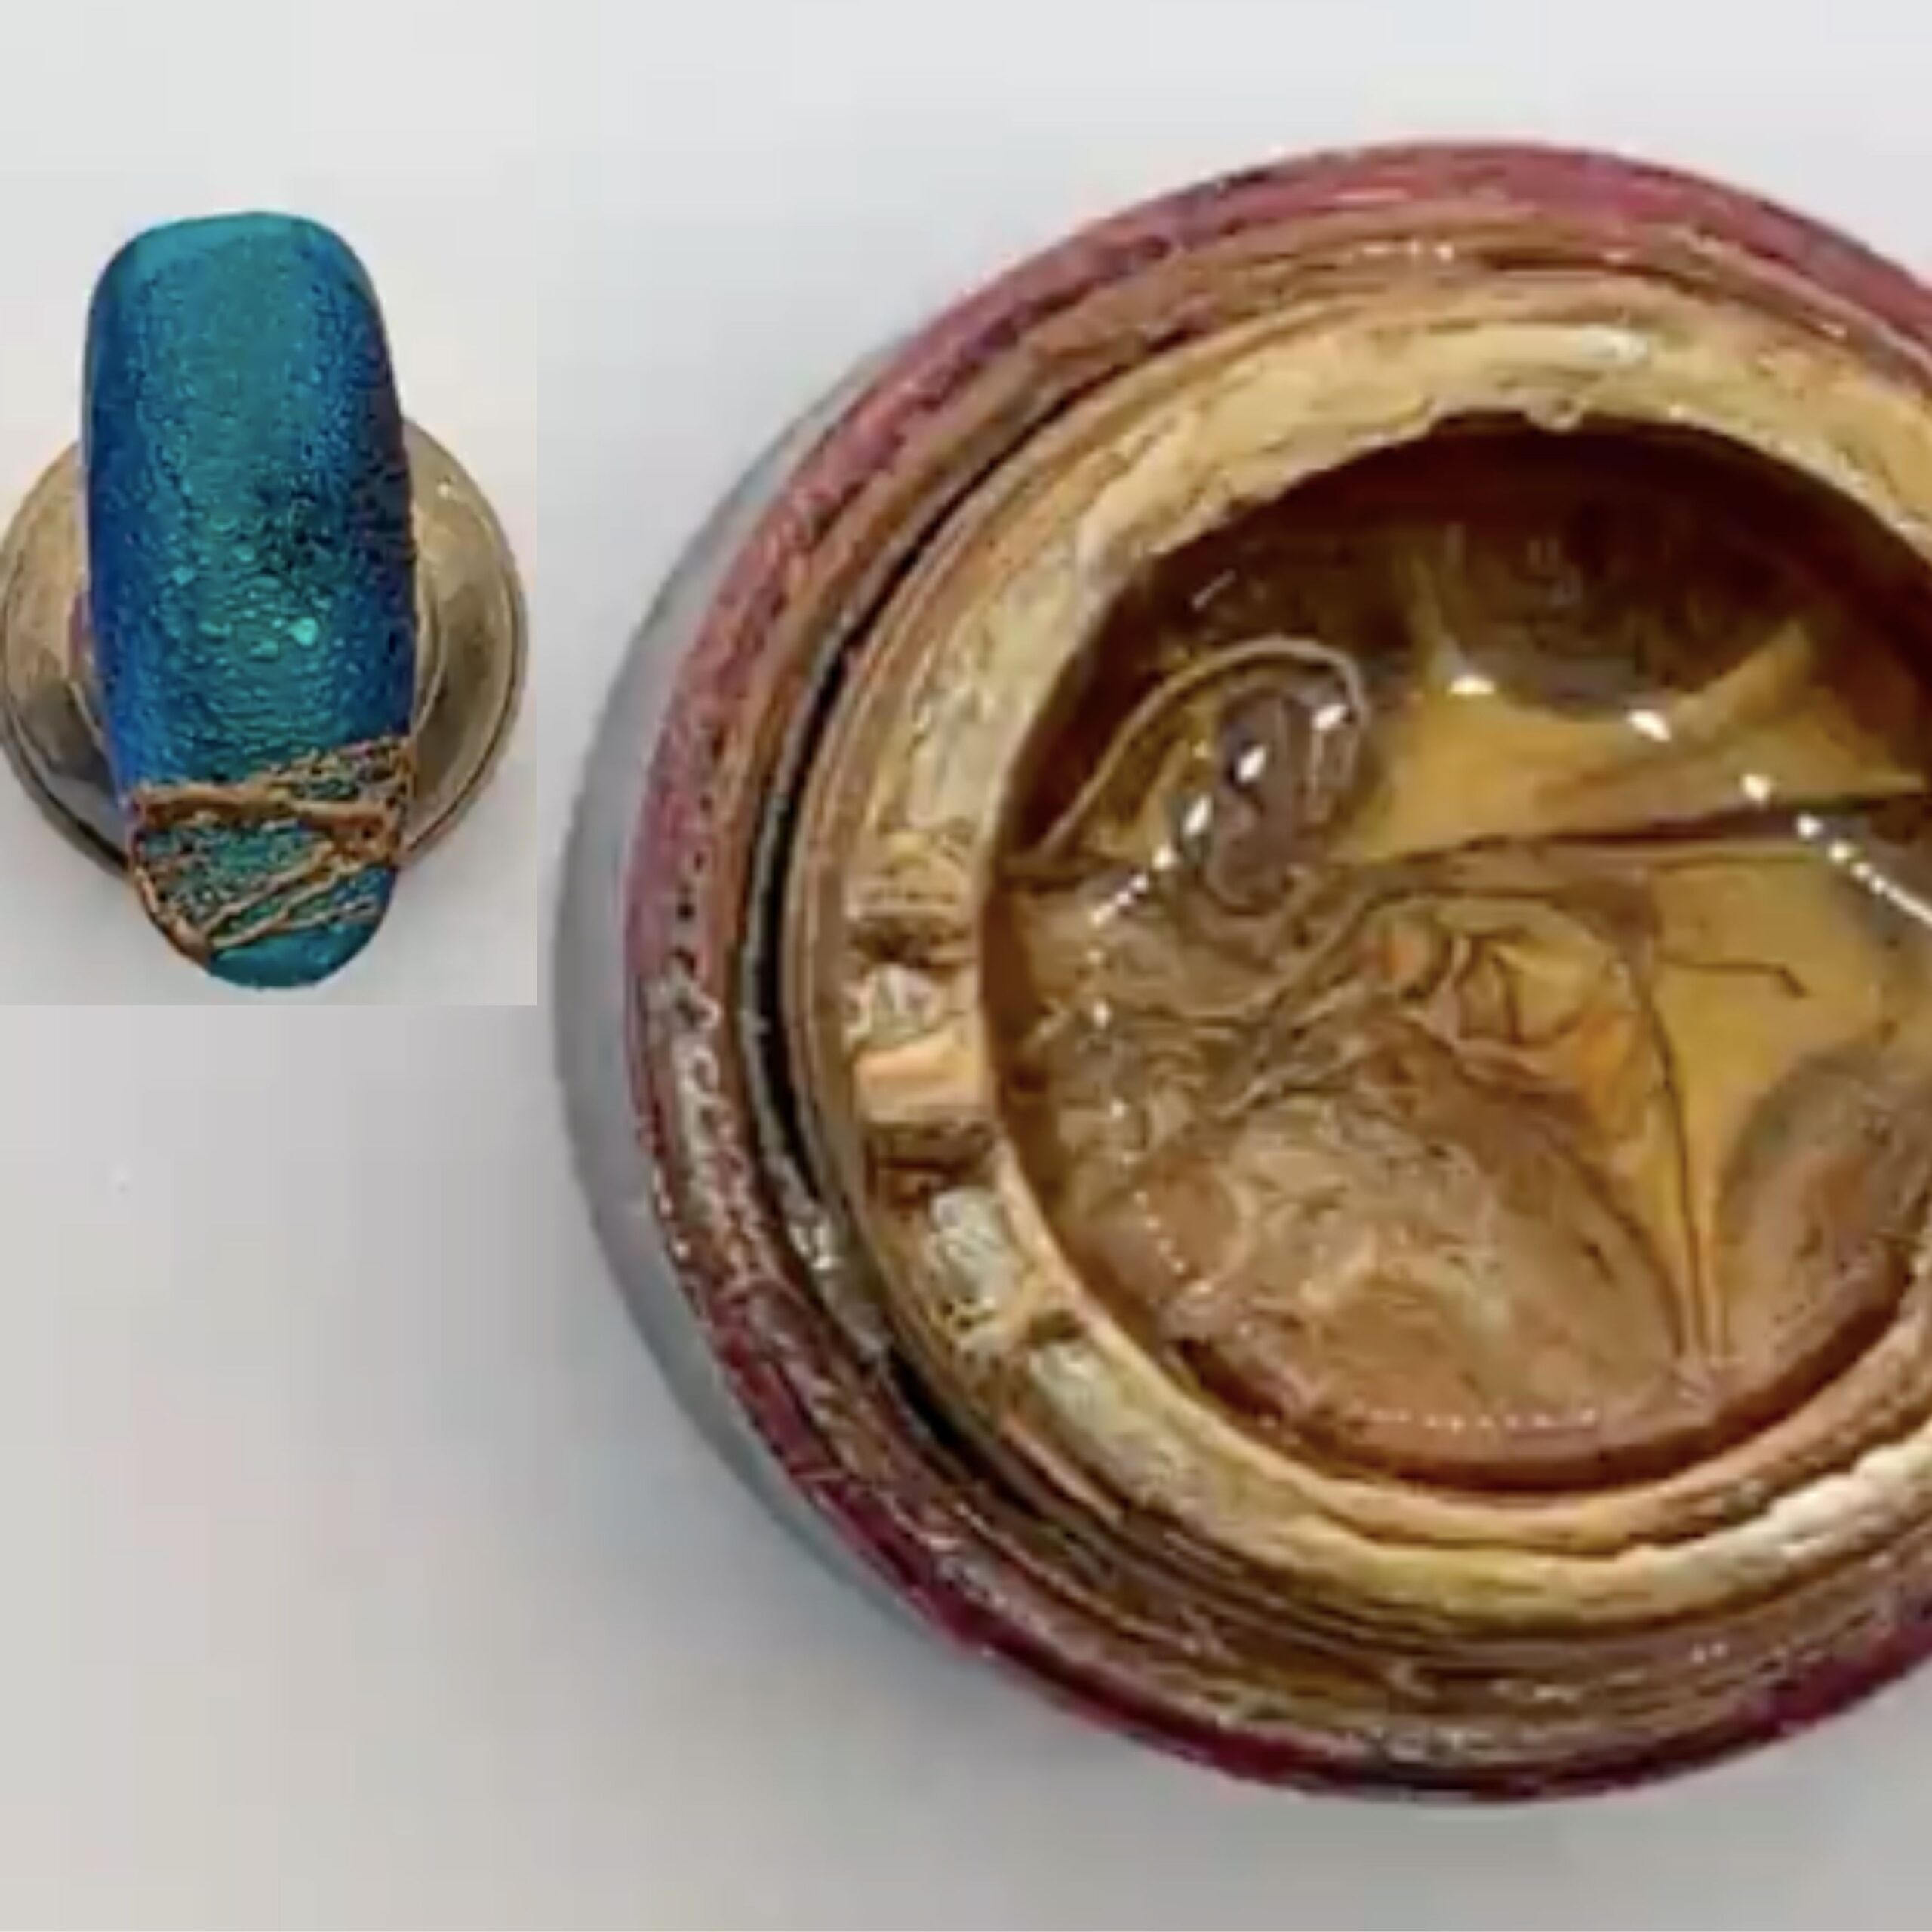
With a soft oval #4 brush, apply a non-sticky UV/LED color gel. The color used here is UN Pro& Go in NW29 turquoise. Use a liner brush to correct the outline of the triangle & cure for 60 seconds under an LED lamp.
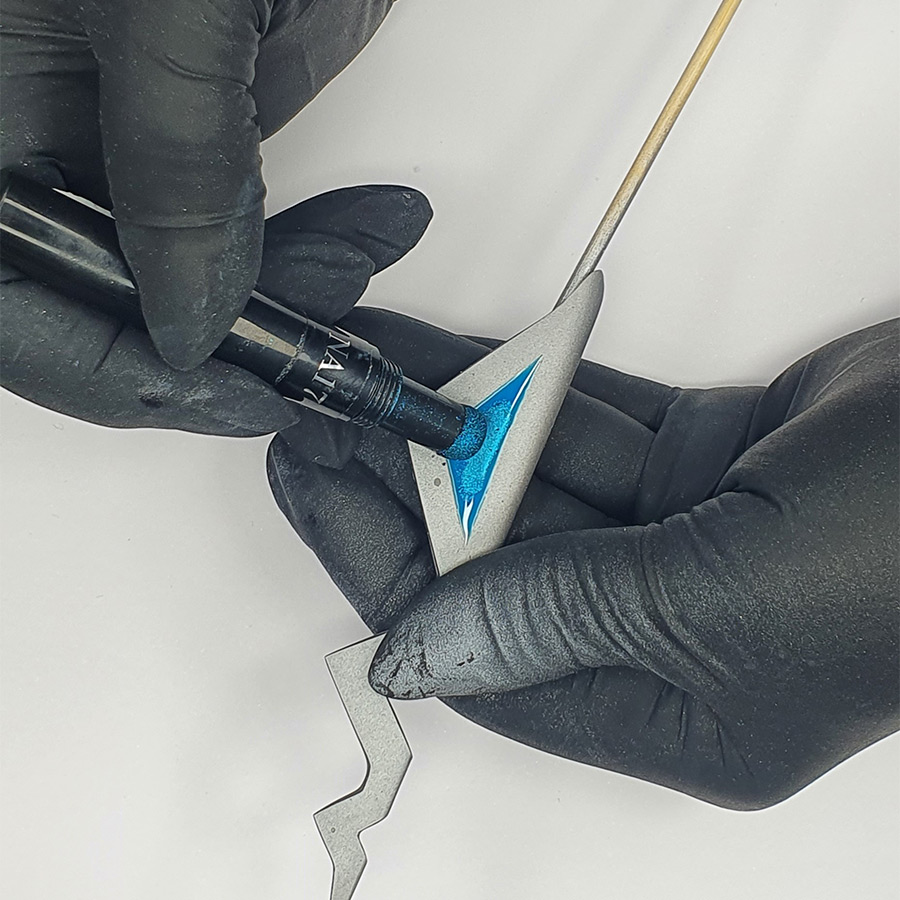
Apply chrome powder. The chrome used here is applied using the UN chrome pen UN NA17 in a matching turquoise shade. Next apply a glossy top coat. Correct the side lines with a liner brush & cure. Repeat previous steps to create triangles on the other side of the nail.
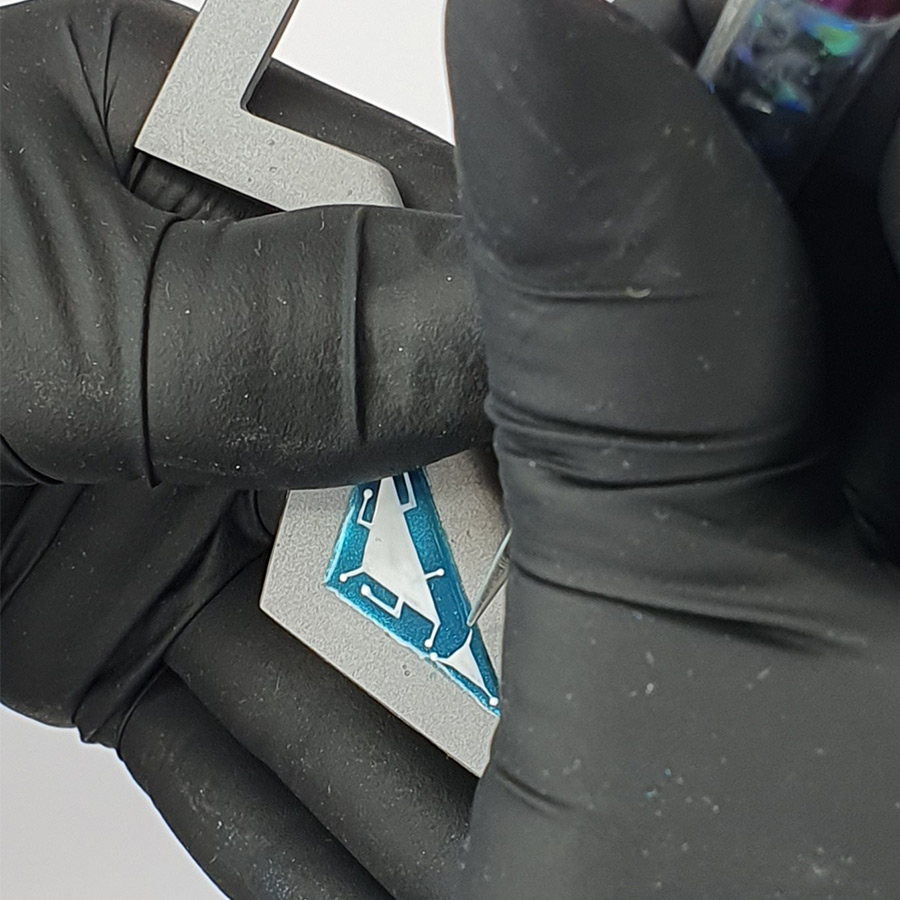
Use a liner brush to paint on the white decorative elements. Then change to a small dotting tool to finish the design.
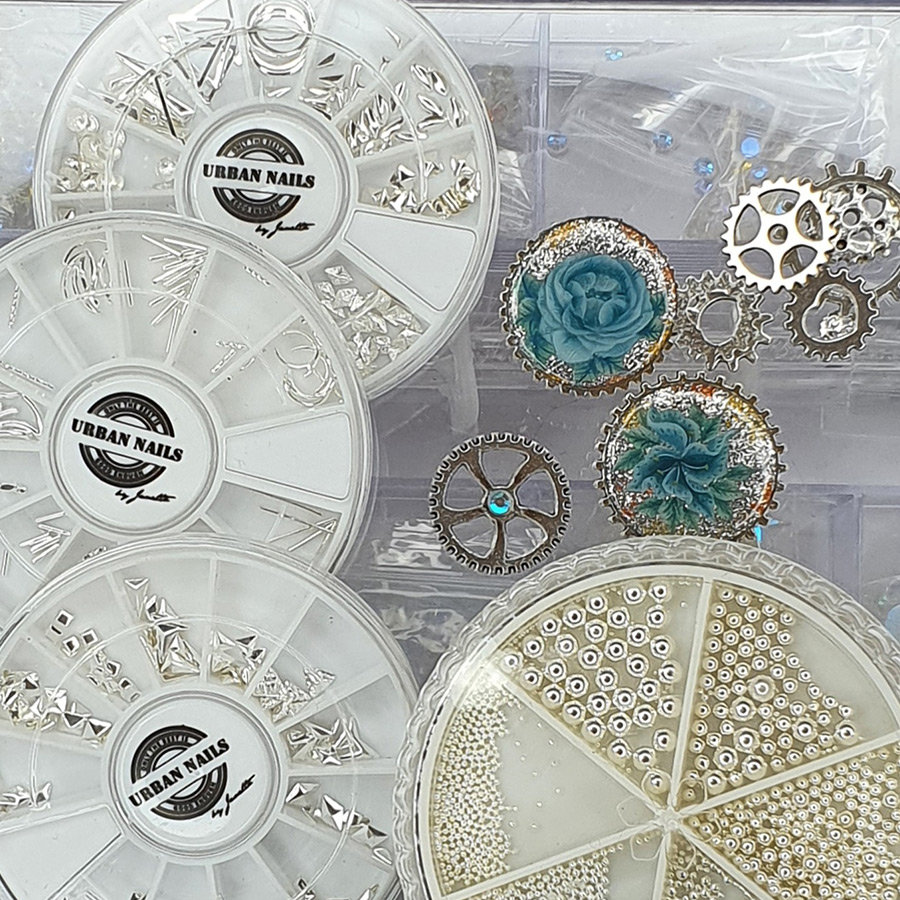
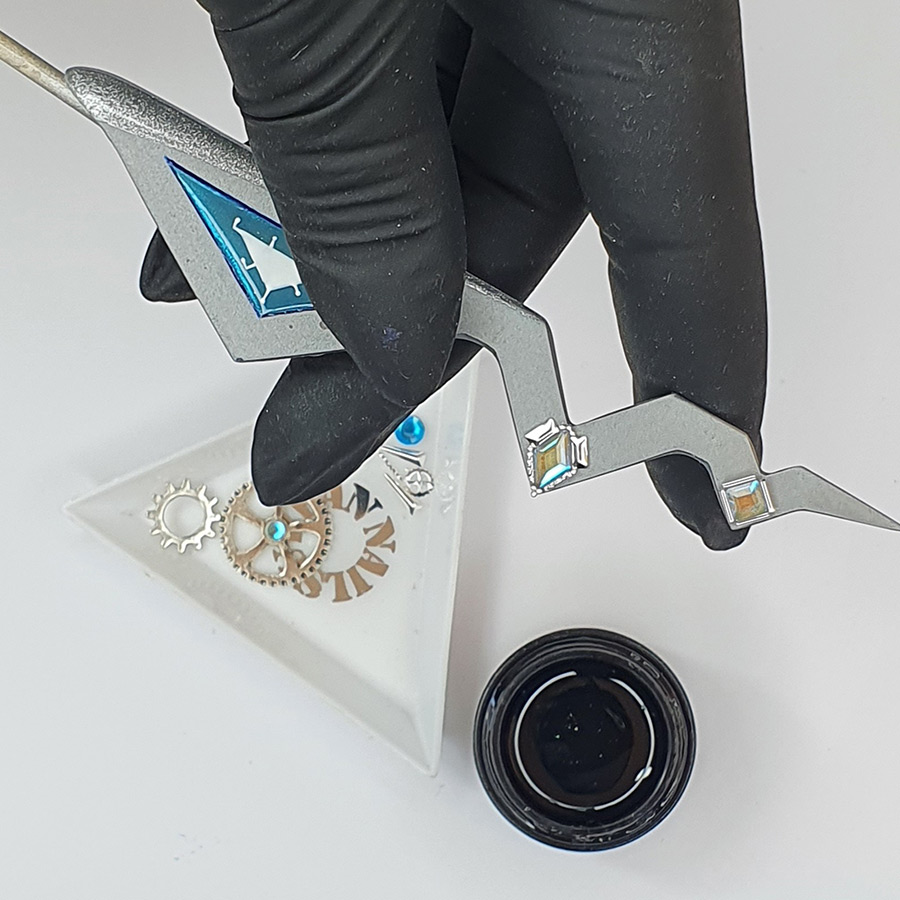
Use crystals, bullion, gears/cogs & other elements for decoration. Place them in a rhinestone dish in order to access & pick them up easily & quickly.
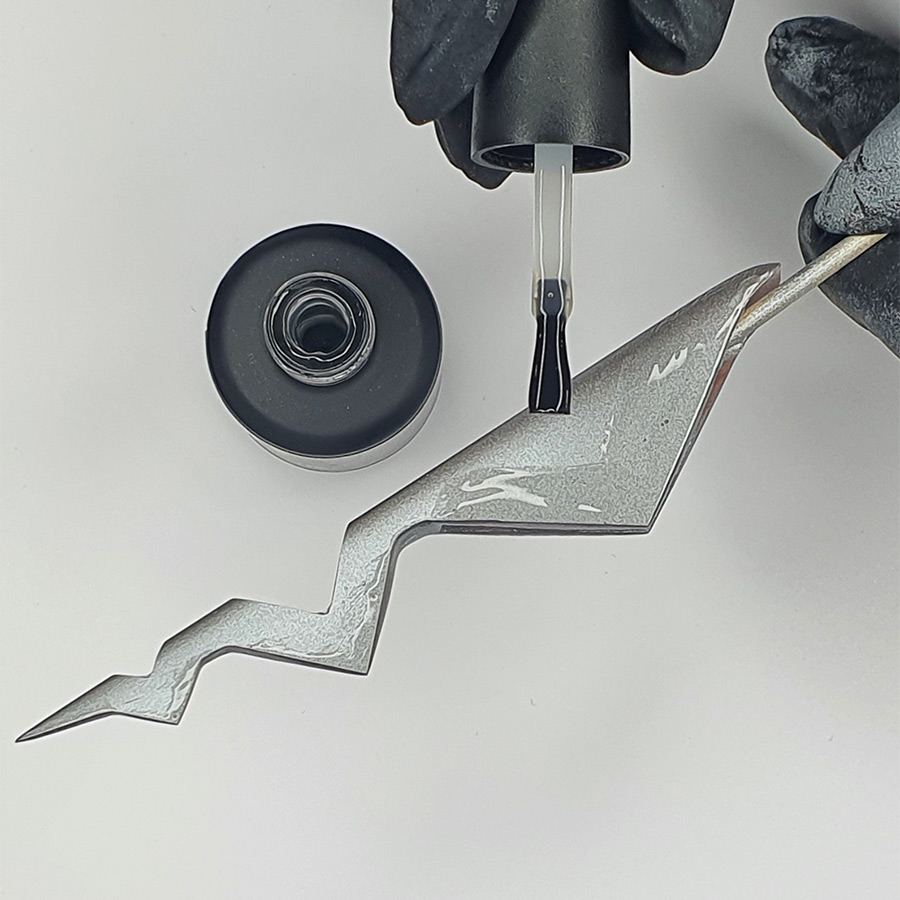
Outline the triangles with dark blue liner UV/LED gel using a liner brush.
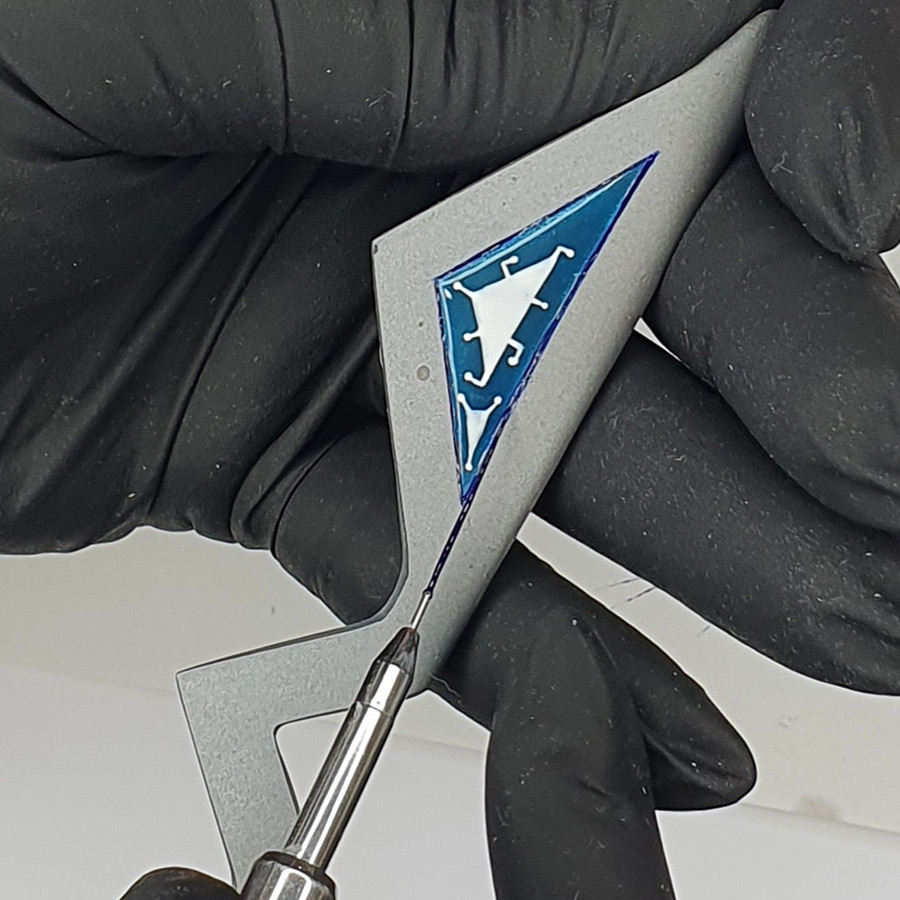
With a silver UV/LED No-Fix color gel polish (UN Pro&Go NW18), paint the nail bed silver & use a long liner brush to mark the side lines. Next, using a small soft oval brush, apply the gel polish over the body of the nail.

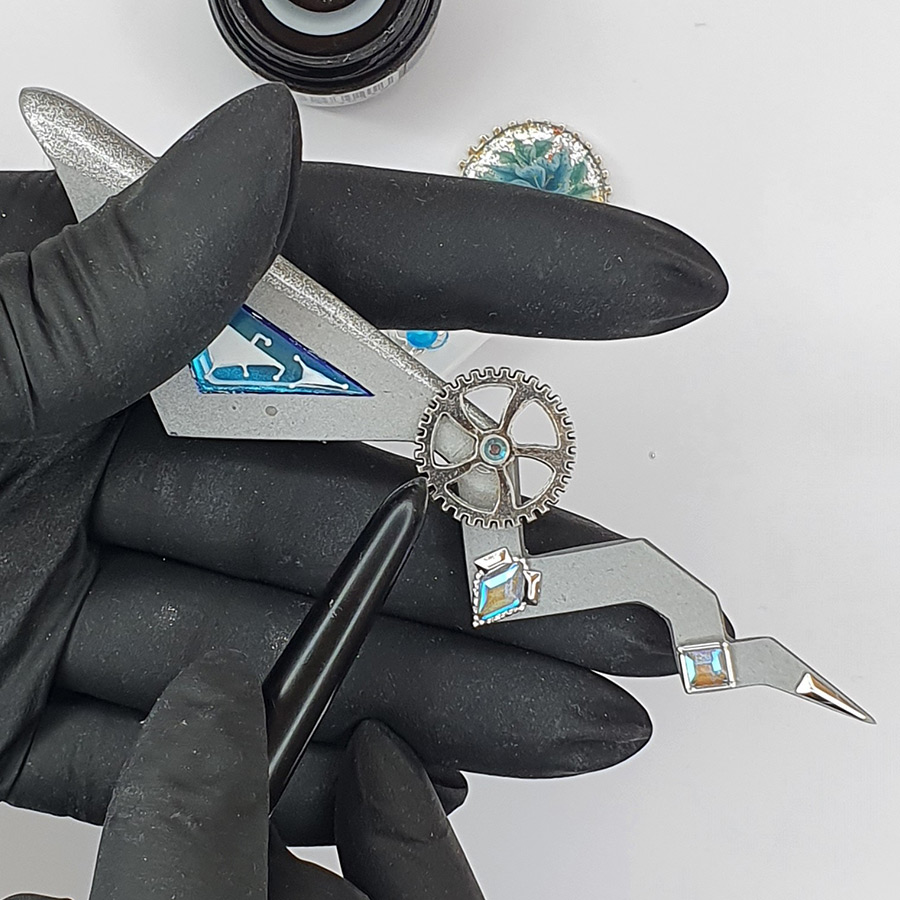
Glue a crystal into the center of a silver gear/cog.
Apply decoration to the nail with a liner brush, a waxing tool & gem glue gel. Cure when complete.
Repeat on both sides & continue to build up the design using all your chosen art media.
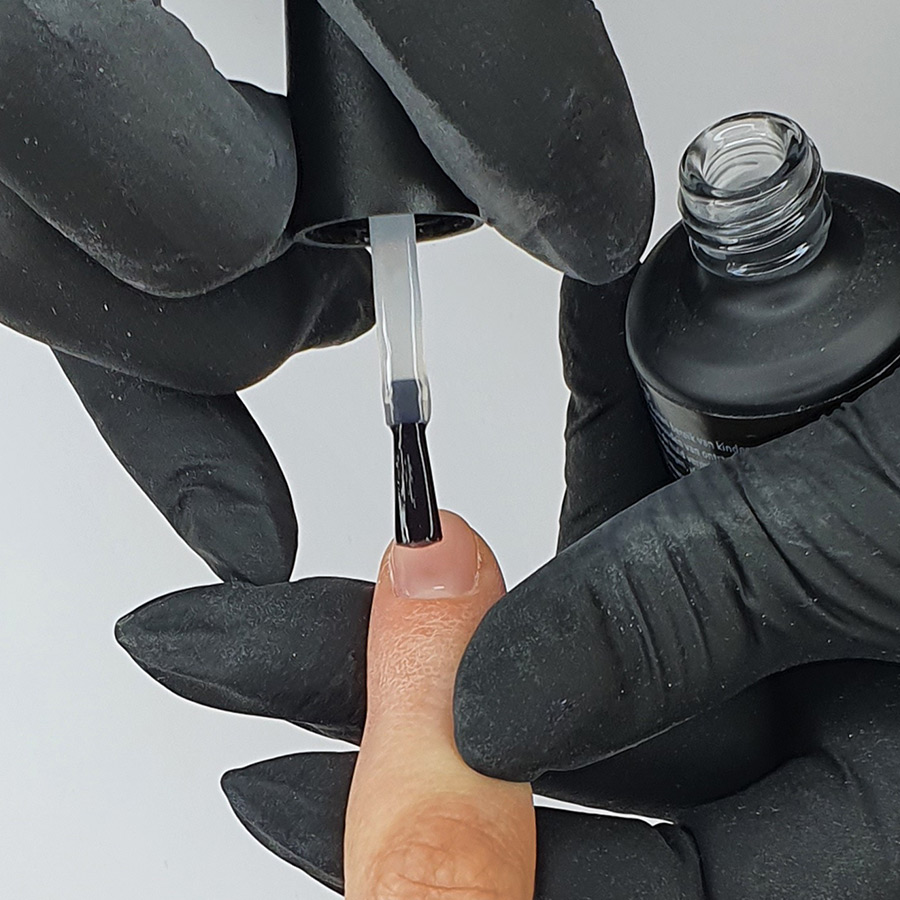
Apply nail polish to the natural nail in several layers & let it dry entirely. Next, apply UV/LED No-Fix Glossy Top Coat & cure, follow that with UV/LED No-Fix Matte Top Coat & cure

Apply a layer of UV/LED Rubber Base Gel & stick the extreme nail onto the natural nail. Hold it in place & cure while holding it straight.
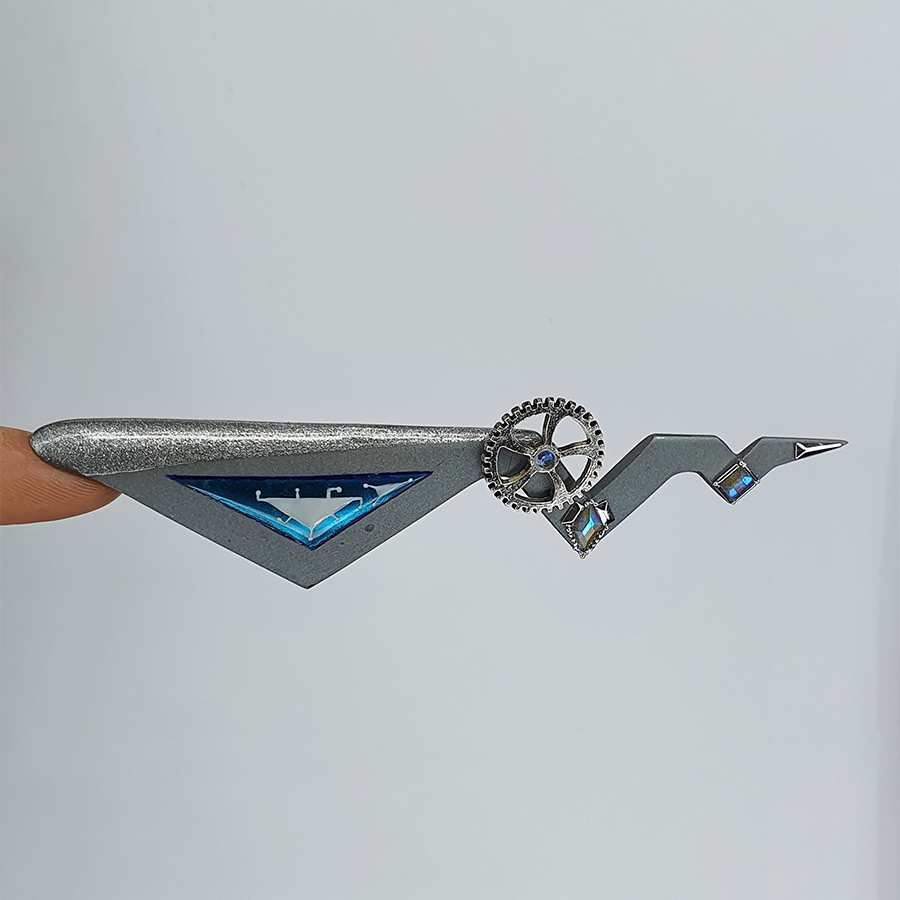
Design, sculpt, file & decorate all 5 nails in the same manner & voilà, get a stunning end result, which is then brought together with the help of your team; a hand model, experienced make-up artist & photographer.

MORE TAG THAT TREND
RELATED VIDEOS
MORE TO EXPLORE
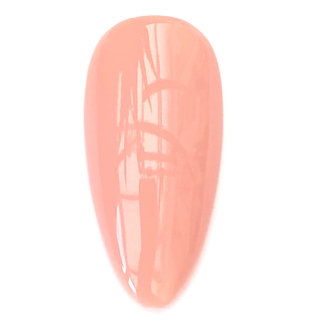
Prep the natural nail using a 180-grit file, remove dust. Apply “Prep It!”, then two thin coats of Flex It! “Cover Peach”, curing each coat for 60-seconds.
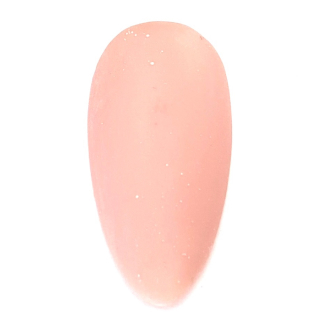
Prep Apply a thin, even coat of HD Pro “Matt It!” Cure for 60-seconds.
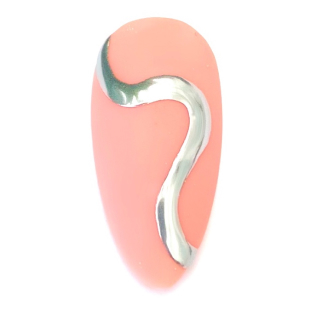
Use the HD Pro Long liner brush and HD Pro Art Gel in “Graphite” to create a wavy line. Cure for 30-seconds, then rub line with a dusting brush.
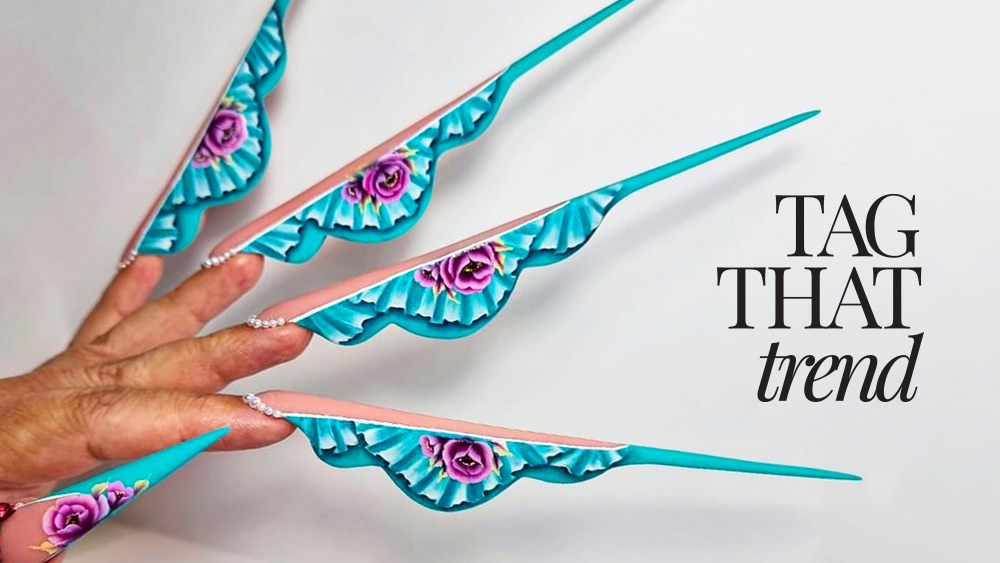
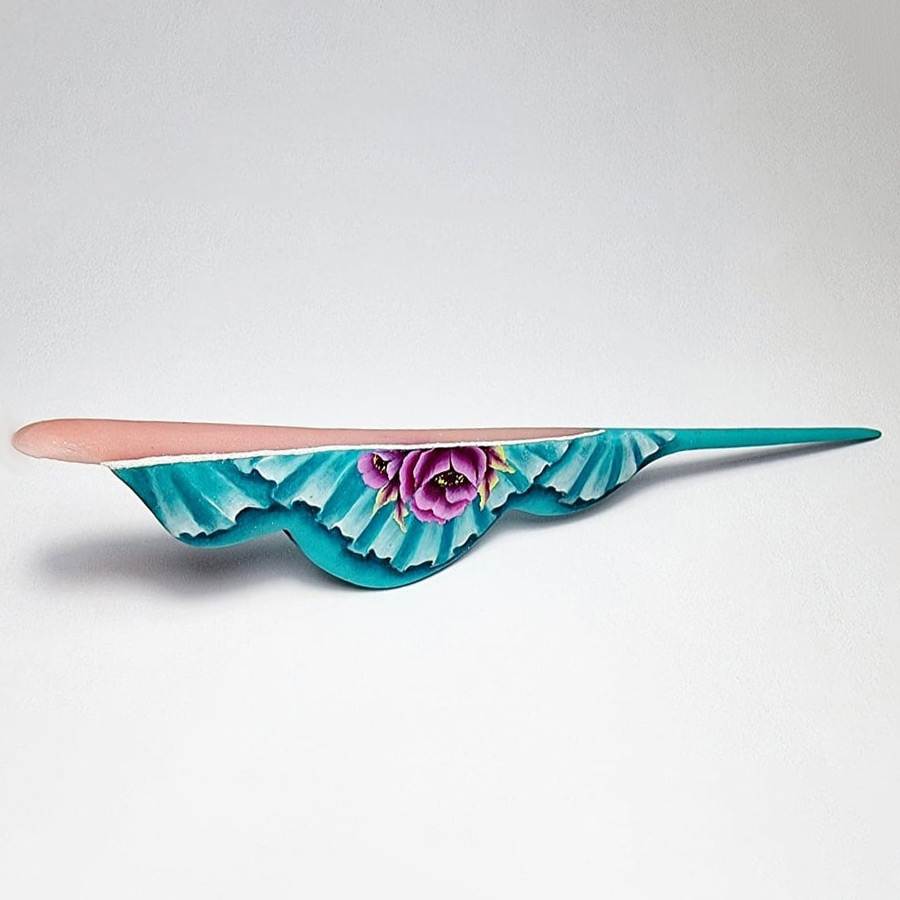
Lace Effect Design on Extreme Nails
Lace Effect Design on Extreme Nails
![]()
![]()
Erika Nortier
Erika Nortier’s nail journey started in South Africa, where her passion was ignited as a very young girl. After marrying and moving to Italy, Erika discovered a whole new world of nails and realized she had to study further. Taking every step of the way slowly and carefully, Erika, built upon her nail skills while following her dreams and realizing her passion. “In 2019, she entered Nailympia London, where she won her first gold medal and is a qualified educator with her own nail brand, You B You Nails.

PRODUCTS USED
- L&P Acrylic Artificial Nail System
- Color & Pink Powders
- Dappen Dish
- Sculpting Brush
- Series of Chosen UV/LED Gel Polish Colors
- UV/LED Lamp
- Sugar Effect Powder
- UV/LED Gel Paints
- One Stroke Nail Art Brush
STEPS
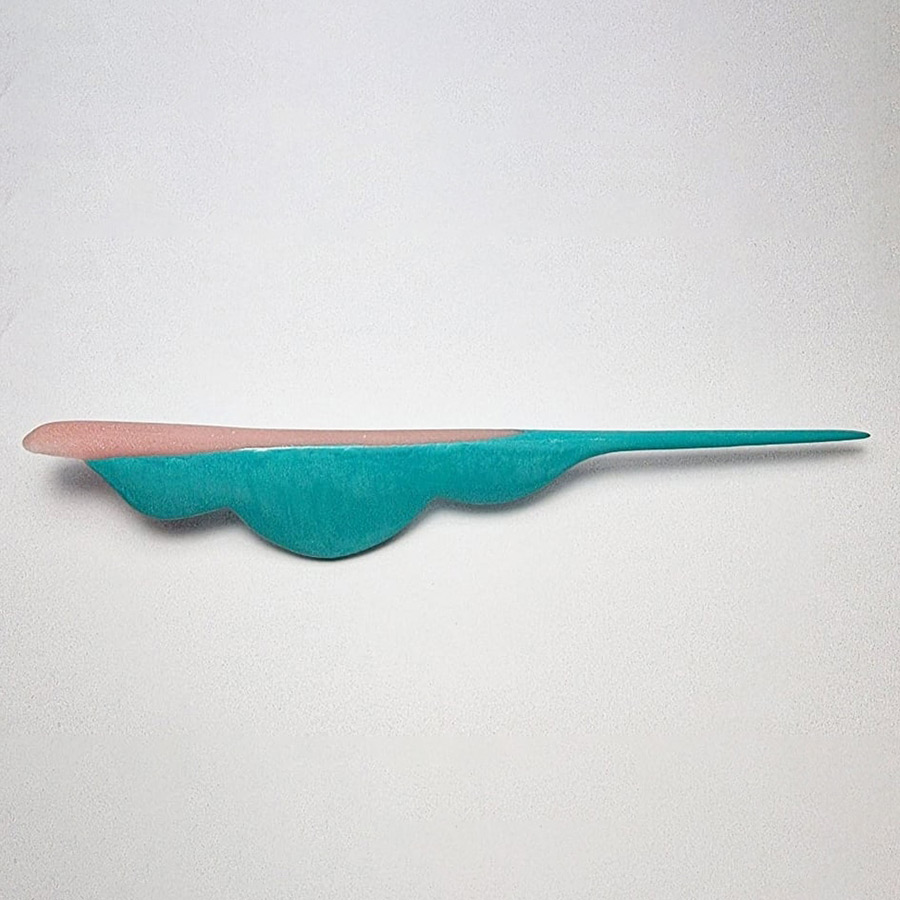
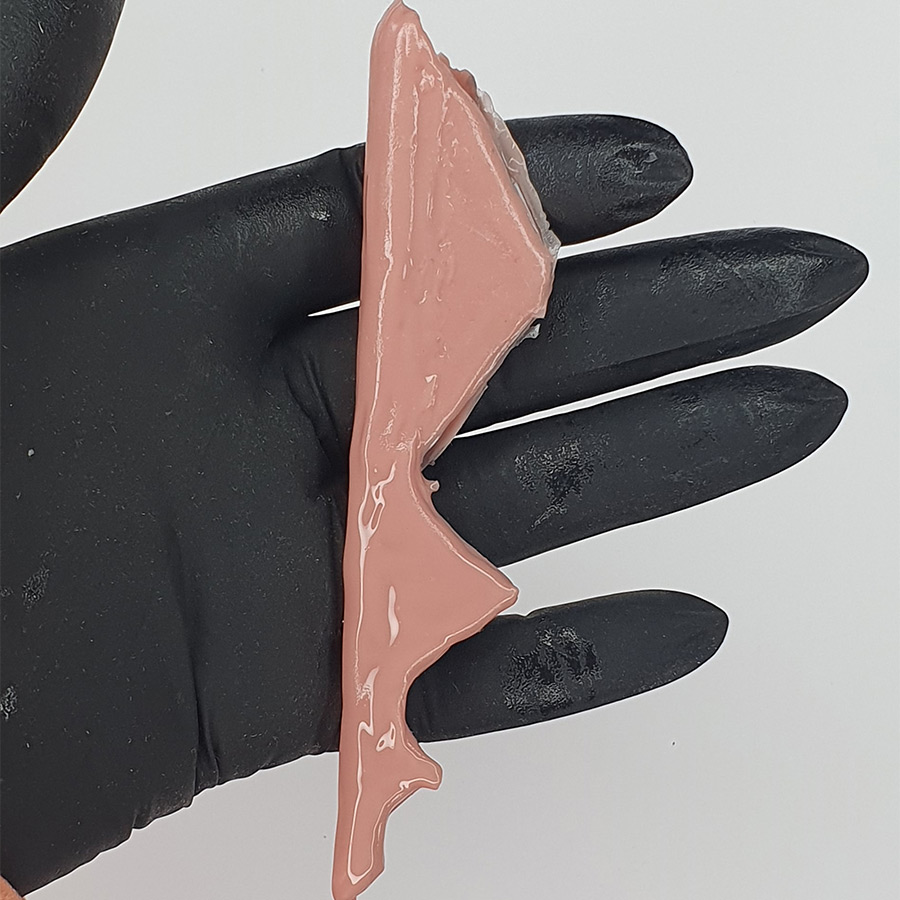
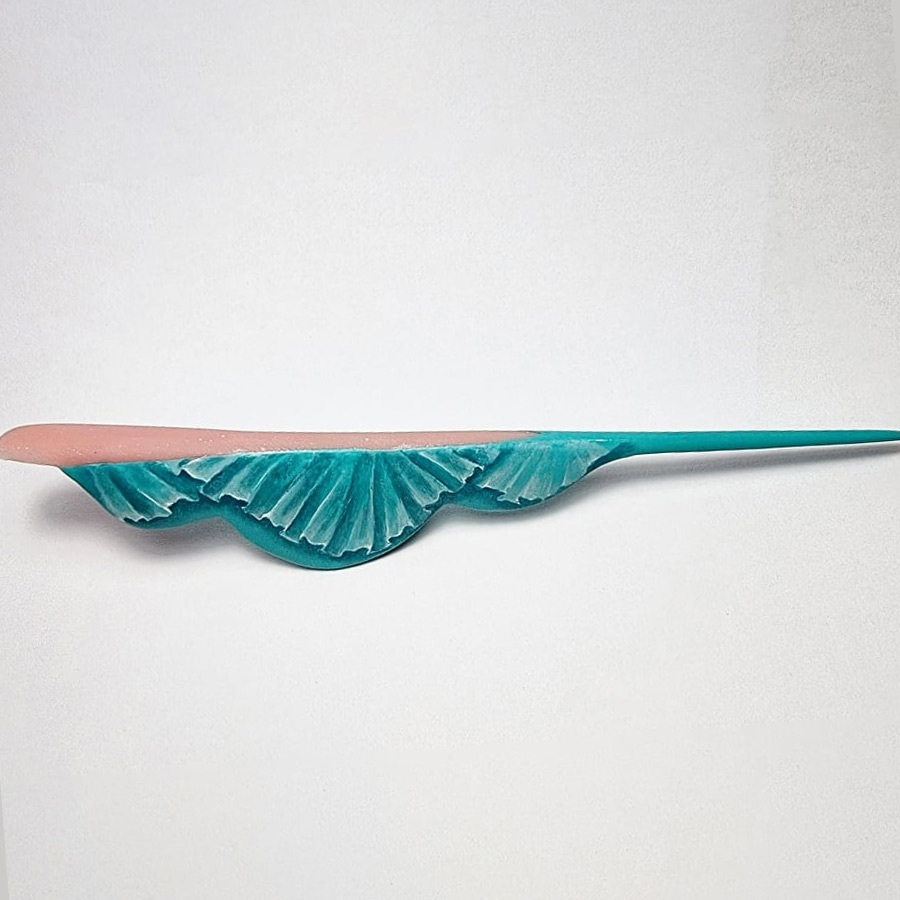
Sculpt an extreme nail in any shape using cover pink for the elongated nail plate (French) & paint the extended nail plate & sides with your choice of UV/LED gel polish color or gel paint.
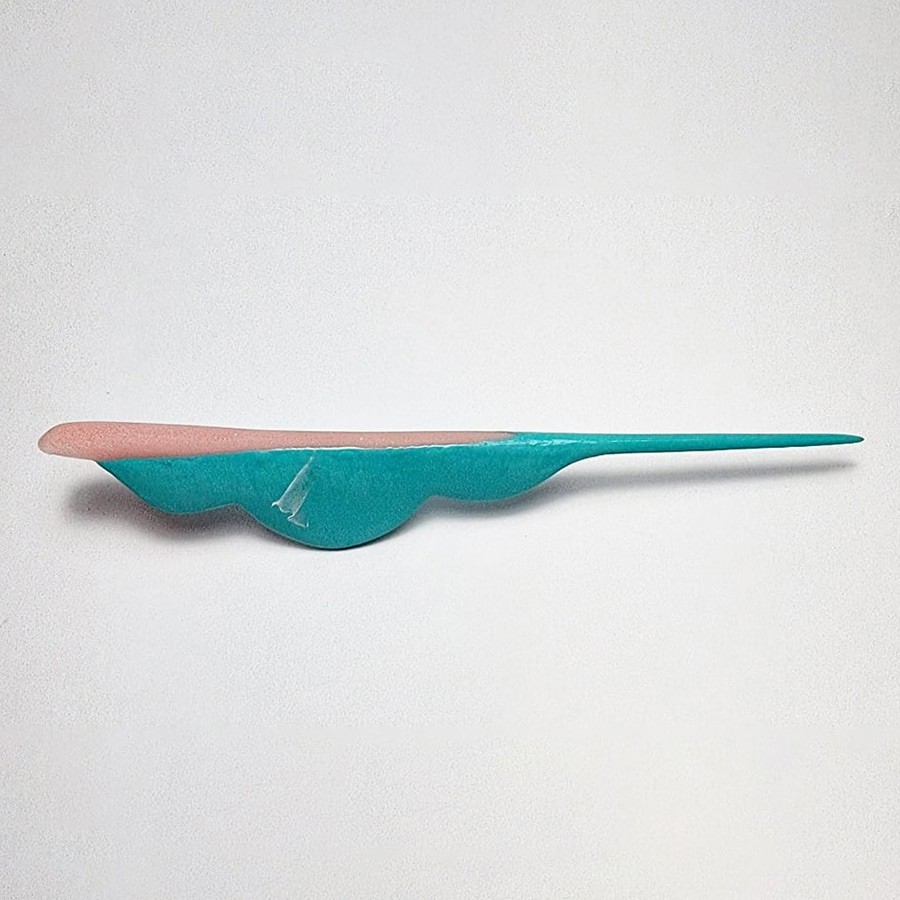
On the smooth sides of the nail use white UV/LED gel paint & start to draw lines to create a lace effect across the sides & cure.
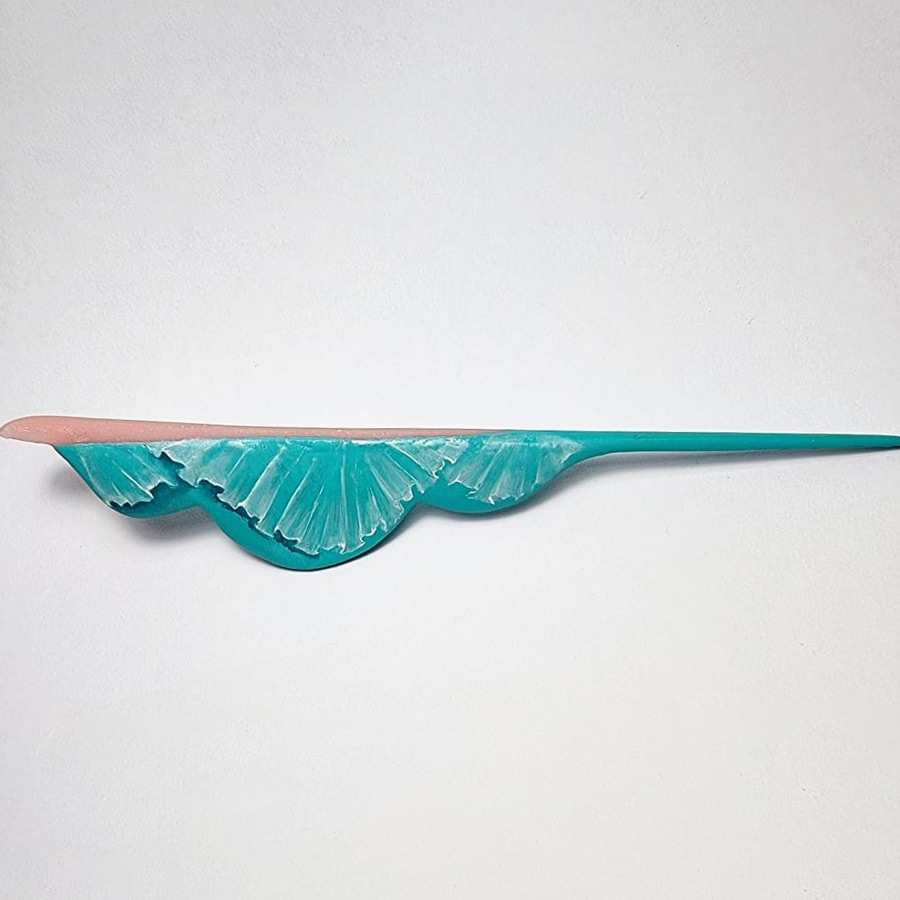
Use very little UV/LED paint, shade in these lines to create a transparent lace effect, then cure in lamp. This technique uses white paint in fine lines & shading to create the effect of lace hanging down the side of the nail.
Once you’re finished with your white lace shading. Use a darker color UV/LED gel to shade underneath the bottom part of the lace drawing. This brings the lace to life & the effect becomes more realistic as it appears the lace is lifting away from the nail. Later, you can cover this design with a velvet top coat to help the shading effect to look more beautiful.
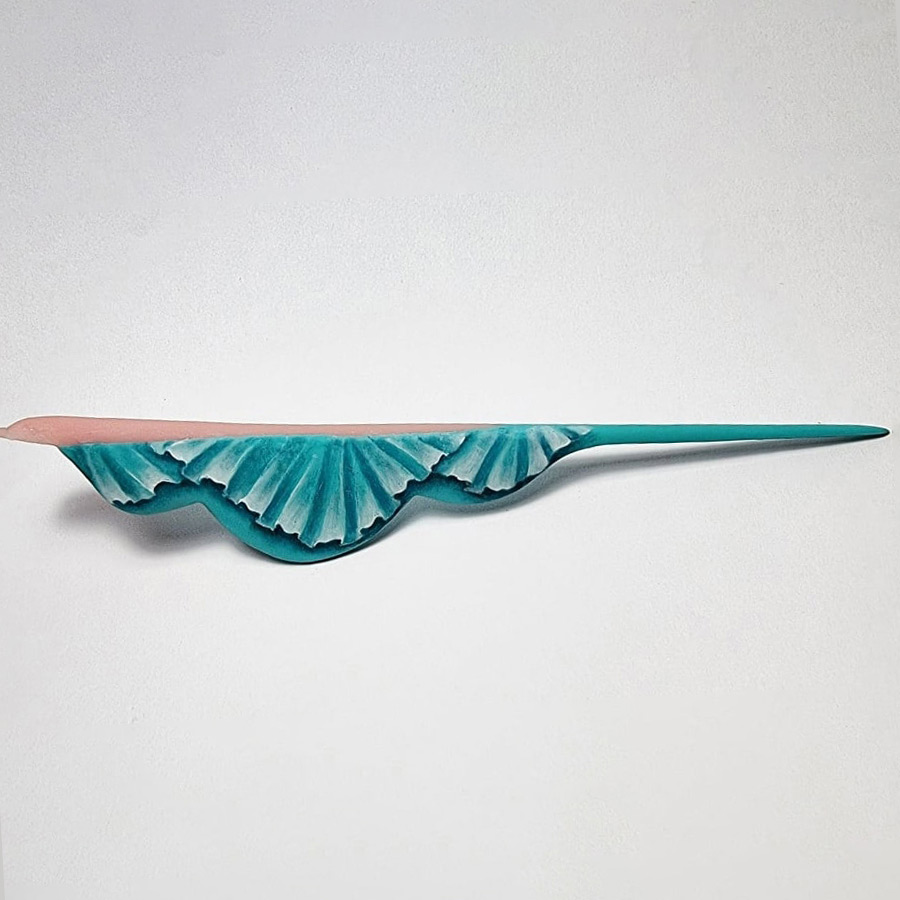
Continue to fine tune & refine each element of the lace with delicate shading & highlighting across the design.
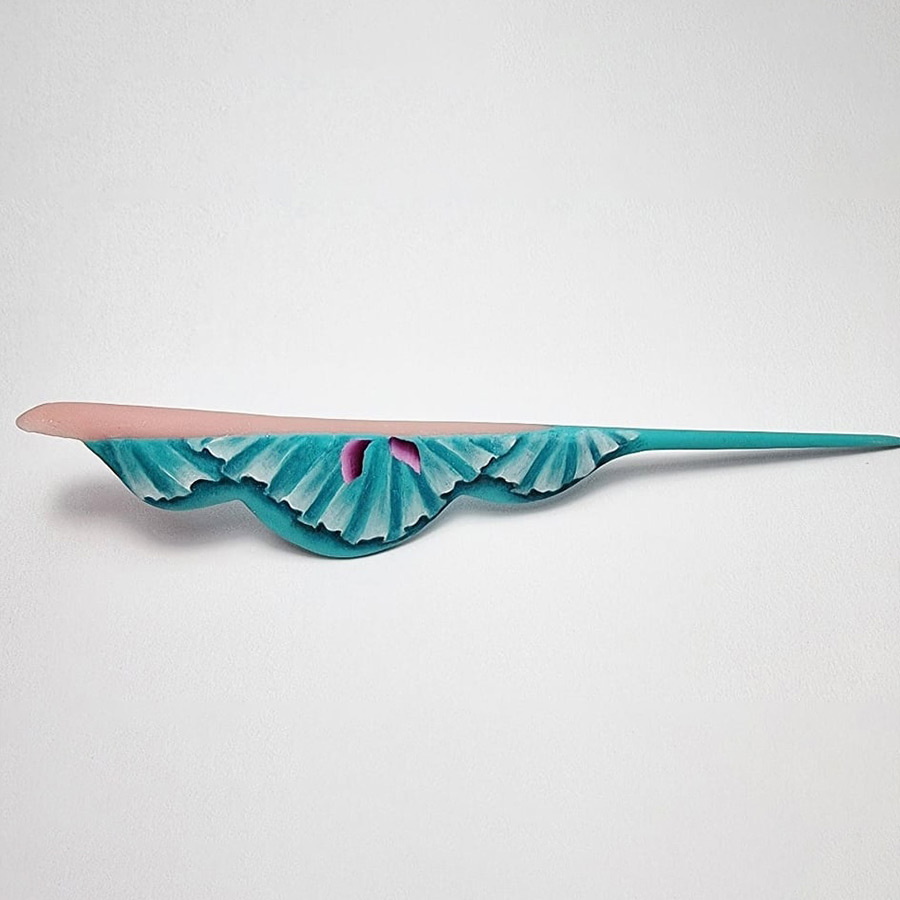
Once you’ve completed the lace design. You can now start to paint beautiful one stroke flowers onto the nail. Start in the middle section of the side of the nail using 2 complementary or contrasting colors & the one stroke technique.

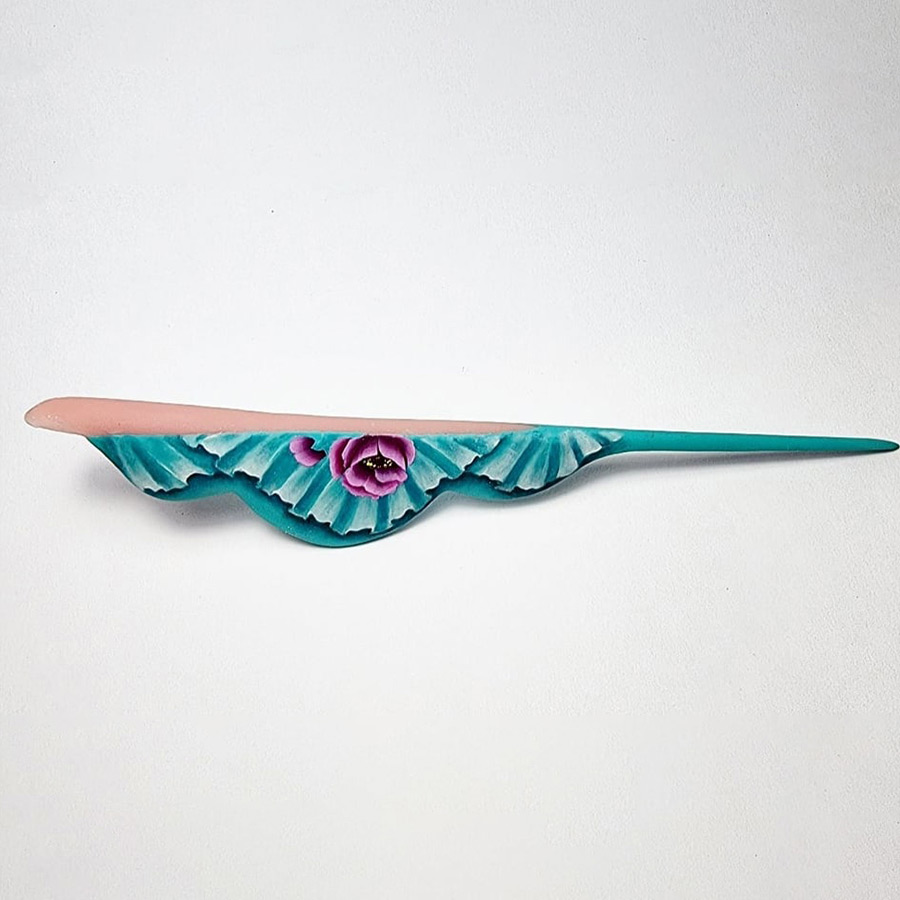
Continue to build up the flower design, adding petals in a circle. You can now decide on the effect you’re looking for. You can choose to cover your nail with velvet, shiny or matte UV/ LED top coat.
Place an inner layer of petals & start a fresh flower to the left of the first. Use a dotting tool to add the stamen in the center of the flower.
Complete the second flower. Next add leaves to the design & shade them using a small amount of the color used for the petals. To finish, draw a white line around the border of the French with a white UV/LED gel paint. While this line is still uncured, you can throw sugar effect powder over it for added texture before curing in your lamp. Once it’s dry, remove all excess powder with a brush.
MORE TAG THAT TREND
RELATED VIDEOS
MORE TO EXPLORE
Prep the natural nail using a 180-grit file, remove dust. Apply “Prep It!”, then two thin coats of Flex It! “Cover Peach”, curing each coat for 60-seconds.
Prep Apply a thin, even coat of HD Pro “Matt It!” Cure for 60-seconds.
Use the HD Pro Long liner brush and HD Pro Art Gel in “Graphite” to create a wavy line. Cure for 30-seconds, then rub line with a dusting brush.
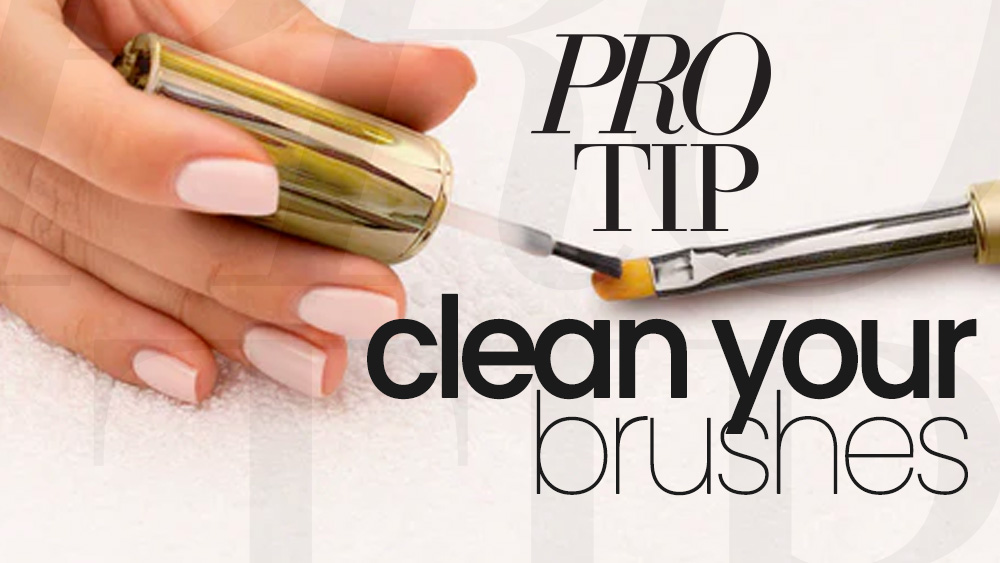
Clean Your Art Brushes
![]()
Clean Your Art Brushes
Nail art brushes are expensive. Leaving them out on the nail desk with gel or paint in the bristles can potentially ruin them. Learn the best way to care for your investment with Lisa Boone, who will teach how to clean and properly store them to prolong their life.
SEE MORE PRO TIPS
RELATED VIDEOS
MORE TO EXPLORE
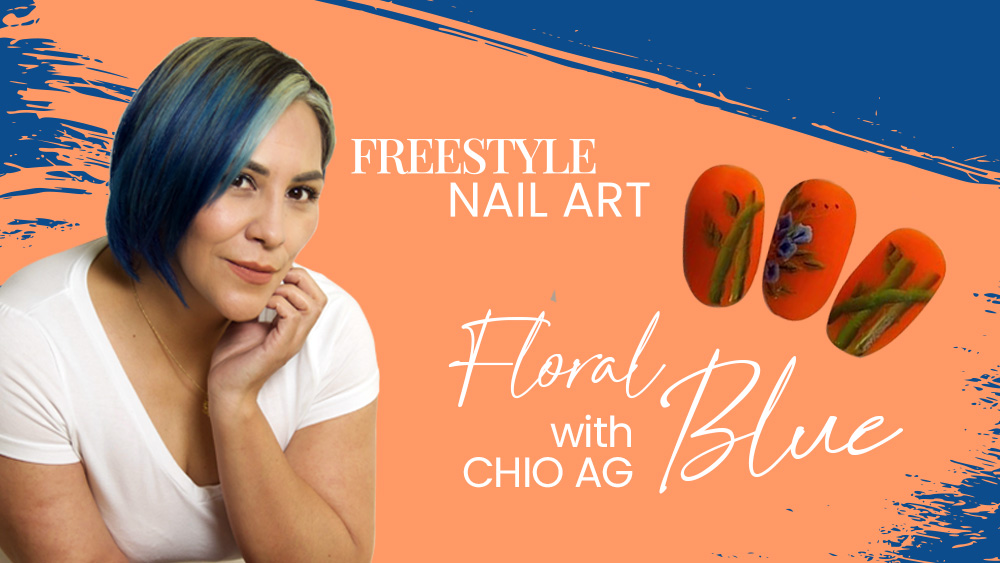
Floral Blue One Stroke
![]()
Floral Blue One Stroke
This unique design, reminiscent of a blue bonnet flower, can be the center of your artistic creation or an accent to any nail art look. Learn these simple, yet beautiful one-stroke flowers to add to your nail art assortment.
SEE MORE FREE STYLE NAIL ART
RELATED VIDEOS
MORE TO EXPLORE

Aquarelle
![]()
Aquarelle
Simulate watercolor art on the nail using aquarelle gel polish colors and base coat. This technique affords a host of patterns and designs when created using a thin brush or nail art tool.
SEE MORE FREE STYLE NAIL ART
RELATED VIDEOS
MORE TO EXPLORE

Little Monster
![]()
Little Monster
Creating cartoon characters can be a fun way to learn brush and product control. Have fun creating a little monster with Monua Parra from Mexico City.