TWO-WAY BUFFER
TWO-WAY BUFFER [Too-wey-buhf-er]
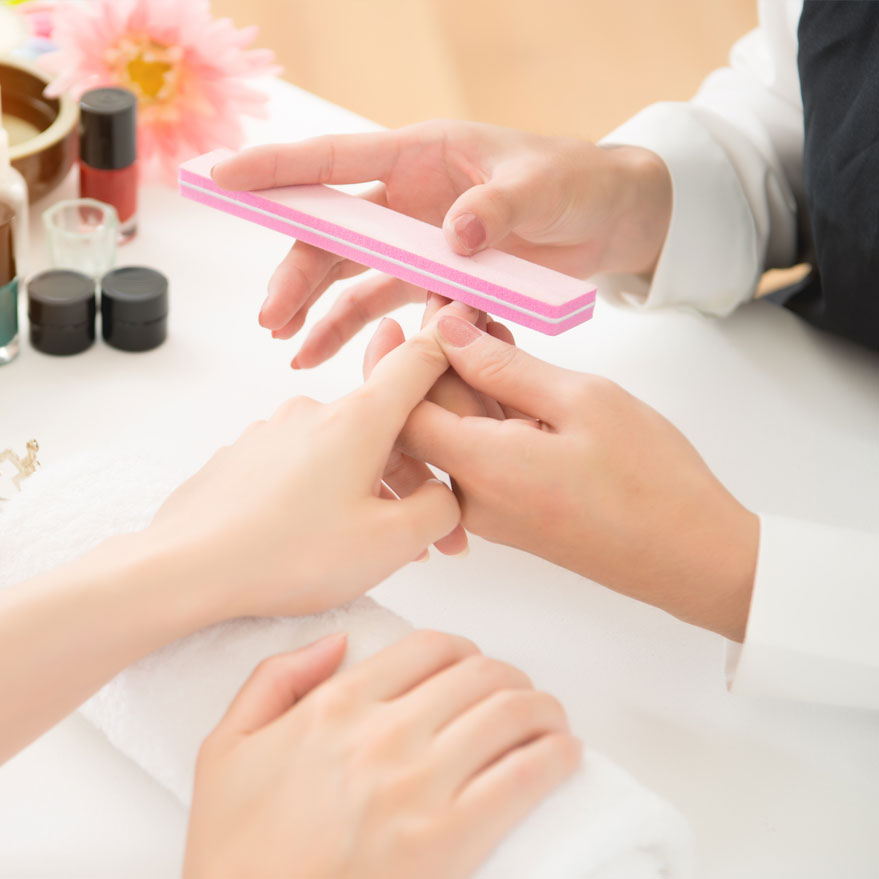
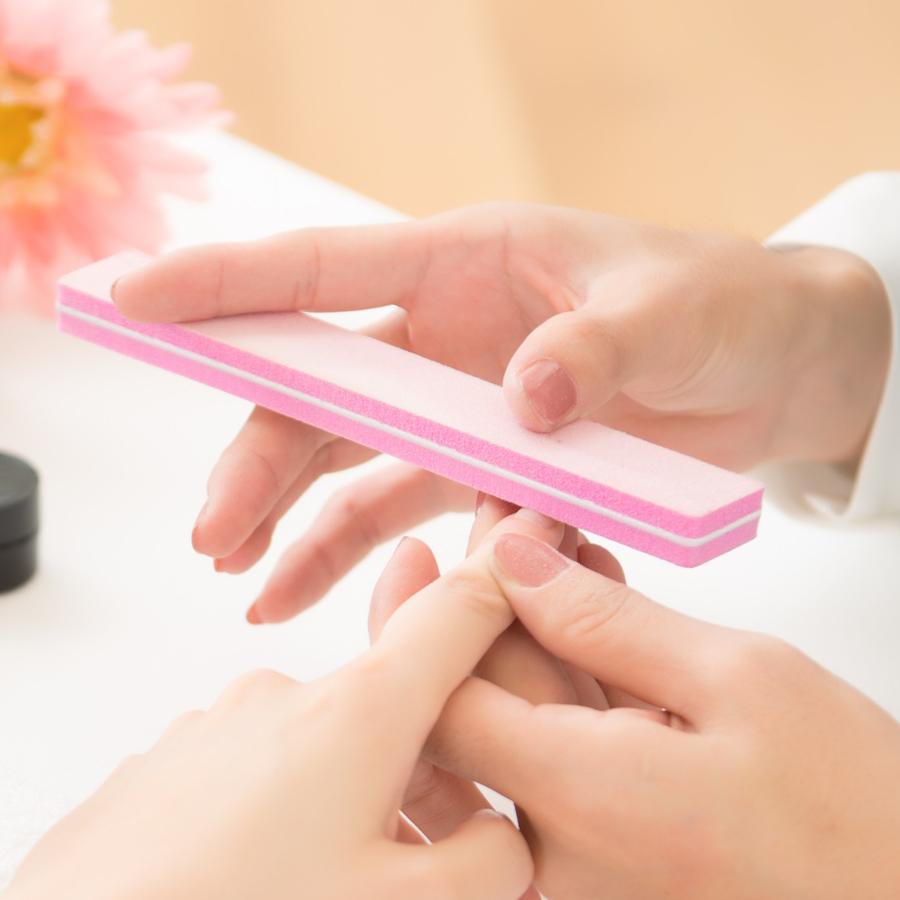
What it is: A nail buffer that has a different grit on each side, meant to smooth the surface of a nail enhancement
How to use it: Use to buff the surface of the natural nail in preperation for nail enhancement service, or to smooth any ridges of a natural nail during a manicure. Also used after filing a nail enhancement to smooth the surface or to buff away any debris left on the natural nail when removing enhancement product.
How to apply it: Use the lowest grit first to remove scratches from the nail surface. Use the higher grit for smoothing the surface of the nail enhancement.
How to store it: Store new buffers in a covered or sealed container. Used buffers can be disposed of or given to the client for home use.
How to disinfect: Most nail buffers cannot be disinfected and therefore can only be used on one client.
VIDEOS RELATED TO THIS TERM
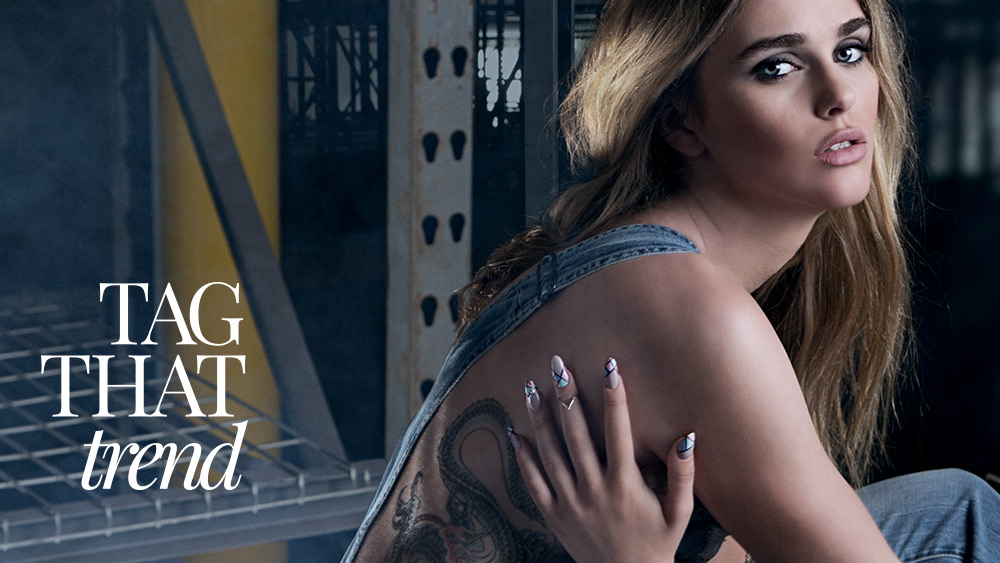
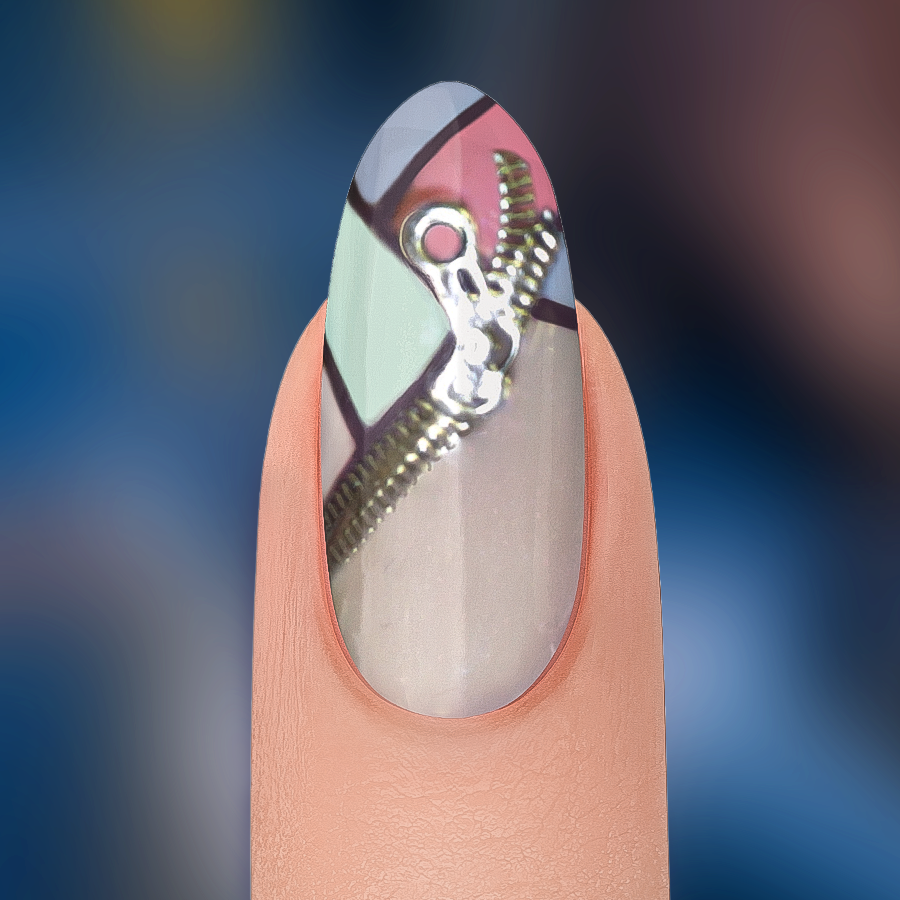
Keep It Zipped
Keep It Zipped
![]()
Alisha Rimando
Alisha Rimando is recognized as one of the nail industry’s leading experts in training and education. In her 29 years experience, her work has been described as ‘ground-breaking’ as she has been a platform artist and motivational speaker for thousands of promotional and educational events, and competed in hundreds of nail competitions around the globe winning the World Nail Championship in 2005 in Pink & White Sculptured Nails. She is the featured artist in many training videos, including hosting the current Milady Standard Nail Technology DVD Series. Her passion for educating the nail community takes her on another adventure with the conception and development of GlossaryLive.com
PRODUCTS USED
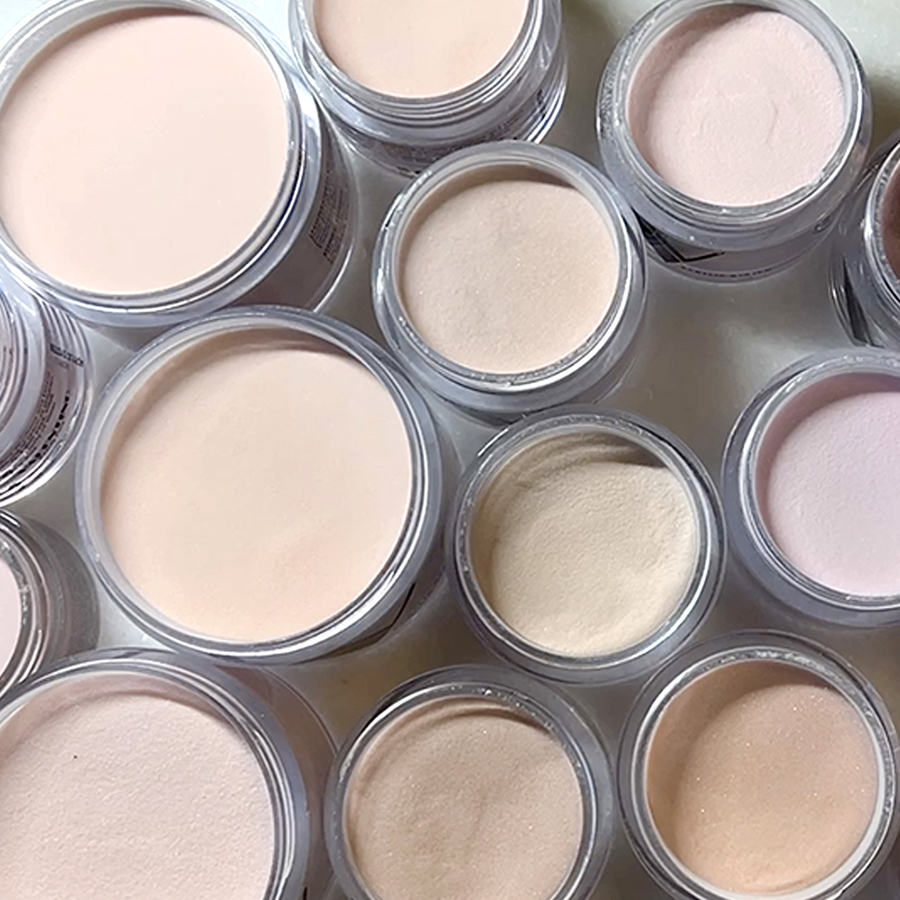
- Standard Color Gloss Items
- #2100081 Glammed Up Grunge
- #2100082 Under the Overalls
- #2100083 Acid Washed Angel
- #2100084 Rogue Vogue
- #2100085 Work Boots
- #2100086 Denimist
- #03314 Artistic Striper Brush
- #03317 Artistic #9 Oval Brush
- #03313 Artistic Mini Striper Brush
- #03332 Artistic Sani Tongs
STEPS
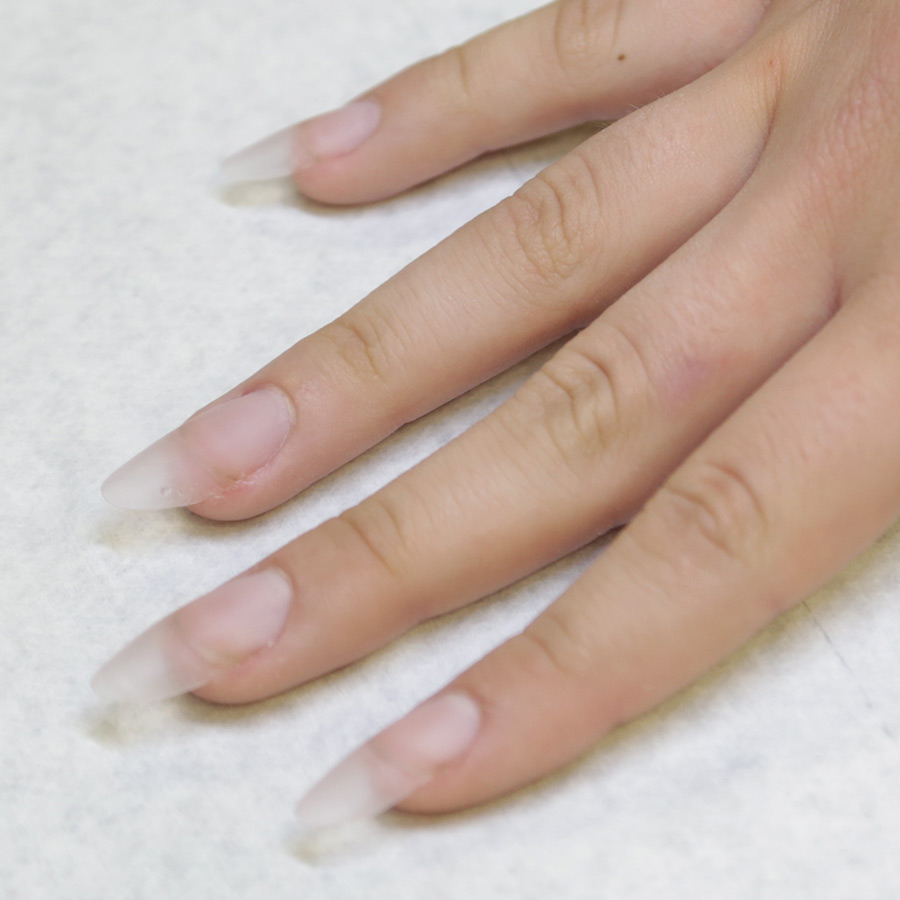
Follow application steps for Rock Hard Extension.
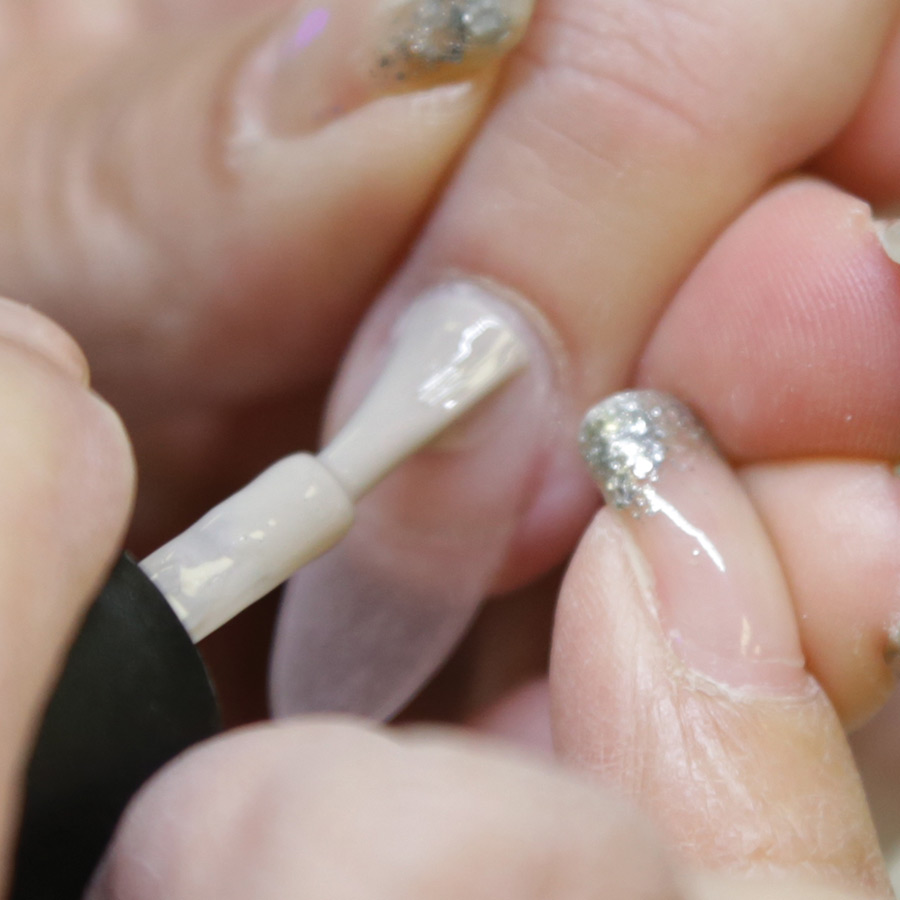
Apply a thin coat of Under the Overalls, making sure to cap the free edge. Cure for 30 seconds in LED light or 2 minutes in UV. Repeat.
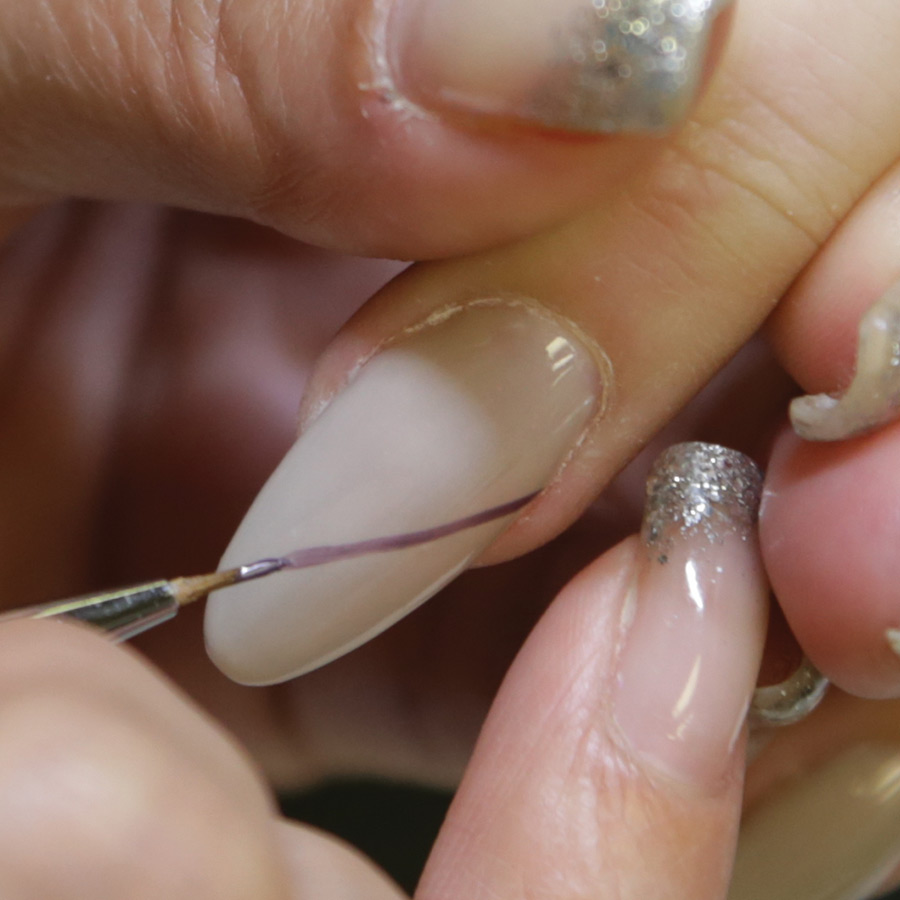
Use the Artistic Striper Brush to create straight lines with Work Boots creating a geometrical pattern. Cure for 30 seconds in LED light or 2 minutes in UV.
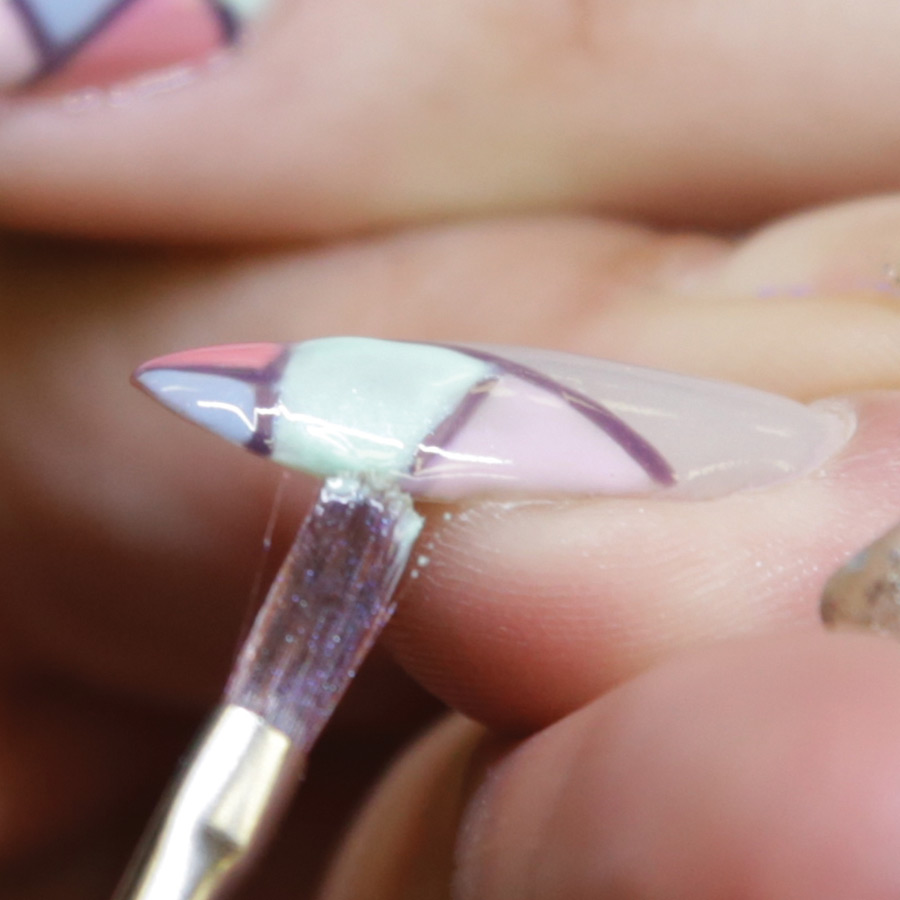
Fill in the spaces created from the lines with the Artisitc #9 Oval Brush using multiple Artistic Spring Colors (Acid Washed Angel, Glammed Up Grunge, Rogue Vogue, & Denimist) Cure for 30 seconds in LED light or 2 minutes in UV.
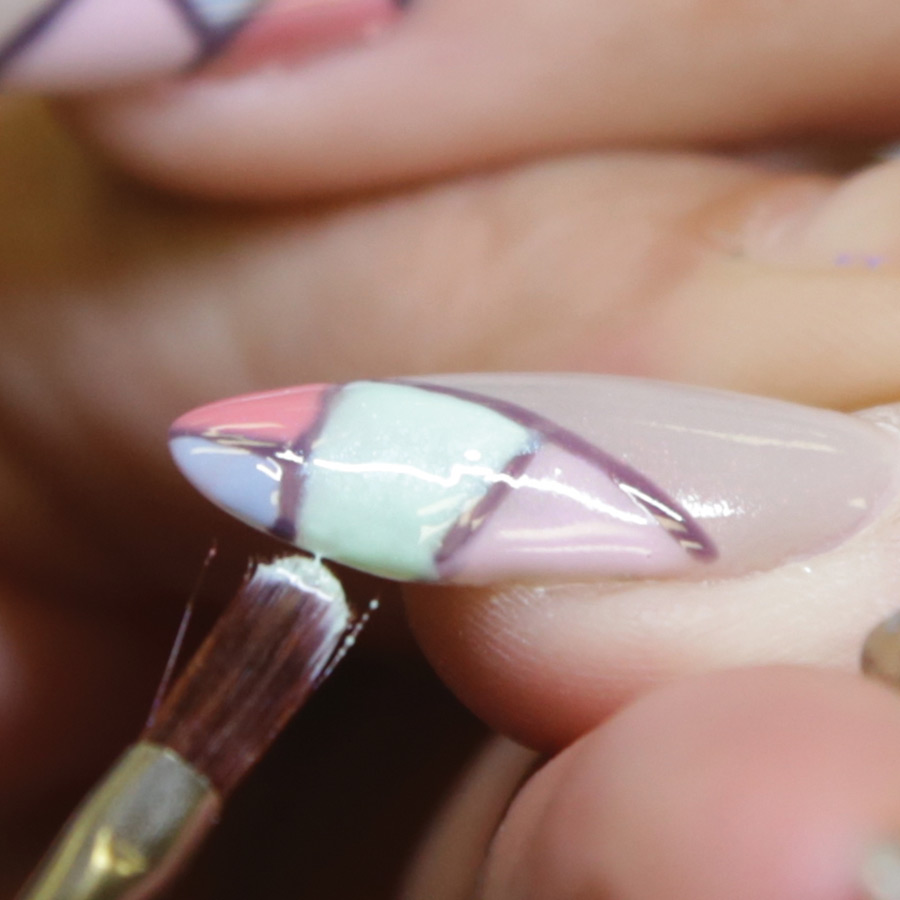
Apply second coat of Artistic Spring colors using the Artistic #9 Oval Brush. Cure for 30 seconds in LED light or 2 minutes in UV.
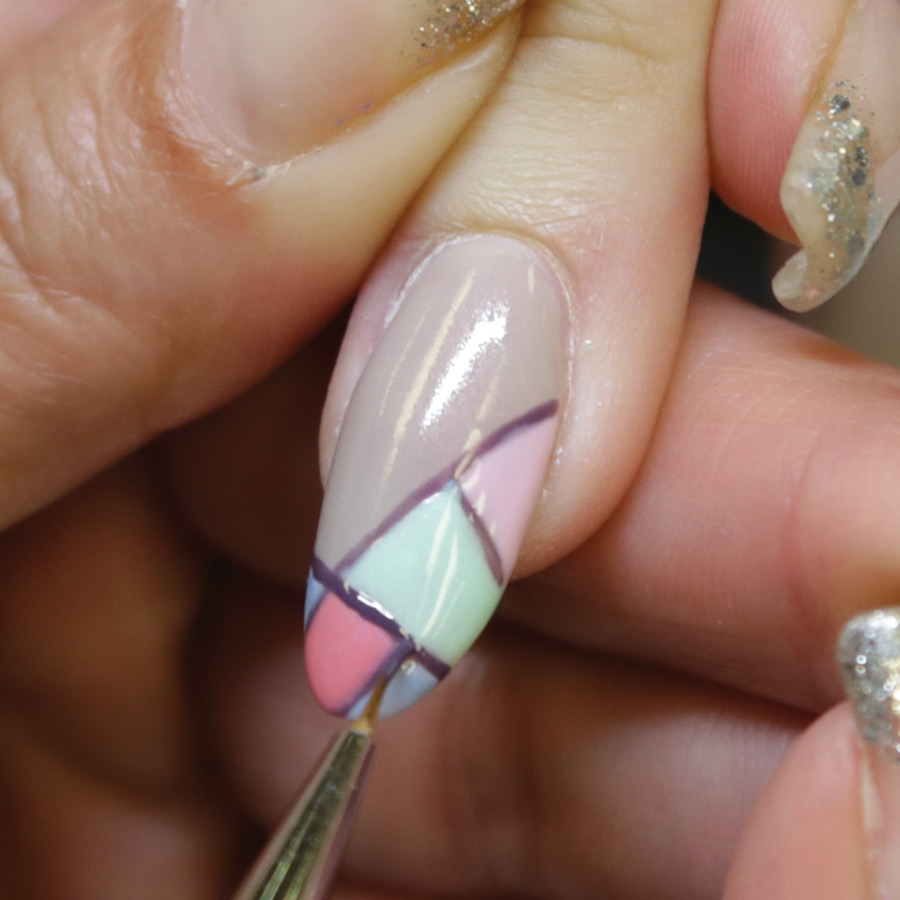
Darken dividing lines with the Artistic Mini Striper Brush using Work Boots. Cure for 30 seconds in LED light or 2 minutes in UV.
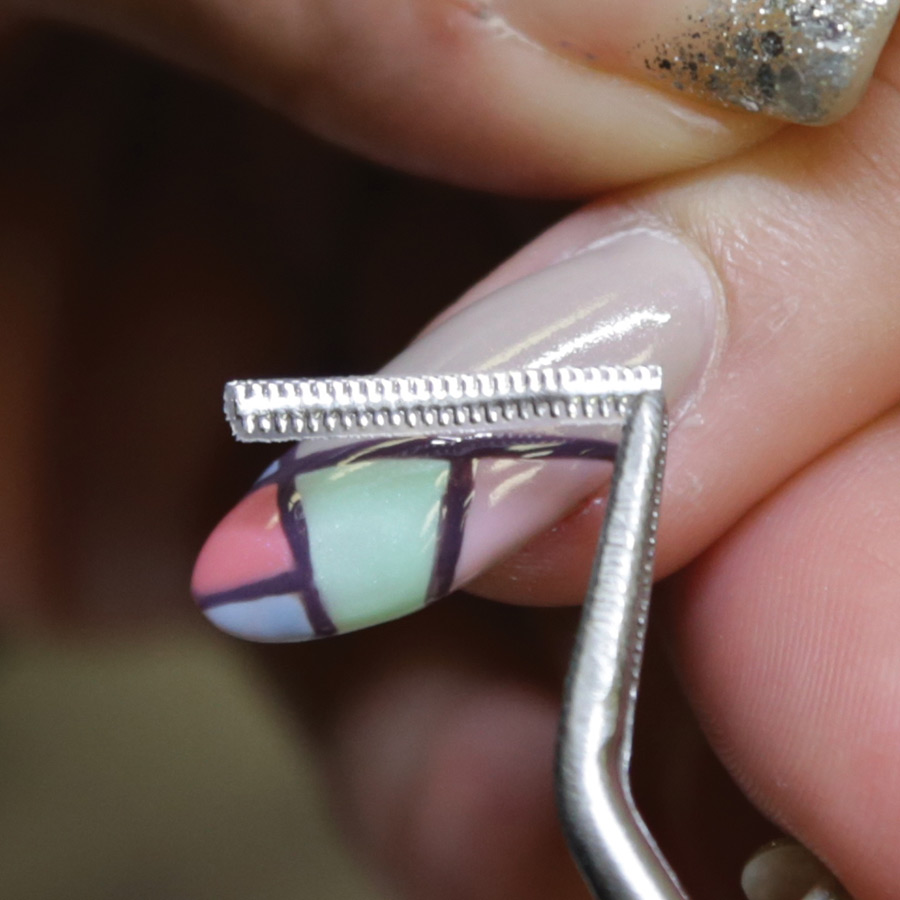
Apply self adhesive zipper decal to the nail using the Artistic Sani Tongs.
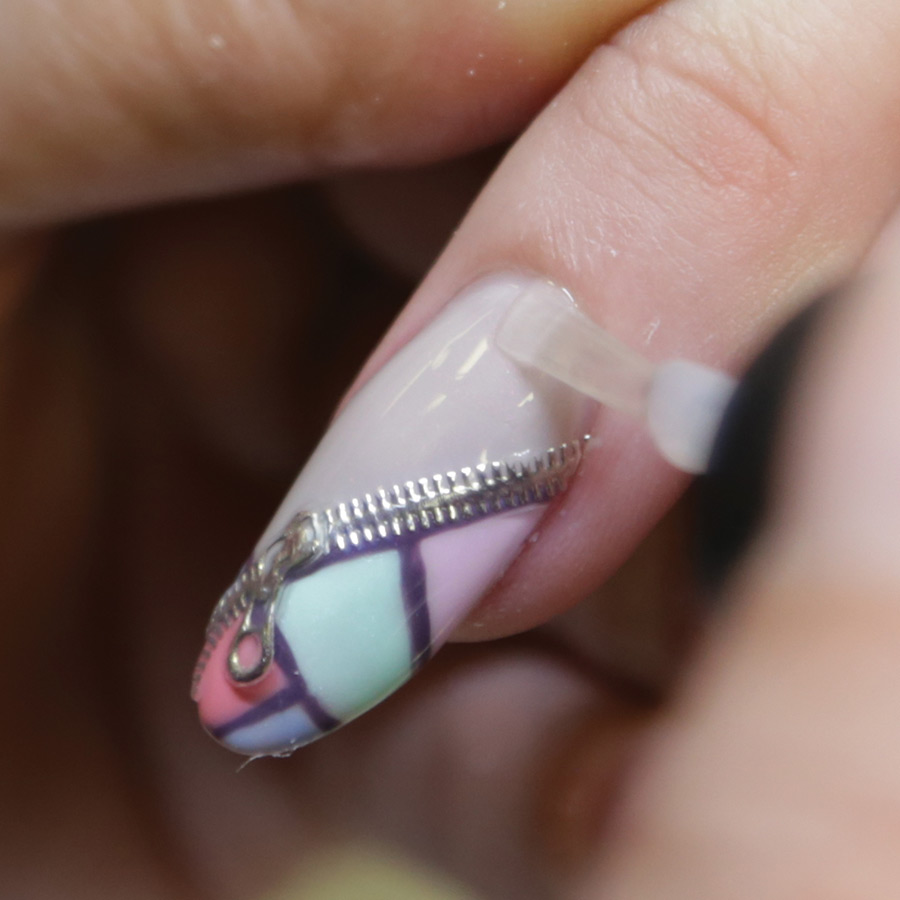
Apply Glossing Gel over the entire nail & cure for 30 seconds in LED or 2 minutes in UV. Use Nail Surface Cleanser & a lint-free wipe to cleanse the inhibition layer.

MORE TAG THAT TREND
RELATED VIDEOS
MORE TO EXPLORE
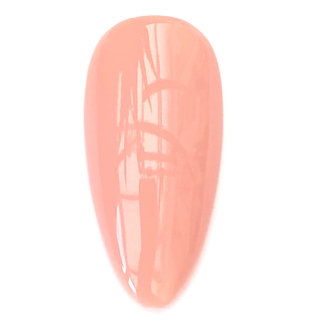
Prep the natural nail using a 180-grit file, remove dust. Apply “Prep It!”, then two thin coats of Flex It! “Cover Peach”, curing each coat for 60-seconds.
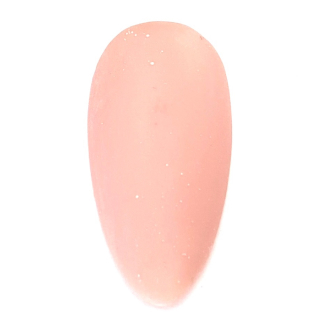
Prep Apply a thin, even coat of HD Pro “Matt It!” Cure for 60-seconds.
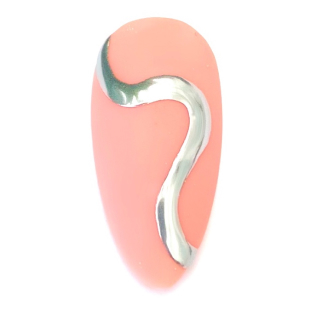
Use the HD Pro Long liner brush and HD Pro Art Gel in “Graphite” to create a wavy line. Cure for 30-seconds, then rub line with a dusting brush.
Leah Candiliere
![]()
Nail Influencer & Artist
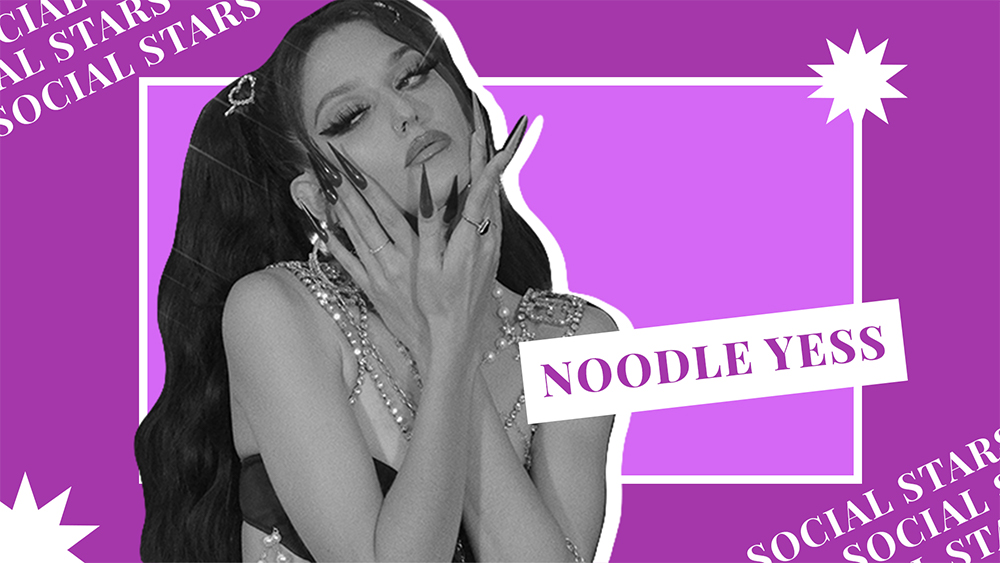
Uber popular Noodle_Yess answers some of our most important questions about social media and the best way to utilize it for the best results. Learn how this graphic designer turned nail enthusiast took her passion for nails and created a social media following of over 350K! Find out how she designs her content and what it takes to grow your social media following, you’ll also find out just how Leah became Noodle_Yess.
SEE MORE SOCIAL STARS
RELATED VIDEOS
MORE TO EXPLORE
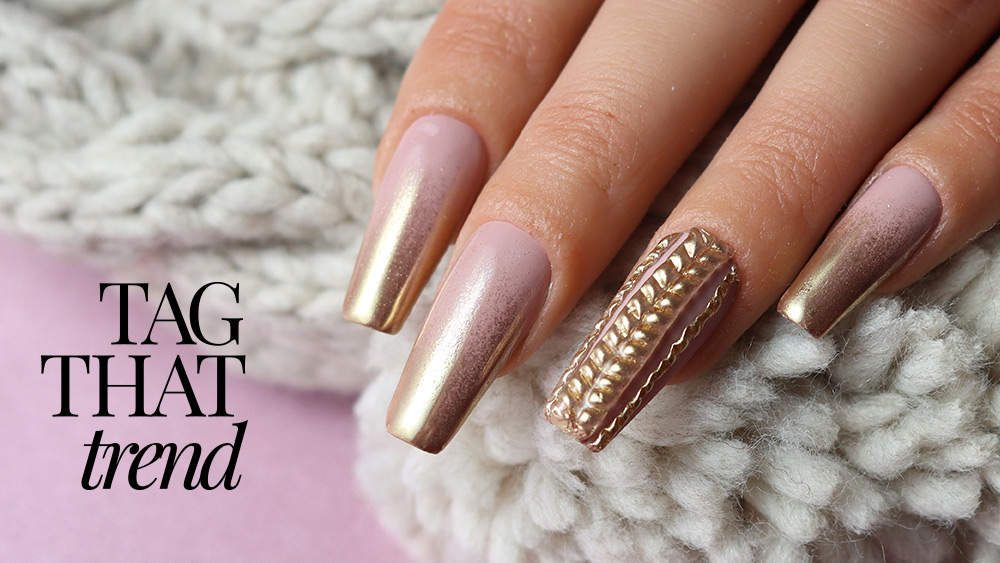
Chrome Cable Knit
Chrome Cable Knit
![]()
April Ryan
Born in Russia and currently living the American dream in Colorado, USA, April Ryan is no stranger to hard work and taking chances. Passionate about nails, April has spent hours creating nail art designs on herself and posting them on social media to high regard and much success. Over time, not only did her nail art gain recognition, but her beautiful hands did as well. It was from this activity that a huge idea was born that took her from nail tech to a Forbes magazine recognized business owner. This entrepreneur and CEO of Red Iguana, who enjoys a social following of nearly 400k on Instagram alone, shares a quick and easy nail art tutorial to jazz up your salon menu this season.

PRODUCTS USED
- Carving UV/LED Gel
- Pusher Tool or Spatula
- Gold Chrome Powder
- UV/LED Cure Lamp and Top Coat
STEPS
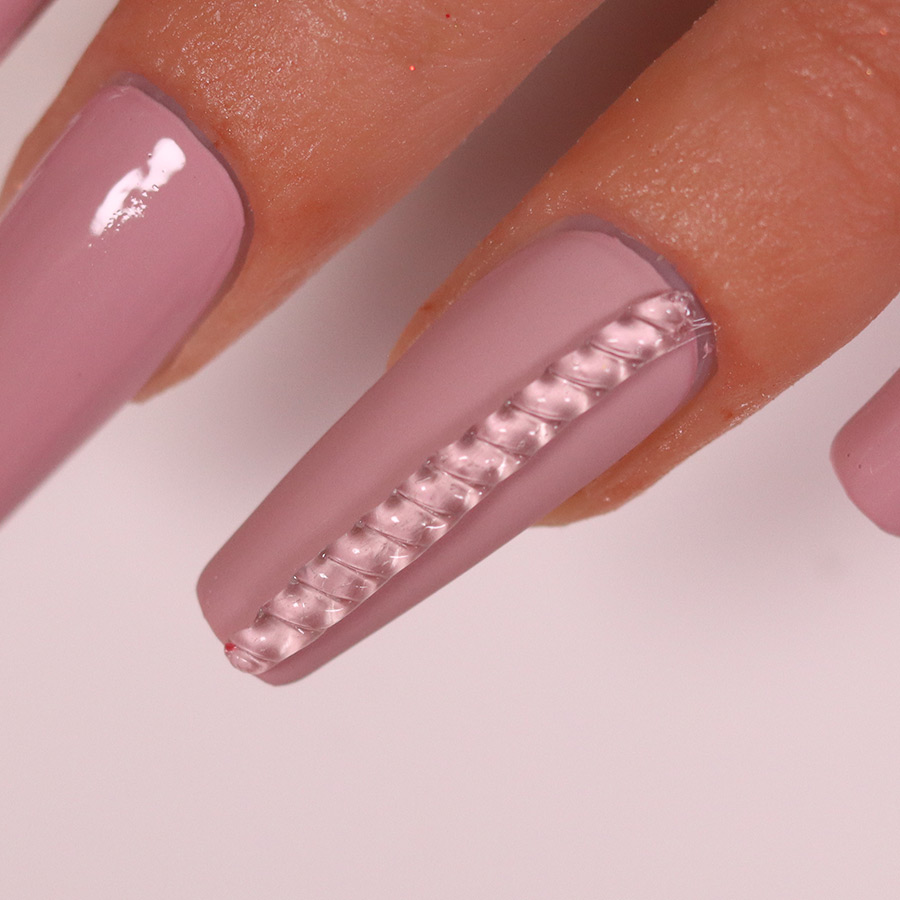
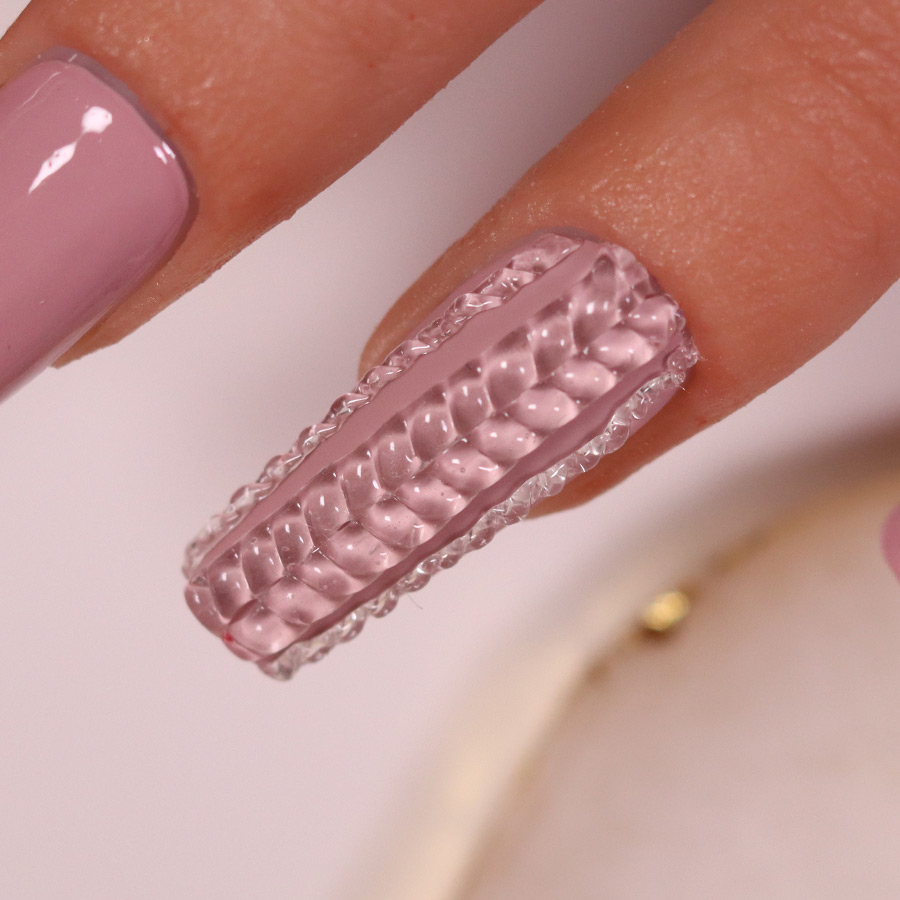
Manicure the nails & complete a nail lacquer or gel polish service with a matte top coat. Use clear carving gel to create the first strip of the design. This is applied right of center from the cuticle region to the free edge. Do not cure.
Use a spatula or a cuticle pusher to create diagonal grooves by pressing into the strip of carving gel. Do this all the way up using the same pressure and angle, to create a cable-style design. Grooves should be directed towards the center of the nail. Now cure for 60-seconds in a UV/LED lamp.
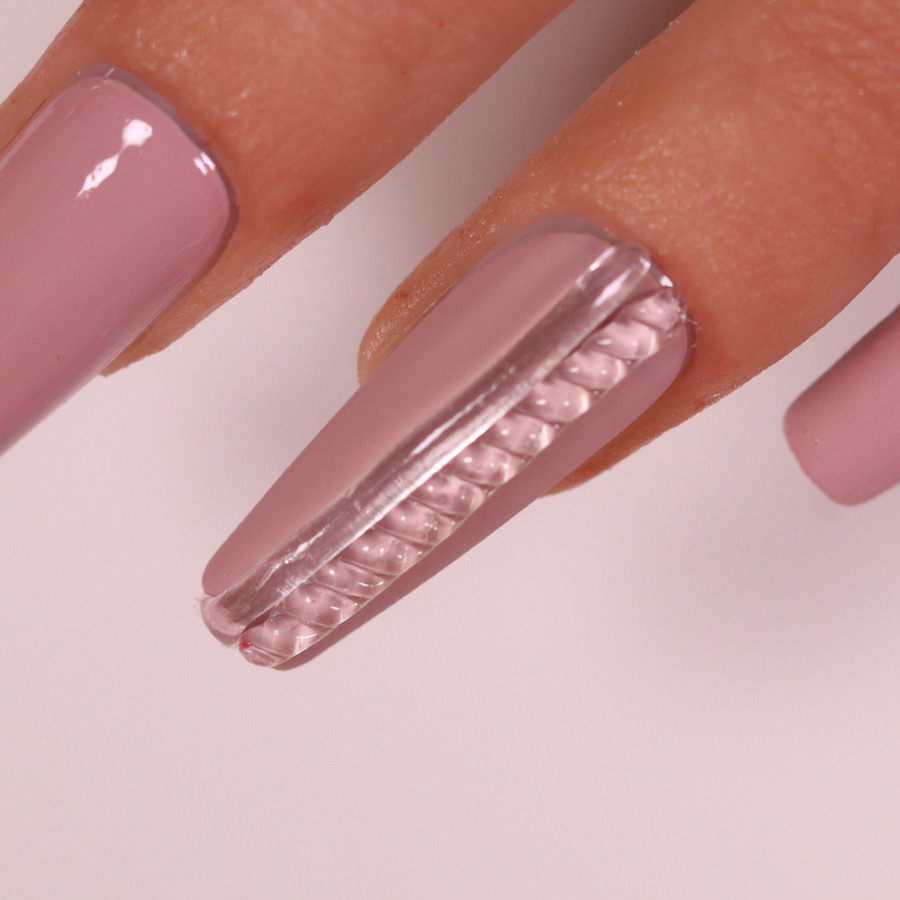
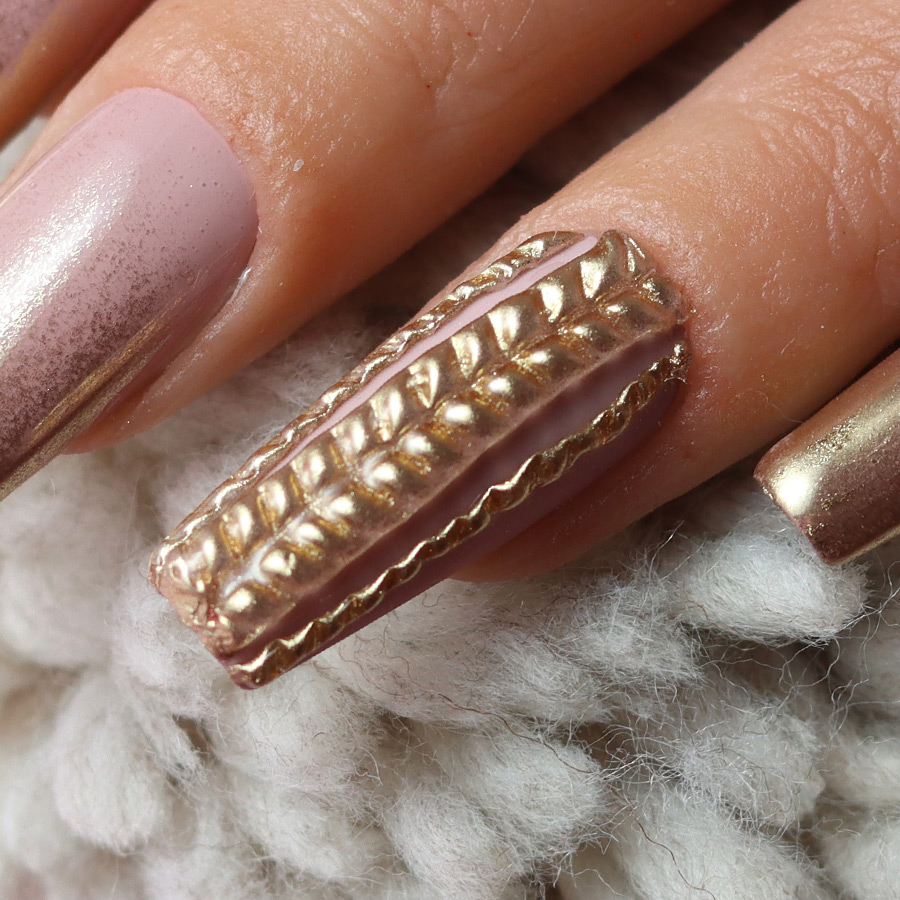
Now place a second strip of carving gel adjacent to the first. Use your spatula or pusher to style in the grooves, which should be directed towards the center of the nail in the opposite direction to the grooves on the first strip. Cure for 60-seconds in a UV/LED lamp.
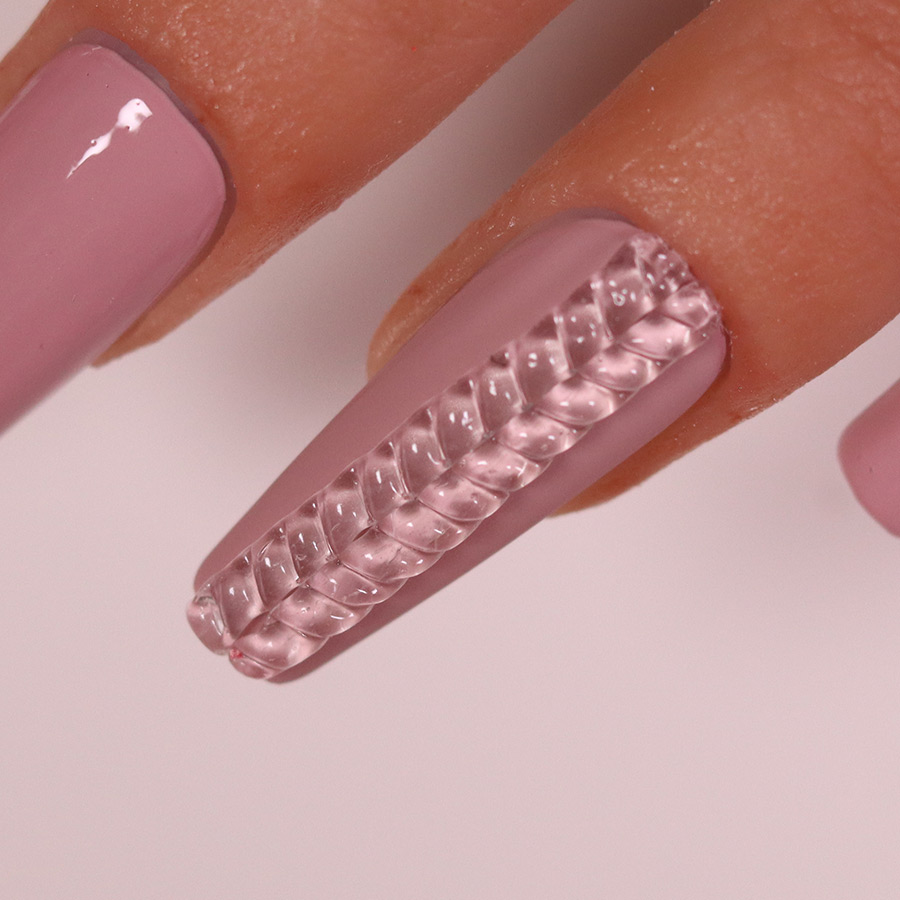
Use your carving gel to add more strips to the sides of the nail. Create the grooves using your spatula or pusher and cure in a UV/LED lamp for 60-seconds.
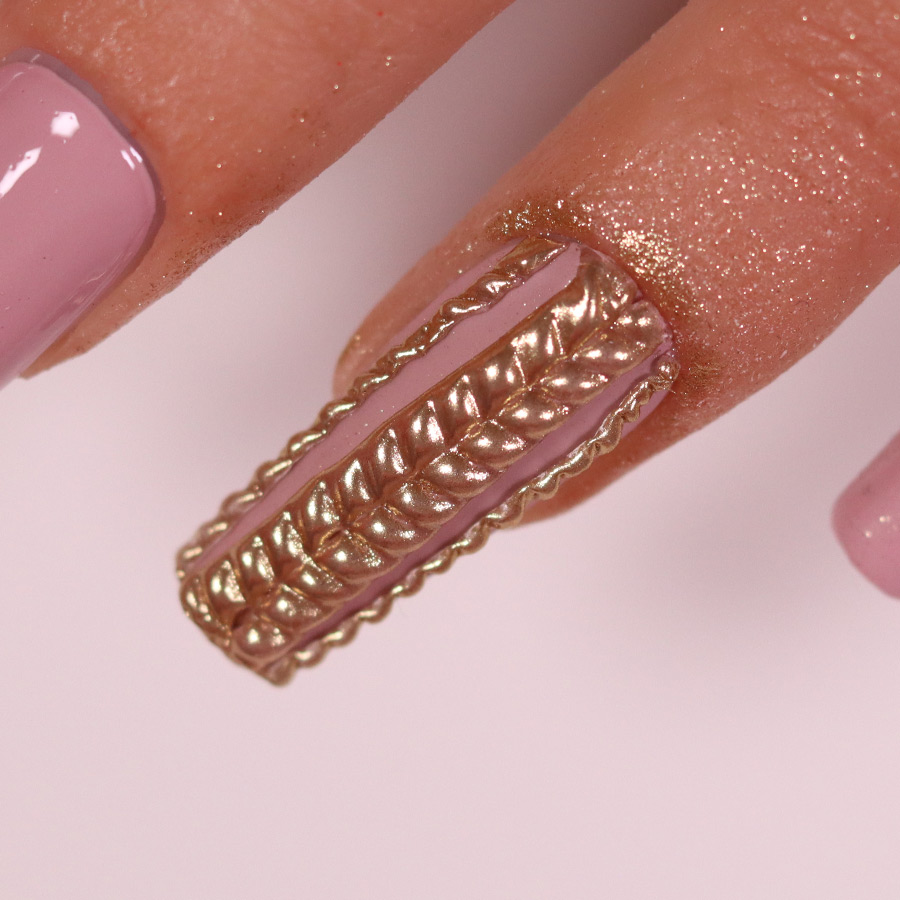
Take gold chrome powder on a small applicator & rub it into the surface over the top of the grooves to highlight & accentuate them.
Brush off any excessive chrome powder & apply top coat on the cable knit design only. Cure for another 60-seconds & see your cable knit sweater design come to life.
MORE TAG THAT TREND
View all Tag That Trend
RELATED VIDEOS
MORE TO EXPLORE
Prep the natural nail using a 180-grit file, remove dust. Apply “Prep It!”, then two thin coats of Flex It! “Cover Peach”, curing each coat for 60-seconds.
Prep Apply a thin, even coat of HD Pro “Matt It!” Cure for 60-seconds.
Use the HD Pro Long liner brush and HD Pro Art Gel in “Graphite” to create a wavy line. Cure for 30-seconds, then rub line with a dusting brush.
Layered Embellishments
UP NEXT
![]()
Layered Embellishments
You can still get the bling without creating 3D nail art. Some clients prefer a flat smooth nail, but hand painting isn’t the only way to get that WOW-factor. Learn how to layer nail art stickers and other embellishments to create nail art in minutes when time is of the essence in the salon. Max Estrada demonstrates how to create balance and style using simple materials and techniques that take the intimidation out of detailed nail art designs.

SEE MORE MASTER CLASS
RELATED VIDEOS
MORE TO EXPLORE
Manicure Massage & Polish
![]()
Manicure Massage & Polish
A basic manicure should always include massage and a perfect polish. Learn what techniques can make a quick massage feel long yet relaxing and the tools, which Alisha Rimando uses when creating a perfect polish on her clients in the second episode of this 2-part series on basic manicuring.
SEE MORE BACK TO BASICS
RELATED VIDEOS
MORE TO EXPLORE

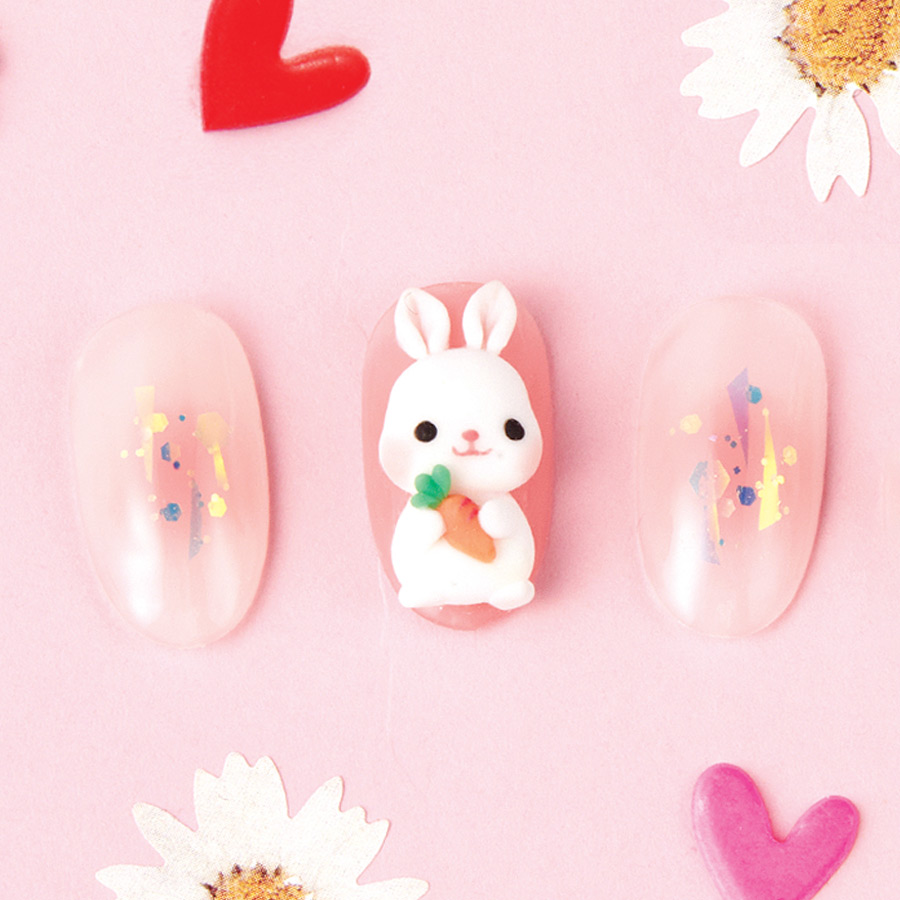
Year of the Rabbit 2023
Year of the Rabbit 2023
![]()
Sundha
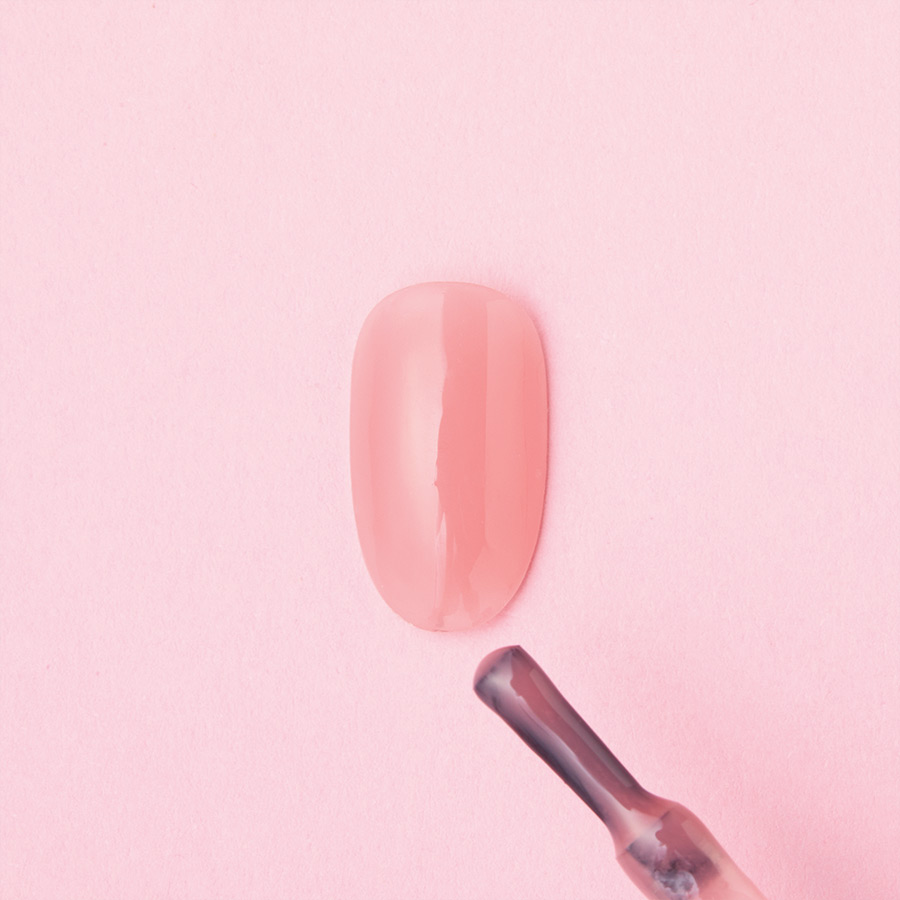
In celebration of the Year of the Water Rabbit (Chinese New Year), from 22nd January, Sunha, founder of Nail Sunhada in South Korea, has created a 3D rabbit nail art design in gel. Believed to be the luckiest of the 12 animals to be born under, the rabbit is a symbol of longevity, calm, peace and prosperity, therefore 2023 is predicted to be a year of hope. It’s an auspicious sign for forming partnerships and making money.
PRODUCTS USED
- A Nail File
- UV Base Gel
- UV Non-wipe Matte Top Gel
- UV Resin Clear Gel
- Syrup Color Gel (Black & Pink)
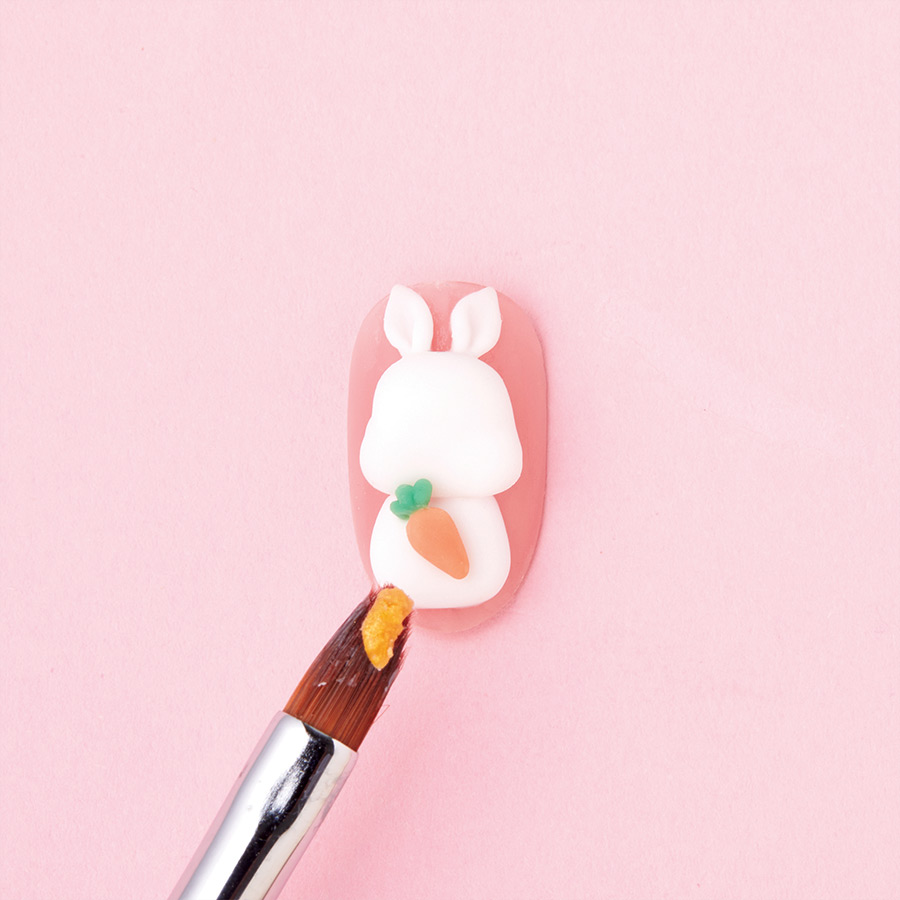
- 3D Gel (Green, Orange, White)
- Gel Brushes
- 3D Gel Cleanser & A LED Lamp
STEPS
Prep the natural nail using a 180-grit file, remove dust. Apply “Prep It!”, then two thin coats of Flex It! “Cover Peach”, curing each coat for 60-seconds.
Prep Apply a thin, even coat of HD Pro “Matt It!” Cure for 60-seconds.
Use the HD Pro Long liner brush and HD Pro Art Gel in “Graphite” to create a wavy line. Cure for 30-seconds, then rub line with a dusting brush.
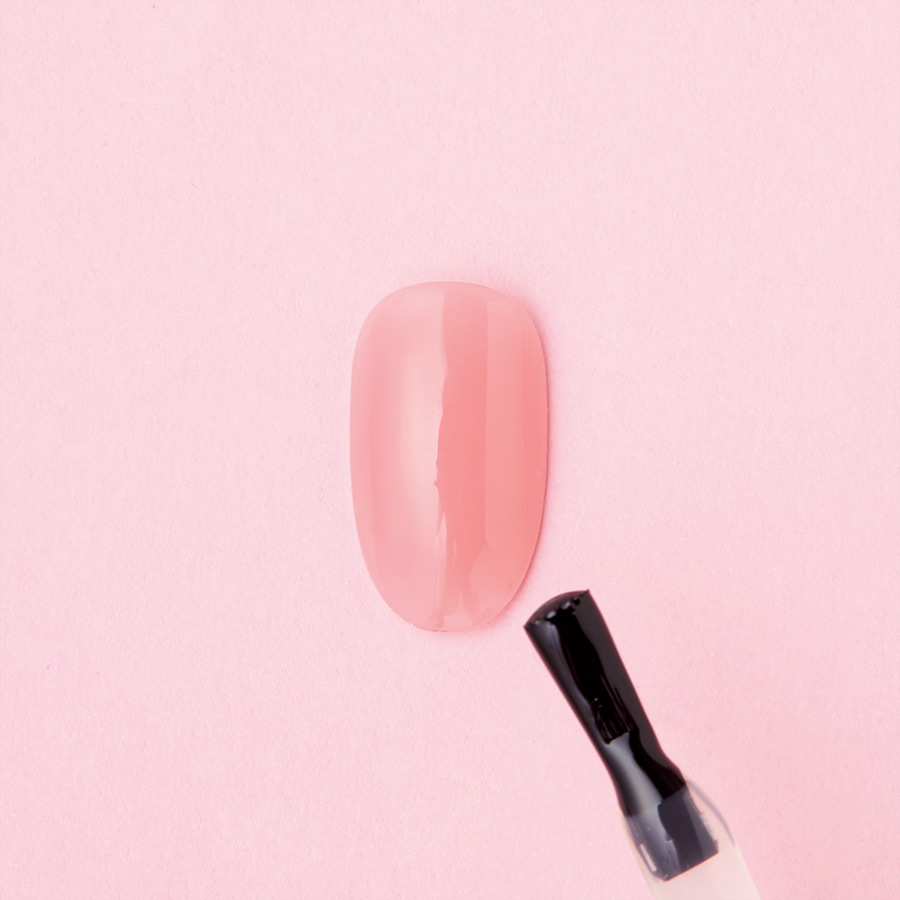
Apply Non-wipe UV/LED Top Gel & cure.
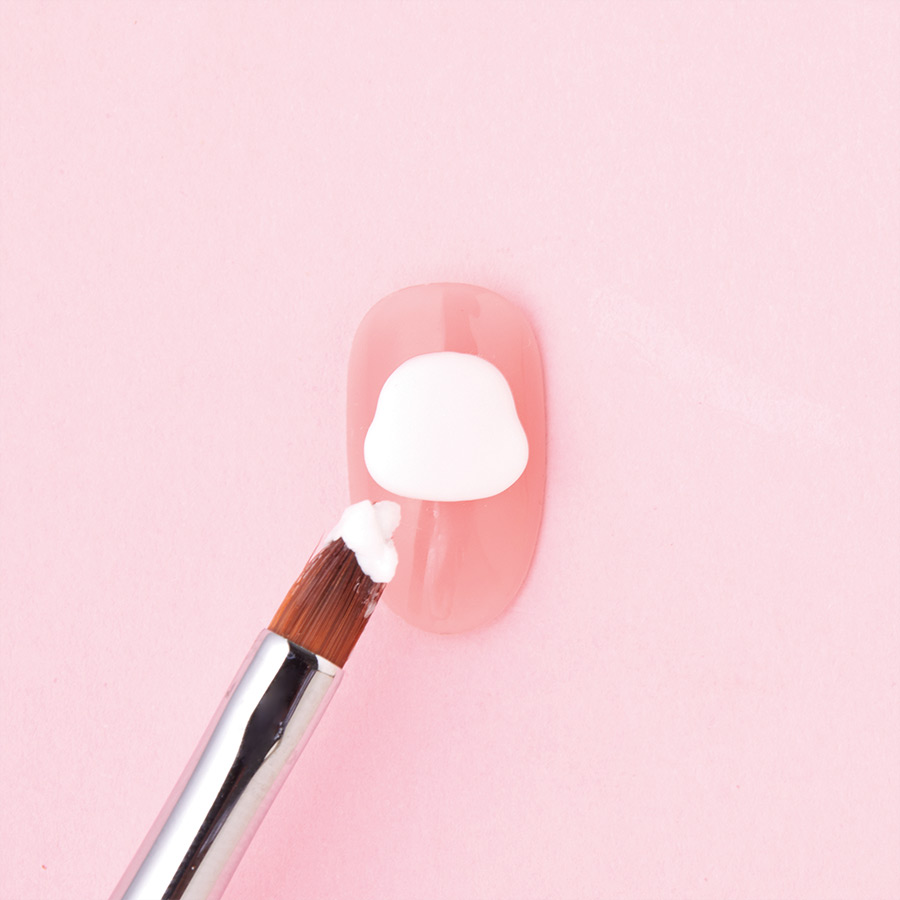
Design the face of a rabbit using white 3D UV/LED gel & cure.
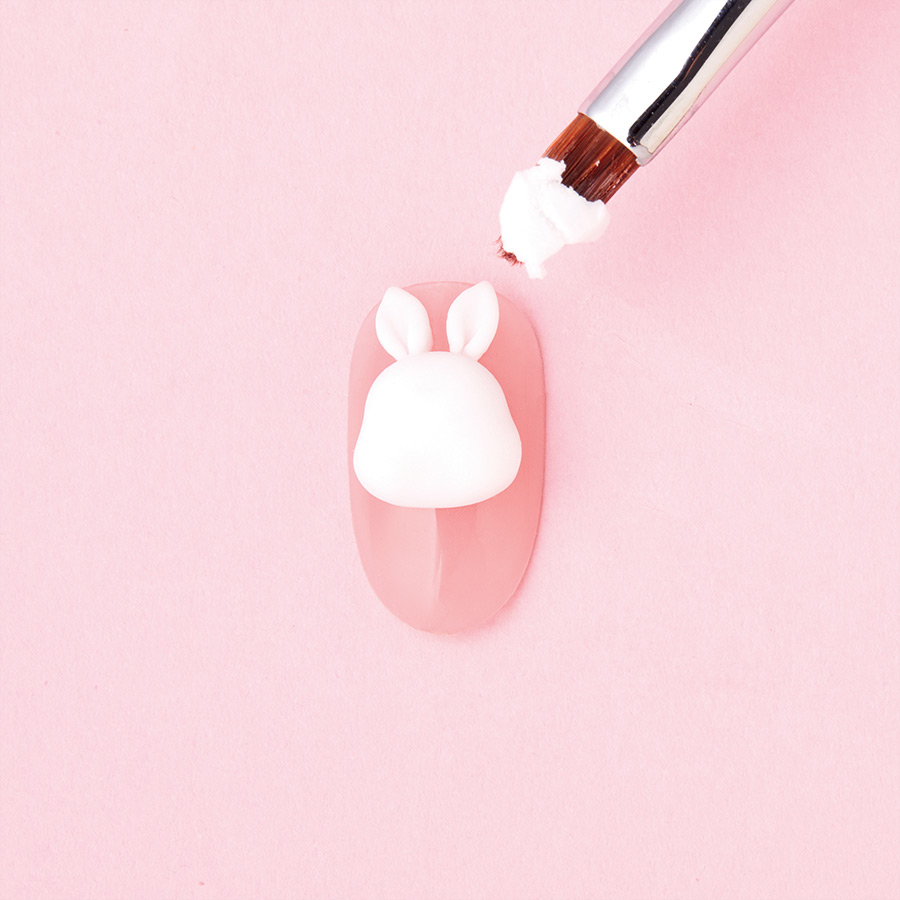
Add volume to the face of the rabbit & design its ears using white 3D UV/LED gel & cure.
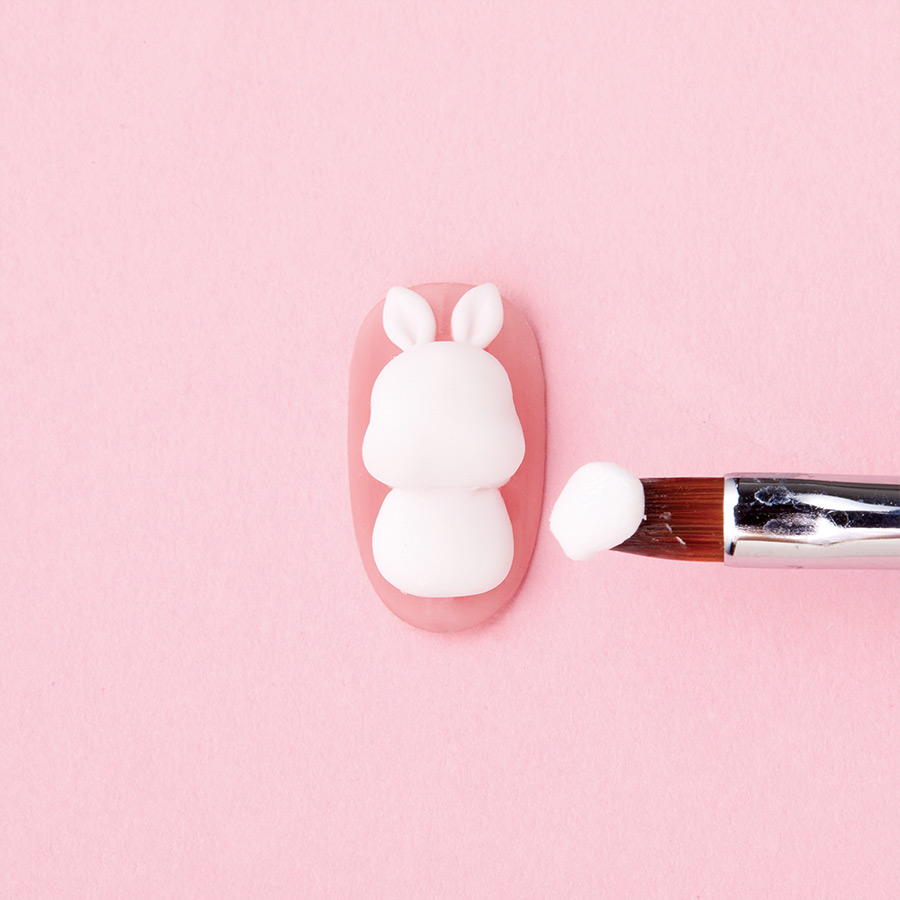
Design a chubby body of a rabbit using the white 3D UV/LED gel to build it up & cure.
Design the face of a rabbit using white 3D UV/LED gel & cure.
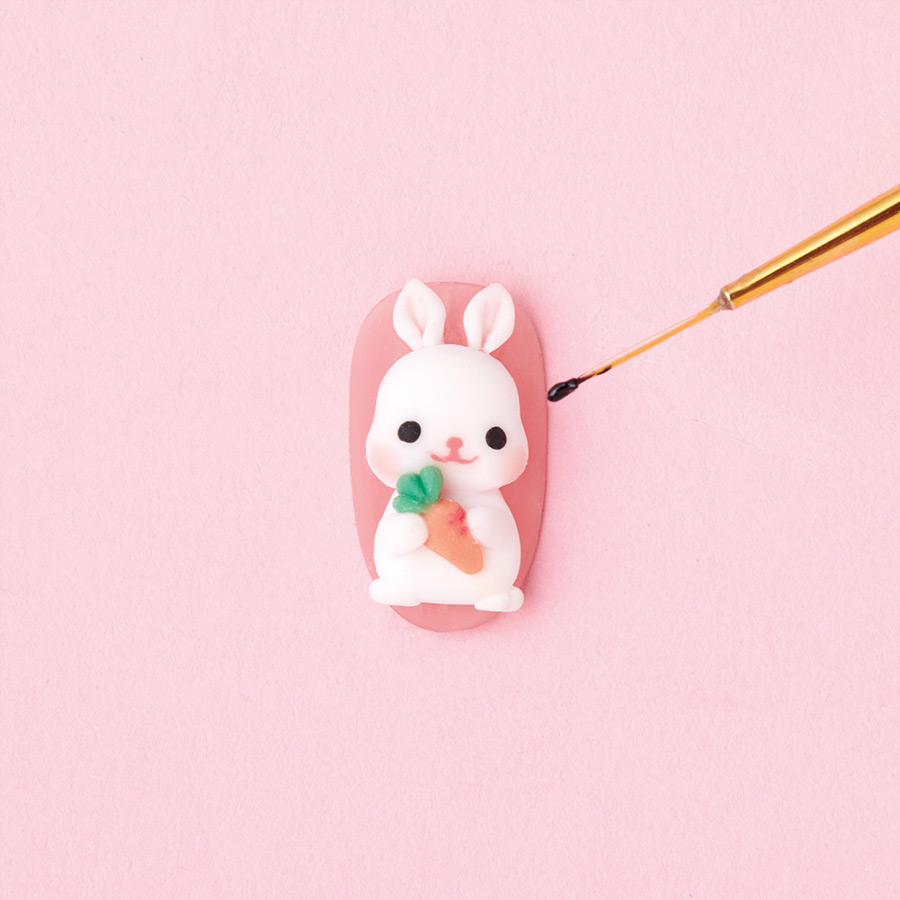
Design the rabbit’s paws & hind feet using white 3D UV/ LED gel & cure. Draw in its eyes, nose & cheeks using the black & pink Syrup UV/LED gel colors & cure.
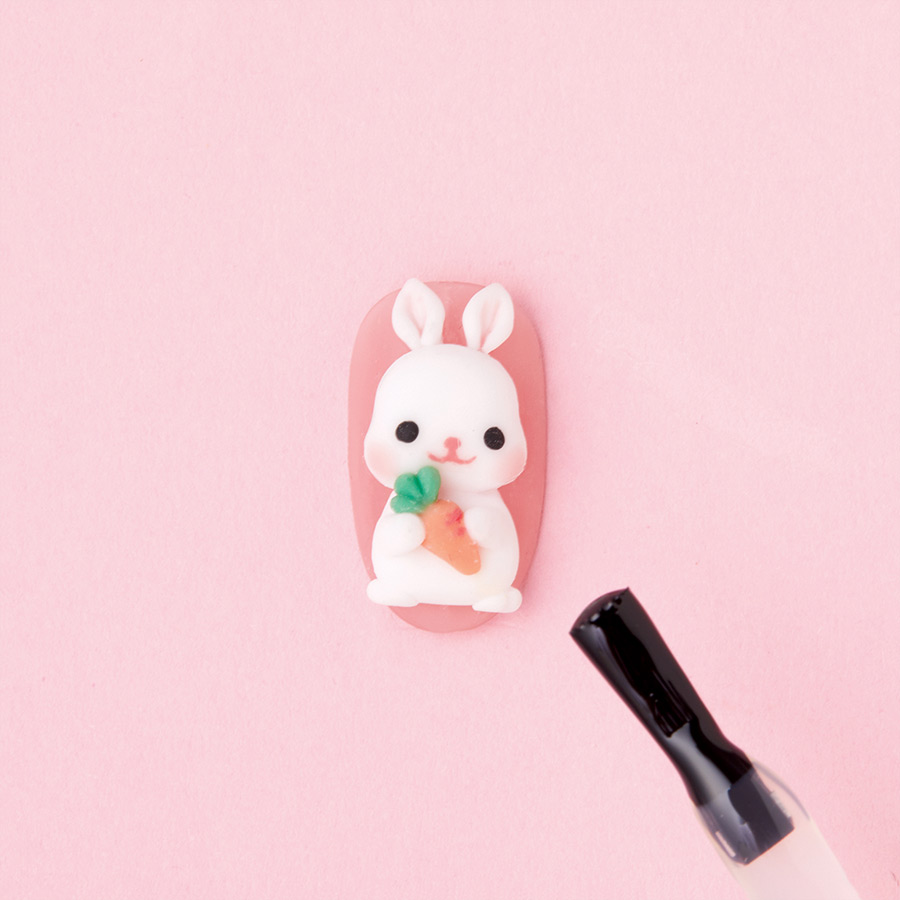
Apply UV Matte Top Gel to the entire rabbit then cure to complete the design.
MORE TAG THAT TREND
RELATED VIDEOS
MORE TO EXPLORE
Prep the natural nail using a 180-grit file, remove dust. Apply “Prep It!”, then two thin coats of Flex It! “Cover Peach”, curing each coat for 60-seconds.
Prep Apply a thin, even coat of HD Pro “Matt It!” Cure for 60-seconds.
Use the HD Pro Long liner brush and HD Pro Art Gel in “Graphite” to create a wavy line. Cure for 30-seconds, then rub line with a dusting brush.
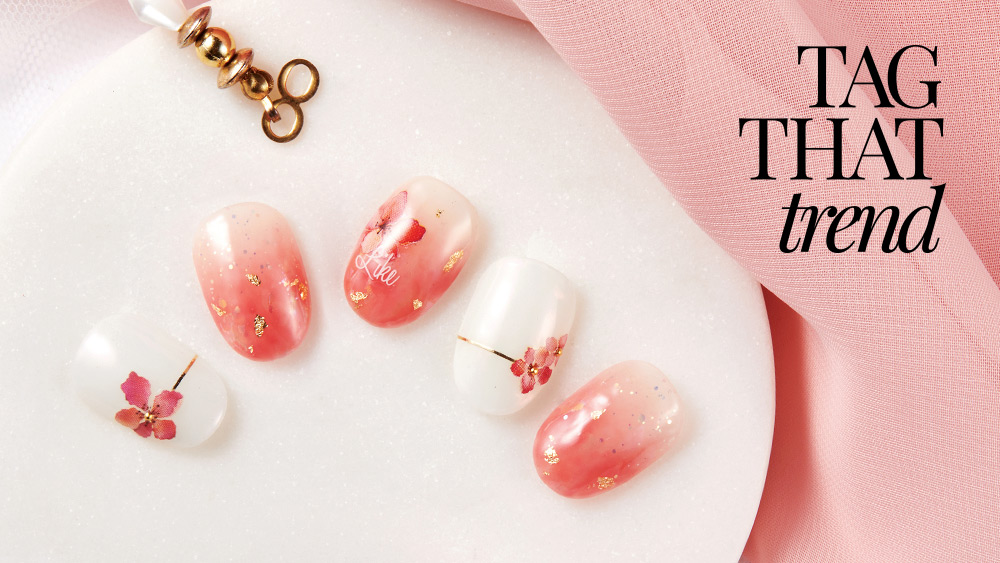
Spring Gradation Flower Gel Art
Spring Gradation Flower Gel Art
![]()
Stella Lee
Stella Lee has been a Passet educator since 2018. Stella joined the nail industry in 2009 after attending a beauty specialist high school where she majored in nails. After graduating from college, she worked at various nail salons as a nail technician until she settled at Passet in 2018. Passet is a reknowned K-nail brand with signature nail art tools including color gels, art foils, art guide stickers, gel nail stickers and more. Stella’s been working as a brand educator and editorial nail artist for various magazines including NAILHOLIC.
PRODUCTS USED
- Nail File
- Washable Buffer
- UV/LED Base Gel
- UV/LED Non-wipe Top Gel
- UV/LED Gel Colors
- Gel Brushes
- Gel Cleanser
- Art stickers
- Art Foil
- Gold leaf
- Tweezers
- A UV/LED Lamp
STEPS
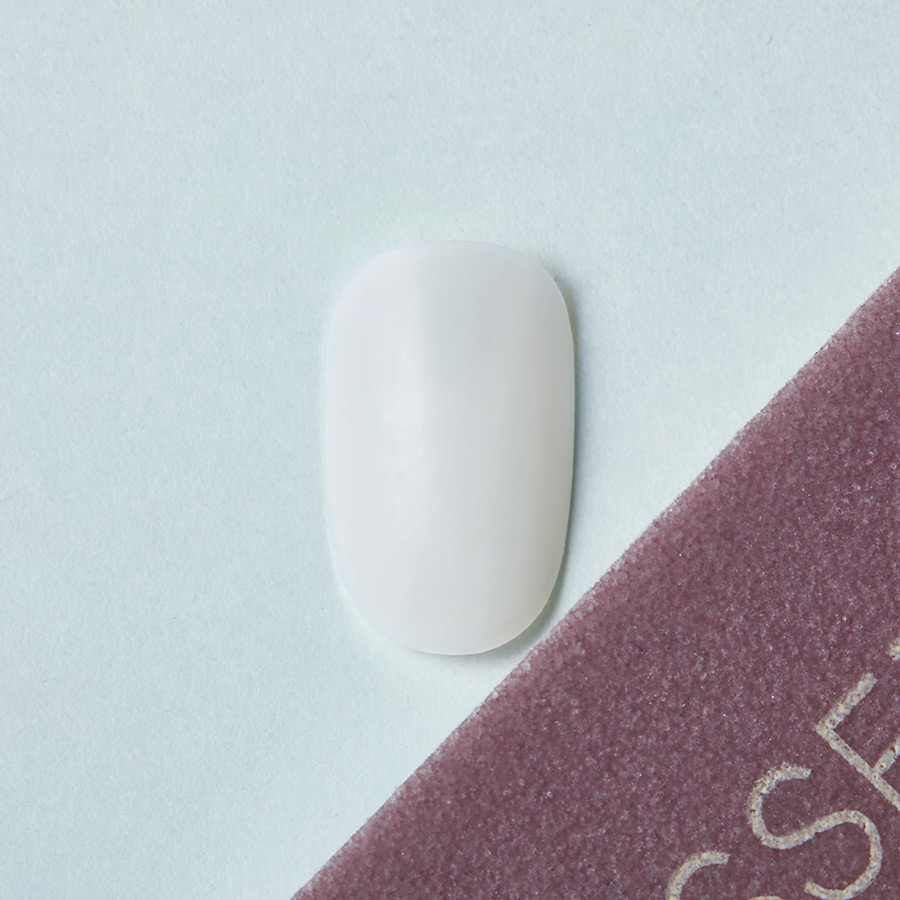
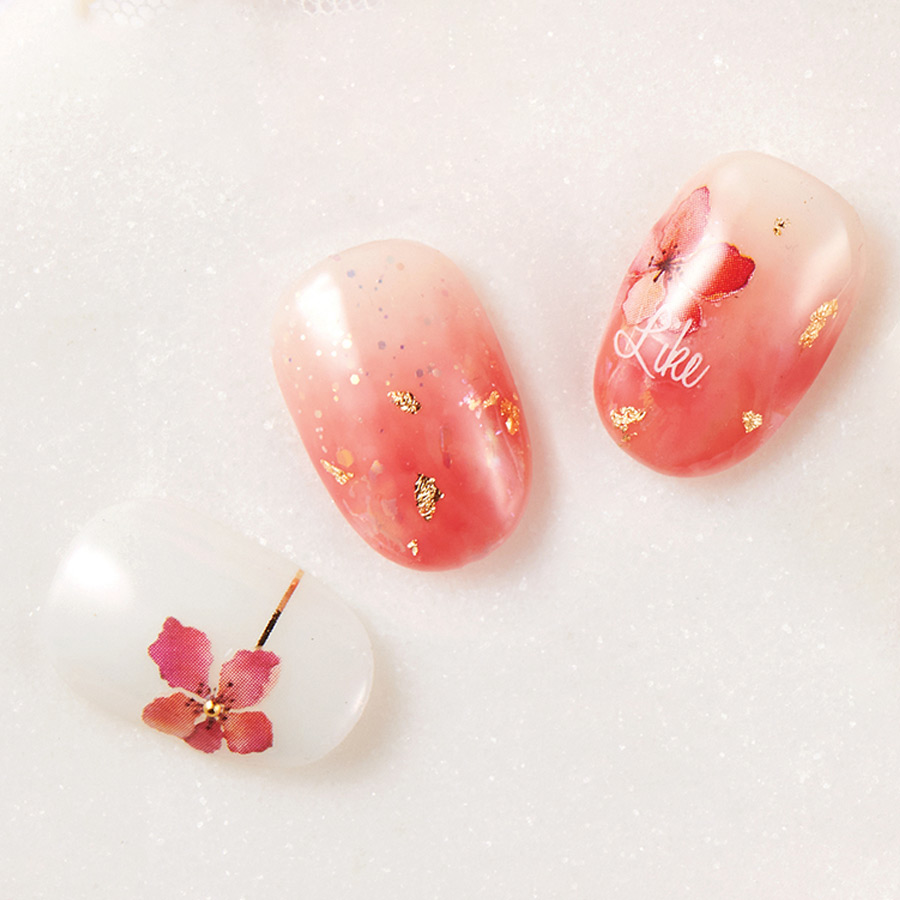
Prepare your tip by sizing & filing to shape.
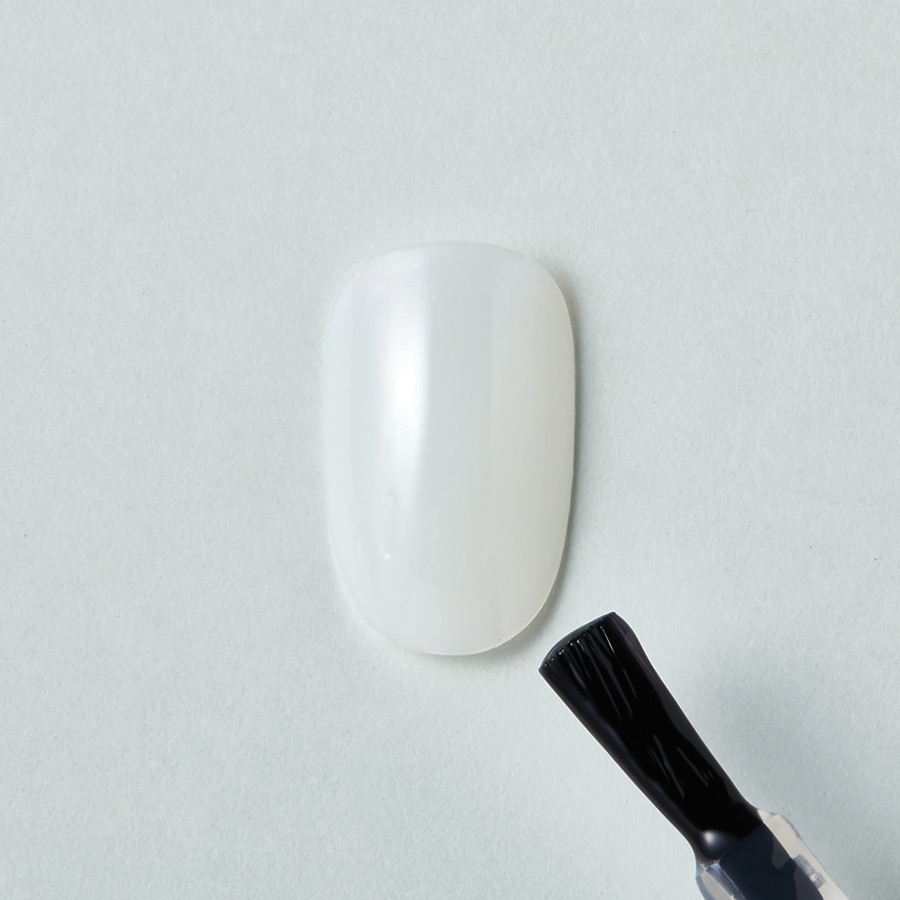
Apply UV base gel & cure.
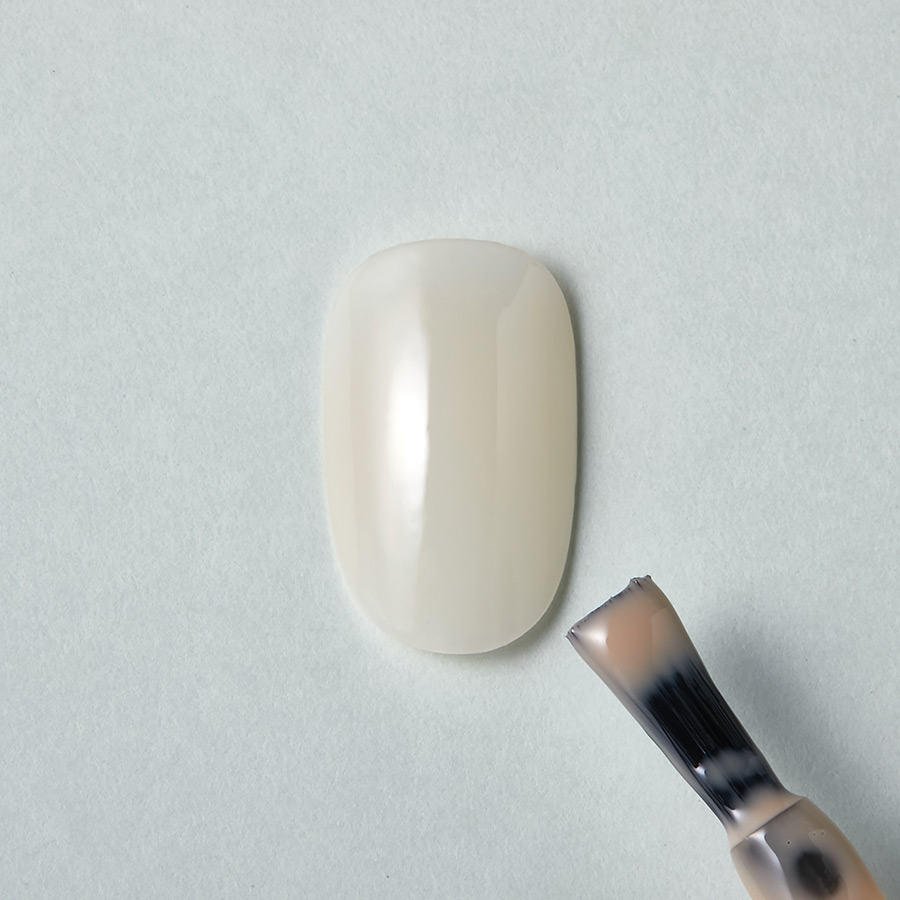
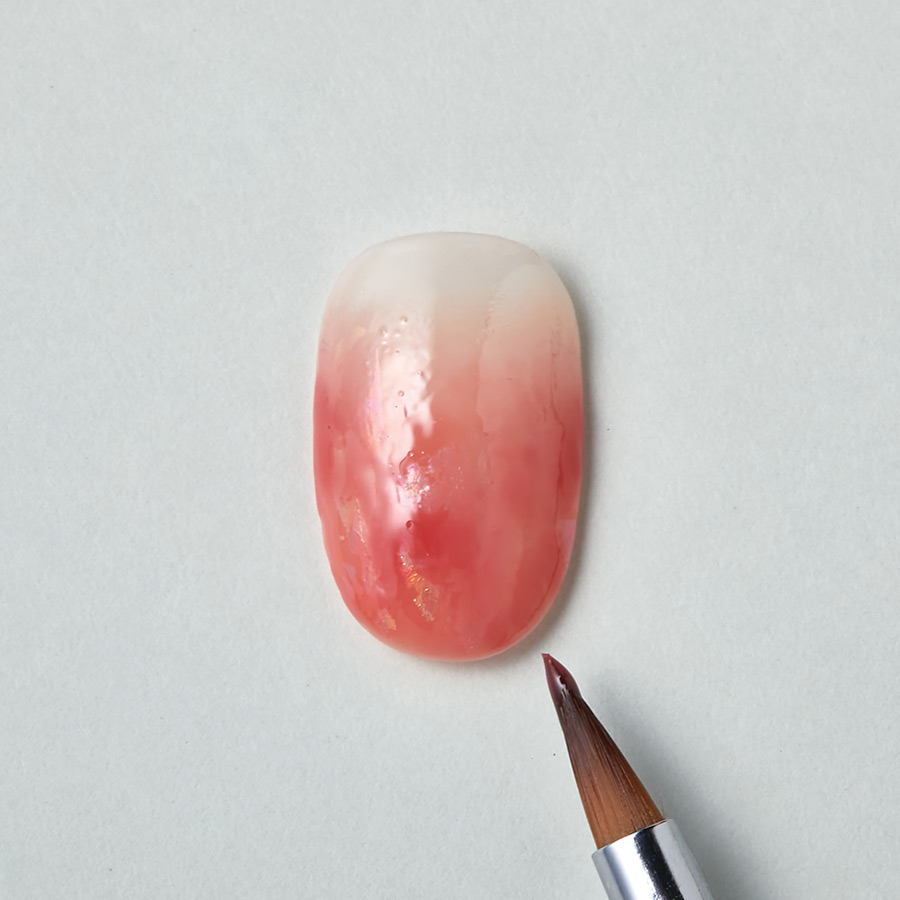
Apply UV/LED gel base color & cure.
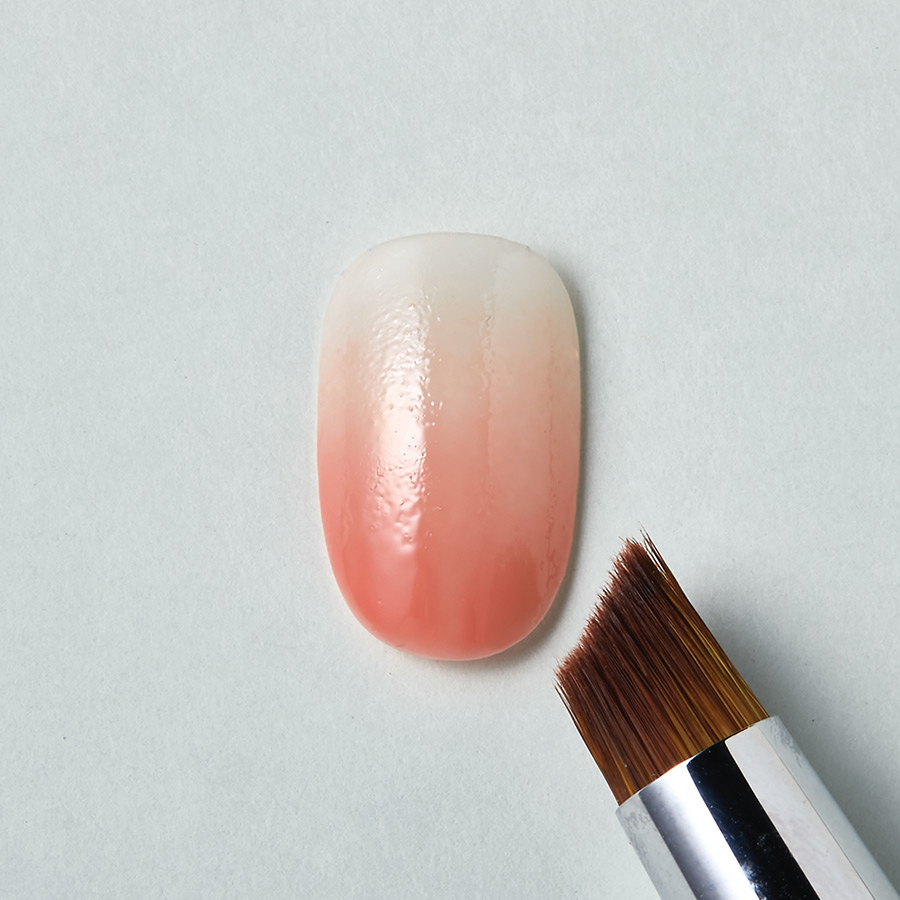
Apply a rose color & blend the two colors & cure.

Apply UV/LED base gel & cure then wipe off the inhibition layer.
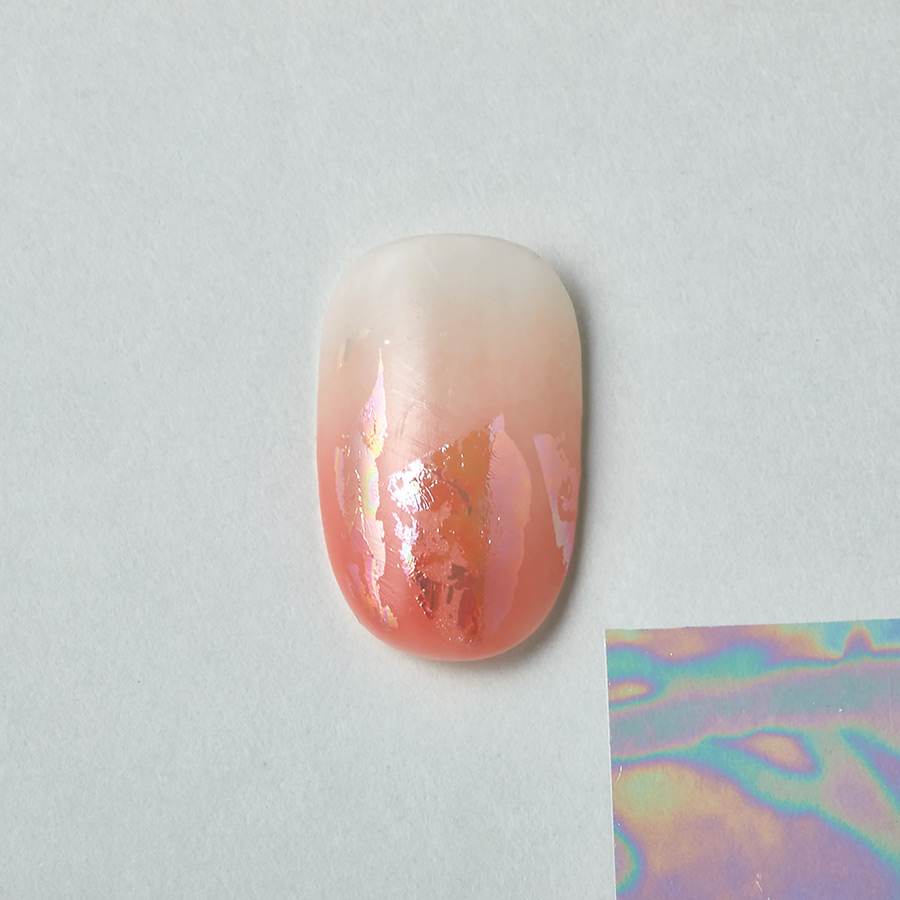
Stick the art foil onto the bottom surface area of the nail tip.
Add shading using the rose UV/LED gel color & a pointed oval brush & cure.
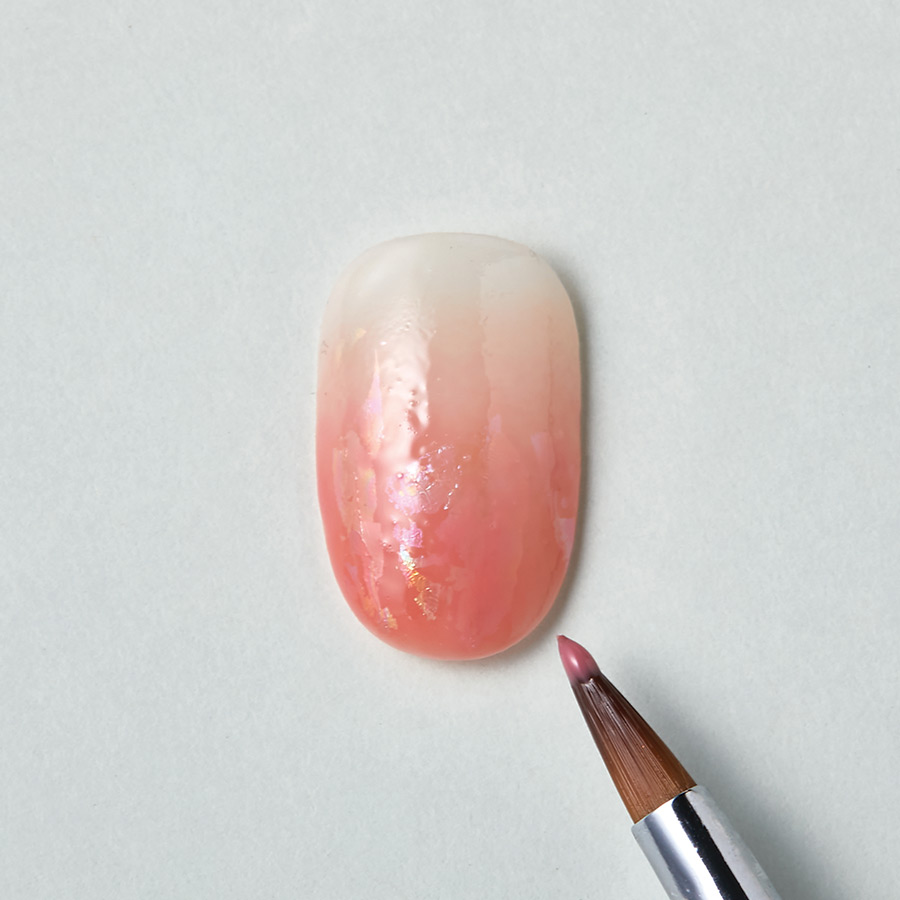
Add shading using various darker rose colors using the pointed oval brush, then cure & wipe off the inhibition layer.
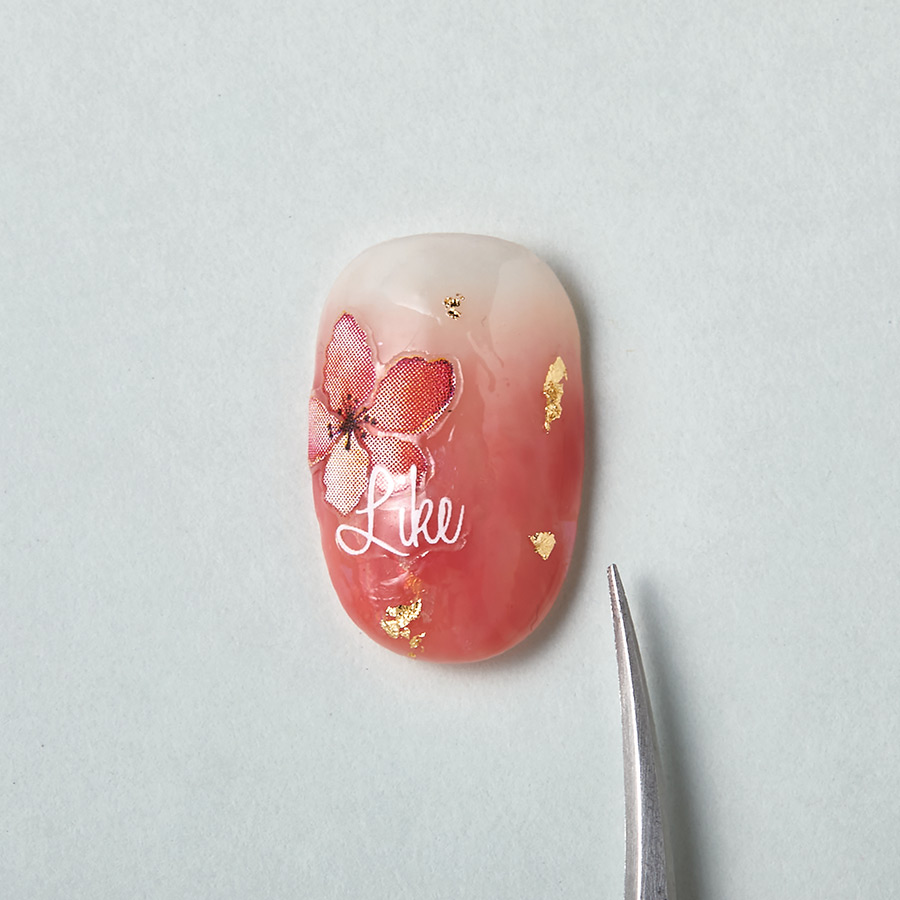
Stick the art foil onto the bottom surface area of the nail tip.
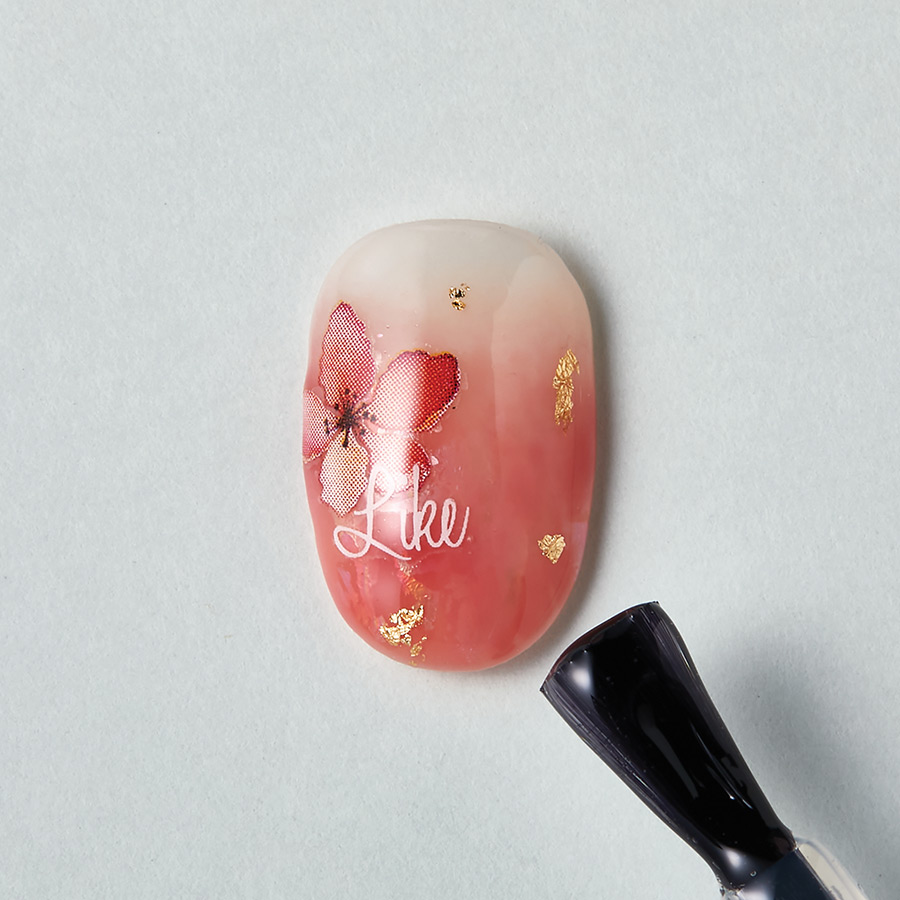
Apply a non-wipe UV/LED top gel & cure.
MORE TAG THAT TREND
RELATED VIDEOS
MORE TO EXPLORE

Electric File
![]()
Electric File
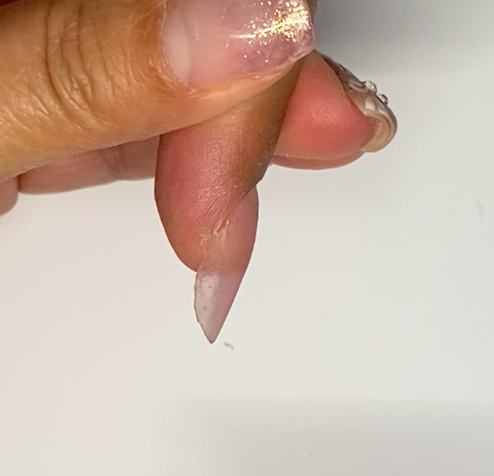
Lifting problems can be caused by product touching the skin or applied too thick at the cuticle area. Learn how to battle and solve this problem with Dafne Fernandez, who explains how the electric file can help.
SEE MORE PRO TIPS
RELATED VIDEOS
MORE TO EXPLORE
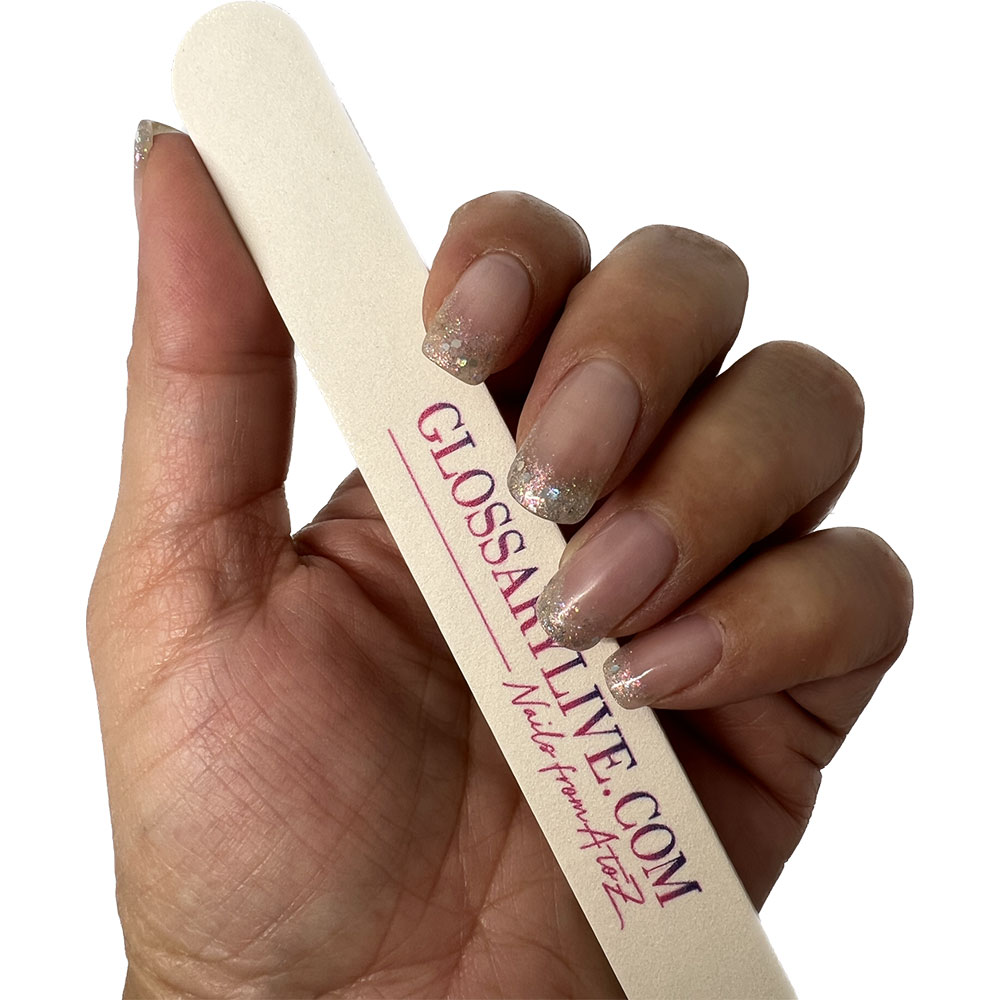
NATURAL NAIL FILE
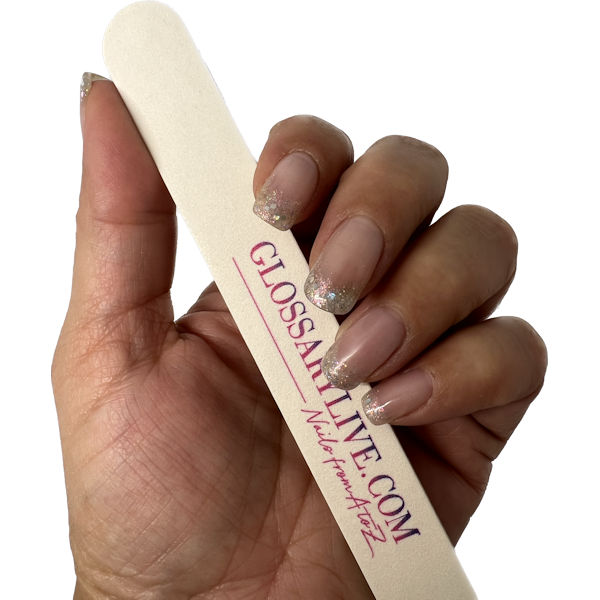
Recommended Products
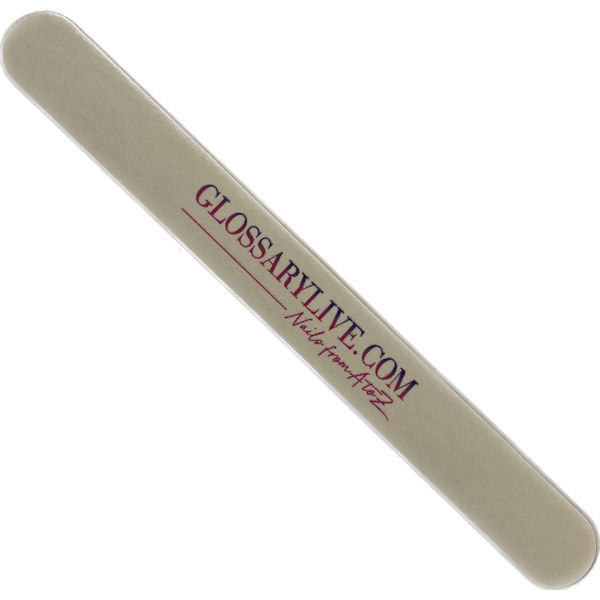
GlossaryLive.com Natural Nail File
220/180 Single or 10 pack
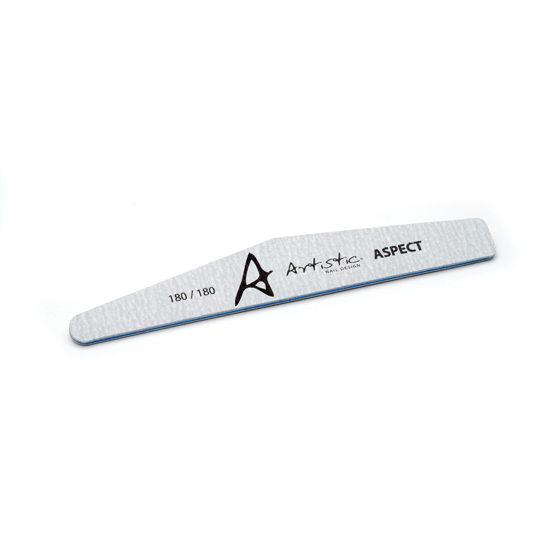
Artistic Aspect File
180/180
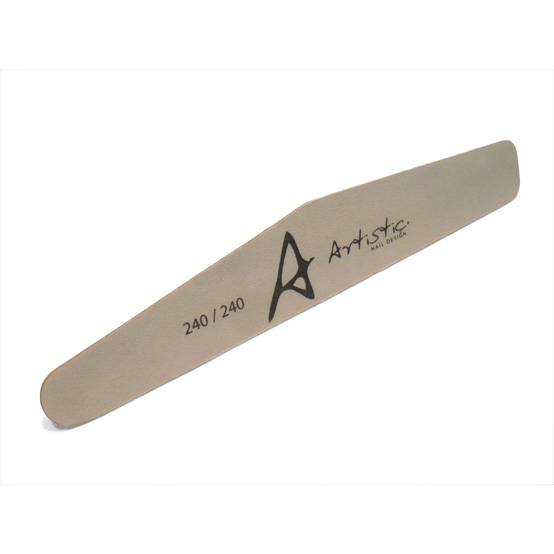
Artistic Exact Thin Wooden File
240/240
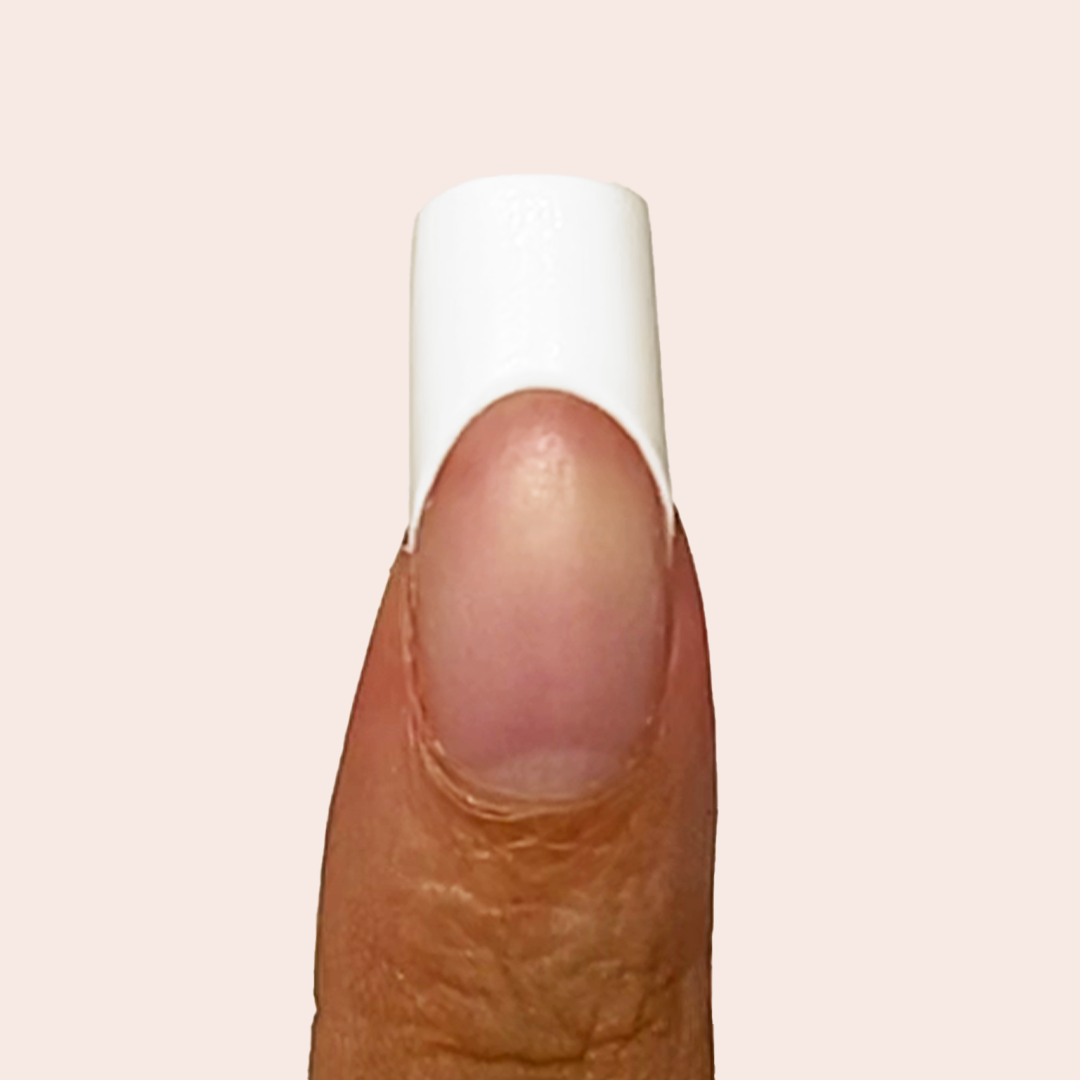
NATURAL NAIL FILE [NA-CHUR-al NAYL FY-il]
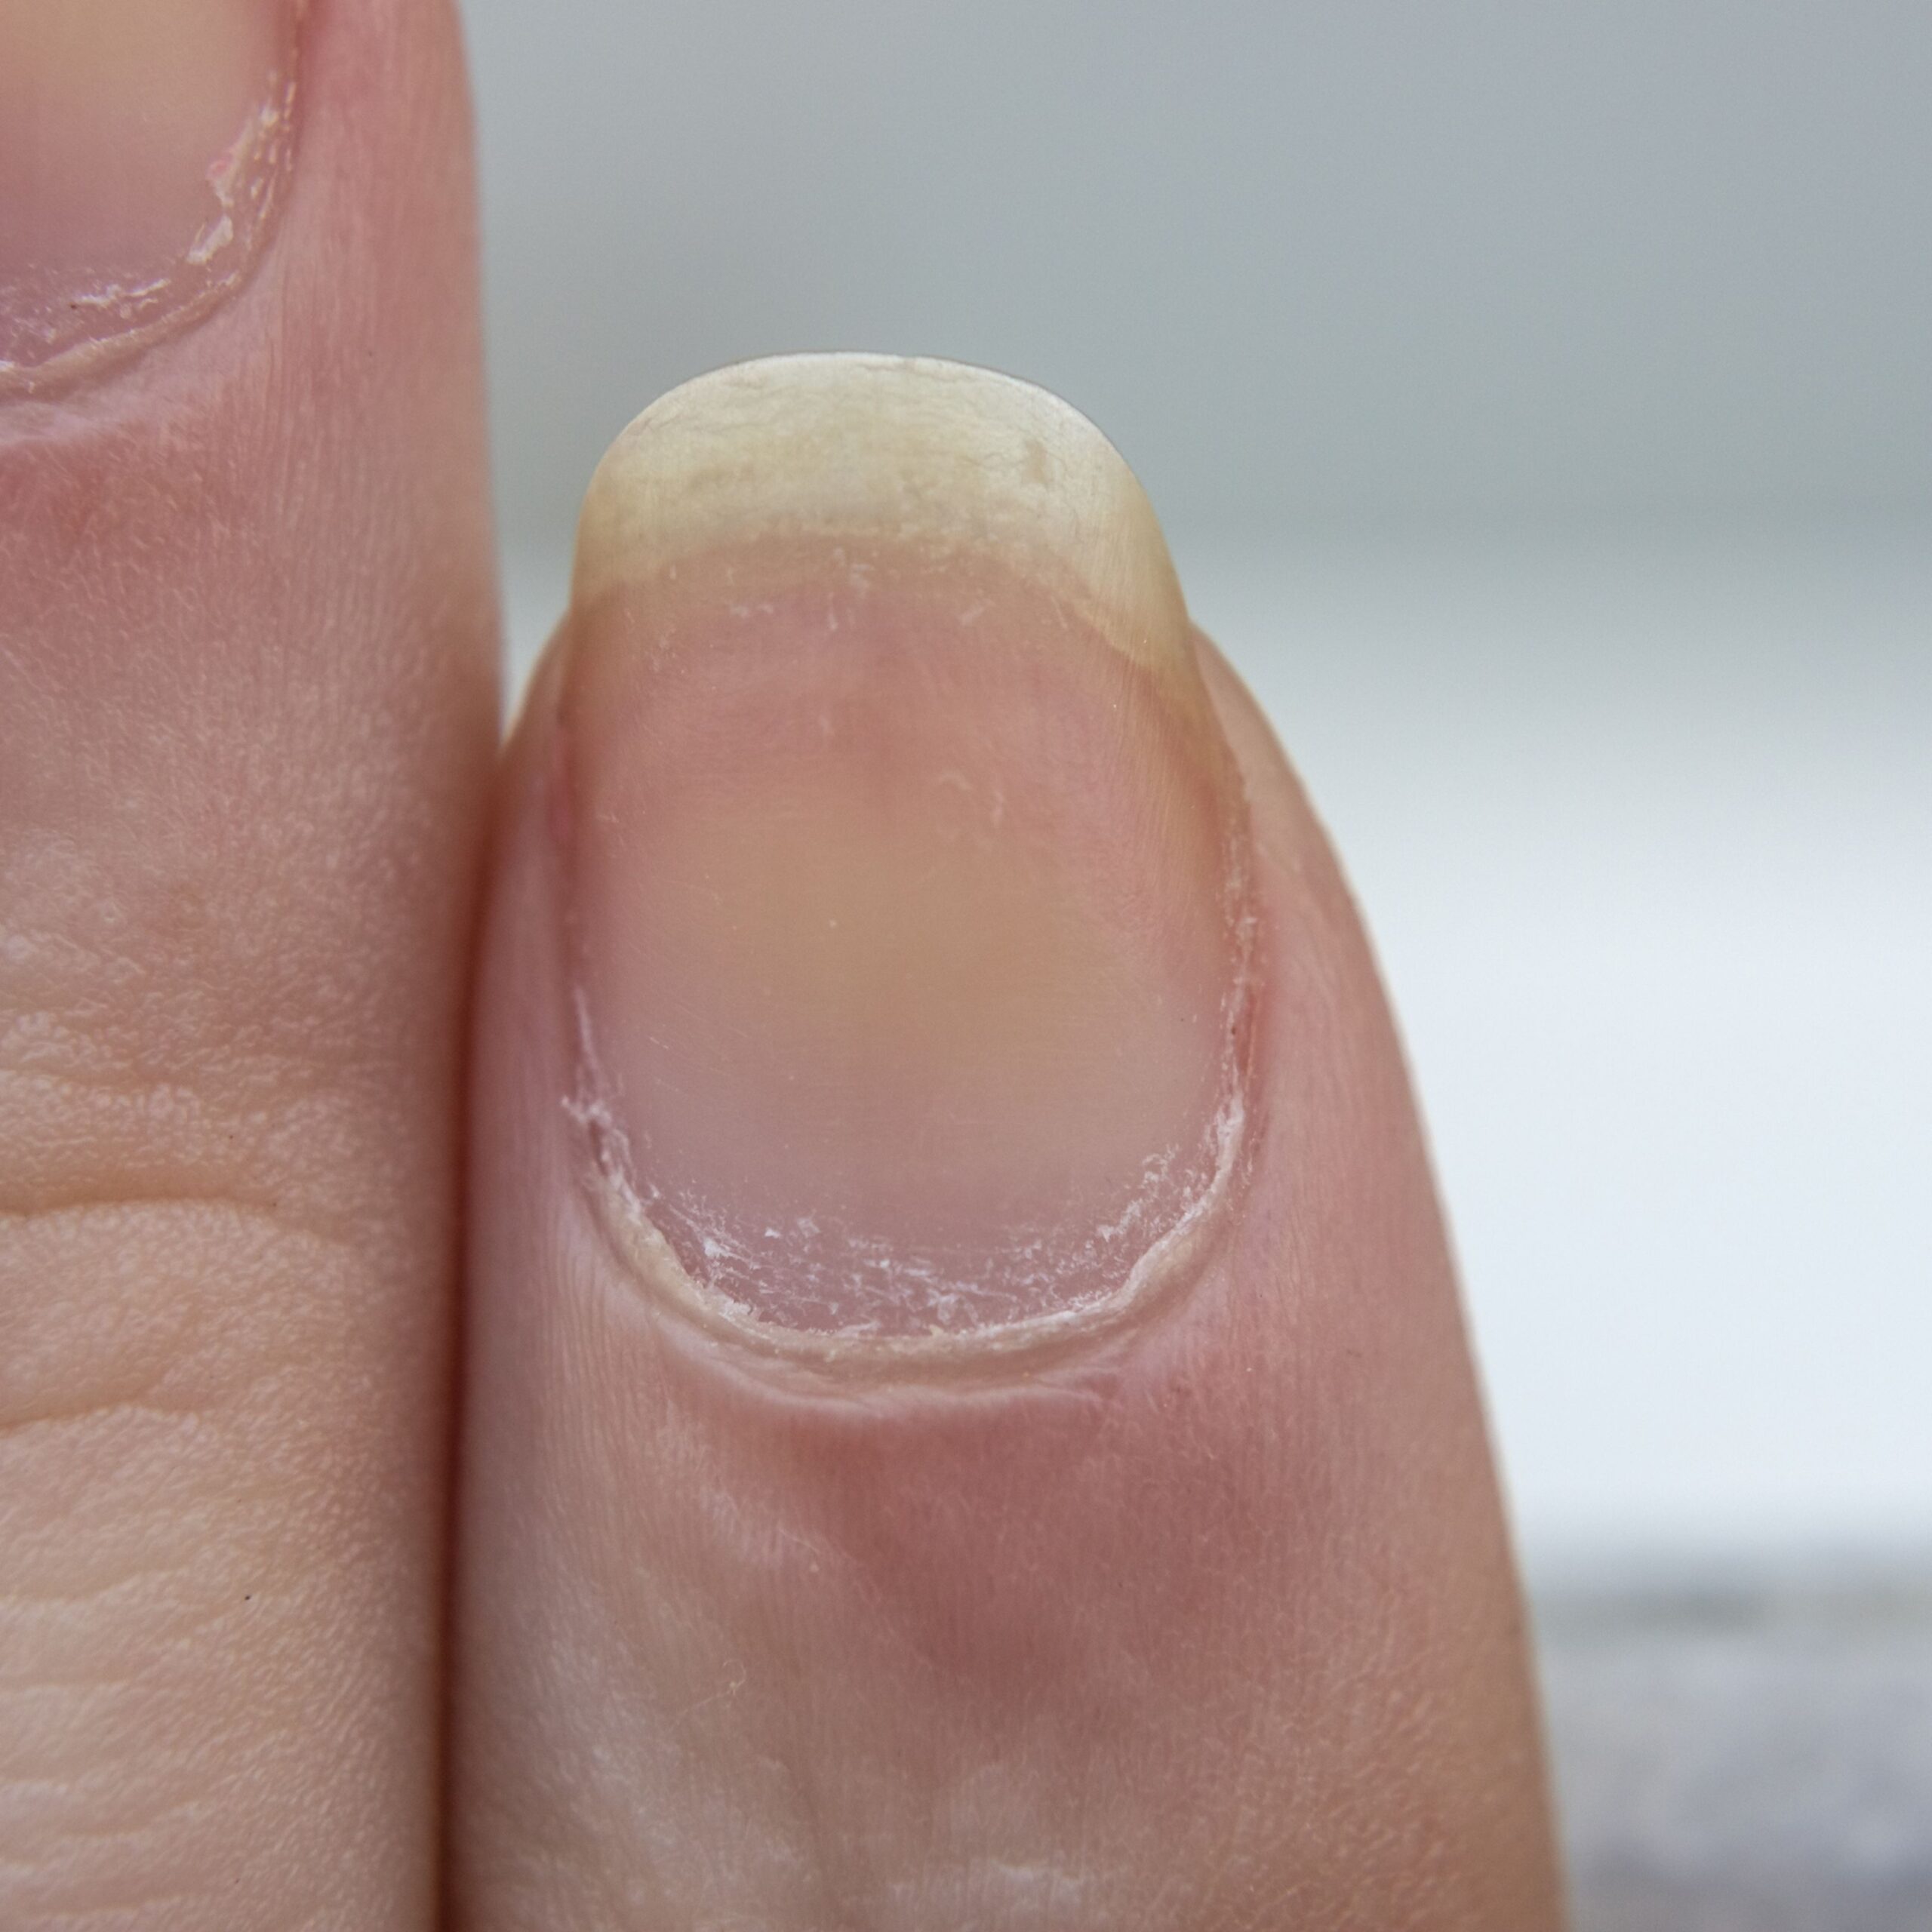
What it is: A term used to a identify any abrasive used on natural finger nails or toe nails. Its abrasiveness is determined by its grit.
How to use it: Use to shorten, shape or smooth nails on fingers or toes.
How to store it: In a covered or sealed container.
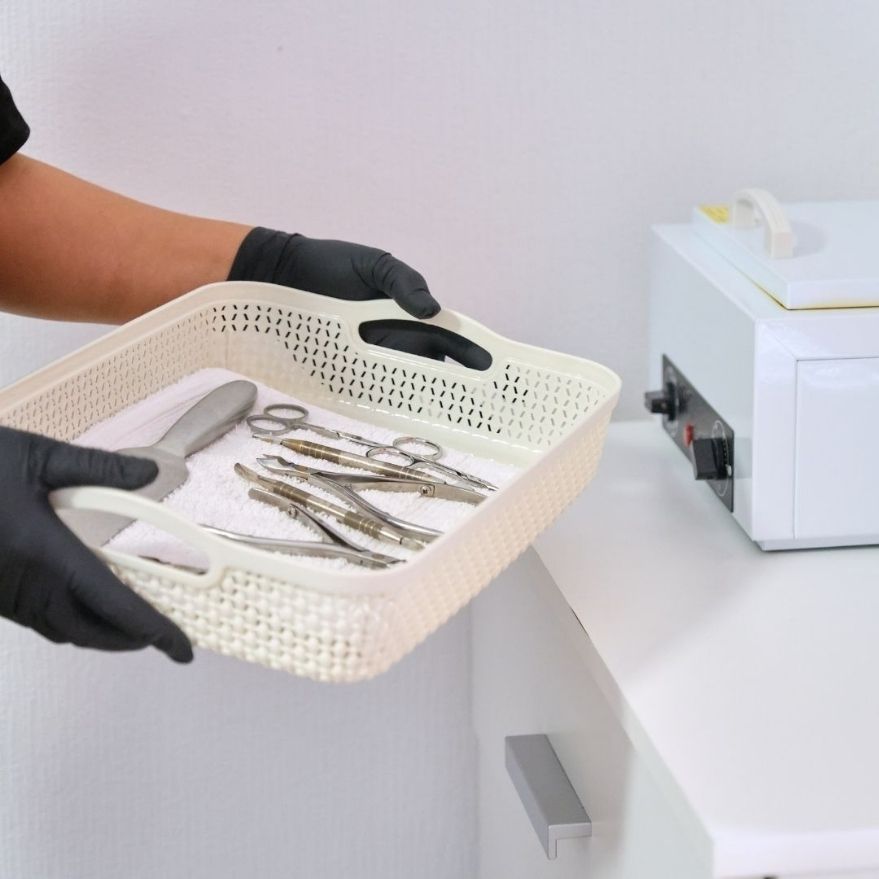
How to disinfect: Natural nail files made from paper or sand cannot be disinfected and therefore can only be used on one client. Natural nail files made of glass, crystal, plastic or metal can be disinfected by a spray sanitizer or immersed in antiseptic. Check the manufacturer’s directions for proper sanitation techniques.