
UPPER ARCH [uhp-er-ahrch]
What it is: The top surface of the nail, from eponychium to extension edge, when looking at the enhancement from the side view.
What it is: The top surface of the nail, from eponychium to extension edge, when looking at the enhancement from the side view.

![]()
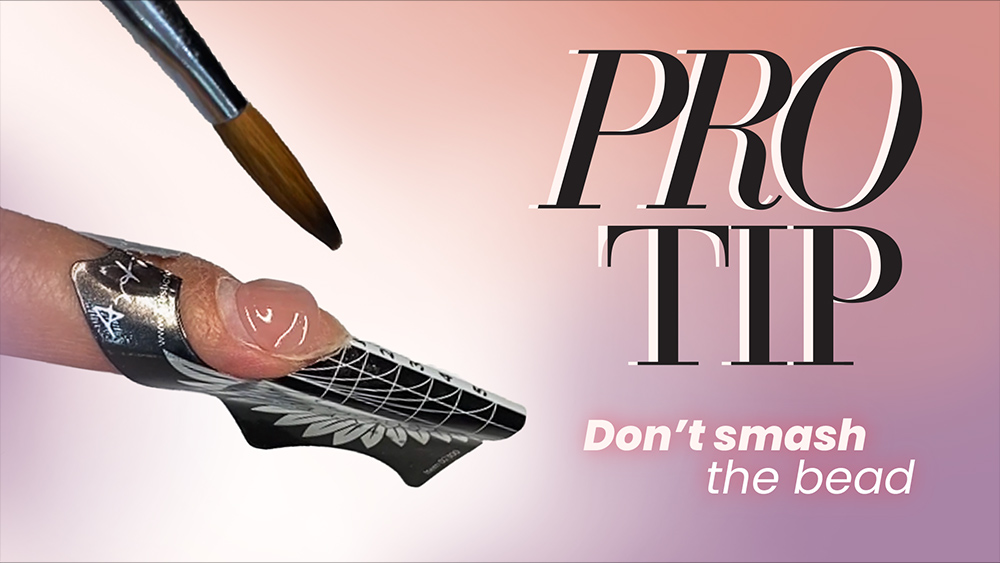
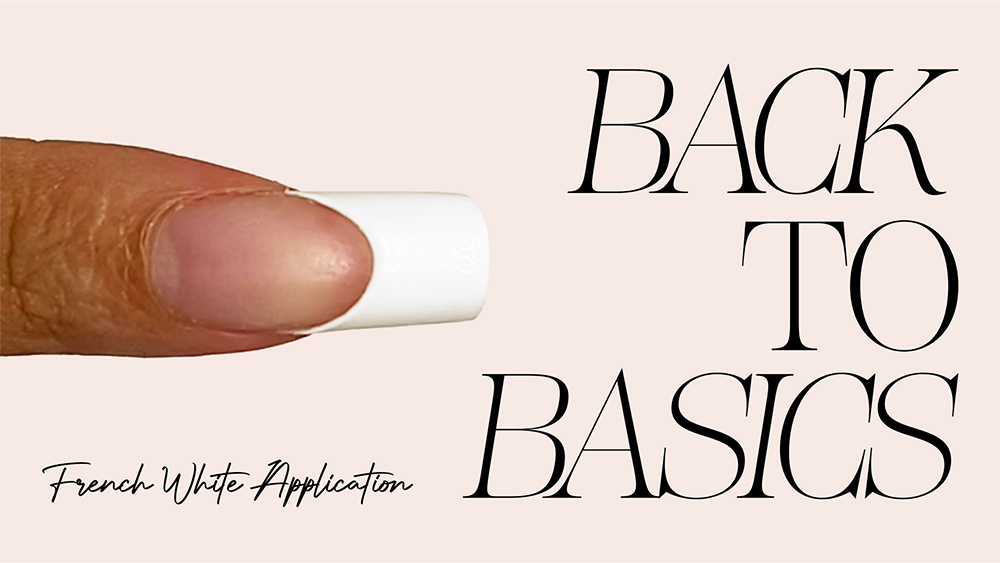
Most French enhancement techniques teach the tech to apply white at the free-edge and create the smile line. Then the pink is added to the nail plate and the two are connected. In a reverse application, you add the pink to the nail bed and create a reverse smile line. Some let this dry and file it clean and smooth before adding a form and the white extension. The benefit to this technique is being able to push the white directly against the pink to create a clean line. This technique was originally created for applying cover pink powders. It can also be beneficial when sculpting gel.
YUMMY is the first word that came to mind when GlossaryLive.com reviewed Cuccio Naturale Manicure Cuticle Revitalizing Oil at cuccio.com. It feels like silk – and smells just as heavenly. Designed to nourish and moisturize cuticles and nails, this novel product is the perfect pairing of quality oils and delicate scents, reminiscent of fine perfume. I must admit, it felt so good I rubbed it into my fingers and hands as well! No wonder it has over 121,000 reviews on Amazon and made 2023 The Today Show’s Top Selling Beauty product for nailcare.
The oils are a blend of cold-pressed safflower oil, winterized sunflower oil and Vitamin E for a long-lasting hydration, and essential nutrients to individualize each scent. Mango & Bergamot, Milk & Honey, White Limetta & Aloe Vera, Lavender & Chamomile, Sweet Almond, Vanilla and Sugar. I must confess I find Lavender & Chamomile intoxicating, and my hands and nails feel incredible. Great product CUCCIO! GlossaryLive.com gives Cuccio Naturale Manicure Cuticle Revitalizing Oil two thumbs up!!
Mr. Anthony Cuccio, Founder, President, CEO of Star Nail International based in Valencia, California is a true visionary and trendsetter in the beauty industry. He literally built his business out of a suitcase of cosmetics in 1981 on Venice Beach, California. The business has grown into a multi-million-dollar global corporation and in 1986, Star Nail achieved the ultimate recognition, making INC. 500 and Tony making it “Entrepreneur of the Year”.

Follow & Share!

![]()
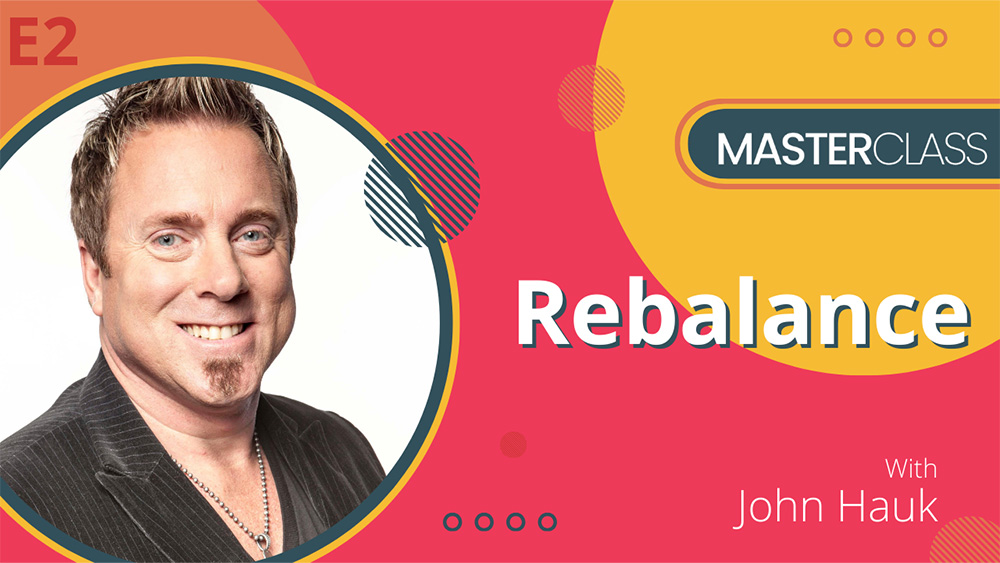
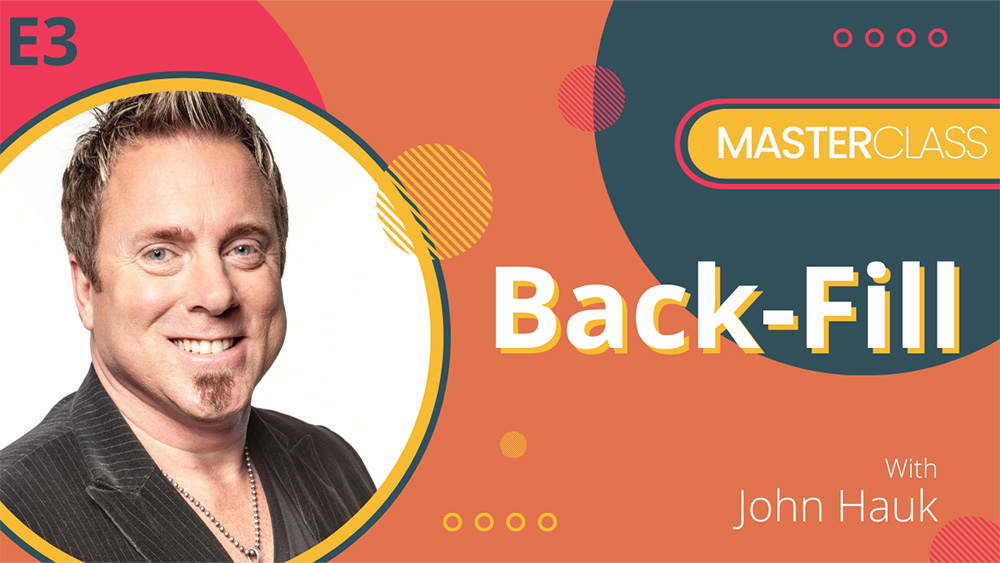
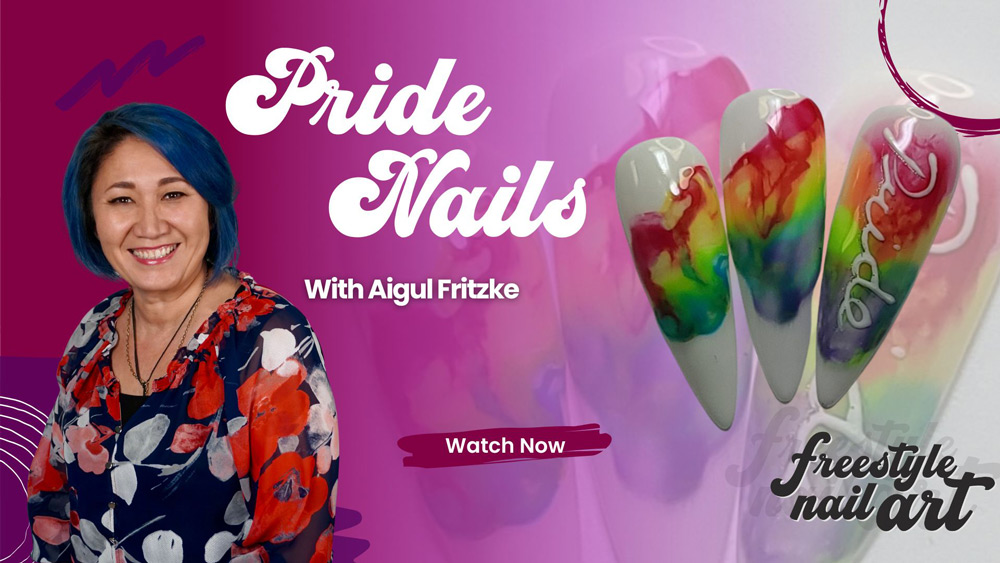
As the expert behind Cruise with the Nail Stars, Cincinnati based nail artist and educator John Hauk has led a successful and eclectic nail career. With over 29 years experience as an educator and compeitior, John has accumulated over 300 awards and achieved #1 competitor of the year twice after winning the Nail Pro team cups. Currently an international judge and owner of Royalty Beauty salon, he continues to collaborate with world renown artists to bring nail education and fun to the open seas.
![]()
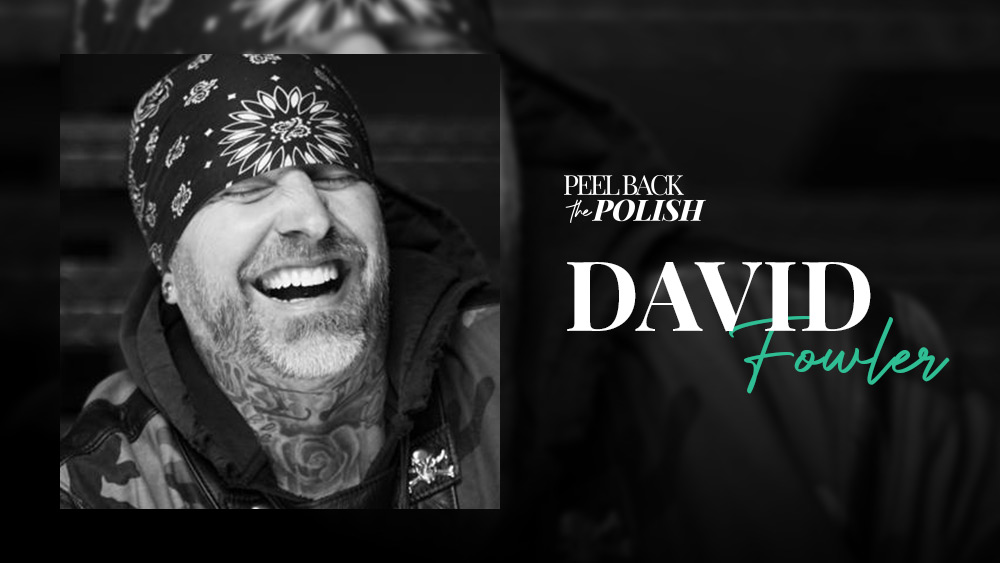
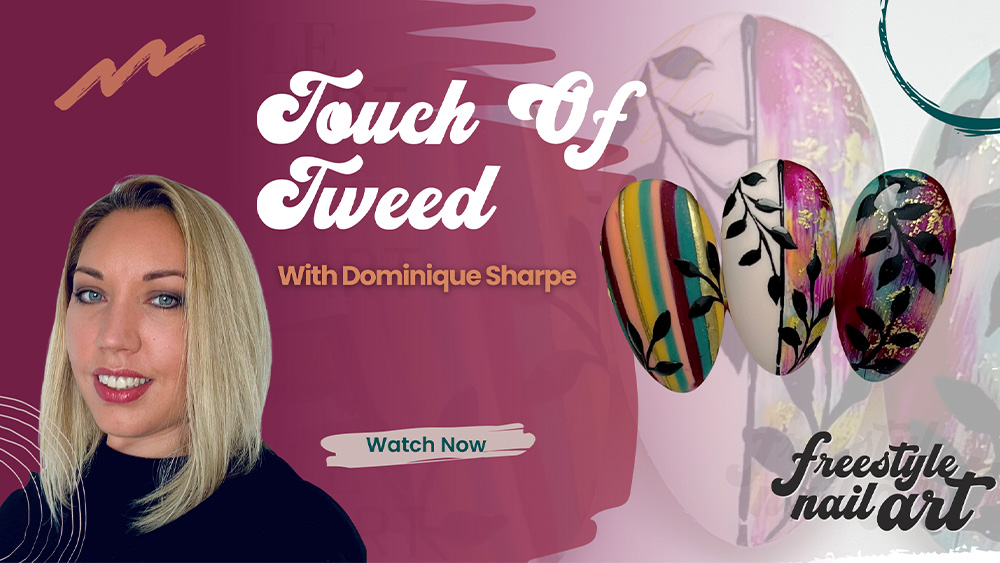
Do you have questions for the artist? GlossaryLive will present a LIVE interview with this artist. Email your questions to be featured during the Q&A session.


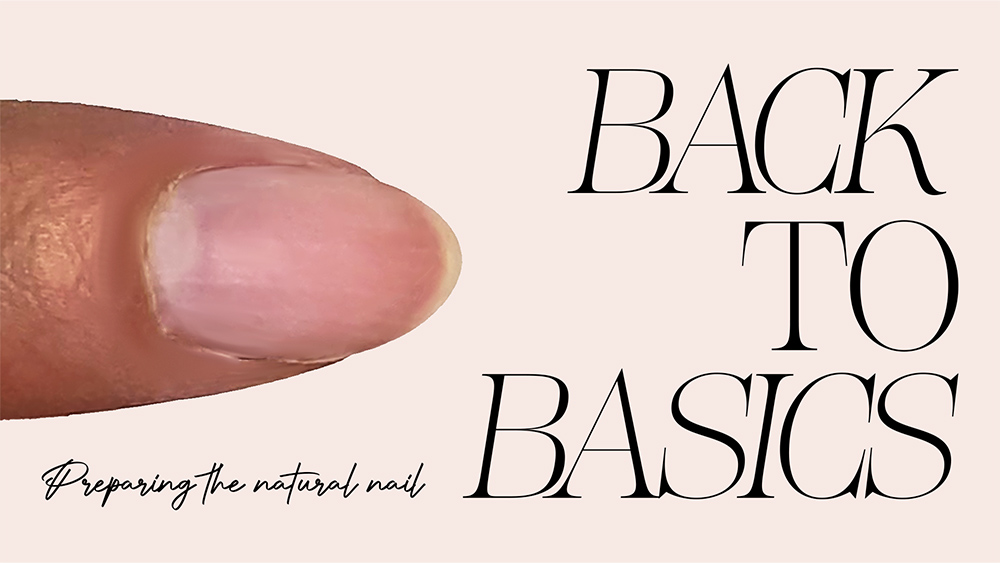
Cuticle is a thin layer of colorless dead tissue between the proximal nail fold, eponychium and the nail plate. Together they form a seal to keep pathogens from infecting the matrix area. To avoid product lifting in this area, best practice is to remove all cuticle that is directly attached to the nail plate, so polish and other nail products can adhere directly to the nail and not atop the cuticle. To gently detach cuticle from the nail plate, dip a 2×2 gauze square in cuticle remover and gently scrub the nail plate in a circular motion up to the eponychium. Trim excess cuticle or hangnails with a sharp cuticle nipper.

![]()

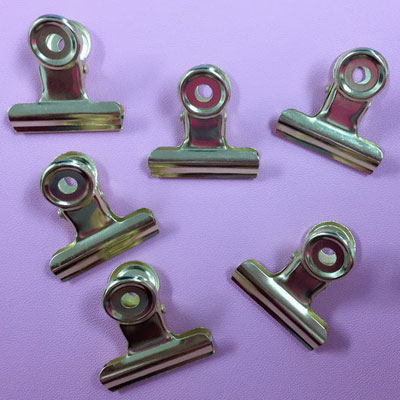
C-Curve Clips
What it is: Veiwed down the barrel of the nail, it is the degree of the arch in the free edge or nail extension from sidewall to sidewall.
How to use it: Enhanced in artificial nail extensions to increase strength and provide a beautiful aesthetic.
How to apply it: During the curing process, a C-curve stick is inserted under the extension of the nail and held into place to create a perfect cylinder.

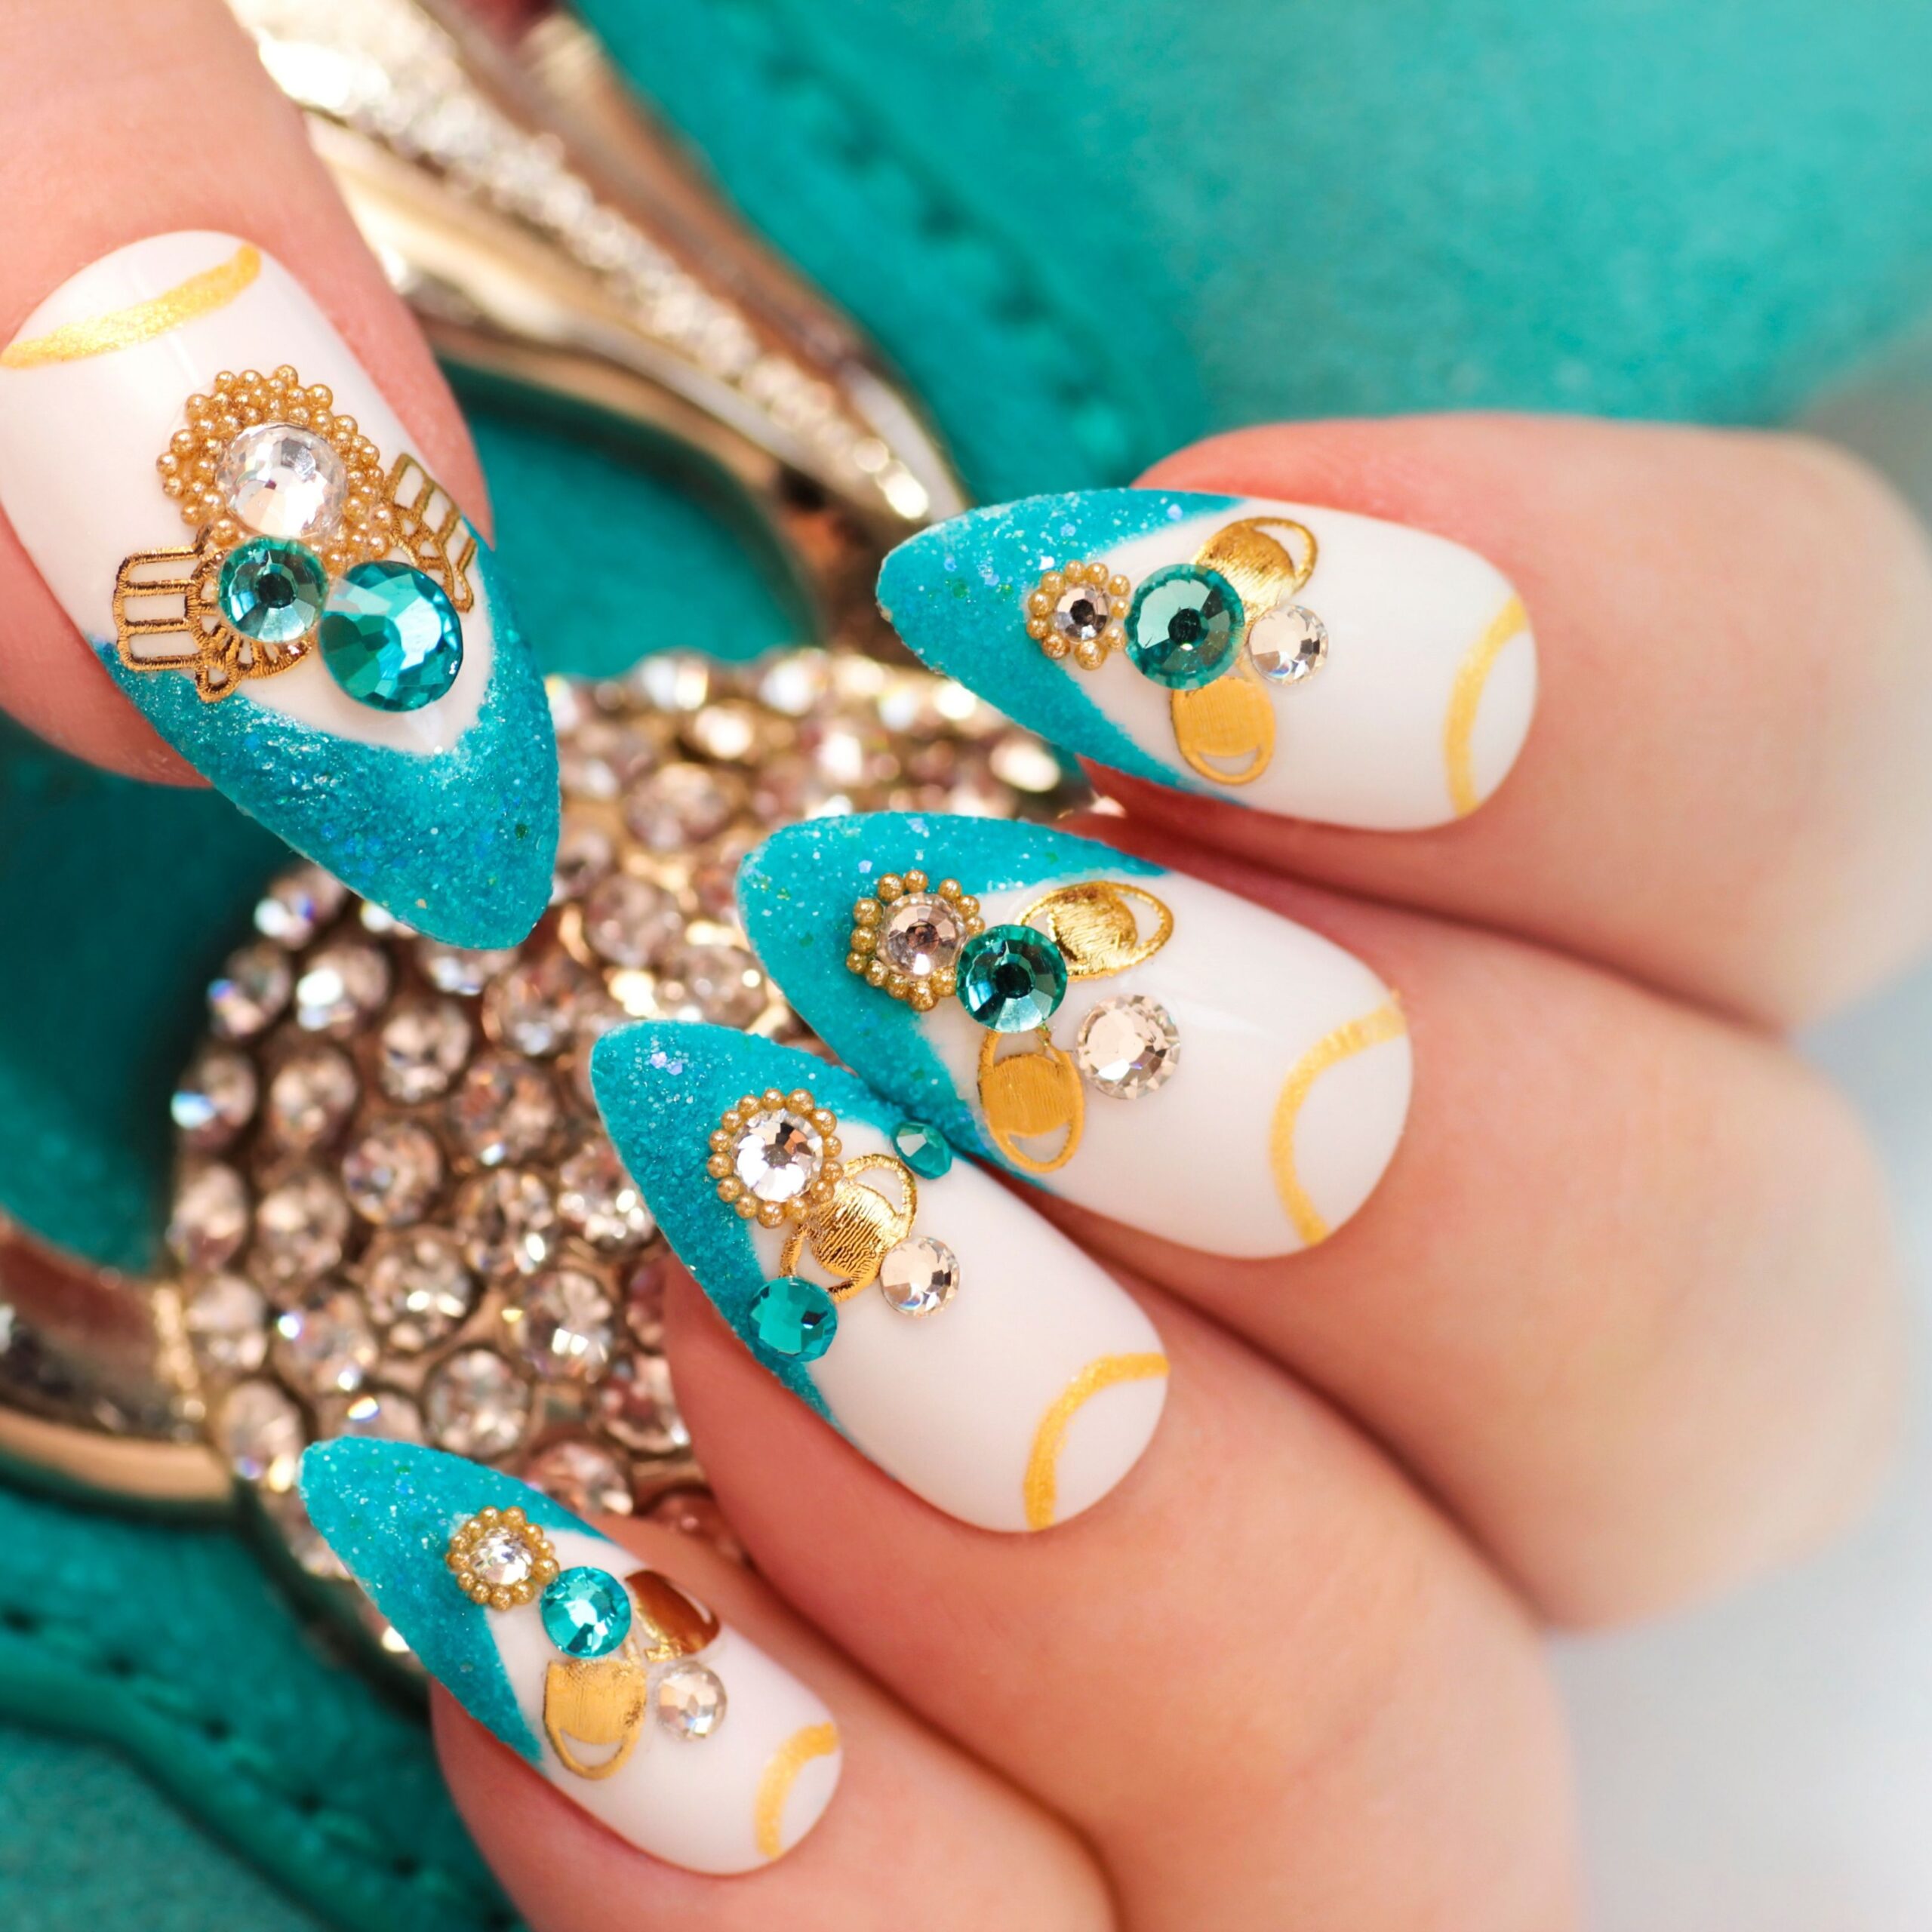
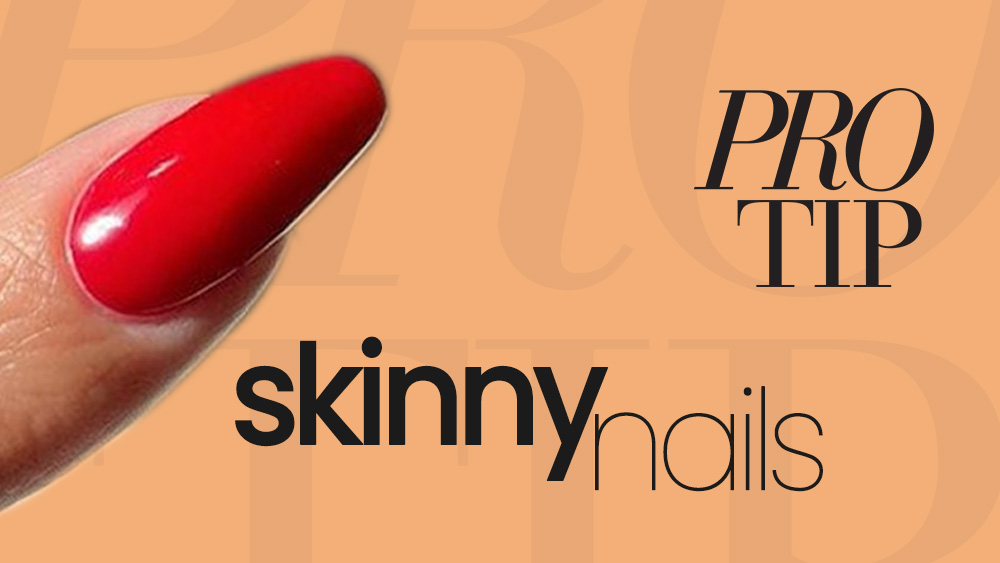
What it is: An oval nail shape where the free edge narrows into a delicate point at the tip.

![]()

![]()
![]()
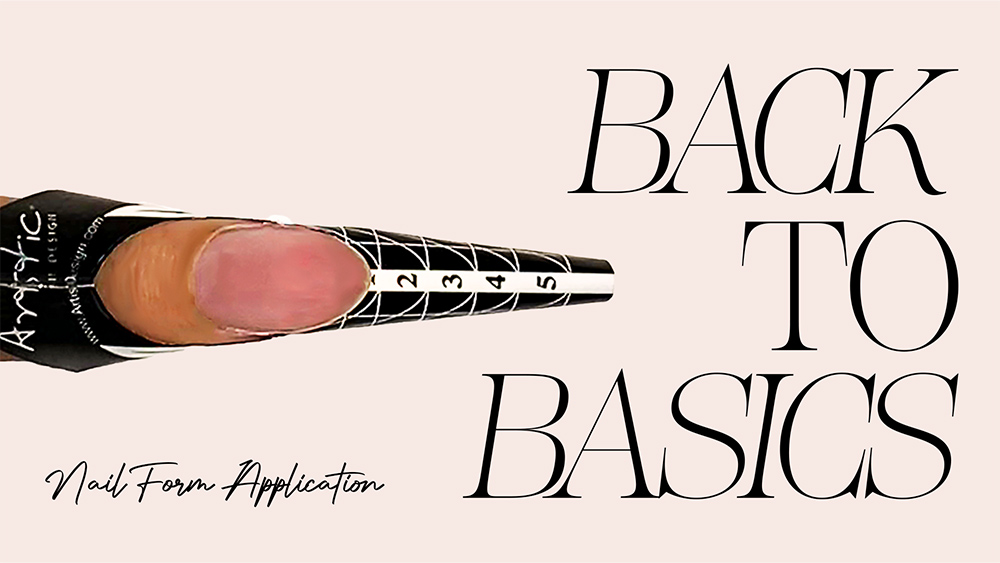
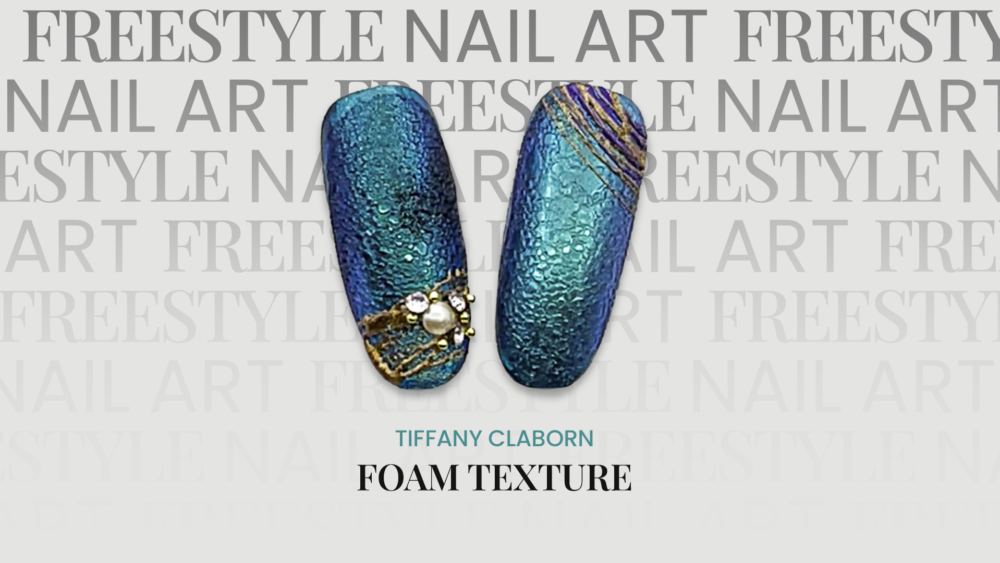
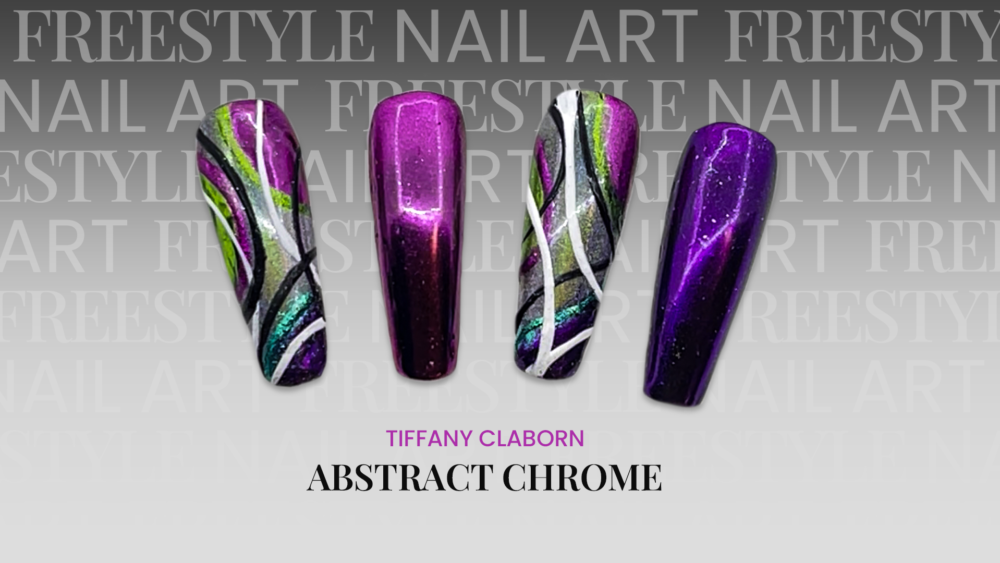
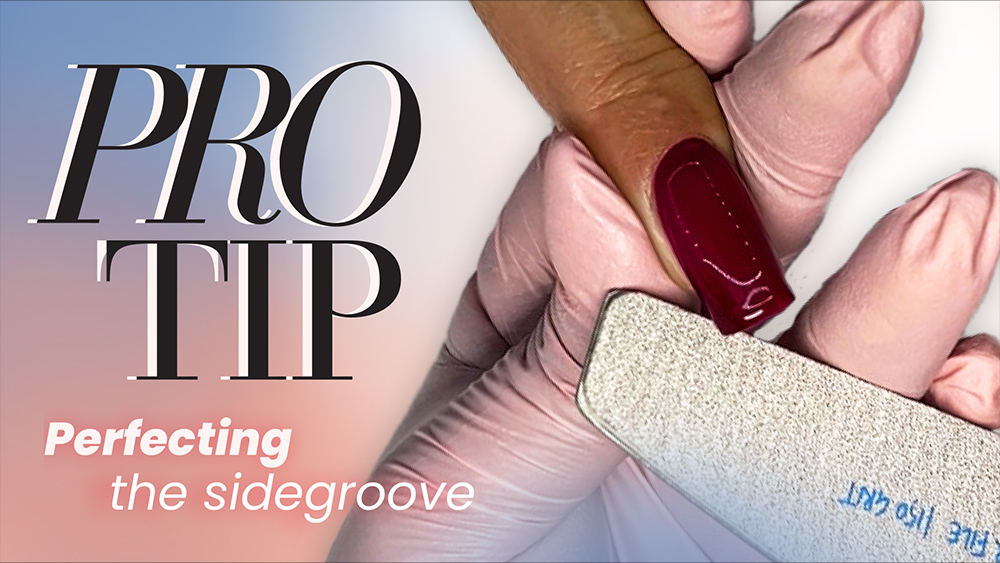
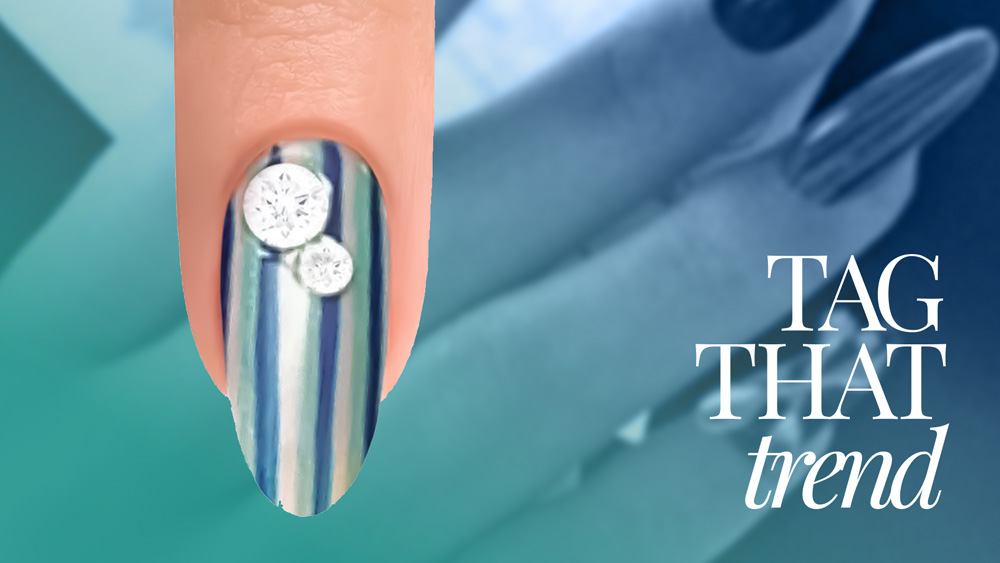
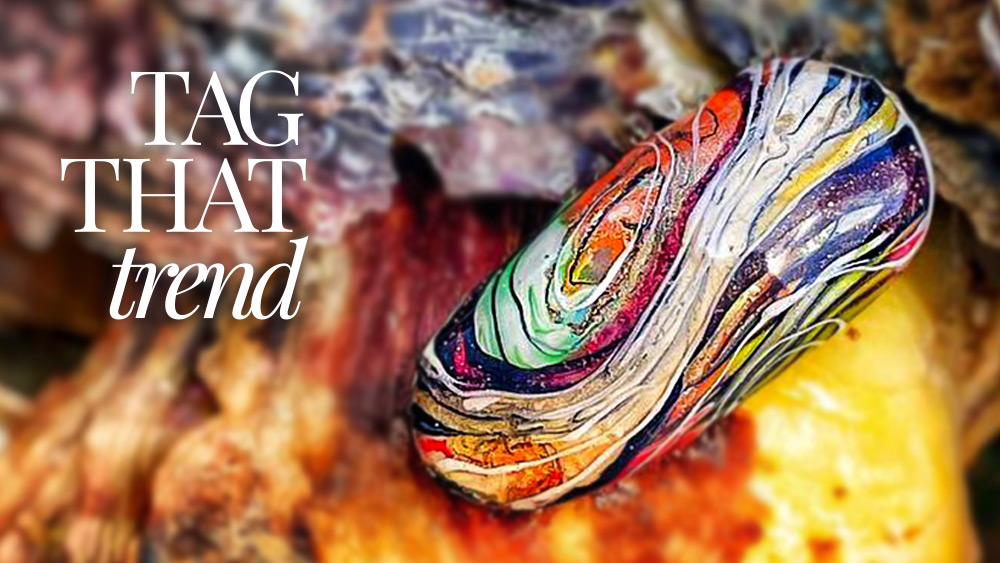
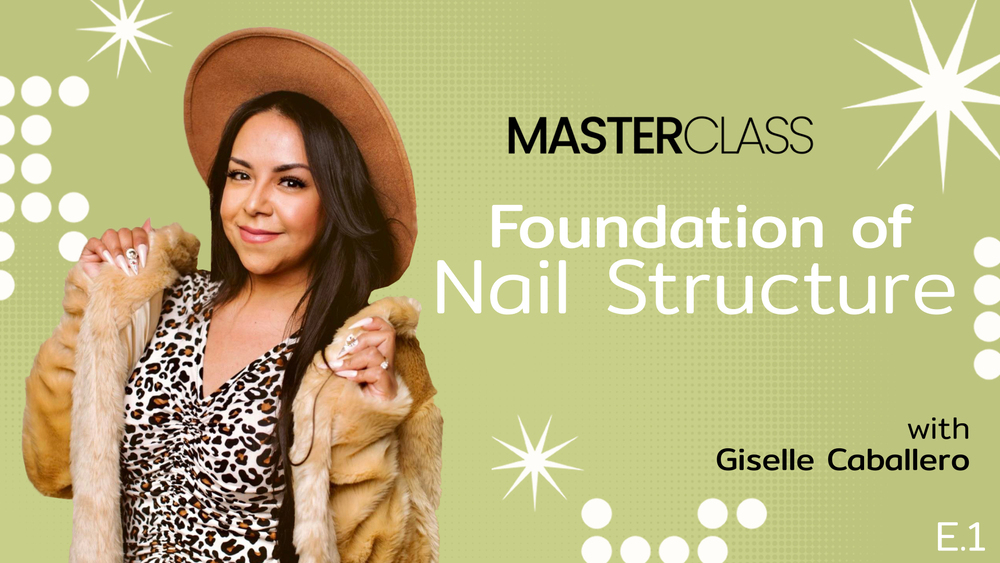
This series will help you elevate your nail game for effective and efficient salon services, from ensuring a proper foundation to increasing your speed, revenue and value when creating salon shapes and designs that are sure to impress your clients and give you a stress-free creative environment.
![]()
![]()
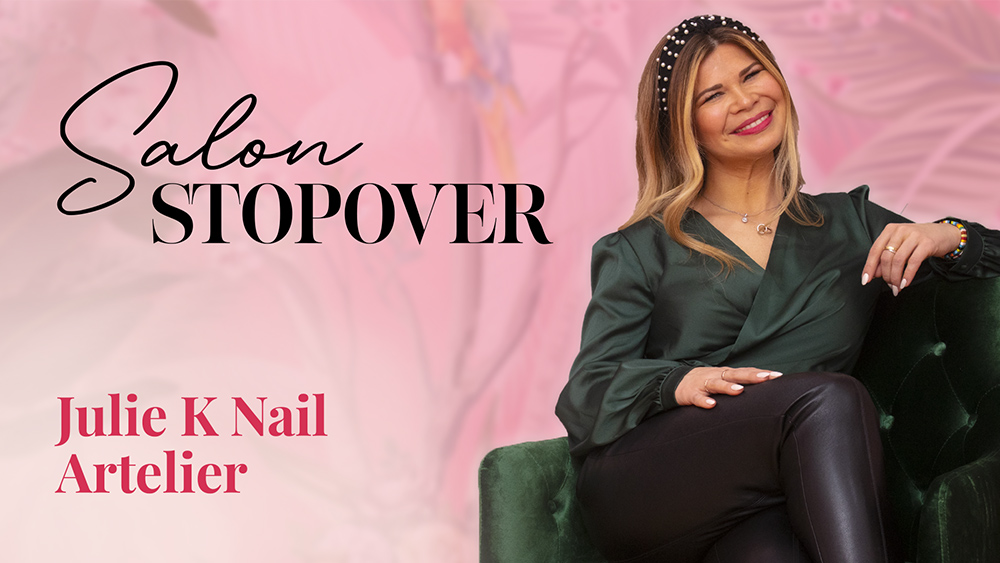
Do you have questions for the artist? GlossaryLive will present a LIVE interview with this artist. Email your questions to be featured during the Q&A session.

![]()
![]()
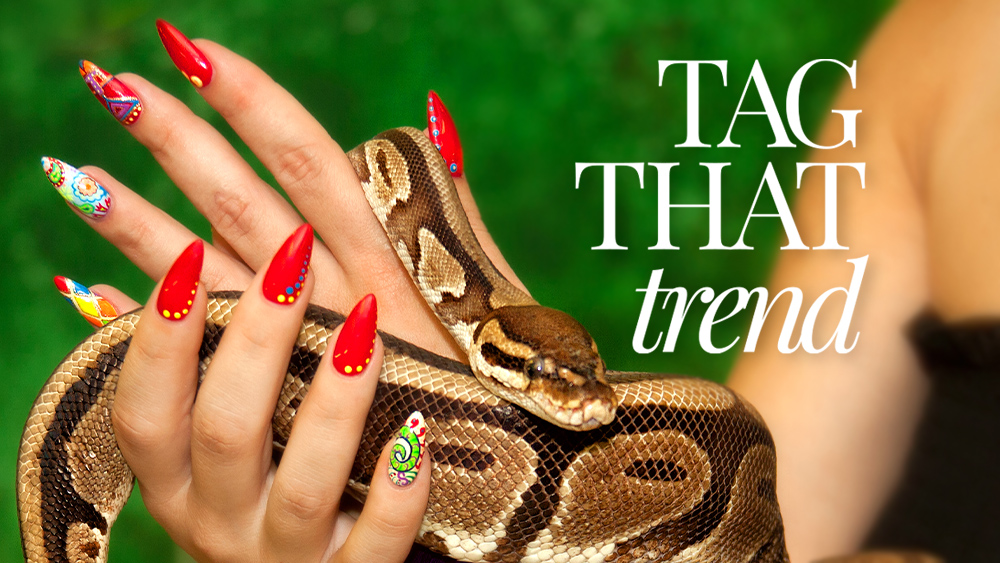
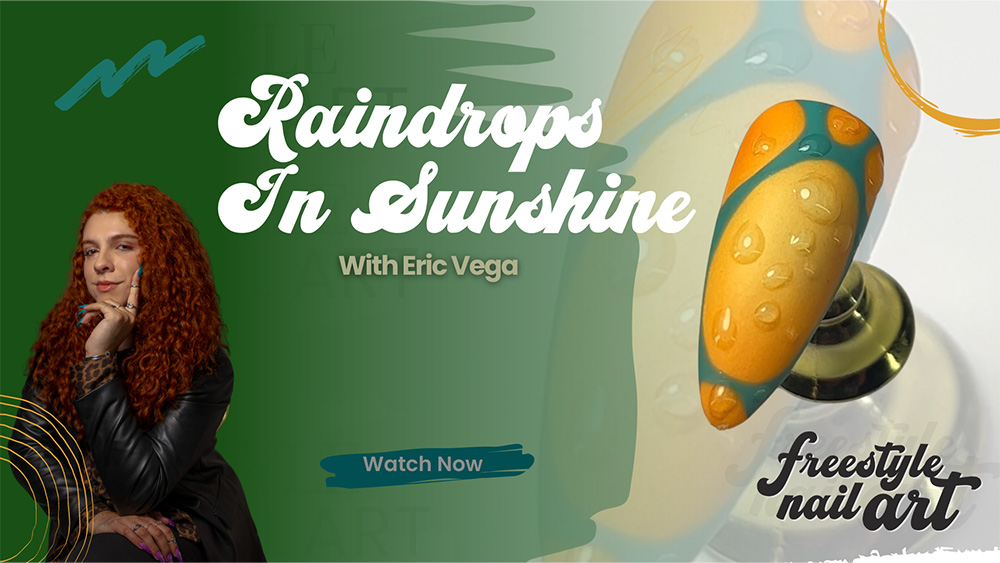
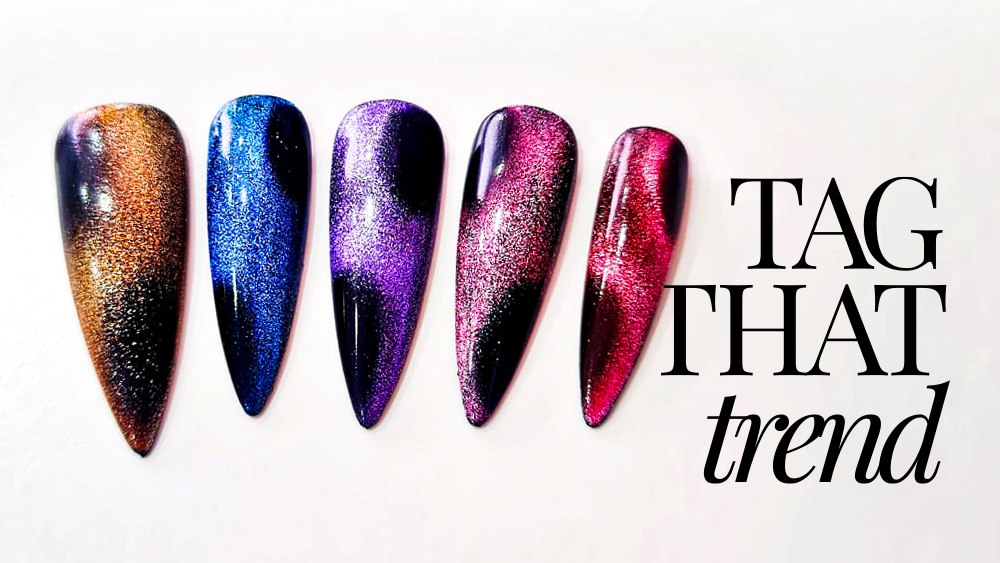
This series will help you elevate your nail game for effective and efficient salon services, from ensuring a proper foundation to increasing your speed, revenue and value when creating salon shapes and designs that are sure to impress your clients and give you a stress-free creative environment.
![]()
![]()
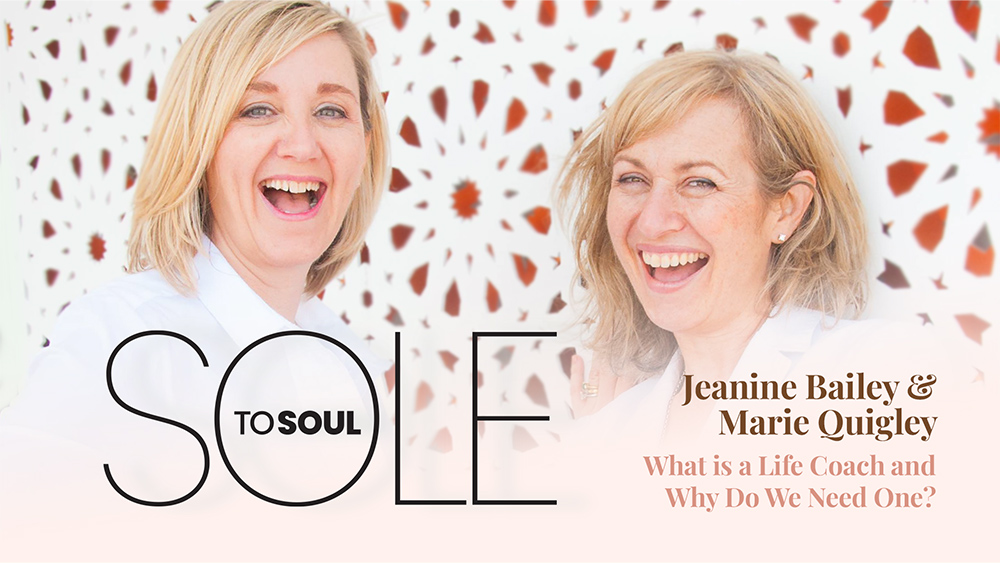
Do you have questions for the artist? GlossaryLive will present a LIVE interview with this artist. Email your questions to be featured during the Q&A session.

![]()
![]()
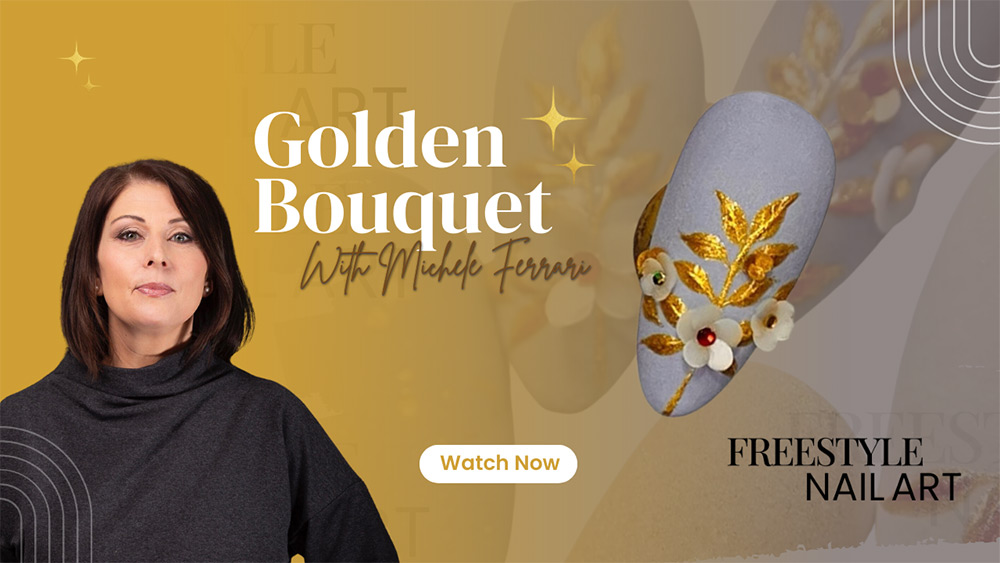
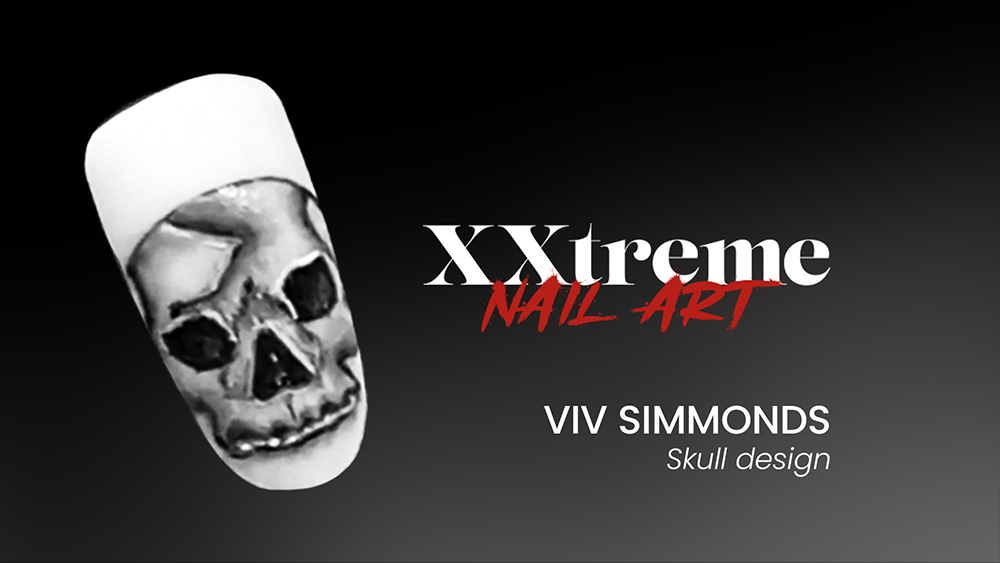
This series will help you elevate your nail game for effective and efficient salon services, from ensuring a proper foundation to increasing your speed, revenue and value when creating salon shapes and designs that are sure to impress your clients and give you a stress-free creative environment.
![]()
![]()
Do you have questions for the artist? GlossaryLive will present a LIVE interview with this artist. Email your questions to be featured during the Q&A session.