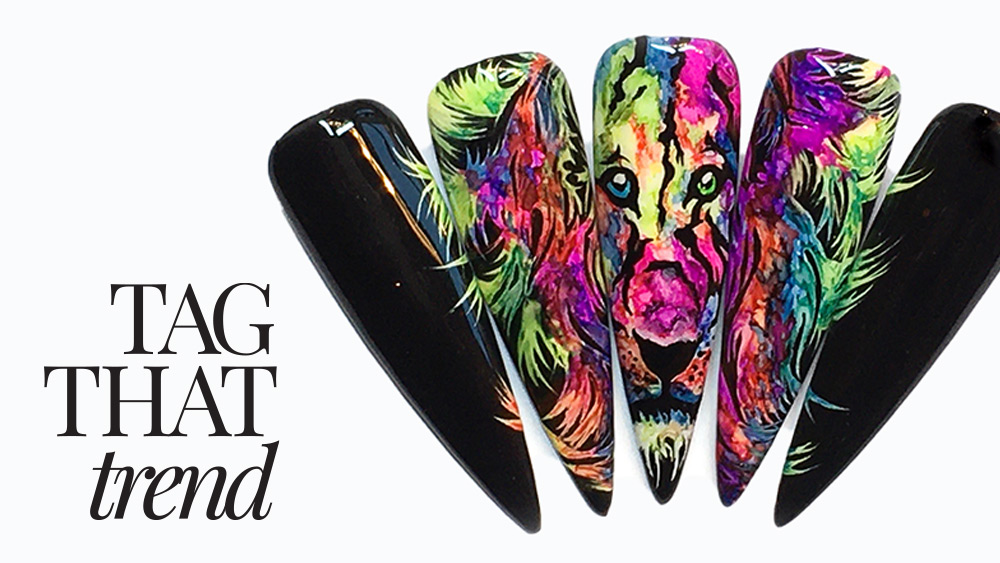
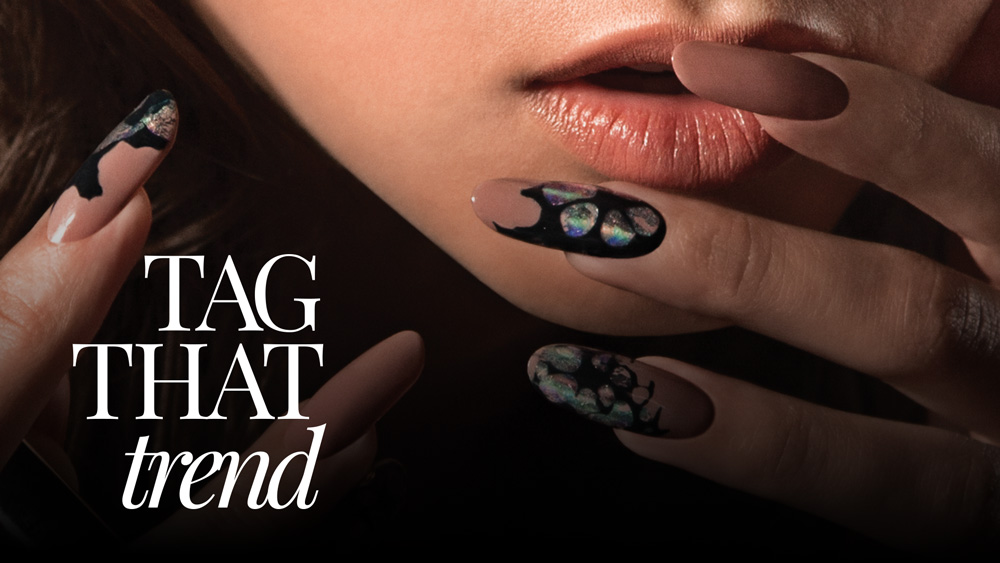
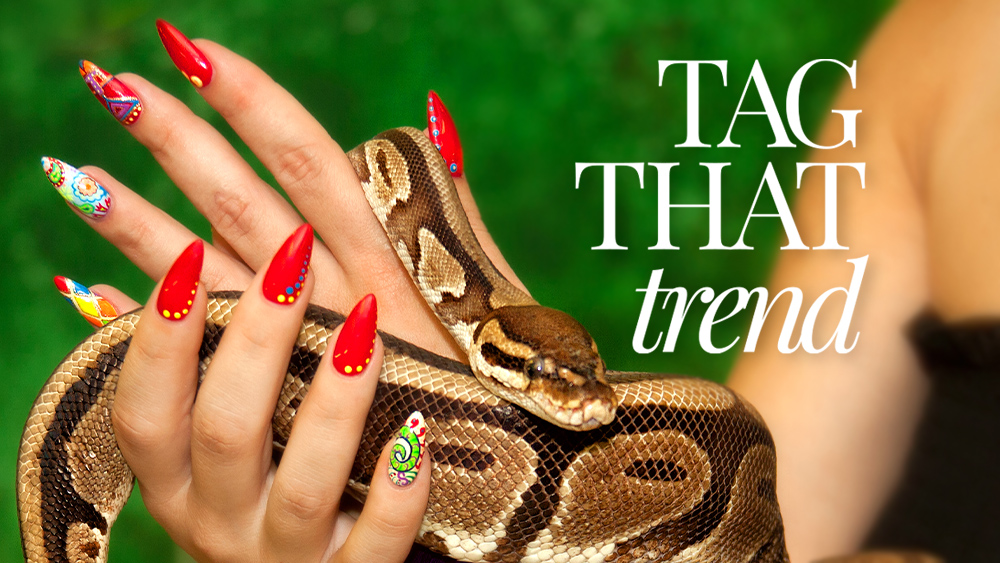
UPGRADE TO PREMIUM TO WATCH THIS VIDEO
video and so much more educational content.
Fast art under 5-minutes makes quick cash!
BEAUTY PIE has released its 2024 Beauty Trends Report, and reveals the top 10 beauty trends that ruled in 2023, as well as the hottest skincare, make-up, hair, body and wellness, and nail trends that are set to be everywhere in 2024.
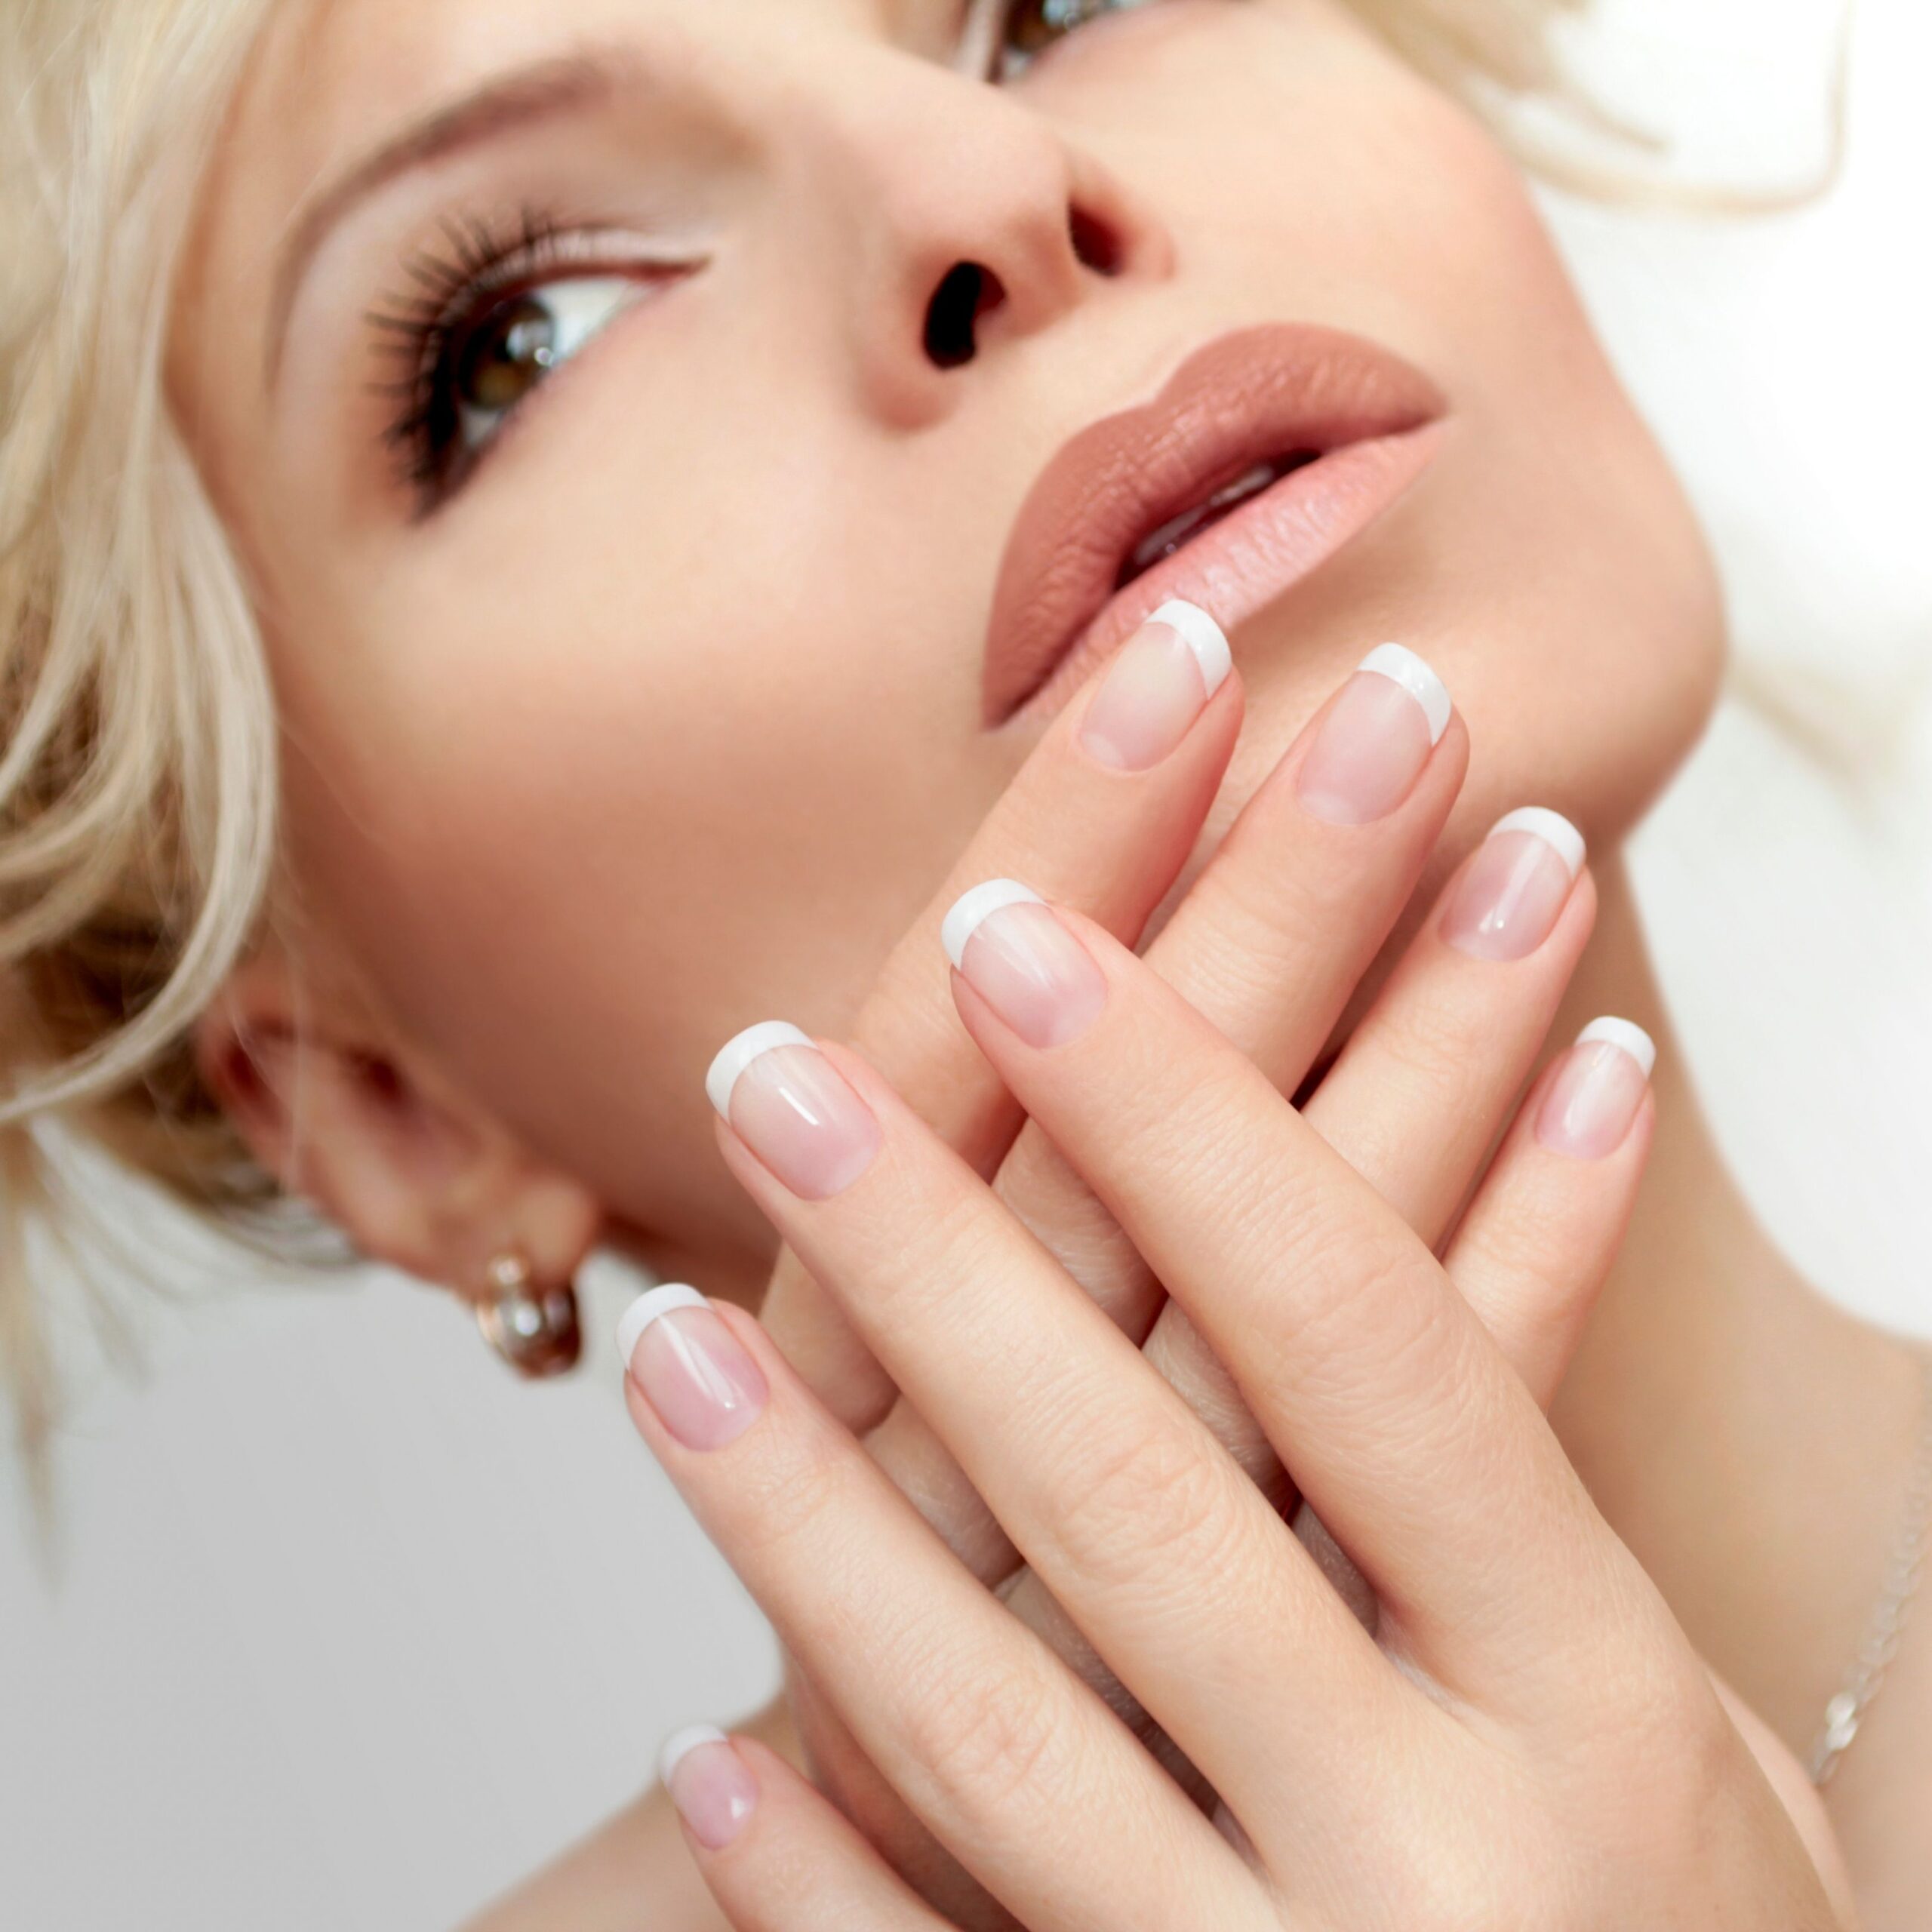
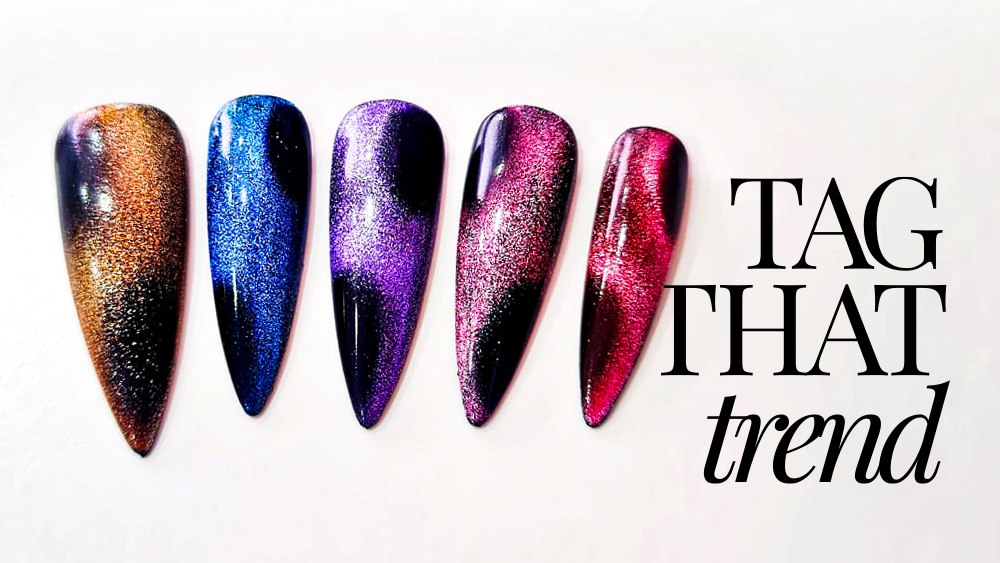
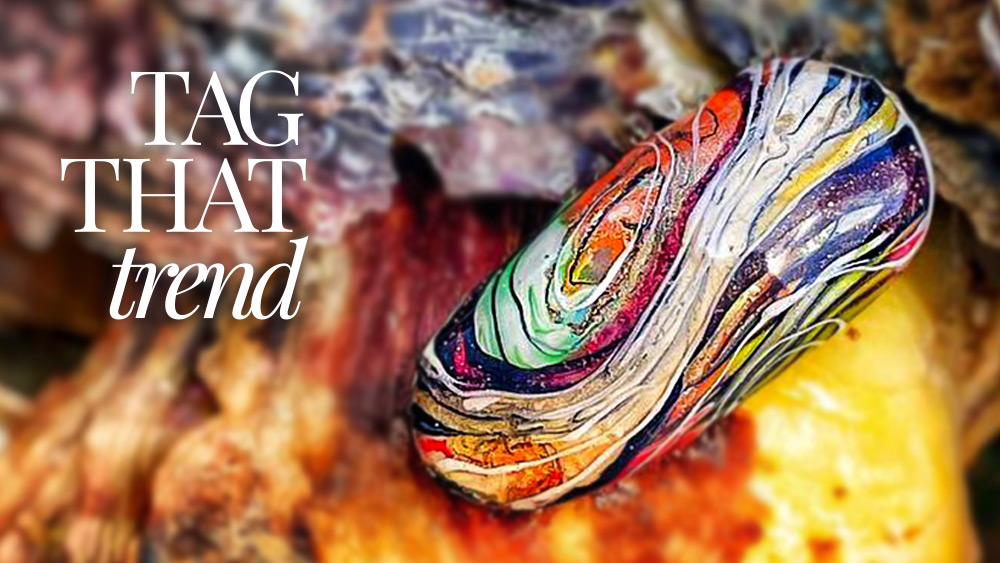
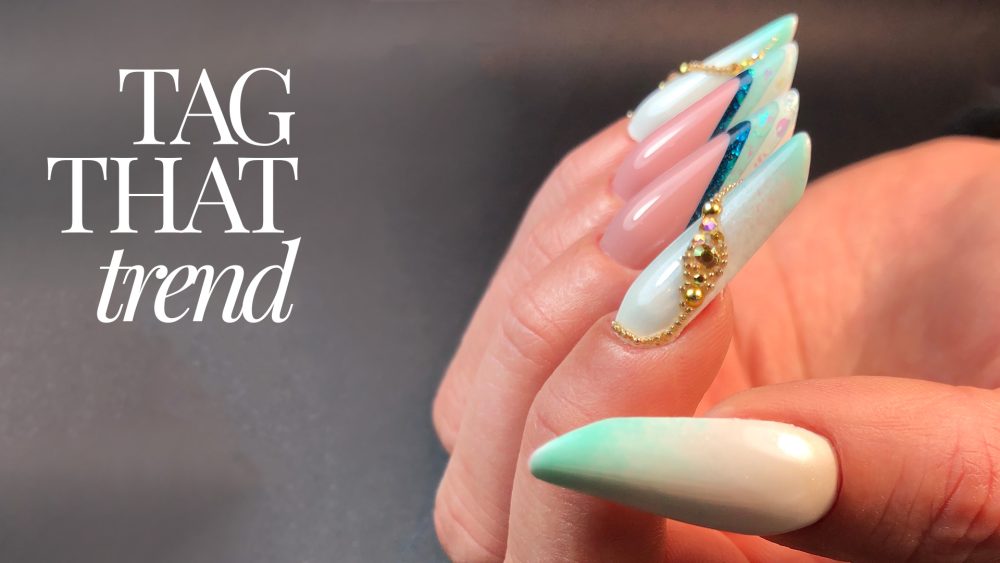
Now in its second year, experts at the luxury beauty buyer’s club, Beauty Pie, analysed millions of data points for over 300 different trends to create the report, and reveals press on nails, Barbie make-up and heatless waves are three of the biggest trends that shaped the world of beauty in 2023. Looking ahead to 2024 – The Scandi hairline, preppy bob and espresso make-up all feature in the top 10 biggest trends for the new year. Get Ready For The Biggest Nail Trends For 2024 The research shows chrome is here to stay, with lavender chrome nails seeing a popularity increase of 369%, oyster nails have gone up by 161% and nude chrome nails have increased by 128%. The classic French mani also features, but with a twist, as neon French tips, metallic and double French tips all appear in the ranking.
Let’s Review 2023’s Biggest Beauty Trends
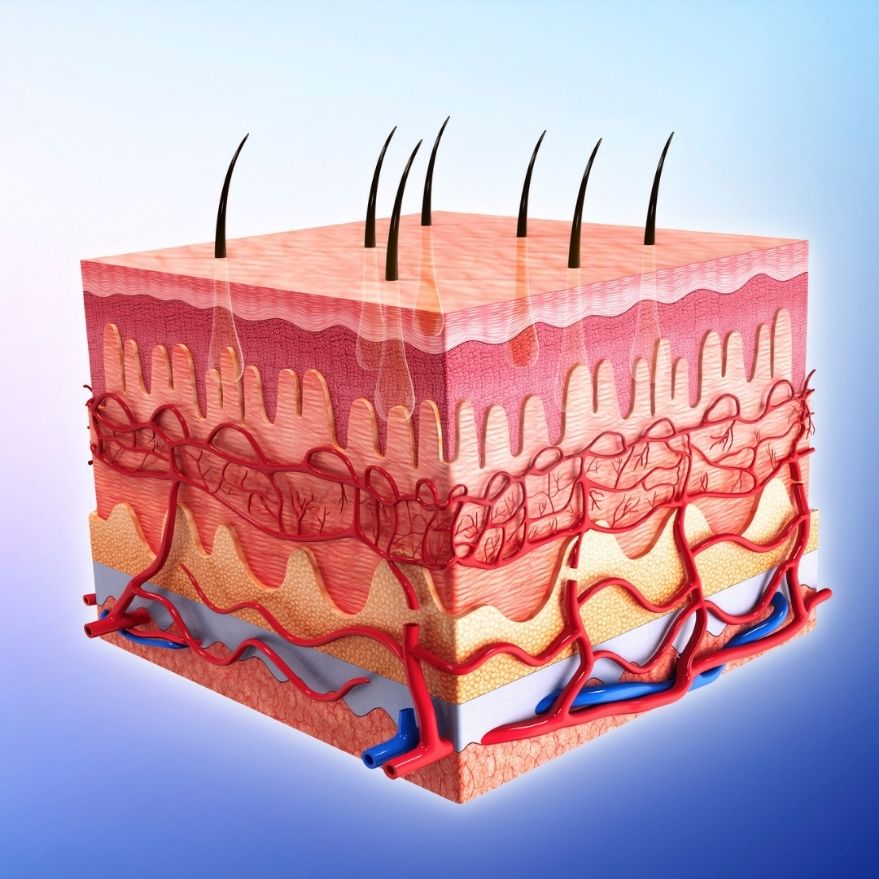
Beauty Pie analysed the popularity of different trends on social media platforms and Google to discover the biggest trends of 2023 – combining the total number of TikTok views, Instagram posts, Pinterest boards and the annual search volume on Google over the past 12 months for each trend. Press-on nails have come a long way since they were last popular in the late noughties and with almost 8 billion total engagements, they’re the ‘number one’ biggest beauty trend of 2023 according to the study. This temporary nail art trend quickly sky-rocketed in popularity after Kim Kardashian revealed on Instagram that her iconic stiletto-shaped French mani was all thanks to artificial ‘stick-on’ nails. Since then, the nail trend has been popping up on perfectly manicured hands around the world and has even been spotted on the runways of global fashion weeks. Curtain bangs, with over 4.2 billion engagements is the second biggest beauty trend that’s been everywhere this year, and just behind, with 3.1 billion engagements, is glass skin. Other trends in the top 10 include micro-needling, lymphatic drainage, ceramides and faux freckles.
Top 10 Biggest Beauty Trends of 2023
1. Press-on nails – 7,907,169,916 total engagements
2. Curtain Bangs – 4,214,738,547 total engagements
3. Glass Skin – 3,101,564,216 total engagements
4. Microneedling – 1,710,737,723 total engagements
5. Chrome nails – 1,504,317,315 total engagements
6. Barbie make-up – 1,200,762,049 total engagements
7. Heatless waves – 1,100,086,904 total engagements
8. Lymphatic drainage – 1,001,693,834 total engagement
9. Ceramides – 688,556,835 total engagements
10. Faux freckles – 608,406,040 total engagements
Are you Ready For 2024’s Biggest Beauty Trends
To discover the ingredients, products, techniques, and approaches that will be trending in 2024, Beauty Pie’s research team tracked and analysed Google search volume for hundreds of new trends. By calculating the total number of Google searches over the past six months and comparing it to the previous six months, the beauty experts have revealed, which ones are seeing the biggest spike in popularity in the run-up to 2024.
The Scandi hairline is the top trend that the experts expect to see everywhere next year. Made popular by the likes of Matilda Djerf, the coloring trend involves adding lightener onto the hair that naturally falls onto your face. The result? Better framed features and an instant pop of color to give that Scandi cool glow. Google searches for Scandi hairline have surged by 6,748% ahead of 2024, so it’s definitely one to watch.
Other hair trends also dominate the top 10 – in fact almost half of the trends in the ranking are related to hair styles. The butterfly bob has seen popularity spike by 466%, interest in the preppy bob has increased by 311% and vanilla chai hair has also seen a 257% surge in Google searches ahead of 2024.
Cherry cola lips (+2,215%), espresso make-up (+678%) and balletcore make-up (+253%) are three make-up looks in the top 10, and chocolate milk nails (+1,350%), lavender chrome nails (+369%), and milk bath nails (+286%) are three nail trends that are set to influence 2024.
What it is: A transparent form of crystalized quartz, sometimes used to create rhinestones for nail art embellishments.
This series will help you elevate your nail game for effective and efficient salon services, from ensuring a proper foundation to increasing your speed, revenue and value when creating salon shapes and designs that are sure to impress your clients and give you a stress-free creative environment.
In this 2nd episode we will cover a popularombré technique, also known as French fade orbaby boomer. This is a design where awhite tip suddenly blends into the back of the nail.When using liquid & powder the technique canbe quite straightforward.However, this look can be quite difficult to recreate using gel.So I will show you 2 ways in whichyou can tackle this look like a pro, so thatyou don't stress next time your clients request it.For this technique it's important that we work with a product that'shighly pigmented.On this palette I have a gel paint that's quite opaque onthe right and a gel polish that's also very pigmentedon the left.Either product will be very useful when creating an ombrédesign on a nail using a sponging technique.The key is to work with a highly pigmented and opaqueproduct. Next you will need a porous make-upsponge.In addition, it's best to start off with a sculpted nailthat has been sculpted using a sheer pinkor sheer cover color. Once you have sculpted thenail and you have finish filed and buffed ensurethat you thoroughly cleanse the area. Here youcan appreciate the sheerness of the color as you can still see thelunula. Next grab a smallportion of the color and place it right onto the sponge.You don't want to flood the sponge with tonnes ofproduct. So small portions are best.Next, we will focus on dabbing the product onthe tip first.Make sure that you firmly pack that product onthe tip.The color should look quite concentrated on this area.Using a sponge will definitely add texture to thenail. However, we will be able to blend that intothe back of the nail by gently dabbing thesponge again over the surface. Grab aclean part of the sponge and gently start dabbing theproduct towards the center of the nail.The more you dab, the more the product will blend, thelighter the touch, the easier you'll seeit spread.Whenever you're using this technique, make sure that youare dabbing as much as possible.A few little dabs will not be enough tohelp you blend the product. Work the sponge andthe product from side to side focusing onthe tip and on the middle section. Avoid draggingthe product too far towards the cuticle area.Once you're happy with the blending, make surethat you clean up any excess that may have gone ontothe skin prior to curing.If you see lots of texture, it's important that you go backand dab a bit more until you see it nicely blended.Once you're happy, go ahead and cure this layer. Thetrick to make the sponge texture disappear, is toapply a layer of gel polish base over thesurface. Gel polish base has a higherviscosity than just top coat. So thiswill help you blend onto the existing layer andremove any extra texture.Make sure that you float the gel polish baseto avoid dragging any pigment.Here you can see how most of the texture has disappearedany remaining will be filled oncewe apply the top coat.I love the results of a sponged ombré. It's veryeasy to achieve and requires minimal investment in product.For this next technique, it's best to start with a layer of cured gelpolish.And again, choosing a sheer base to start with,with the sculpting and the gel polish, likea sheer pink or a sheer nude, will help the process offading the tip into the back of the nail. In addition thedispersion layer in the gel polish will help the airbrush productsadhere better. Now for the airbrush, Iam using an airbrush that has the ability ofworking with gel polish airbrushes. Theproduct gets placed in the cup and will comeout through the nozzle at the front.After use, and depending on the product that you'reworking with, you may use acetone, alcohol or acleanser to remove any excess product from themachine.Tilting the lever at the top will allow theproduct to come out. Tilting the lever too fastcould cause the product to come out spotty, so pulling itslowly is best for a smooth application. Gelpolish airbrush products are quite pigmented, soless is more. A few drops will do.Once you have your product in the cup, make sure to cover itto avoid spills.Just as easy as that, you're ready to start working. Justlike when we sponged our ombré, we will start applyingthe product starting from the tip and working our waytowards the back of the nail. Place your airbrush furtheraway from the nail. If you apply it too closeto the nail, the product will be spotty. The furtheryou are away from the nail, the product will look smoother.Adjust the airbrush distance as needed. The closeryou are, the more pigmented it will show, thefurther away you are, the more the product willspread.Your goal is to keep the most pigmentation on the end ofthe extension and then smoothly transition towardsthe back. As you get closer to the back ofthe nail, start pulling away from the nail.Then come back to the tip as needed to increase thepigmentation.And remember to pull the lever slowly to avoid blotchy spots.You can always come back and add more if you need to. So makesure you check the nail prior to curing.Make sure to clean up any excess thatmay have gone on the skin prior to curing. Once thisproduct goes into the lamp it will set, so you don't wantto leave any spots on the skin. Carefully removeany excess using a wipe and cleanser and pullthe skin away from the nail. Be careful not to touchthe nail. Otherwise, you will end up removing product fromthe nail as well.Getting your clients to wear gloves is a good way toprevent applying product all over their skin.Then go ahead and cure for the full recommended time. Aftercuring, you may repeat the process to increasethe opacity, especially on longer nails.Remember to focus on applying the product smoothly andpacking it at the tip and then gradually bringit back towards the back of the nail. Clean upany excess and cure.Using airbrush products will virtually leaveno texture on the nail. So after youfinished with the ombré, you can go ahead and apply yourtop coat as normal.Here you have a comparison of both techniques side by side.Both techniques will give you a beautiful, flawlessfade. So it's up to you to decide whichway you want to tackle ombré next time. Did youknow it would be that easy to tackle ombré? Well nowyou do and I cannot wait for you to give it a try.
Do you have questions for the artist? GlossaryLive will present a LIVE interview with this artist. Email your questions to be featured during the Q&A session.
Dani Bailey plants her nail footprint in both the UK and the Brazilian markets, seeking inspiration for her nail designs at every opportunity. In this step by step, Dani takes the majesty of the night sky to recreate the ever-popular galaxy nail trend.
Want to see your nail art featured on Tag That Trend? Our team is excited to see your work and get you published. Contact us for details.
What it is: AKA ombré. This nail art technique fades one color into another, and the meeting point is a combination of the two. There are no rules to define how many colors can be used.
How to use it: Used for a variety of nail art looks, notably the baby-boomer, which fades pink into a soft white tip.