UPGRADE TO PREMIUM TO WATCH THIS VIDEO
video and so much more educational content.
Fast art under 5-minutes makes quick cash!
Most French enhancement techniques teach the tech to apply white at the free-edge and create the smile line. Then the pink is added to the nail plate and the two are connected. In a reverse application, you add the pink to the nail bed and create a reverse smile line. Some let this dry and file it clean and smooth before adding a form and the white extension. The benefit to this technique is being able to push the white directly against the pink to create a clean line. This technique was originally created for applying cover pink powders. It can also be beneficial when sculpting gel.
As the expert behind Cruise with the Nail Stars, Cincinnati based nail artist and educator John Hauk has led a successful and eclectic nail career. With over 29 years experience as an educator and compeitior, John has accumulated over 300 awards and achieved #1 competitor of the year twice after winning the Nail Pro team cups. Currently an international judge and owner of Royalty Beauty salon, he continues to collaborate with world renown artists to bring nail education and fun to the open seas.
Do you have questions for the artist? GlossaryLive will present a LIVE interview with this artist. Email your questions to be featured during the Q&A session.
With her roots lying in South Africa, in 2004 Shelley began her nail adventure at the Dream Nail Academy in Paarl, where she attended intensive training to become an All Round Nail Technician in a small group of four people. “I’m incredibly grateful to Sheila, the educator there, for her style of teaching, as she taught me the profession well. “Back in the Netherlands I combined my nail profession with my hairdressing career and in 2009 I opened my own nail salon. In 2018, I was one of the nominees for Nail Talent of the Year where I reached second place. I was so surprised and proud. I then started training for my first national competition and reached 3rd place, this was when my competition fever struck. In the years that followed, I’ve participated in many competitions, nationally and internationally. I’ve always won prizes so far, and can proudly say that I’m a national and international champion. I’m an educator for the LoveNess nail brand, whish I teach with passion, as I love to share my knowledge and watch students’ grow. Education is key to success in this industry.”
Want to see your nail art featured on Tag That Trend? Our team is excited to see your work and get you published. Contact us for details.
Alisha is recognized as one of the nail industry’s leading experts in training & education. In her 28 years experience, her work has been described as ‘ground-breaking’ as she has been a platform artist & motivational speaker for thousands of promotional & educational events, & competed in hundreds of nail competitions around the globe winning the World Nail Championship in 2005 in Pink & White Sculptured Nails. She is the featured artist in many training videos, including hosting the current Milady Standard Nail Technology DVD series.
What it is: This nail art technique fades a natural pink into a soft white.
How to use it: This faded French manicured look can be acheived using nail polish or gel polish for easy removal, or with hard gels, acrygels, or liquid and powder to create a permanent look on for nail enhancements.
How to apply it: Usually the pink color is applied on the nail bed area and faded towards the tip. Then the off-white product is applied to the tip and faded up to cover the smile line and create a soft u-shaped graduation between the two .
How to use it: Removal will depend on what products were used to perform the nail art look. Refer to manufacturer’s instructions to remove nail products.
This series will help you elevate your nail game for effective and efficient salon services, from ensuring a proper foundation to increasing your speed, revenue and value when creating salon shapes and designs that are sure to impress your clients and give you a stress-free creative environment.
Do you have questions for the artist? GlossaryLive will present a LIVE interview with this artist. Email your questions to be featured during the Q&A session.
This series will help you elevate your nail game for effective and efficient salon services, from ensuring a proper foundation to increasing your speed, revenue and value when creating salon shapes and designs that are sure to impress your clients and give you a stress-free creative environment.
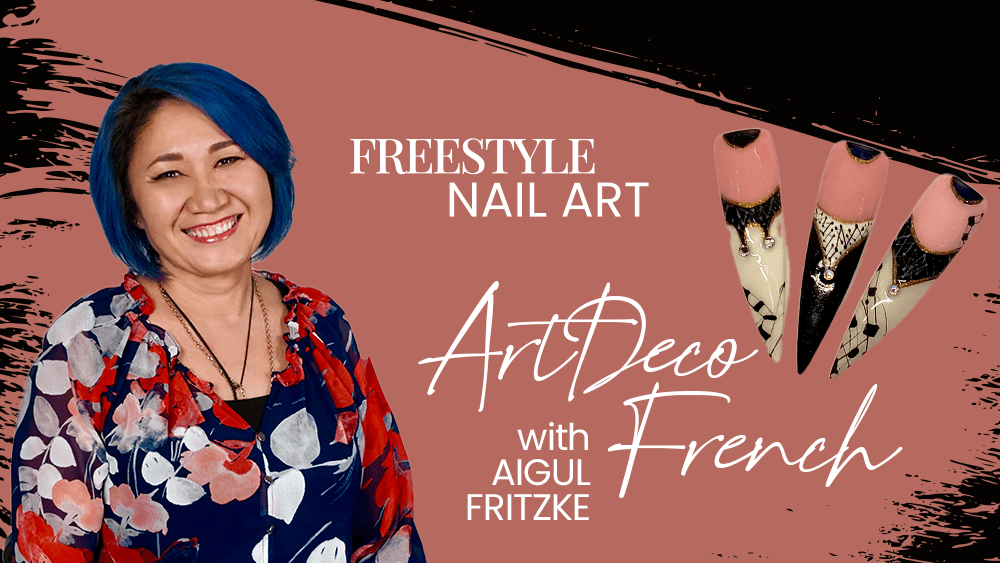
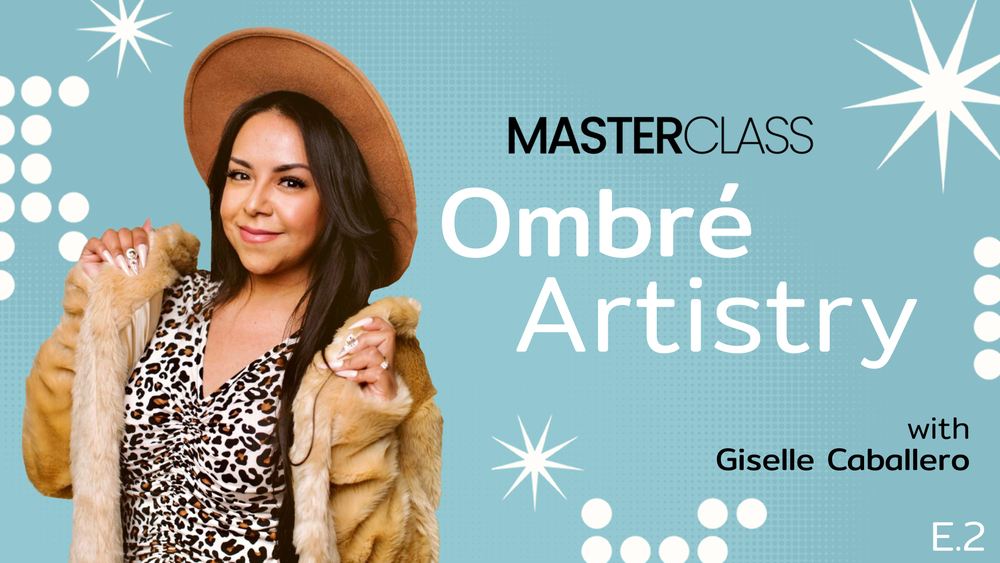
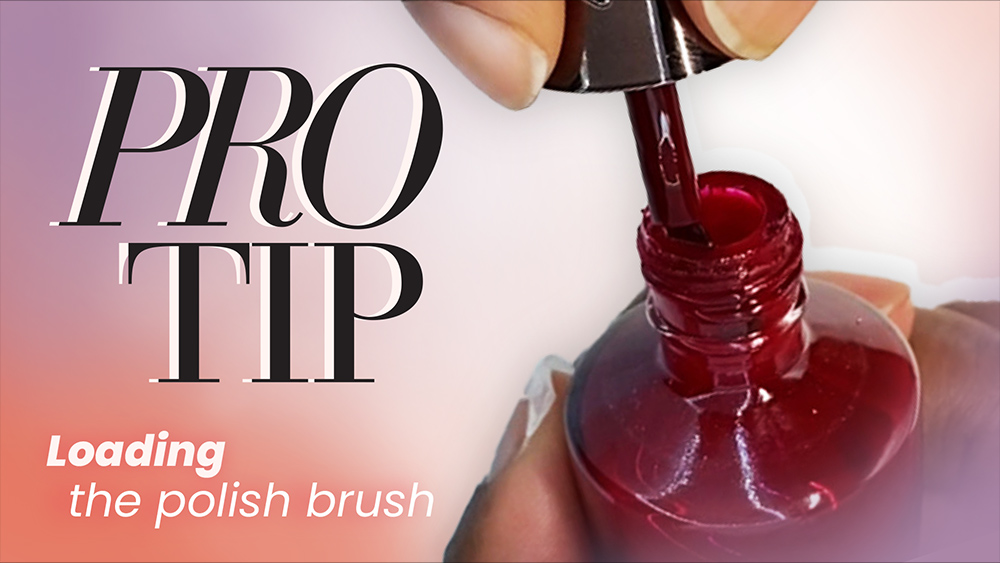
In this 2nd episode we will cover a popularombré technique, also known as French fade orbaby boomer. This is a design where awhite tip suddenly blends into the back of the nail.When using liquid & powder the technique canbe quite straightforward.However, this look can be quite difficult to recreate using gel.So I will show you 2 ways in whichyou can tackle this look like a pro, so thatyou don't stress next time your clients request it.For this technique it's important that we work with a product that'shighly pigmented.On this palette I have a gel paint that's quite opaque onthe right and a gel polish that's also very pigmentedon the left.Either product will be very useful when creating an ombrédesign on a nail using a sponging technique.The key is to work with a highly pigmented and opaqueproduct. Next you will need a porous make-upsponge.In addition, it's best to start off with a sculpted nailthat has been sculpted using a sheer pinkor sheer cover color. Once you have sculpted thenail and you have finish filed and buffed ensurethat you thoroughly cleanse the area. Here youcan appreciate the sheerness of the color as you can still see thelunula. Next grab a smallportion of the color and place it right onto the sponge.You don't want to flood the sponge with tonnes ofproduct. So small portions are best.Next, we will focus on dabbing the product onthe tip first.Make sure that you firmly pack that product onthe tip.The color should look quite concentrated on this area.Using a sponge will definitely add texture to thenail. However, we will be able to blend that intothe back of the nail by gently dabbing thesponge again over the surface. Grab aclean part of the sponge and gently start dabbing theproduct towards the center of the nail.The more you dab, the more the product will blend, thelighter the touch, the easier you'll seeit spread.Whenever you're using this technique, make sure that youare dabbing as much as possible.A few little dabs will not be enough tohelp you blend the product. Work the sponge andthe product from side to side focusing onthe tip and on the middle section. Avoid draggingthe product too far towards the cuticle area.Once you're happy with the blending, make surethat you clean up any excess that may have gone ontothe skin prior to curing.If you see lots of texture, it's important that you go backand dab a bit more until you see it nicely blended.Once you're happy, go ahead and cure this layer. Thetrick to make the sponge texture disappear, is toapply a layer of gel polish base over thesurface. Gel polish base has a higherviscosity than just top coat. So thiswill help you blend onto the existing layer andremove any extra texture.Make sure that you float the gel polish baseto avoid dragging any pigment.Here you can see how most of the texture has disappearedany remaining will be filled oncewe apply the top coat.I love the results of a sponged ombré. It's veryeasy to achieve and requires minimal investment in product.For this next technique, it's best to start with a layer of cured gelpolish.And again, choosing a sheer base to start with,with the sculpting and the gel polish, likea sheer pink or a sheer nude, will help the process offading the tip into the back of the nail. In addition thedispersion layer in the gel polish will help the airbrush productsadhere better. Now for the airbrush, Iam using an airbrush that has the ability ofworking with gel polish airbrushes. Theproduct gets placed in the cup and will comeout through the nozzle at the front.After use, and depending on the product that you'reworking with, you may use acetone, alcohol or acleanser to remove any excess product from themachine.Tilting the lever at the top will allow theproduct to come out. Tilting the lever too fastcould cause the product to come out spotty, so pulling itslowly is best for a smooth application. Gelpolish airbrush products are quite pigmented, soless is more. A few drops will do.Once you have your product in the cup, make sure to cover itto avoid spills.Just as easy as that, you're ready to start working. Justlike when we sponged our ombré, we will start applyingthe product starting from the tip and working our waytowards the back of the nail. Place your airbrush furtheraway from the nail. If you apply it too closeto the nail, the product will be spotty. The furtheryou are away from the nail, the product will look smoother.Adjust the airbrush distance as needed. The closeryou are, the more pigmented it will show, thefurther away you are, the more the product willspread.Your goal is to keep the most pigmentation on the end ofthe extension and then smoothly transition towardsthe back. As you get closer to the back ofthe nail, start pulling away from the nail.Then come back to the tip as needed to increase thepigmentation.And remember to pull the lever slowly to avoid blotchy spots.You can always come back and add more if you need to. So makesure you check the nail prior to curing.Make sure to clean up any excess thatmay have gone on the skin prior to curing. Once thisproduct goes into the lamp it will set, so you don't wantto leave any spots on the skin. Carefully removeany excess using a wipe and cleanser and pullthe skin away from the nail. Be careful not to touchthe nail. Otherwise, you will end up removing product fromthe nail as well.Getting your clients to wear gloves is a good way toprevent applying product all over their skin.Then go ahead and cure for the full recommended time. Aftercuring, you may repeat the process to increasethe opacity, especially on longer nails.Remember to focus on applying the product smoothly andpacking it at the tip and then gradually bringit back towards the back of the nail. Clean upany excess and cure.Using airbrush products will virtually leaveno texture on the nail. So after youfinished with the ombré, you can go ahead and apply yourtop coat as normal.Here you have a comparison of both techniques side by side.Both techniques will give you a beautiful, flawlessfade. So it's up to you to decide whichway you want to tackle ombré next time. Did youknow it would be that easy to tackle ombré? Well nowyou do and I cannot wait for you to give it a try.
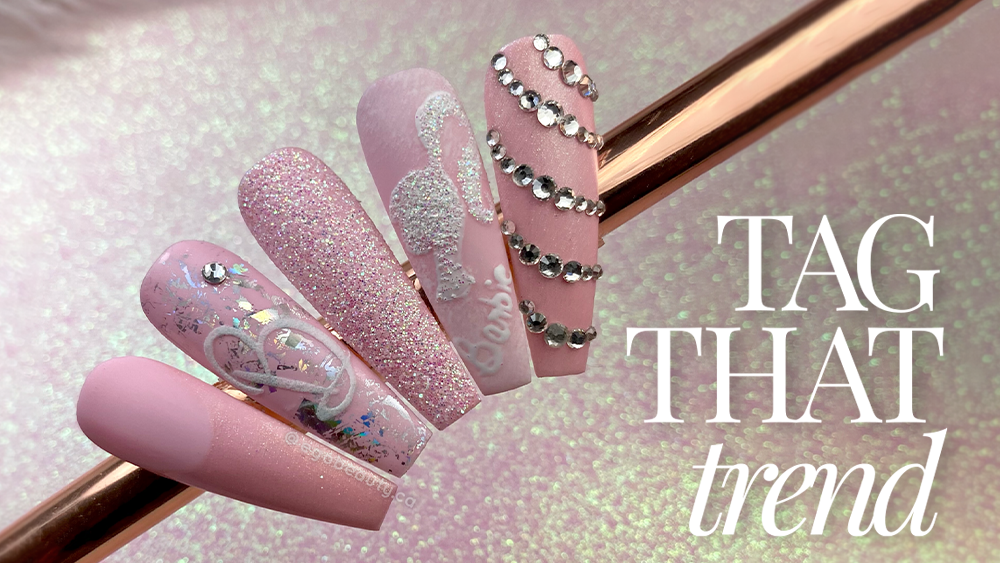
Do you have questions for the artist? GlossaryLive will present a LIVE interview with this artist. Email your questions to be featured during the Q&A session.
Alisha is recognized as one of the nail industry’s leading experts in training & education. In her 28 years experience, her work has been described as ‘ground-breaking’ through her career as a platform artist & motivational speaker for thousands of promotional & educational events. She’s also competed in hundreds of nail competitions around the globe, notably winning the World Nail Championship in 2005 in Pink & White Sculptured Nails. She’s also the featured artist in many training videos, including acting host of the current Milady Standard Nail Technology DVD series.